


Workflow Management in ImmiBox
Overview
This video demonstrates how to create and customize case workflows in ImmiBox.
1. Introduction
 * click the image to view enlarged
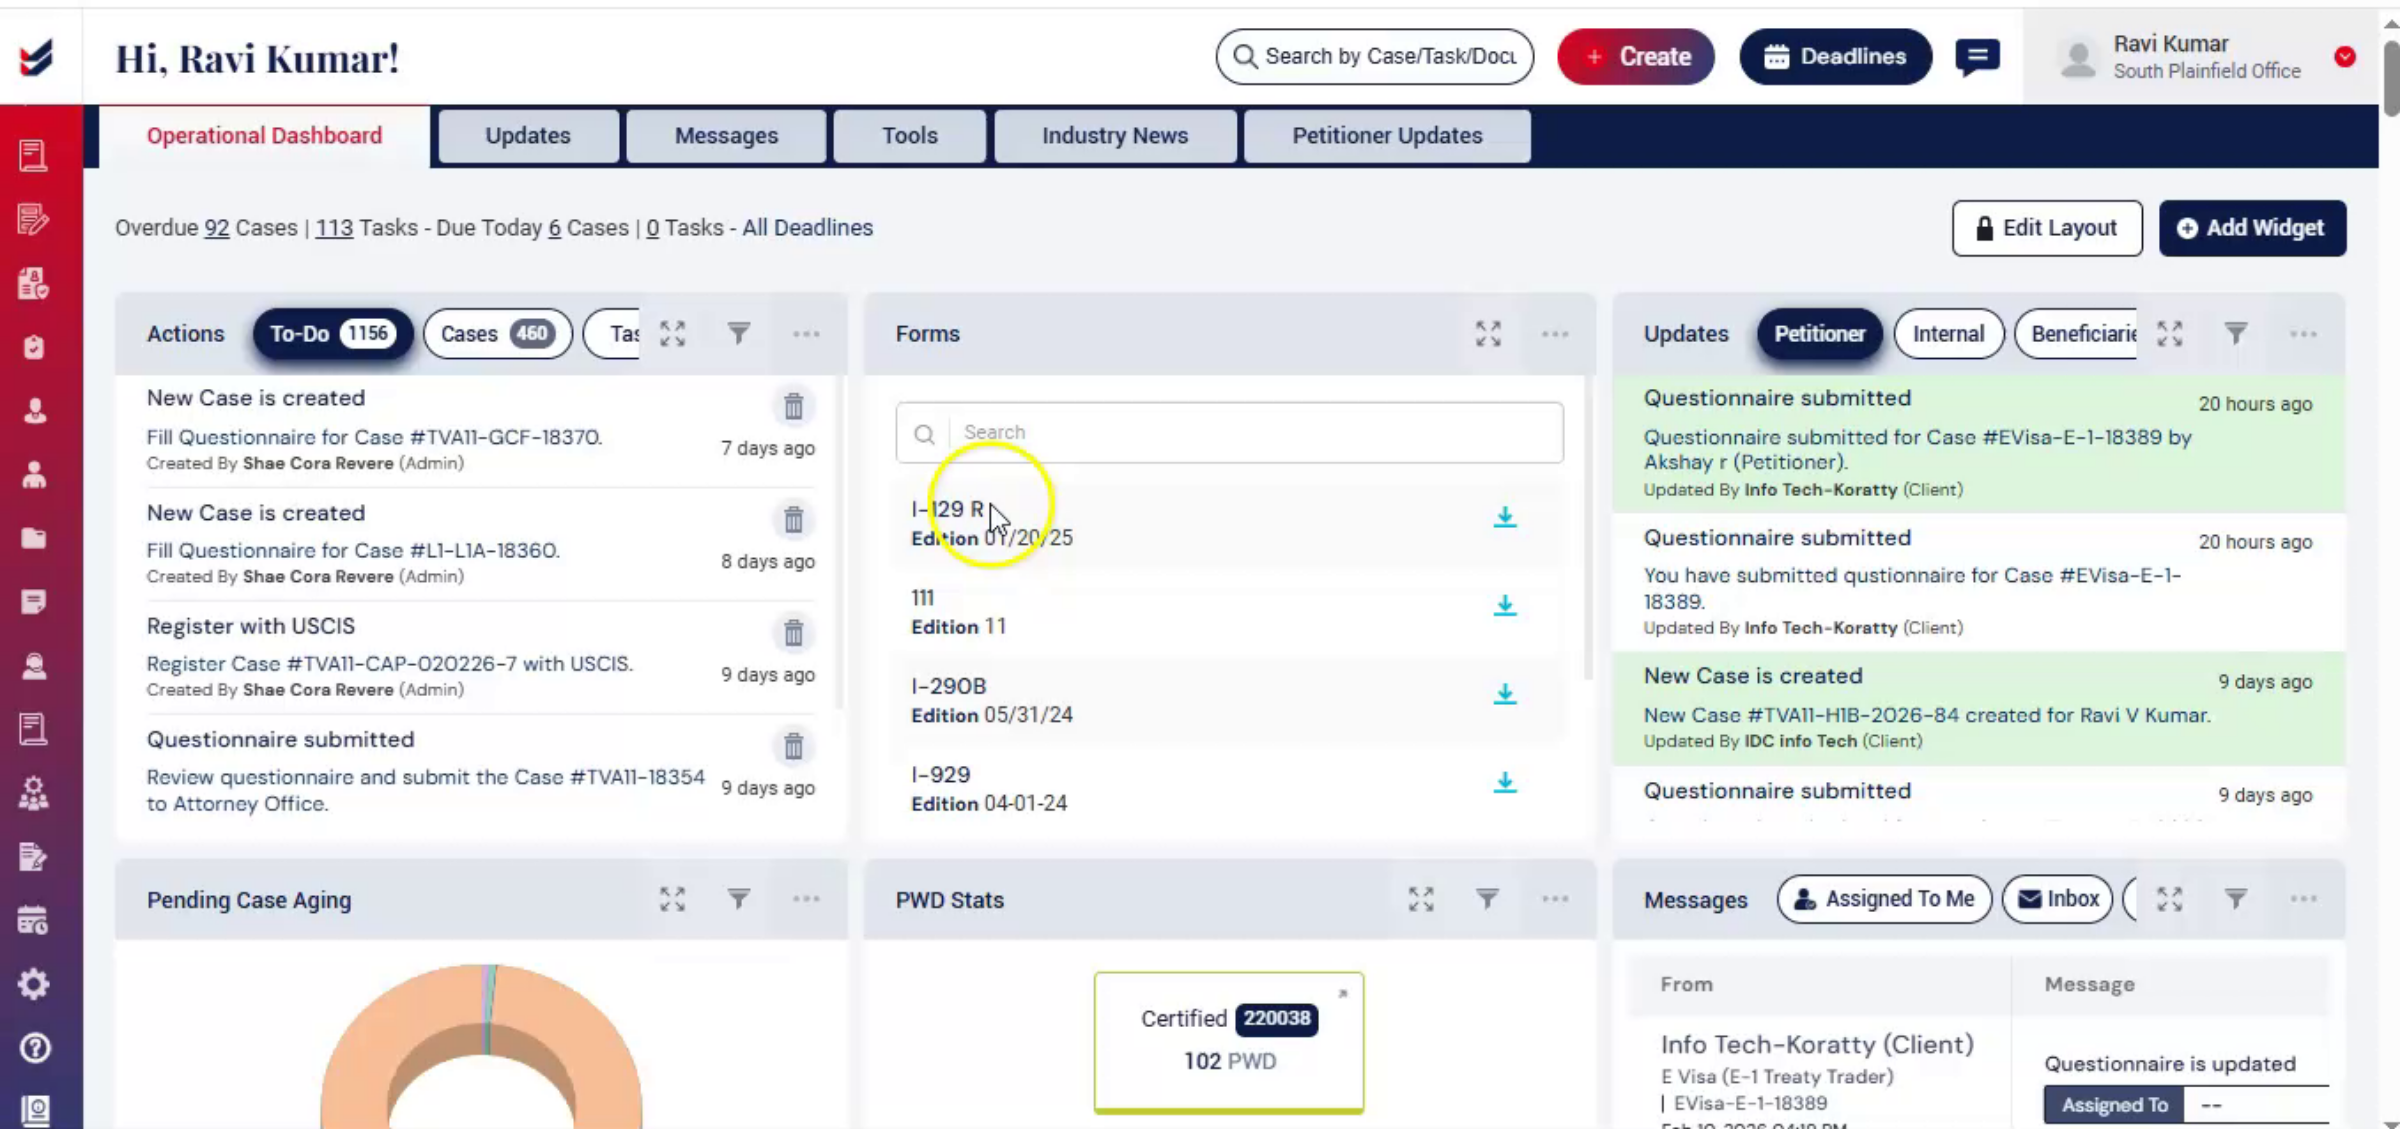
If you need to update or customize your case workflow, you can easily make the changes. ImmiBox allows you to tailor workflows based on your firm's unique case processing requirements.
2. Workflow Flexibility and Benefits
 * click the image to view enlarged
Whether you prefer a structured, step-by-step workflow or a more flexible task flow, the system adapts to the way your team manages cases.
This ensures better coordination, improved accountability, and complete visibility throughout the lifecycle of every case.
3. Navigating To Workflow Settings
 * click the image to view enlarged
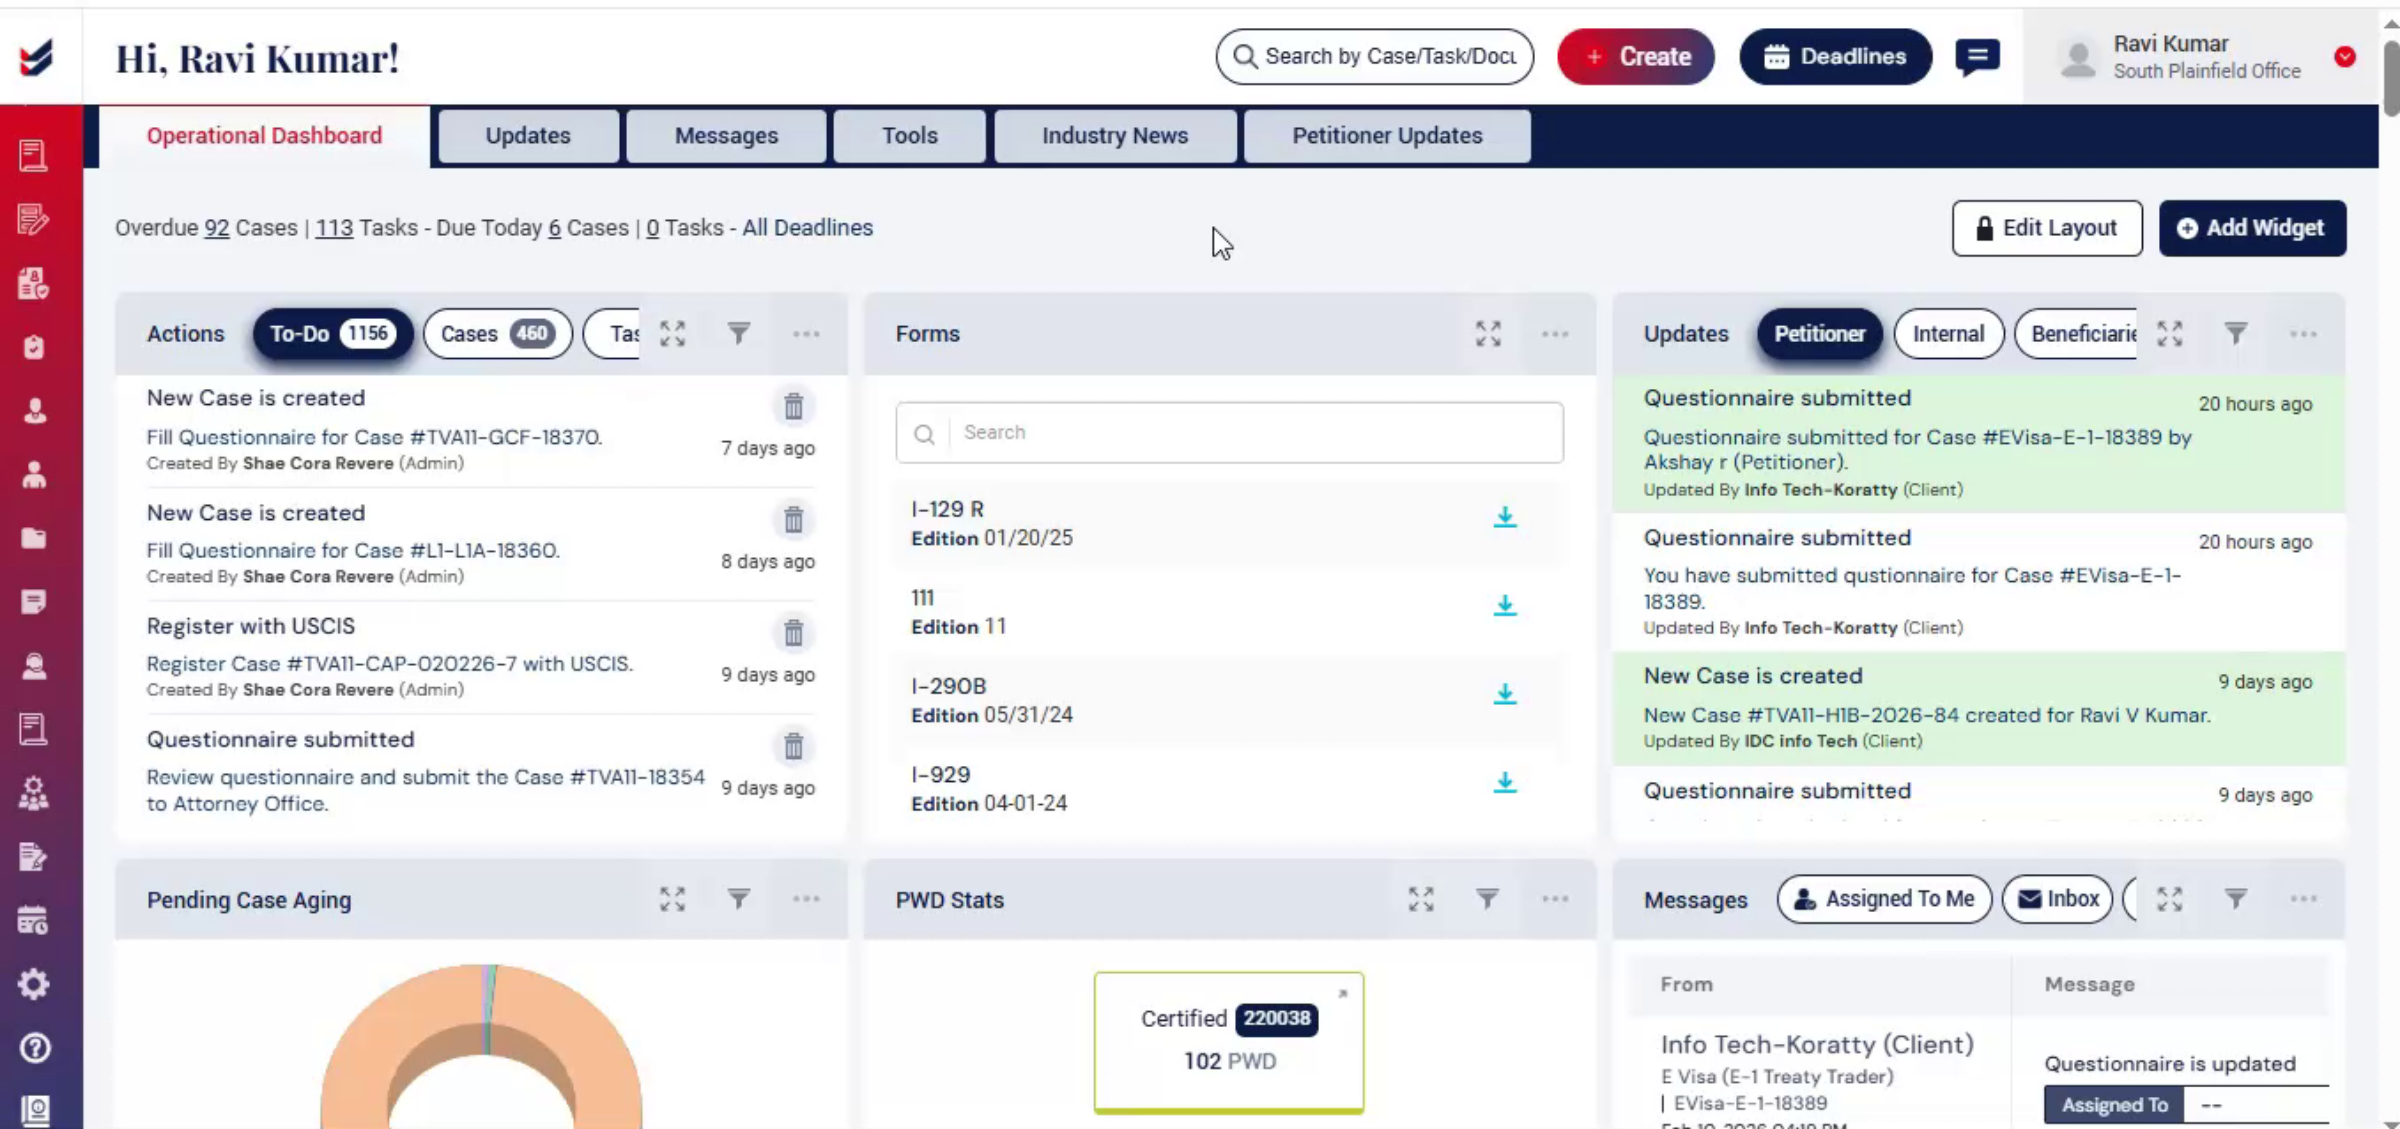
Let's begin. From the dashboard, navigate to the left-hand panel. Click on Administration. Then select Settings. The Settings page will open.
4. Workflow List And Column Details
 * click the image to view enlarged
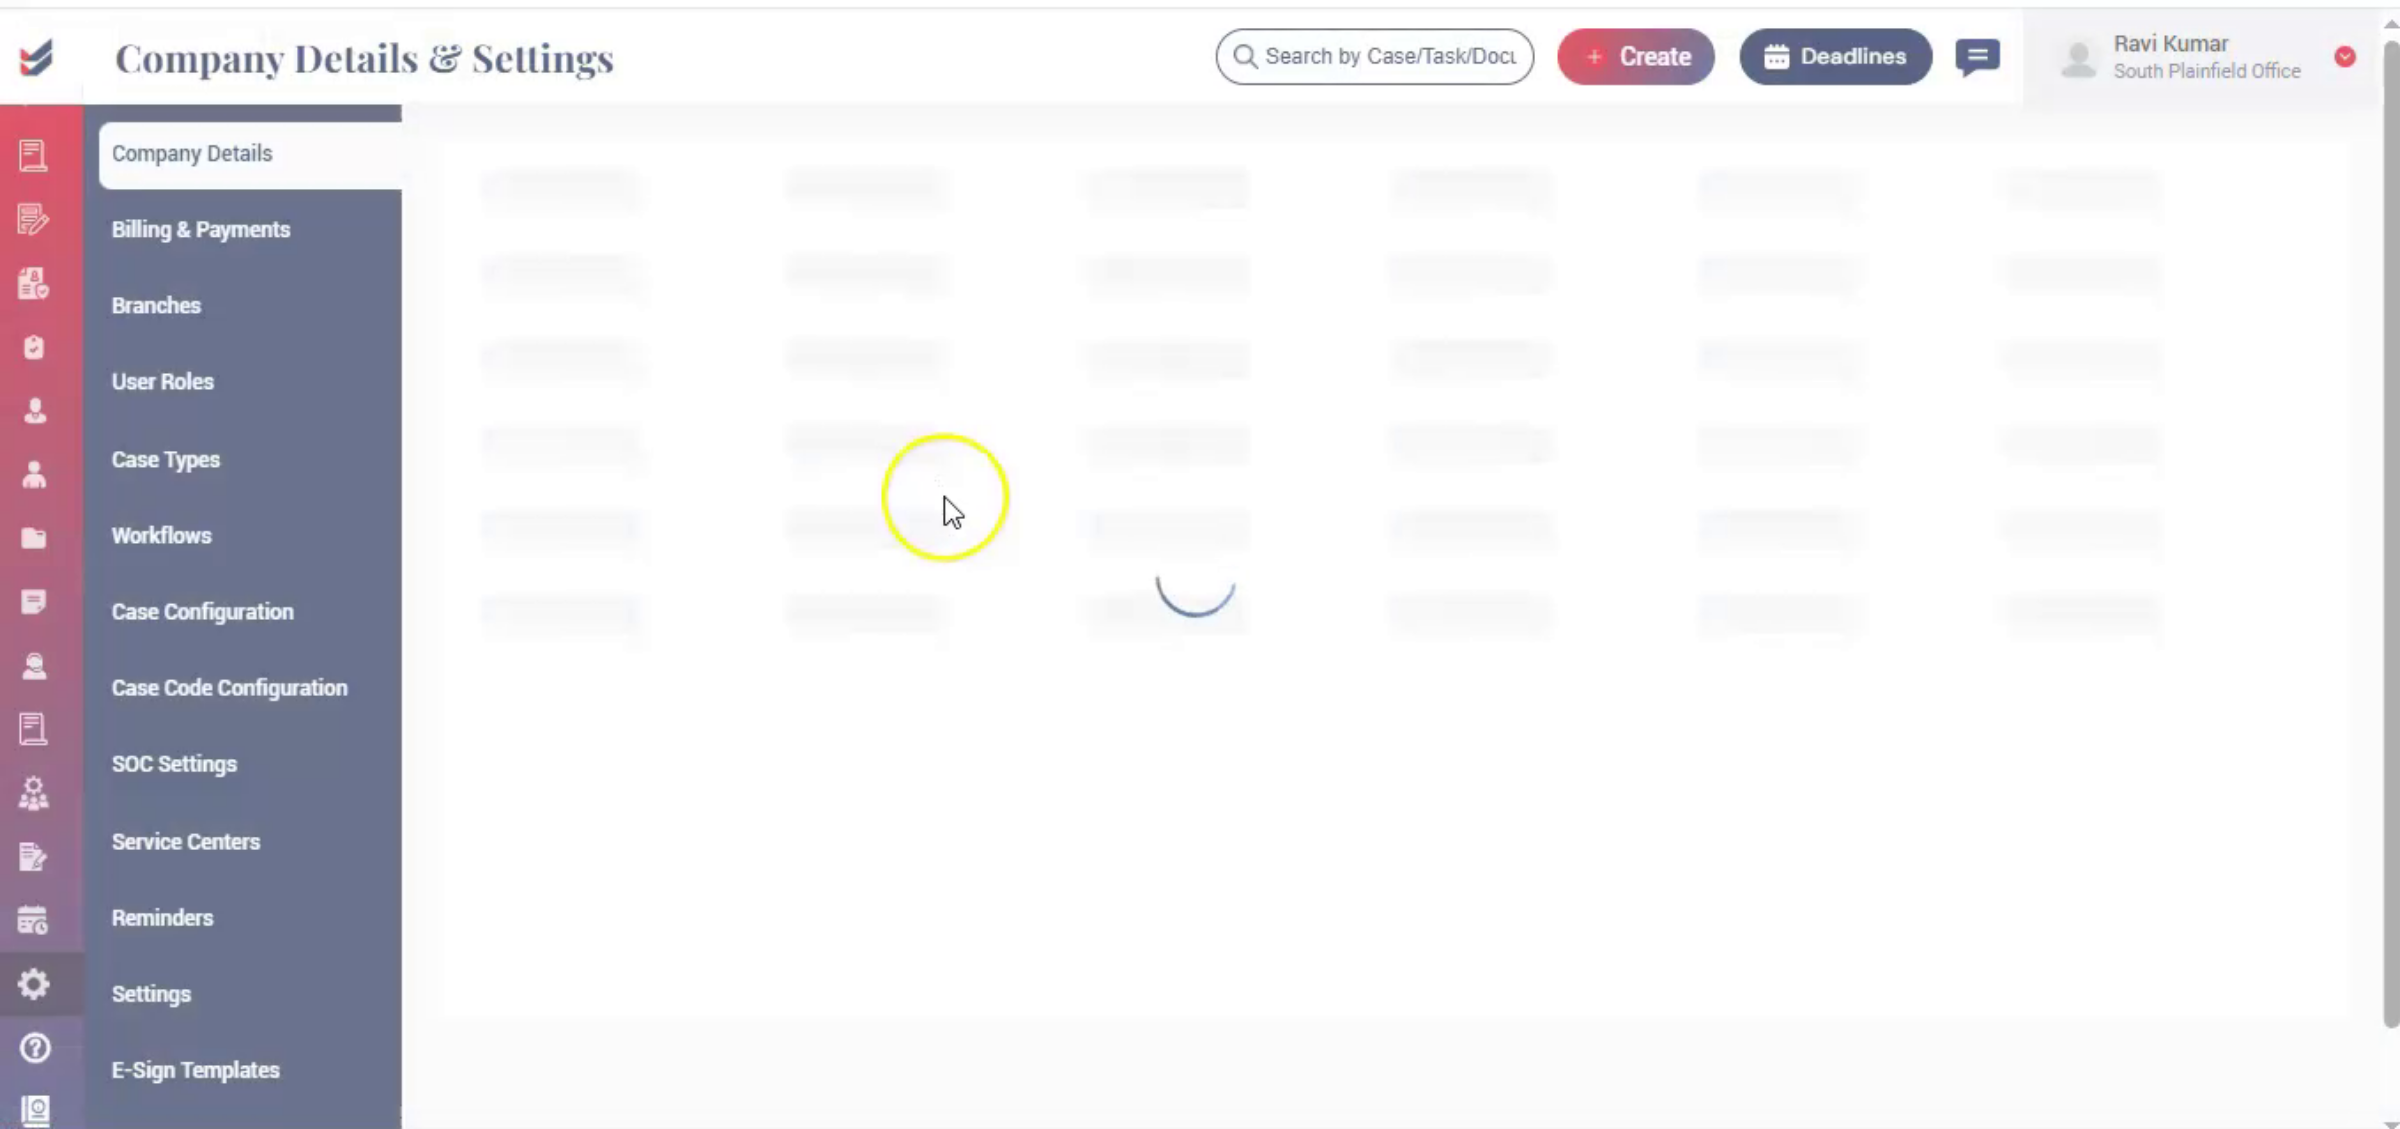
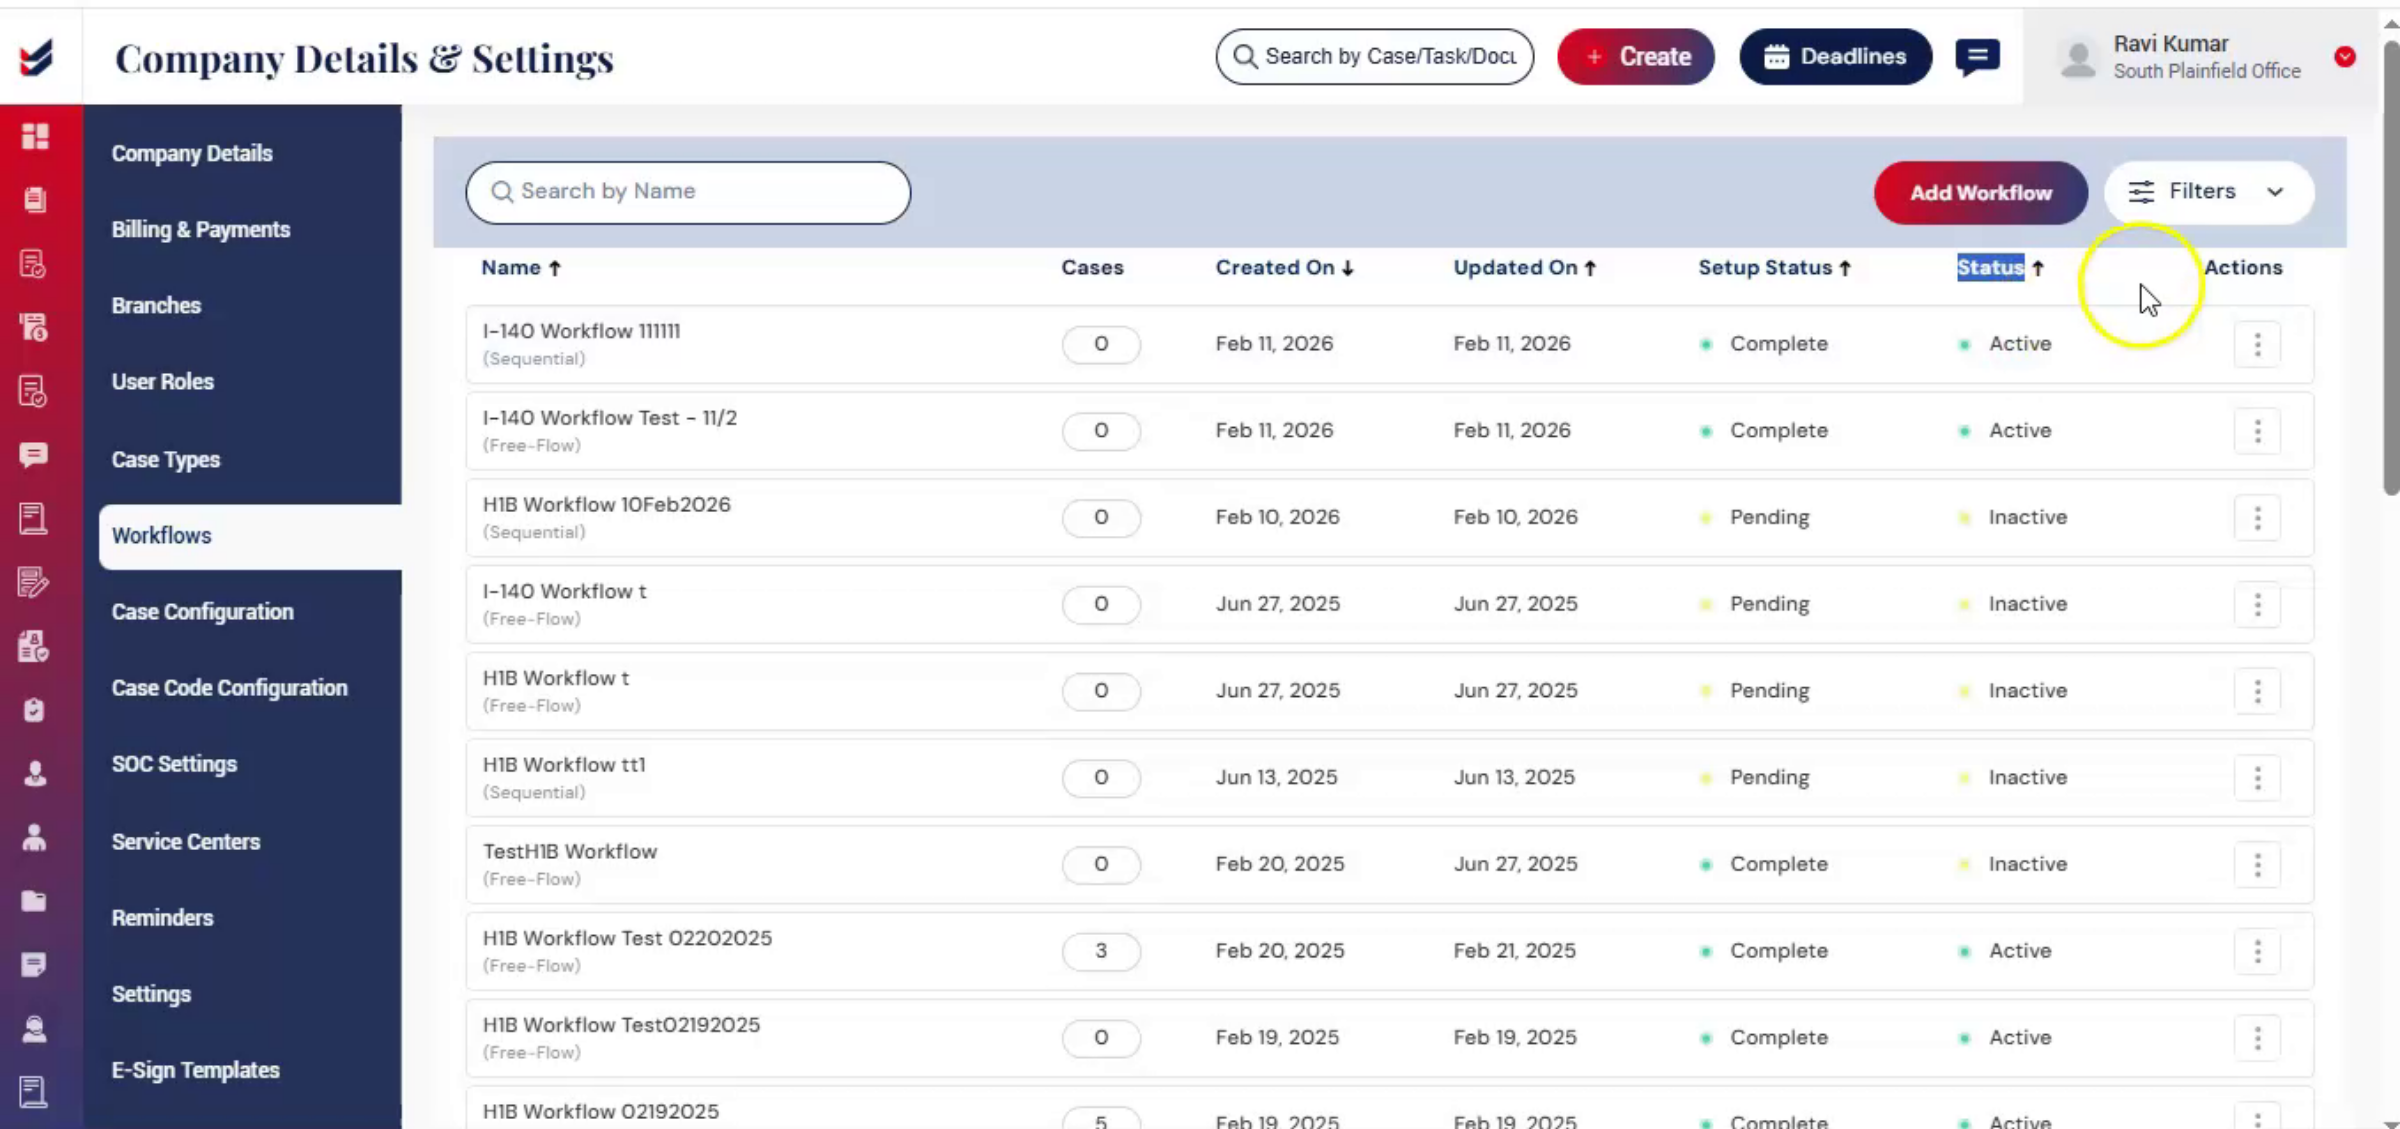
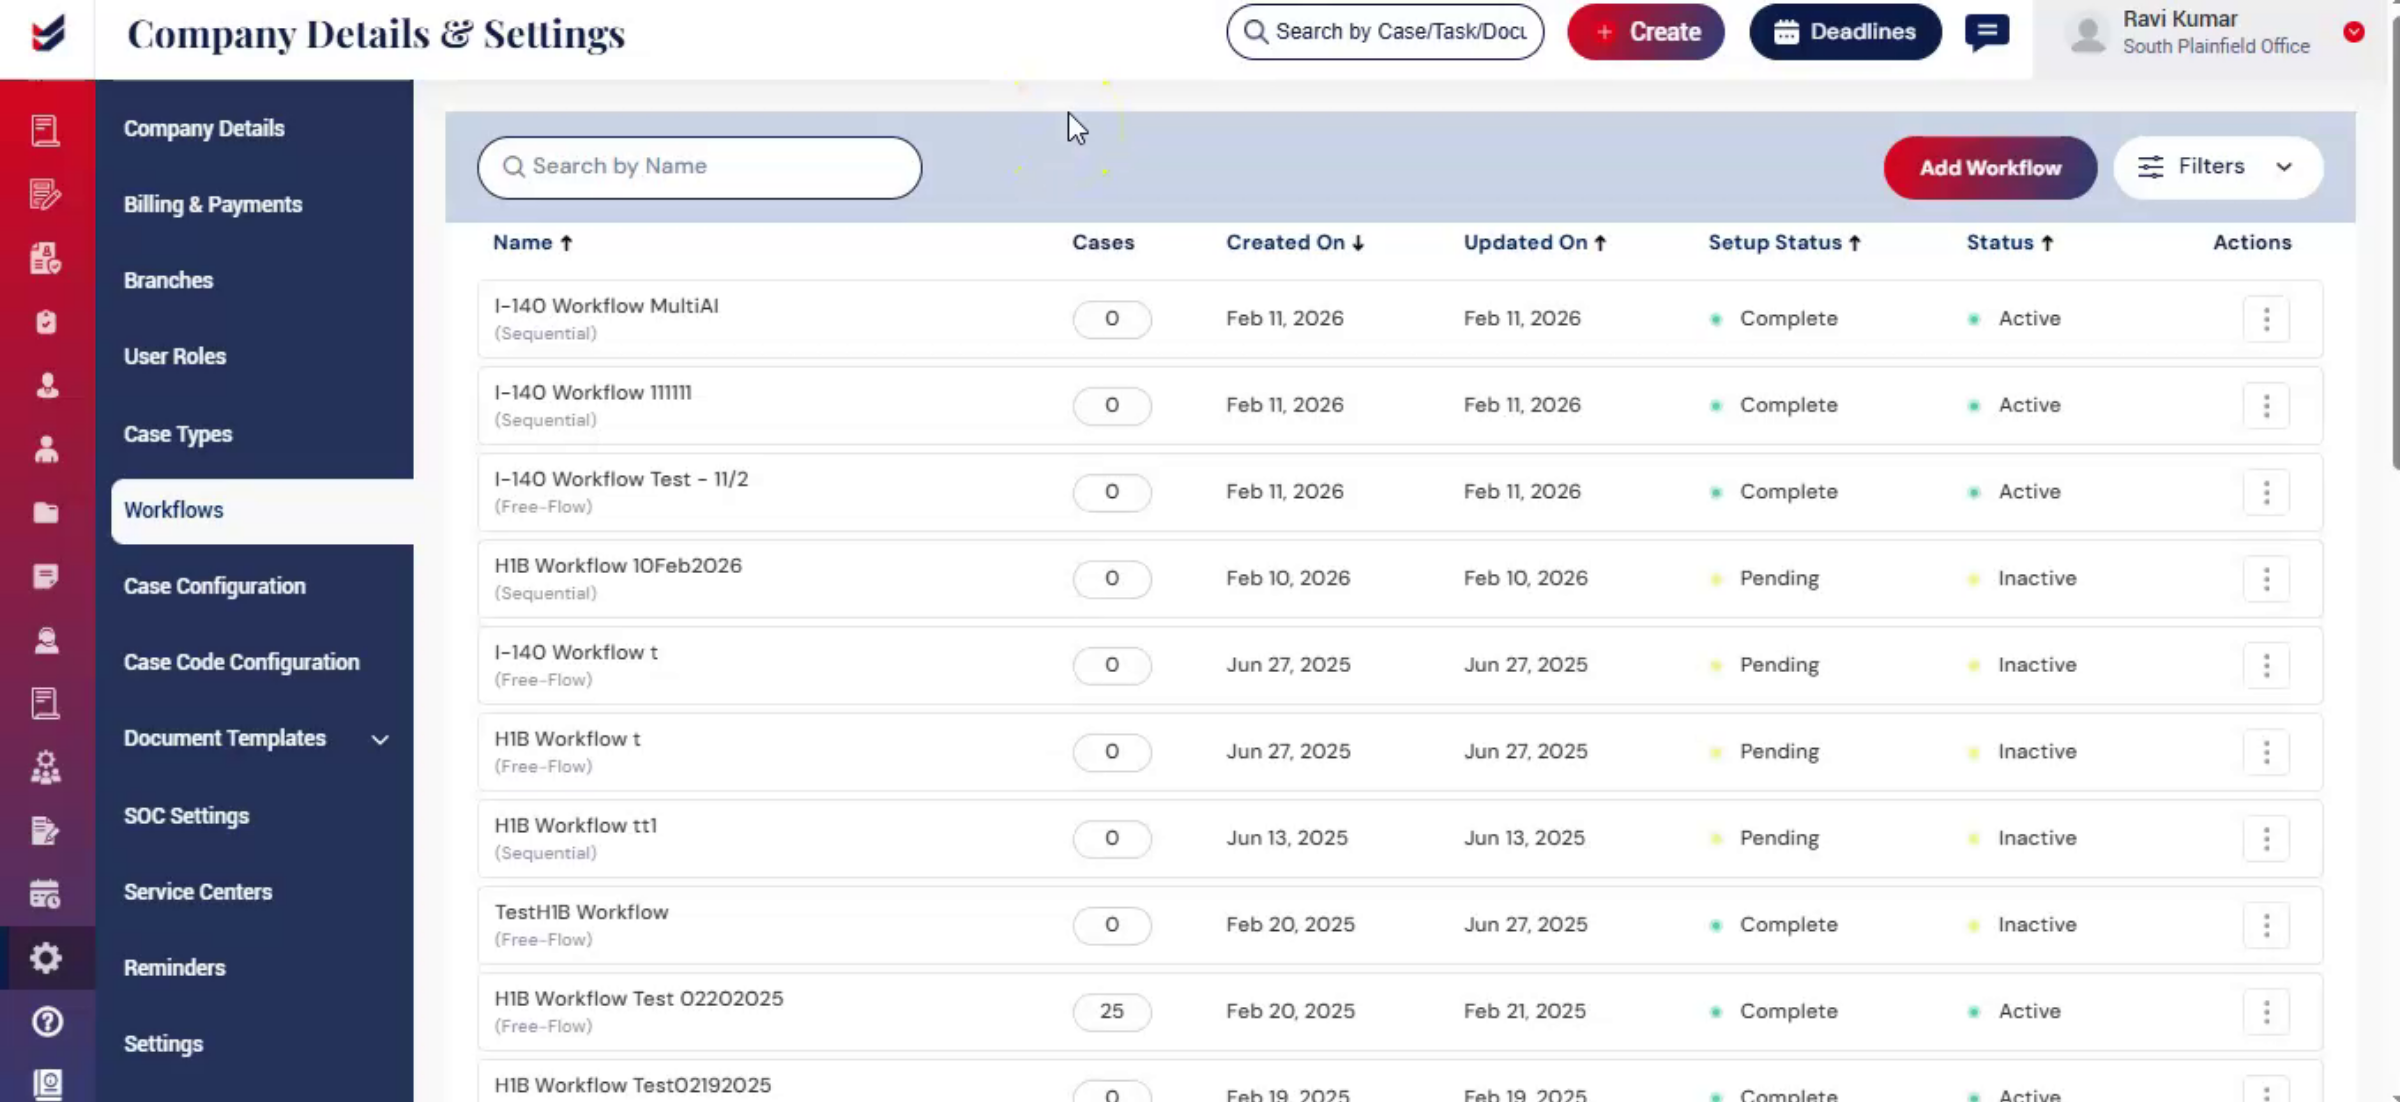
From the left panel, click on workflows. Here you will see the list of workflows created for different case types. Users can quickly review manage and customize workflows based on their firms processing requirements.
5. Actions Menu Options Explained
 * click the image to view enlarged
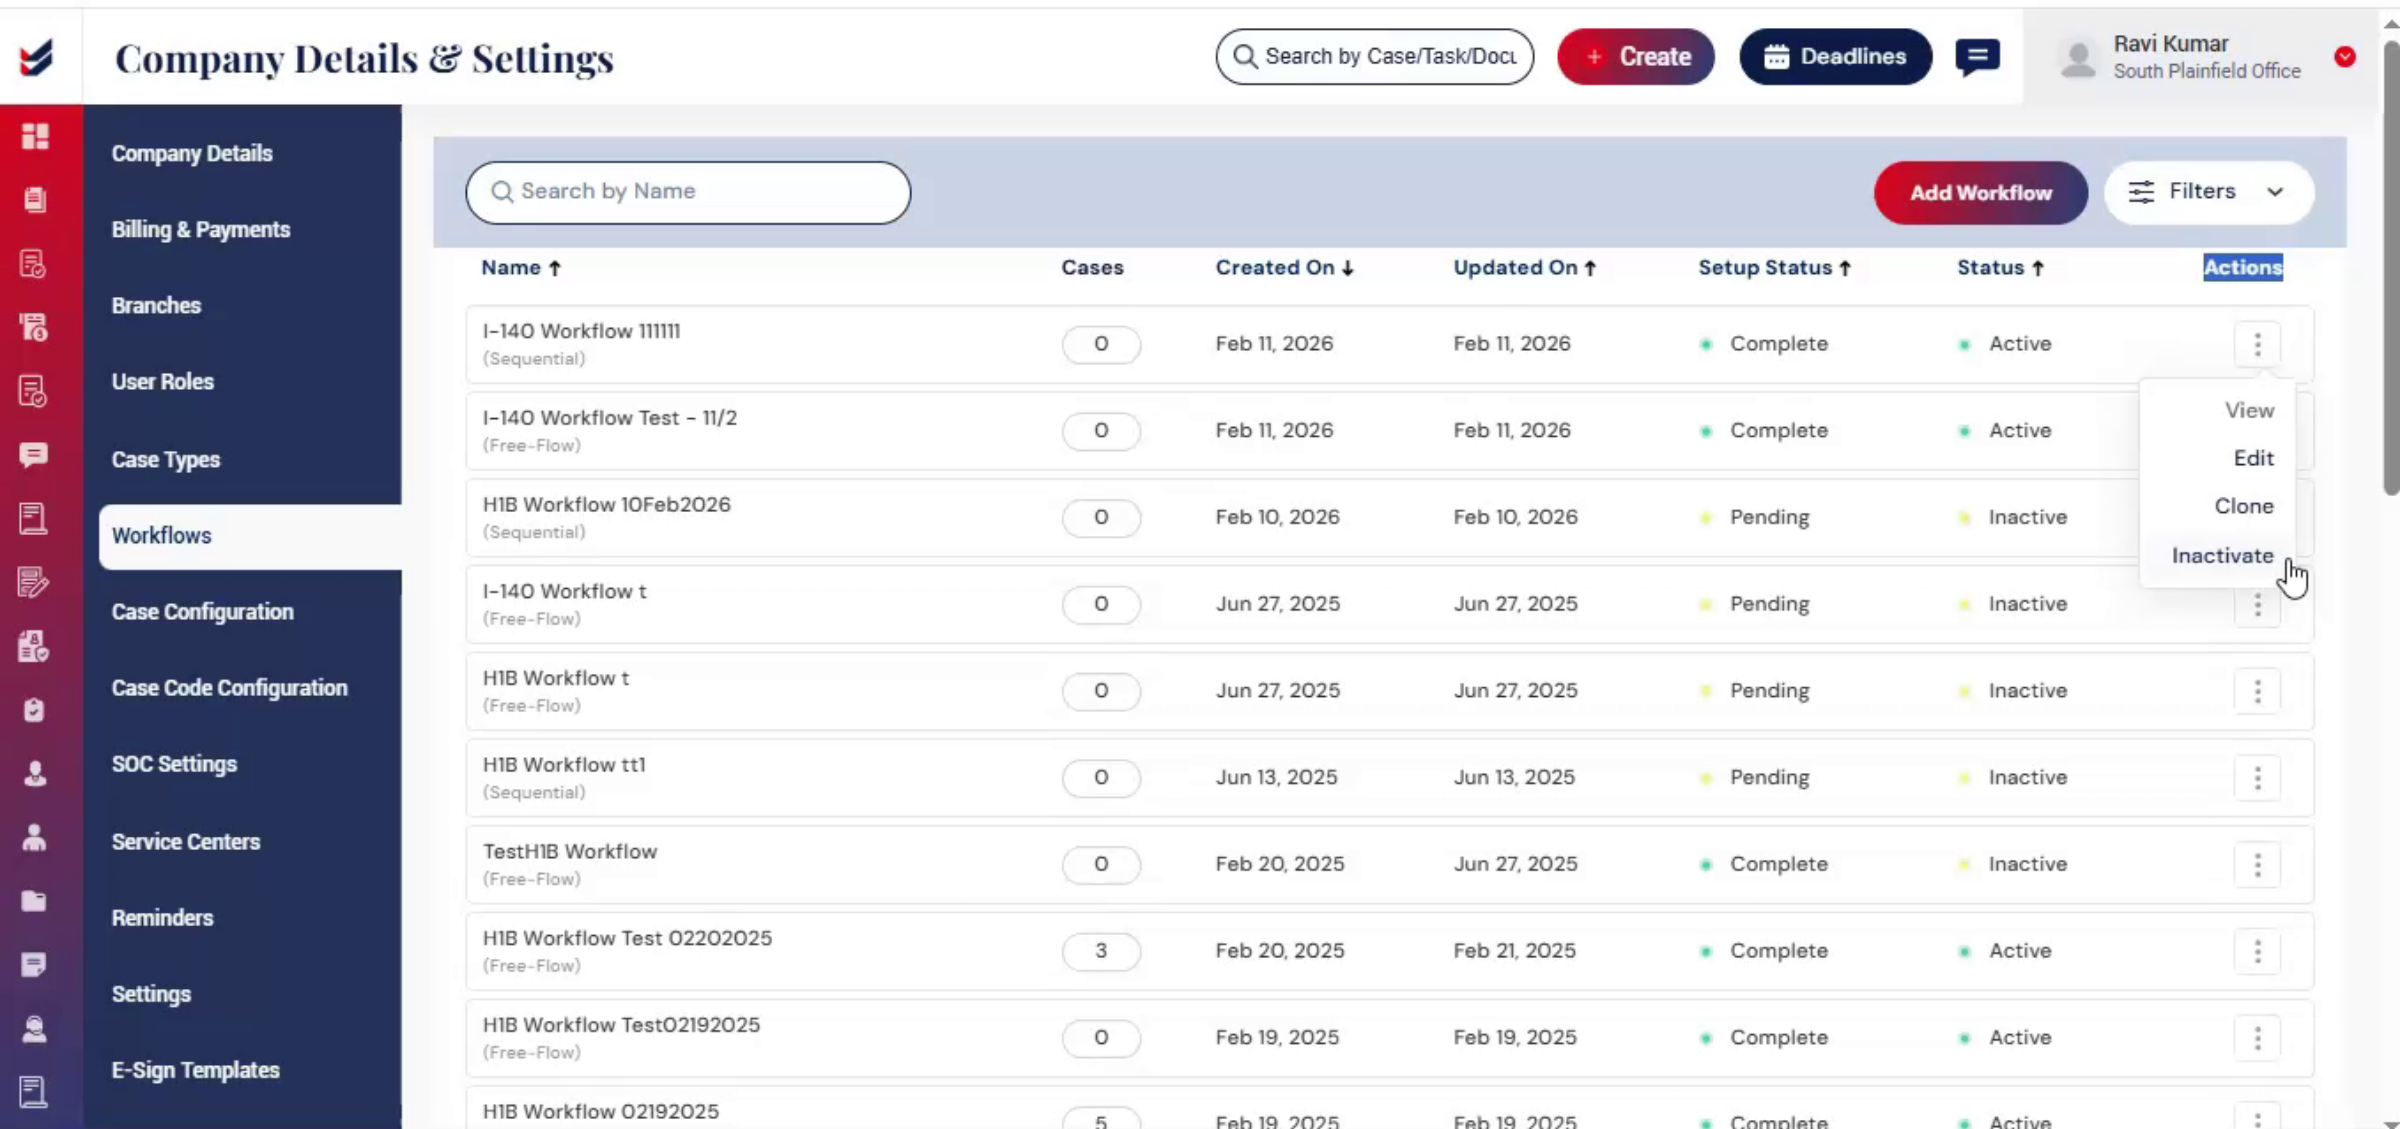
Then under the Actions menu you will find four options.
View to review workflow details,
Edit to make changes,
Clone to duplicate an existing workflow,
Inactivate to deactivate a workflow when needed.
6. Restrictions on Editing
 * click the image to view enlarged
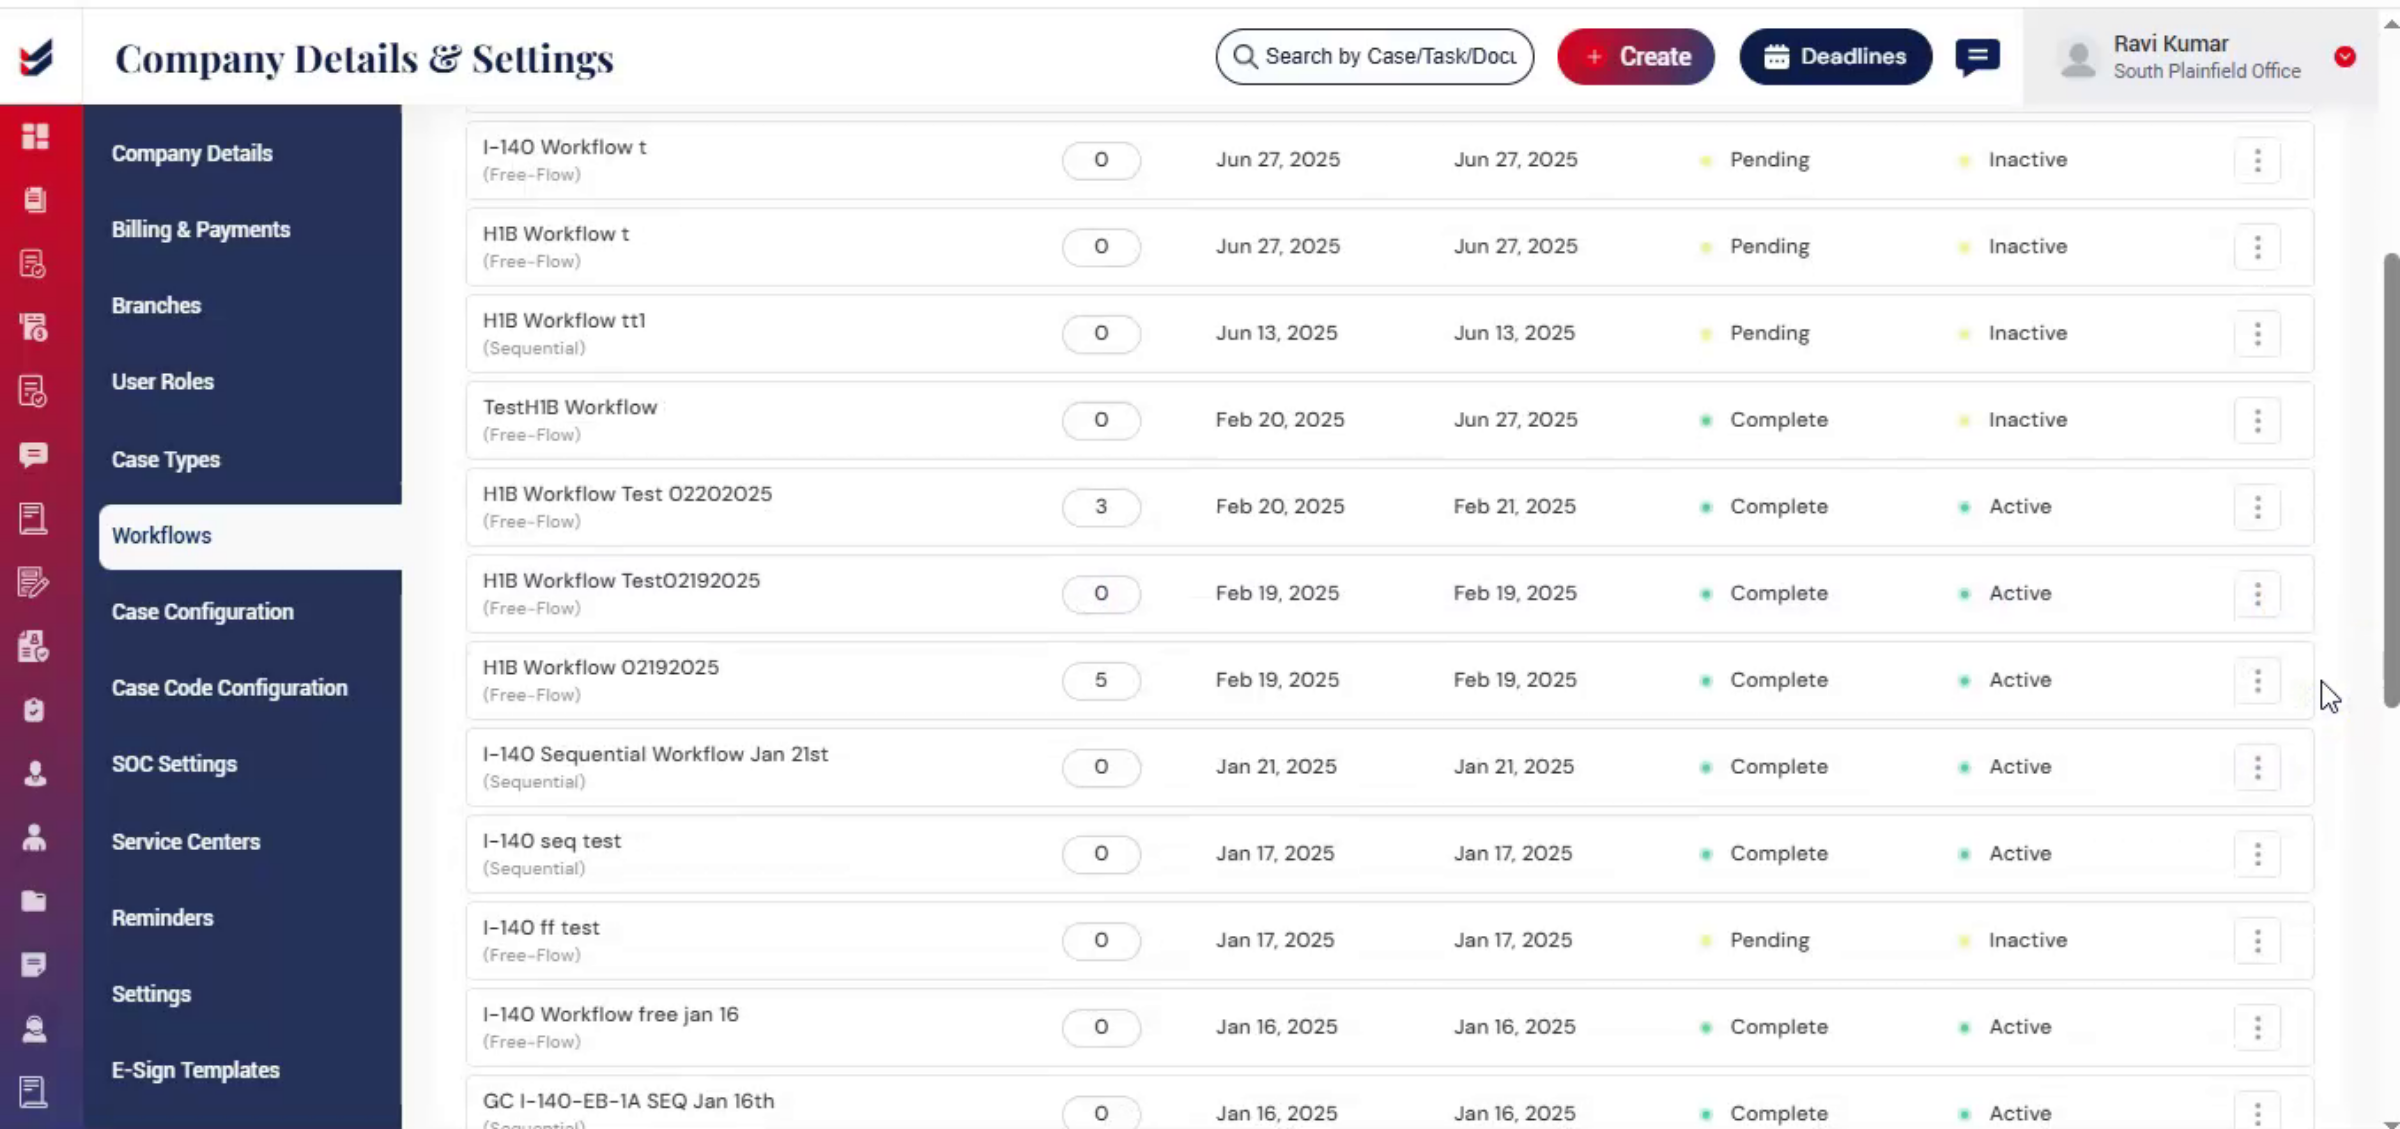
If a case has already been created using that workflow, then activate/inactivate, or edit options will not be visible.
7. Creating New Workflow
 * click the image to view enlarged
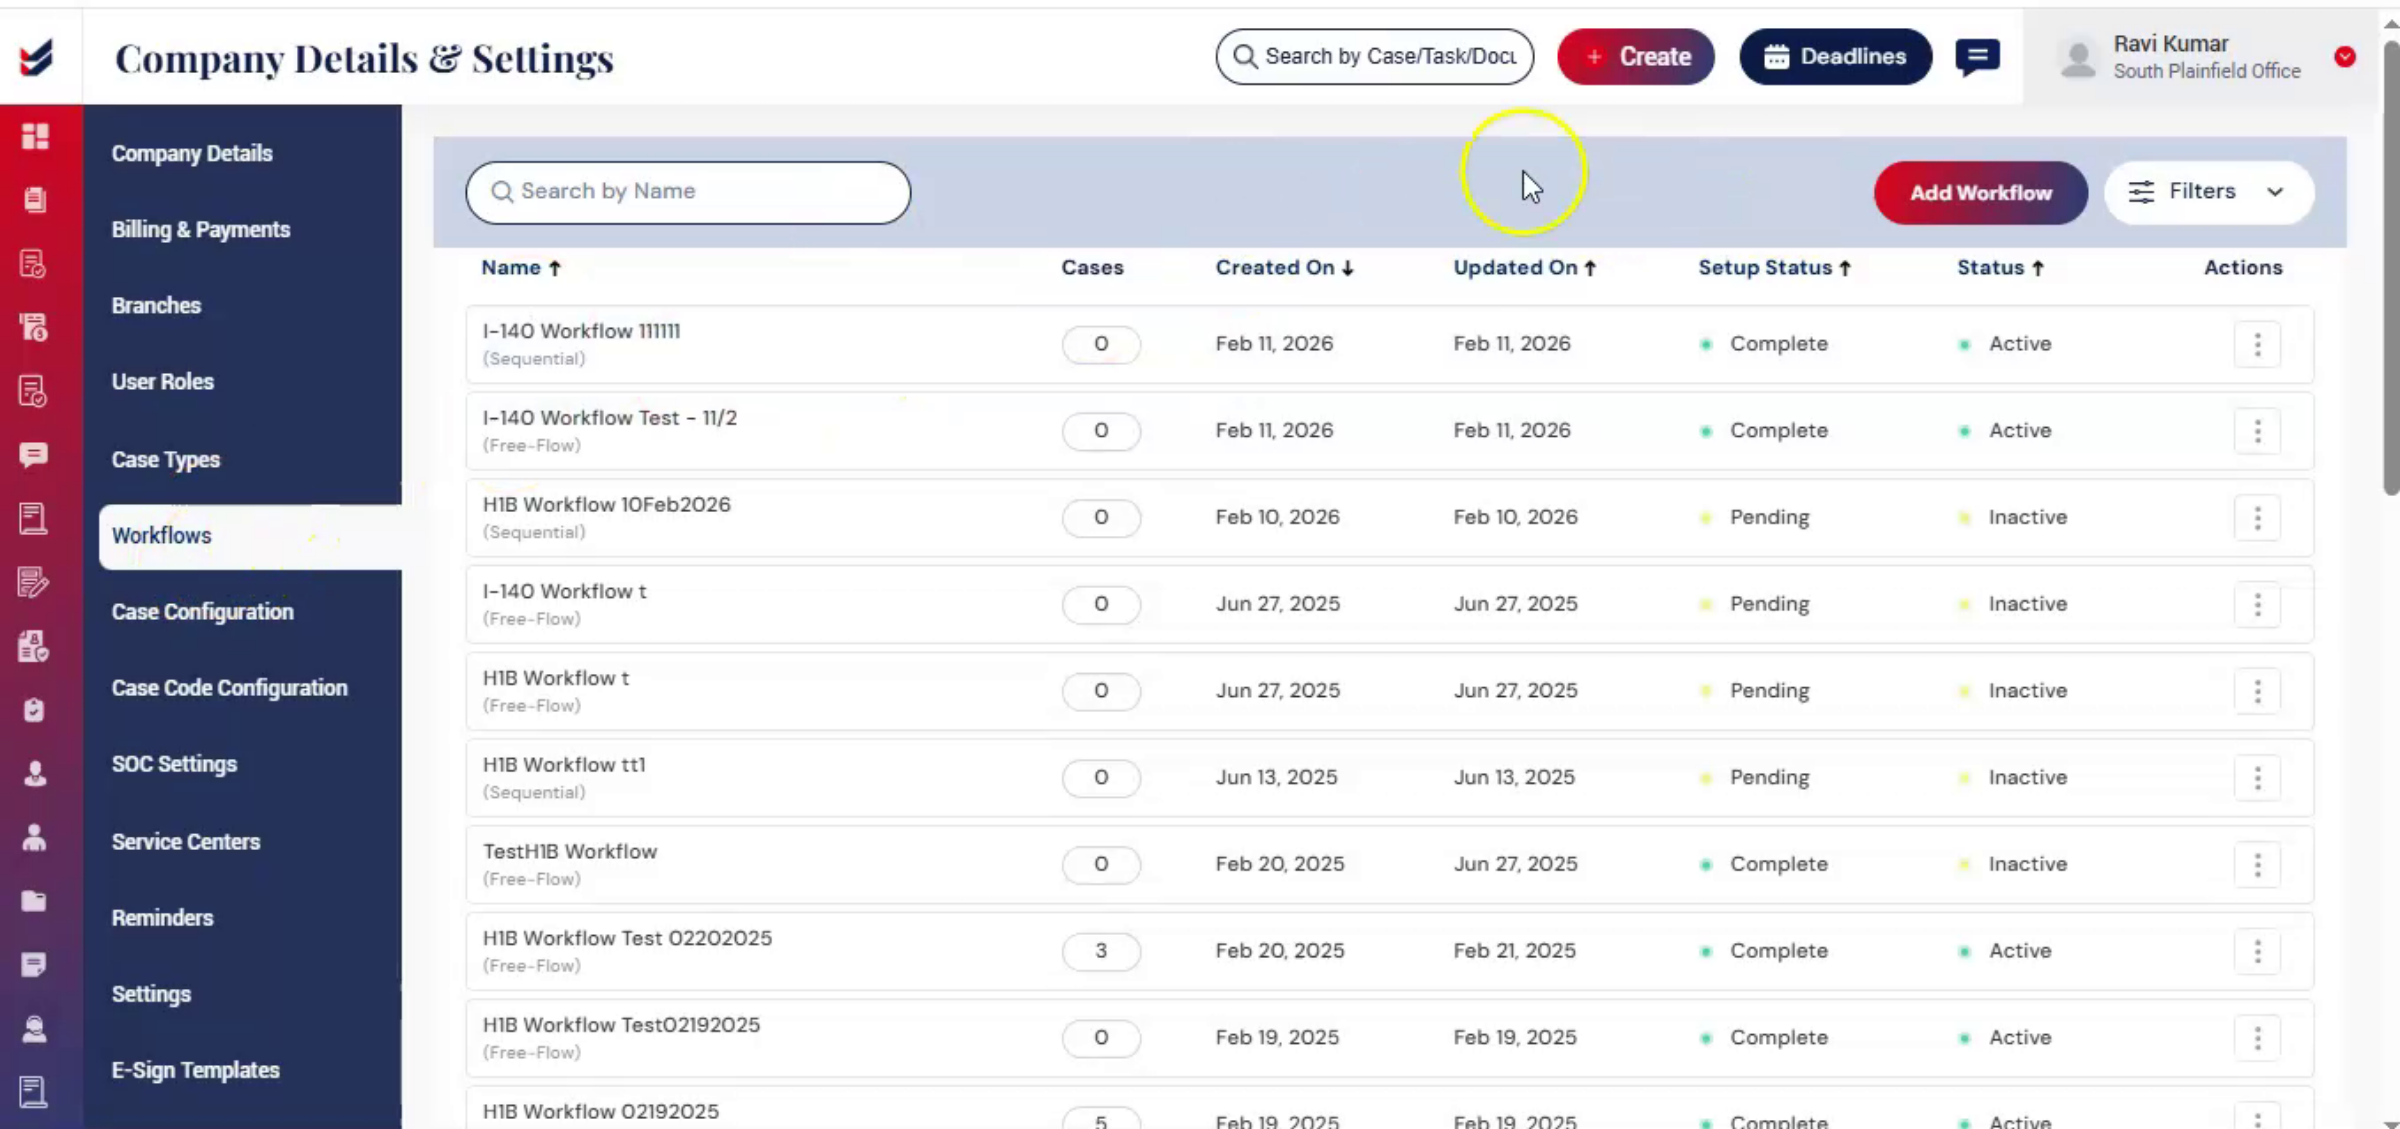
Now let's create a new case workflow using the I-140 case type as an example.
8. Adding New Workflow Steps
 * click the image to view enlarged
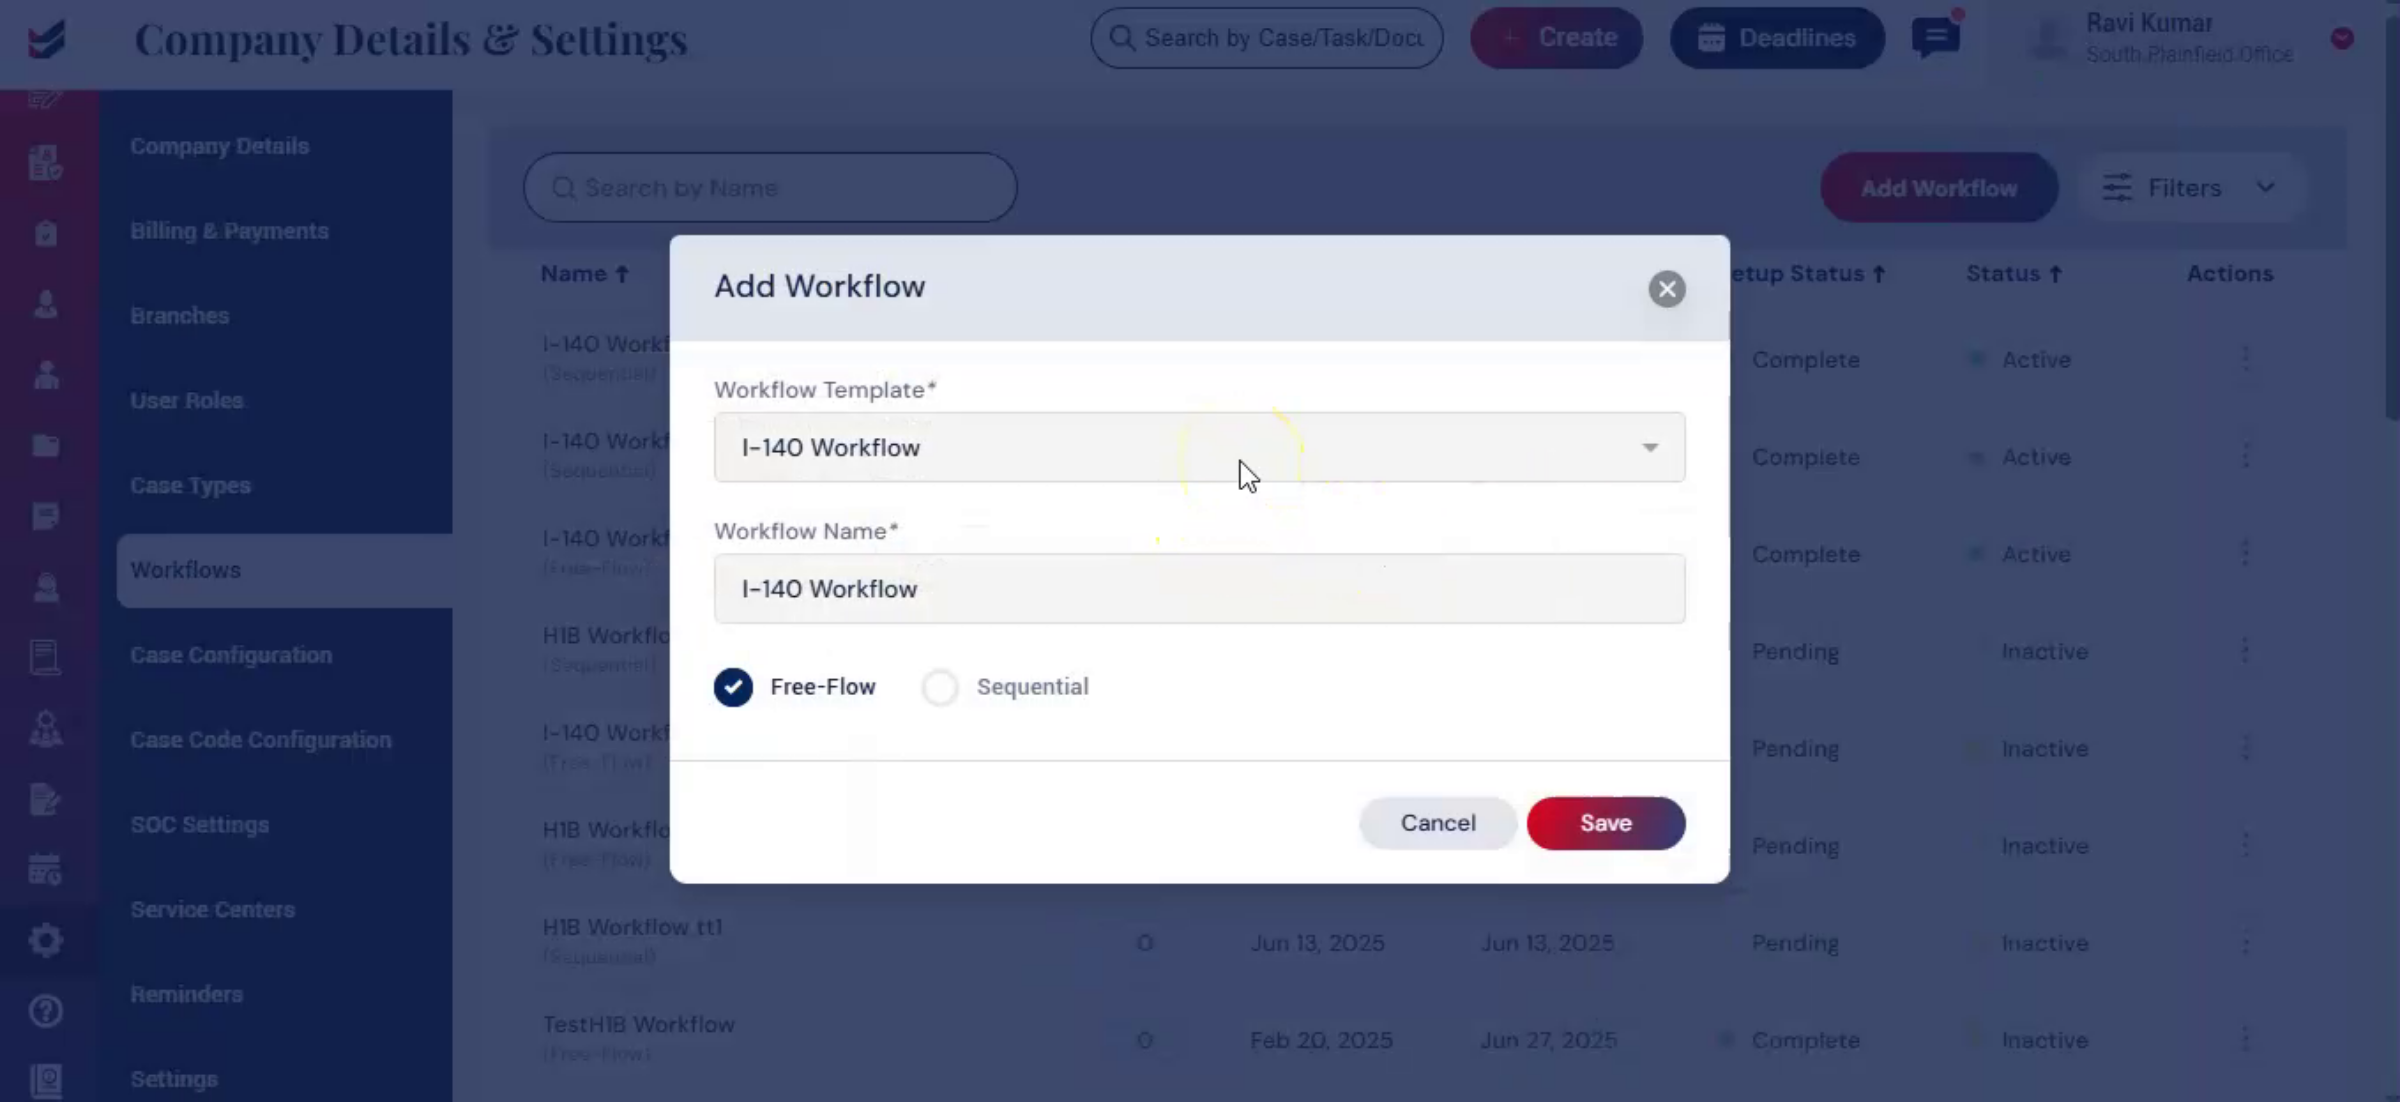
On the workflows page, navigate to the right-hand side and click Add Workflow. The Add Workflow window will appear. Select a predefined workflow template based on the case type. These templates already include commonly used workflow stages, which can later be customized as needed.
9. Predefined Workflow
 * click the image to view enlarged
ImmiBox provides predefined workflow templates for different case types to ensure all important case steps are already included.
Firms can further customize these workflows based on their internal process requirements.
For example, workflows can be configured with Paralegals, Supervisors, or Attorneys depending on the firm's structure.
Solo practitioners can also assign the complete workflow directly to an Attorney.
10. Naming Workflow And Choosing Flow
 * click the image to view enlarged
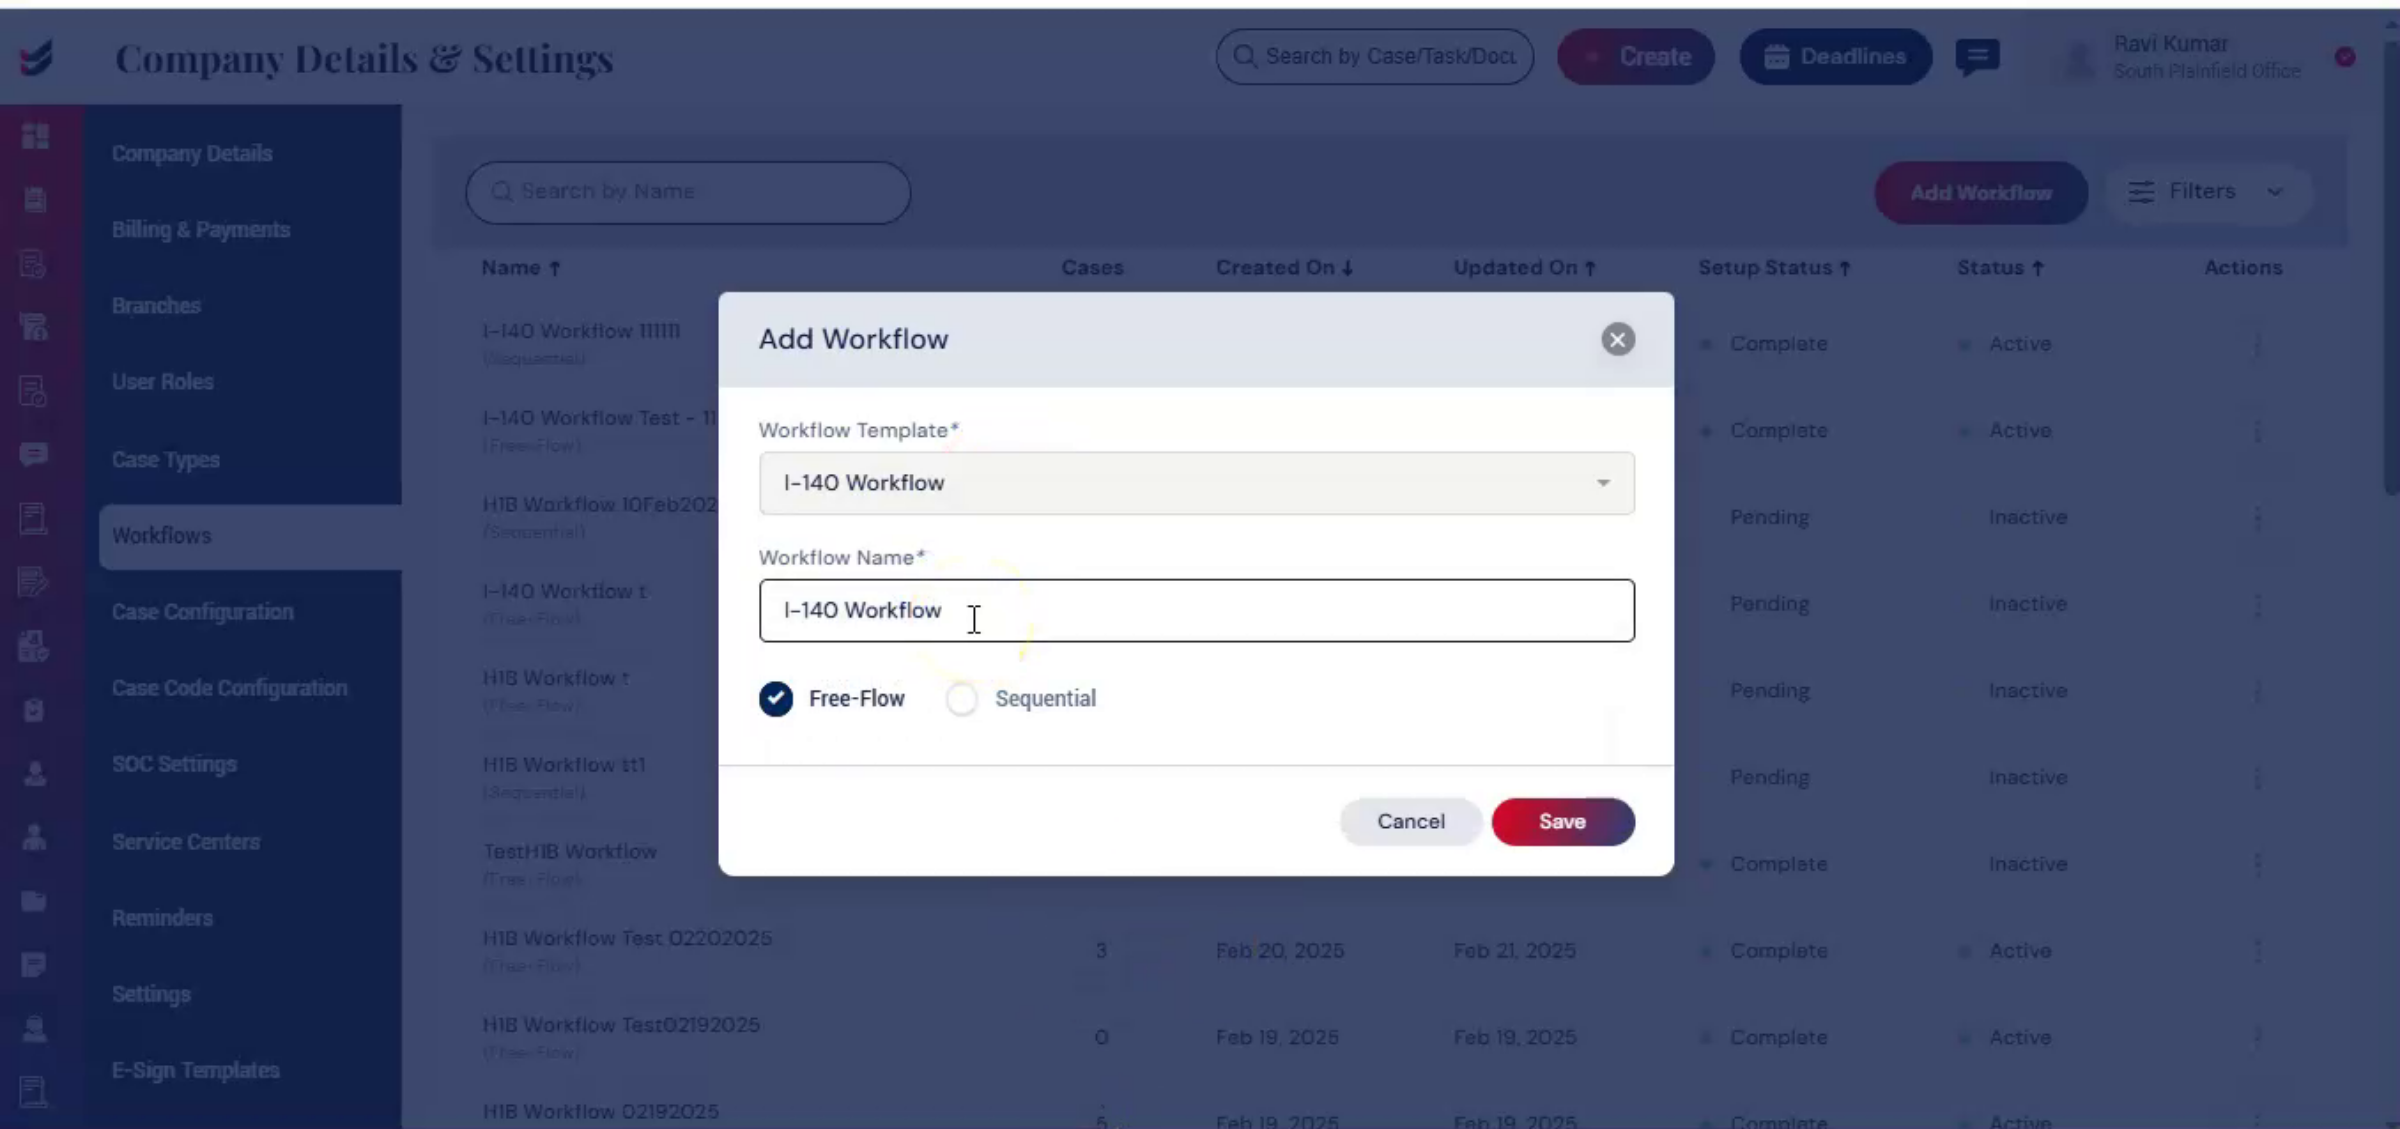
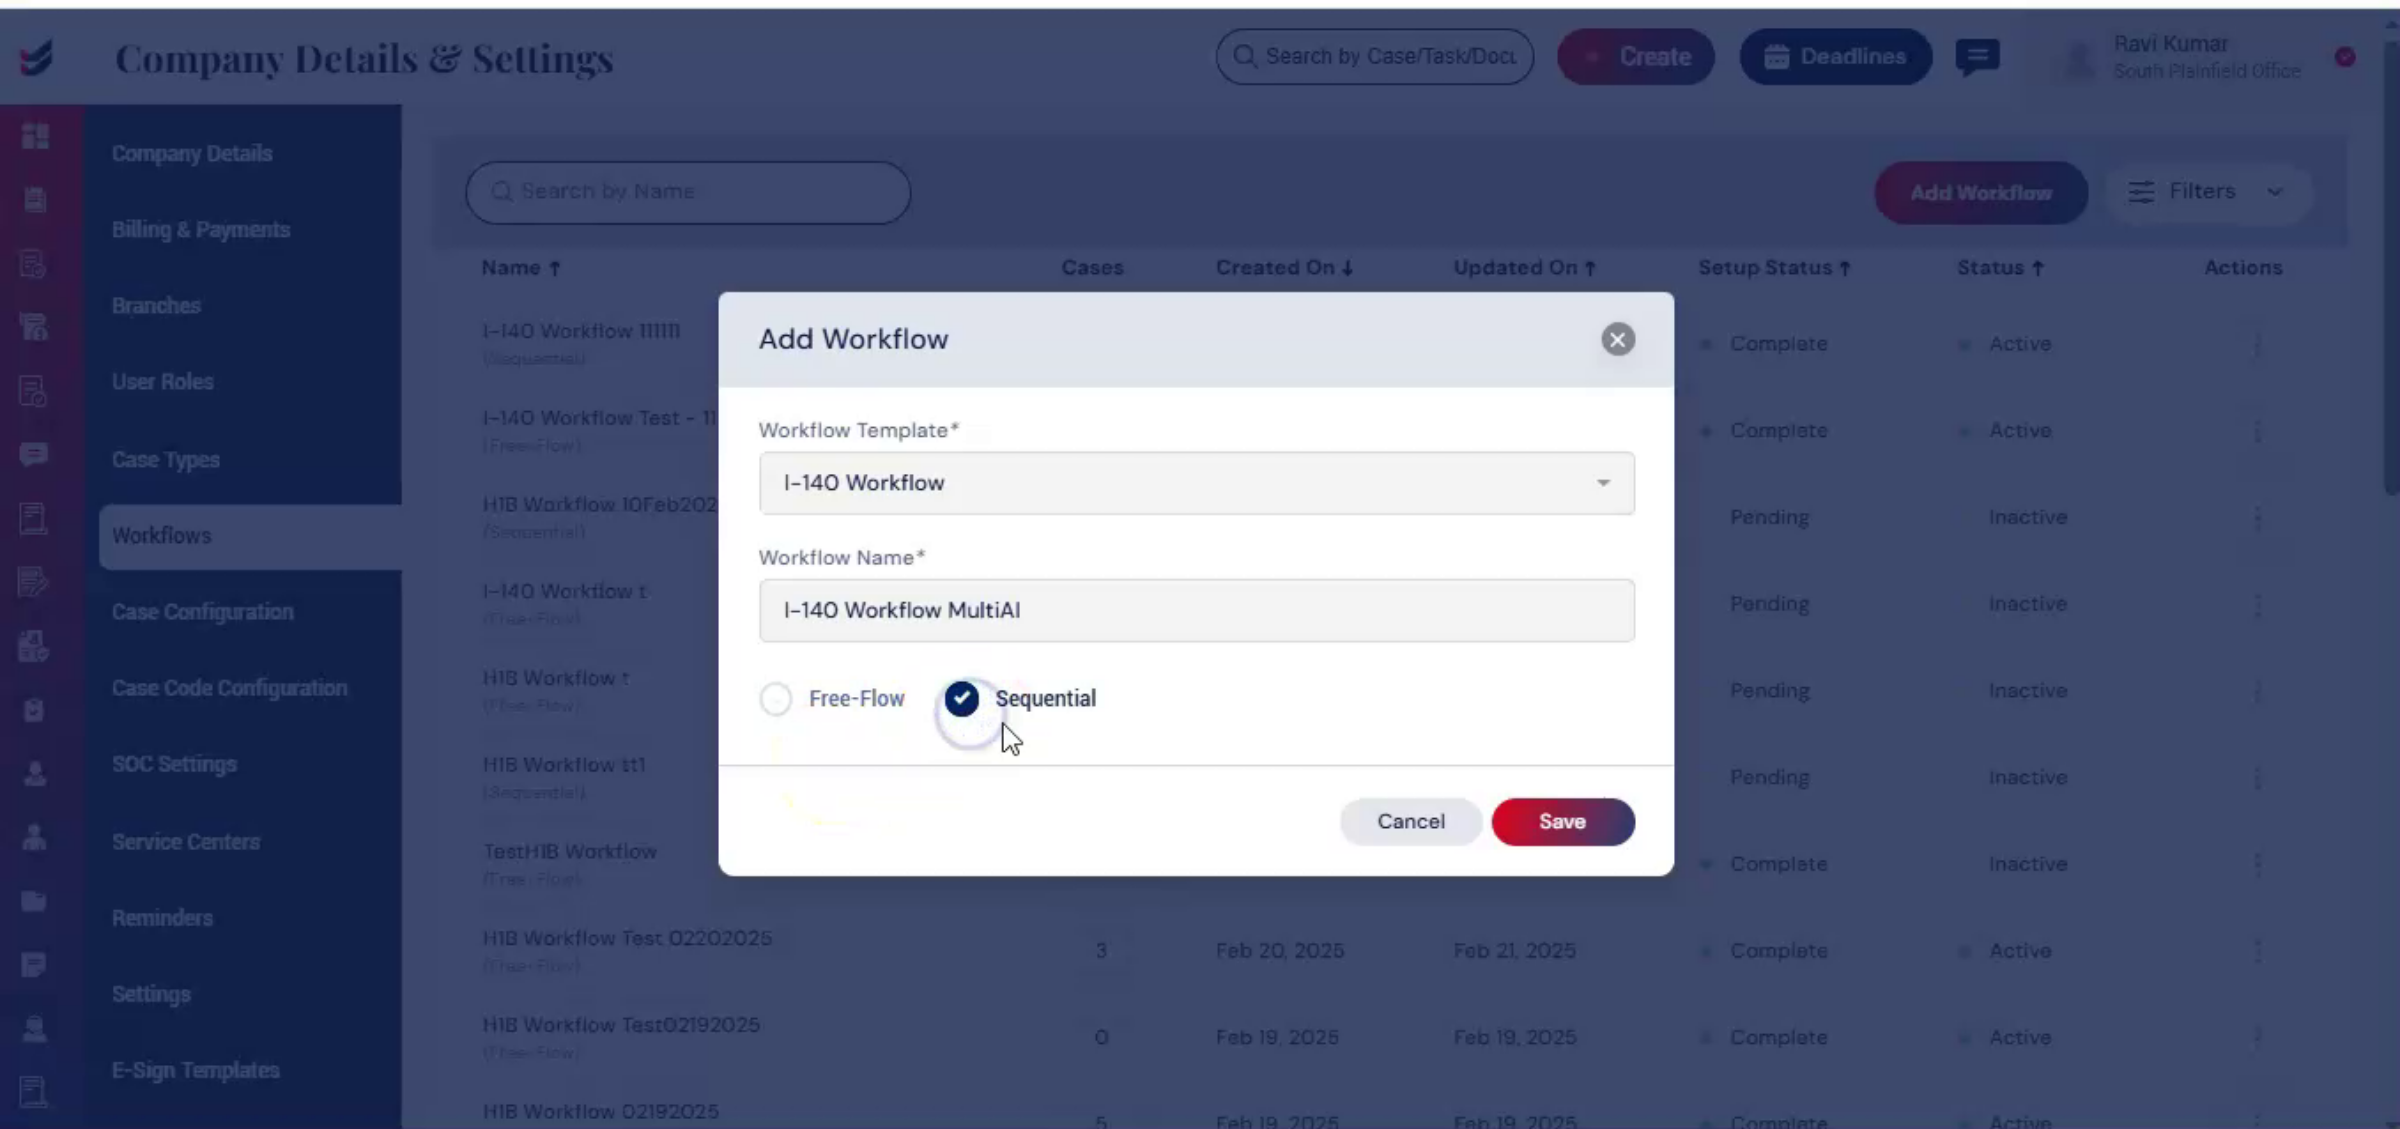
Enter a name for the workflow.
Next, choose the flow type.
11. FreeFlow Option Features
 * click the image to view enlarged
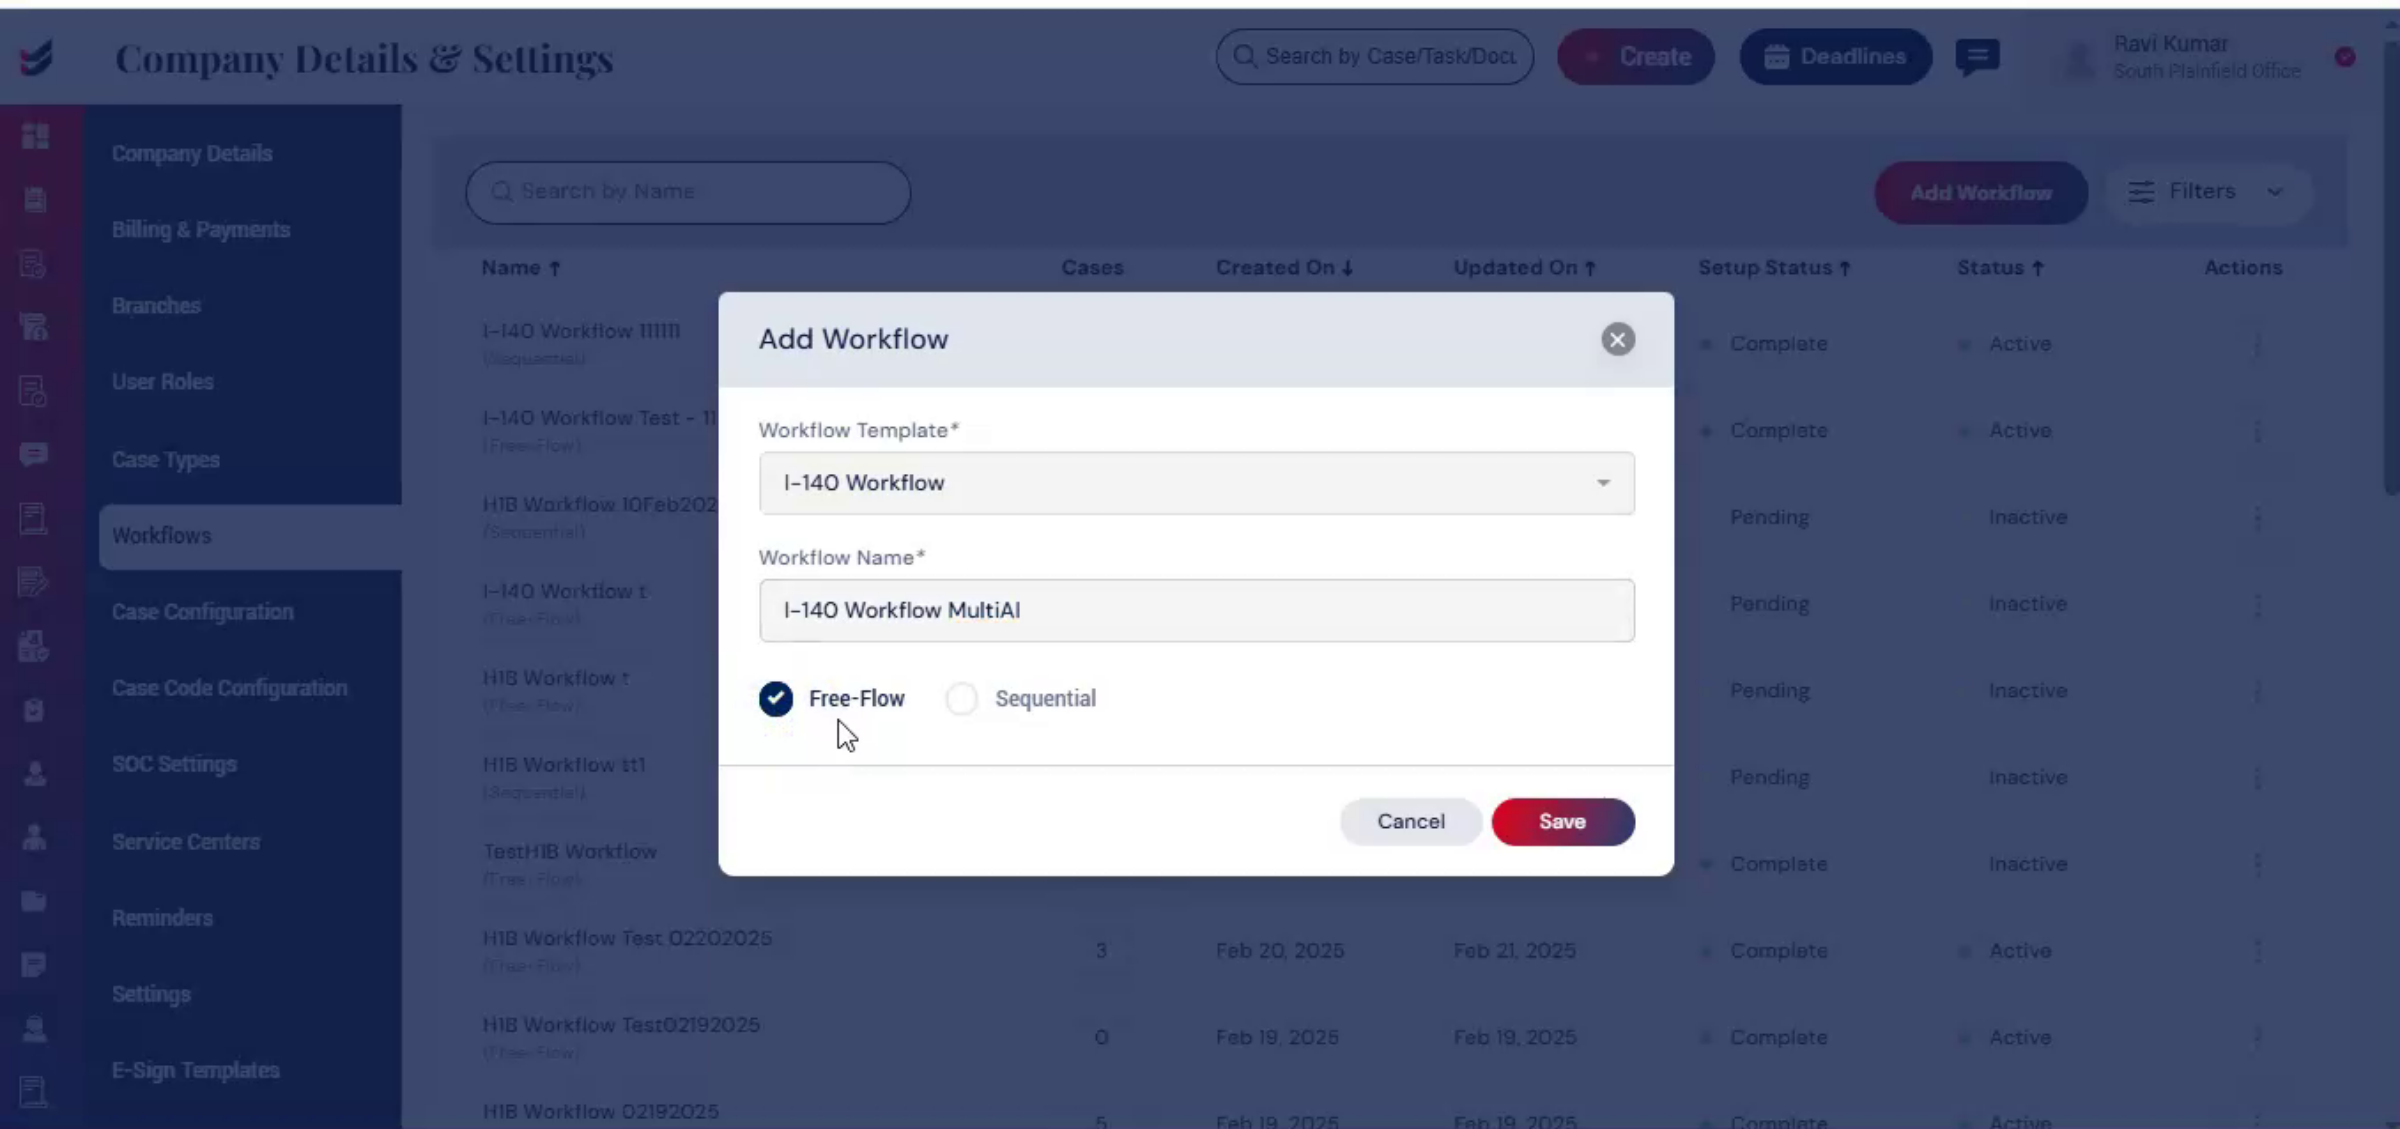
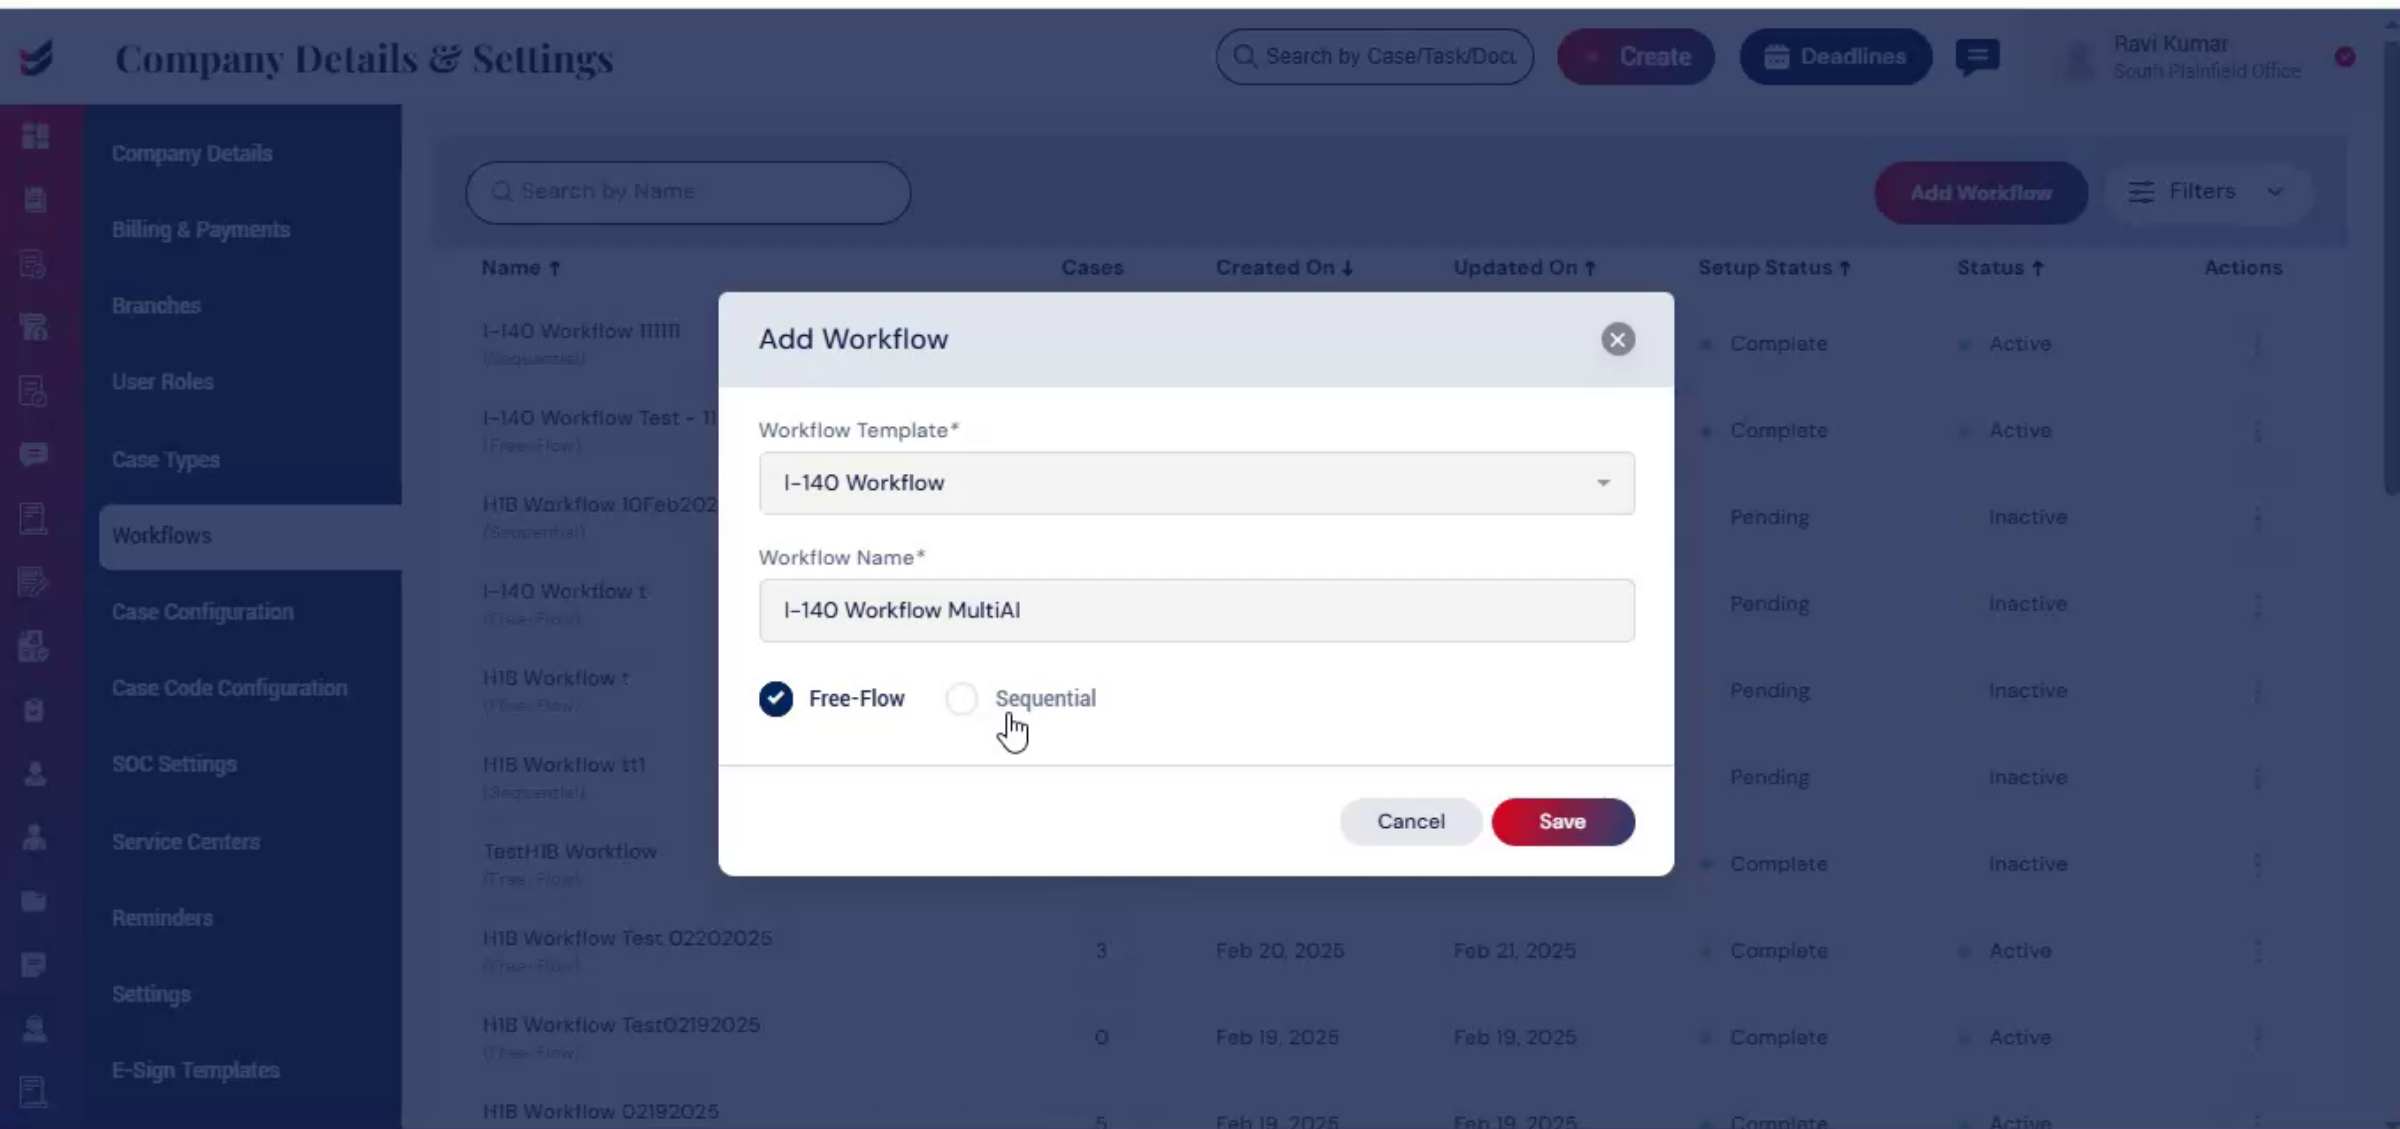
You will see two options, Free Flow and Sequential.
Free Flow allows case tasks to be completed in any order. This option provides flexibility in case processing.
12. Sequential Flow Characteristics
 * click the image to view enlarged
Sequential flow follows a fixed, step-by-step.
Each step must be completed before the next step begins.
This ensures a controlled and organized case workflow.
13. Saving Workflow Configuration
 * click the image to view enlarged
Select the option that aligns with your firm's case management process.
Then, click Save.
14. Workflow Configuration Page Overview
 * click the image to view enlarged
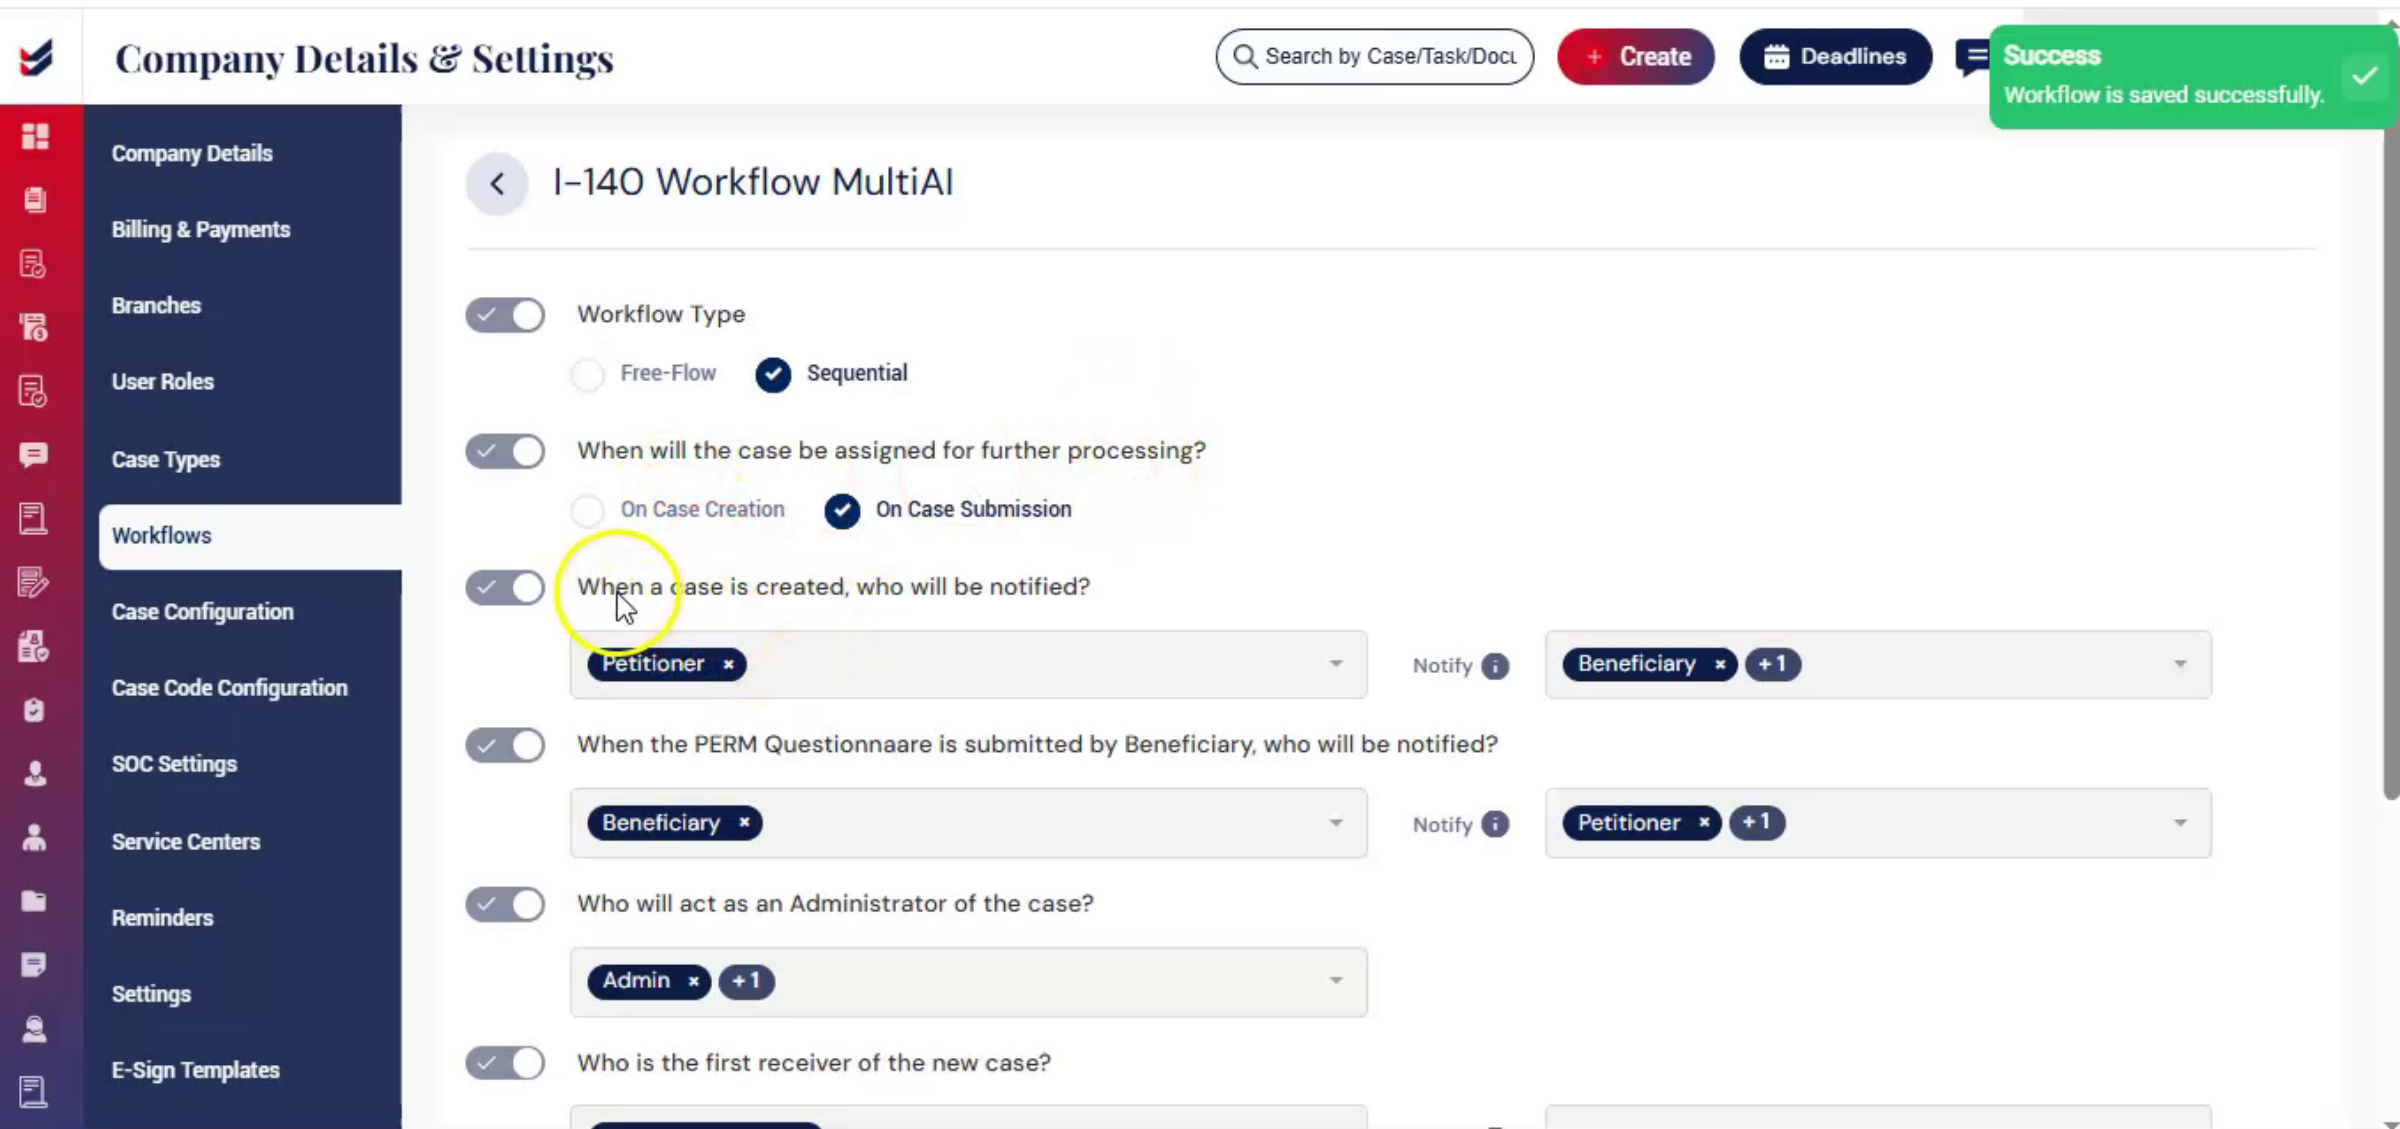
The Workflow Configuration page will now open.
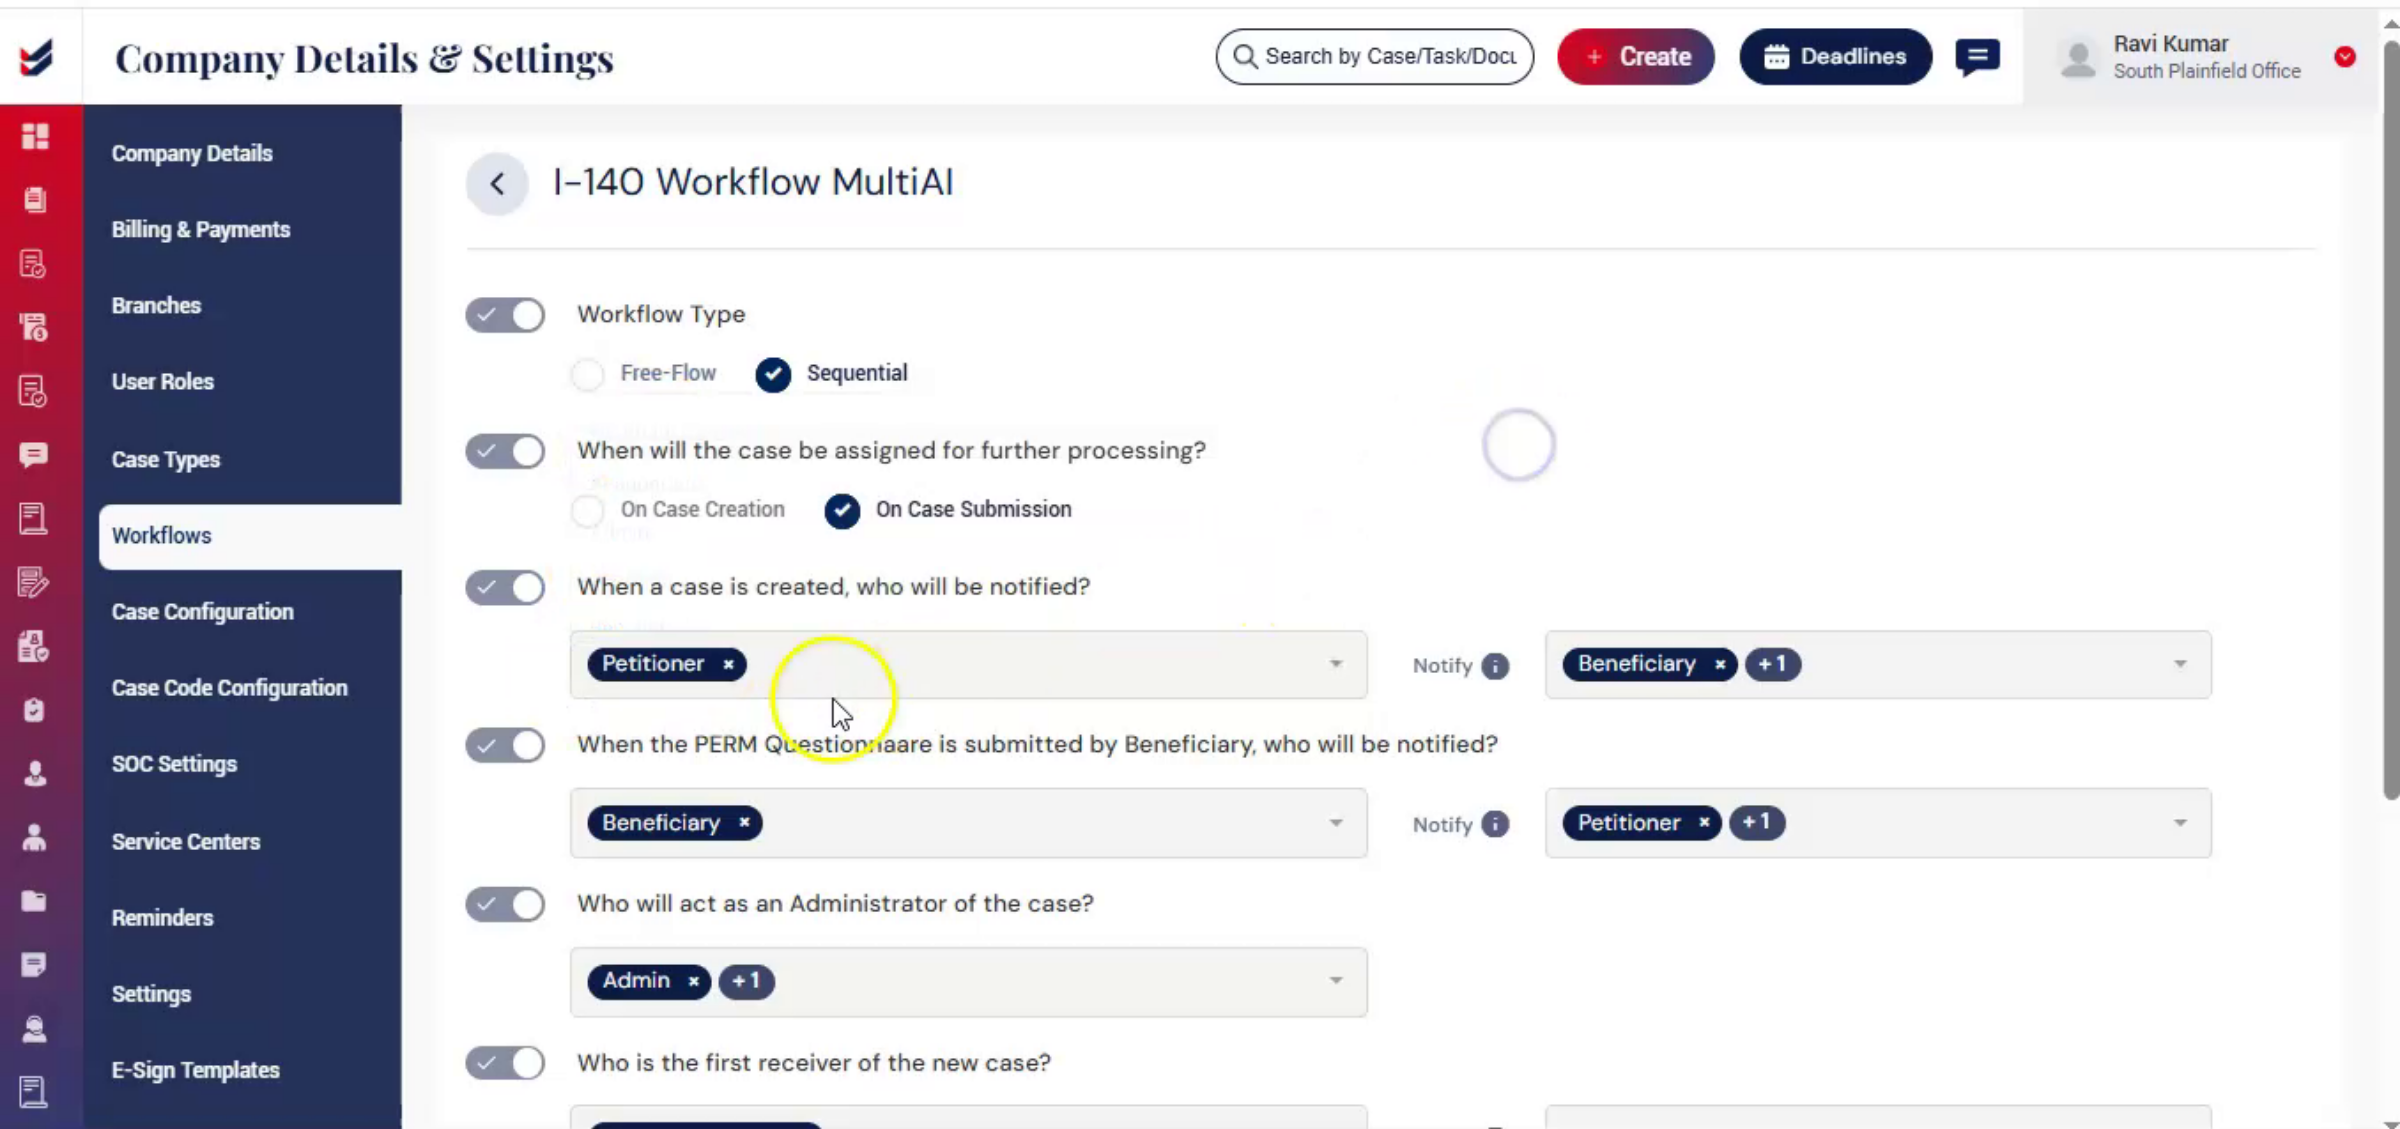
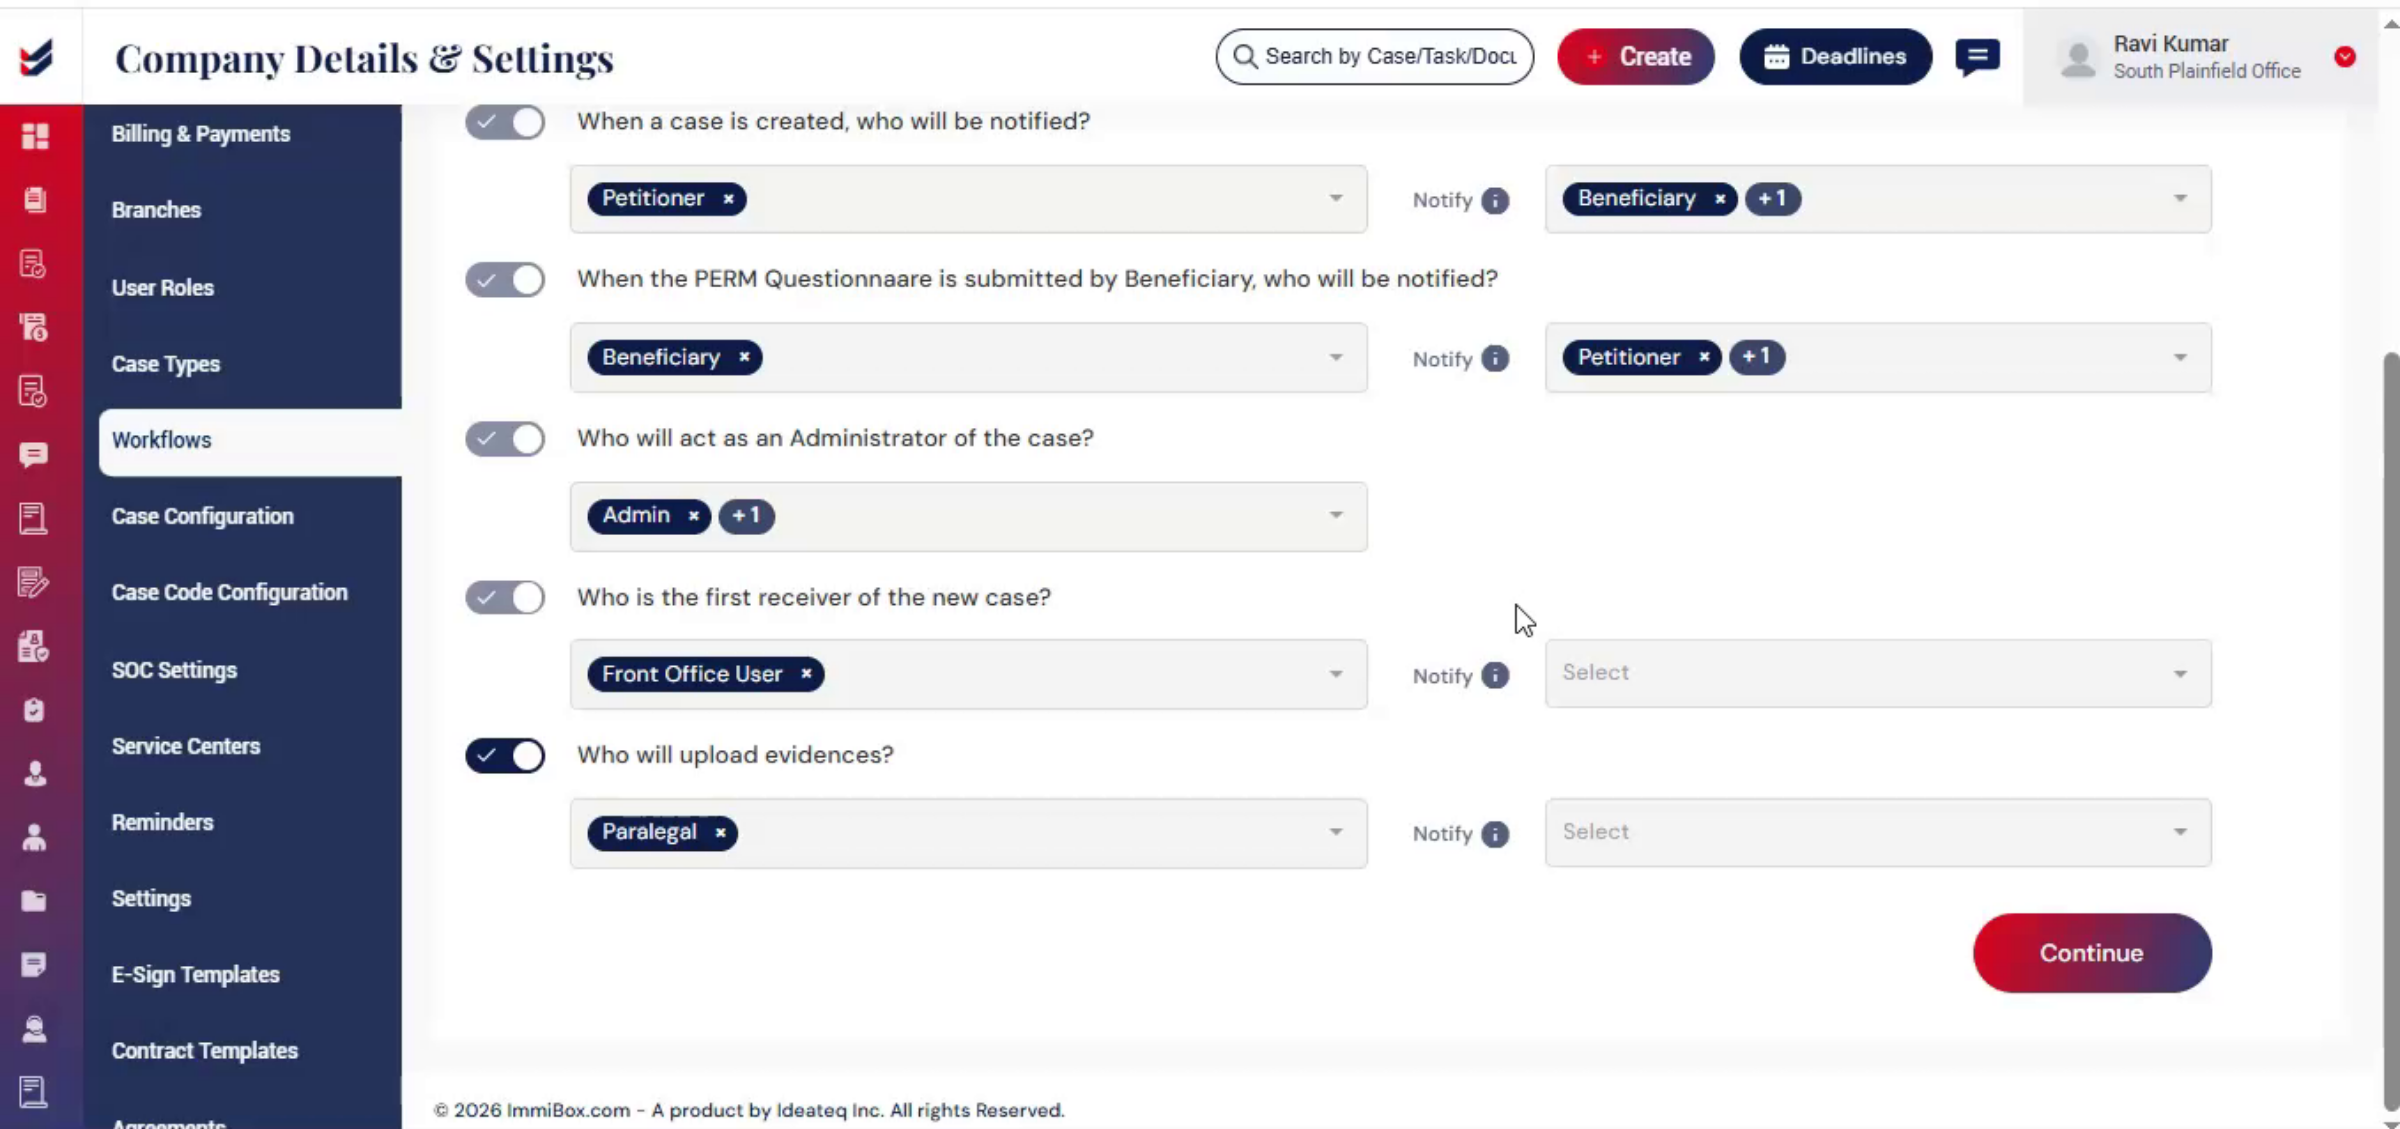
You will see questions such as when a case is created, who will perform the task, and who should be notified.
For each section, follow the same format.
15. Assigning Users And Notifications
 * click the image to view enlarged
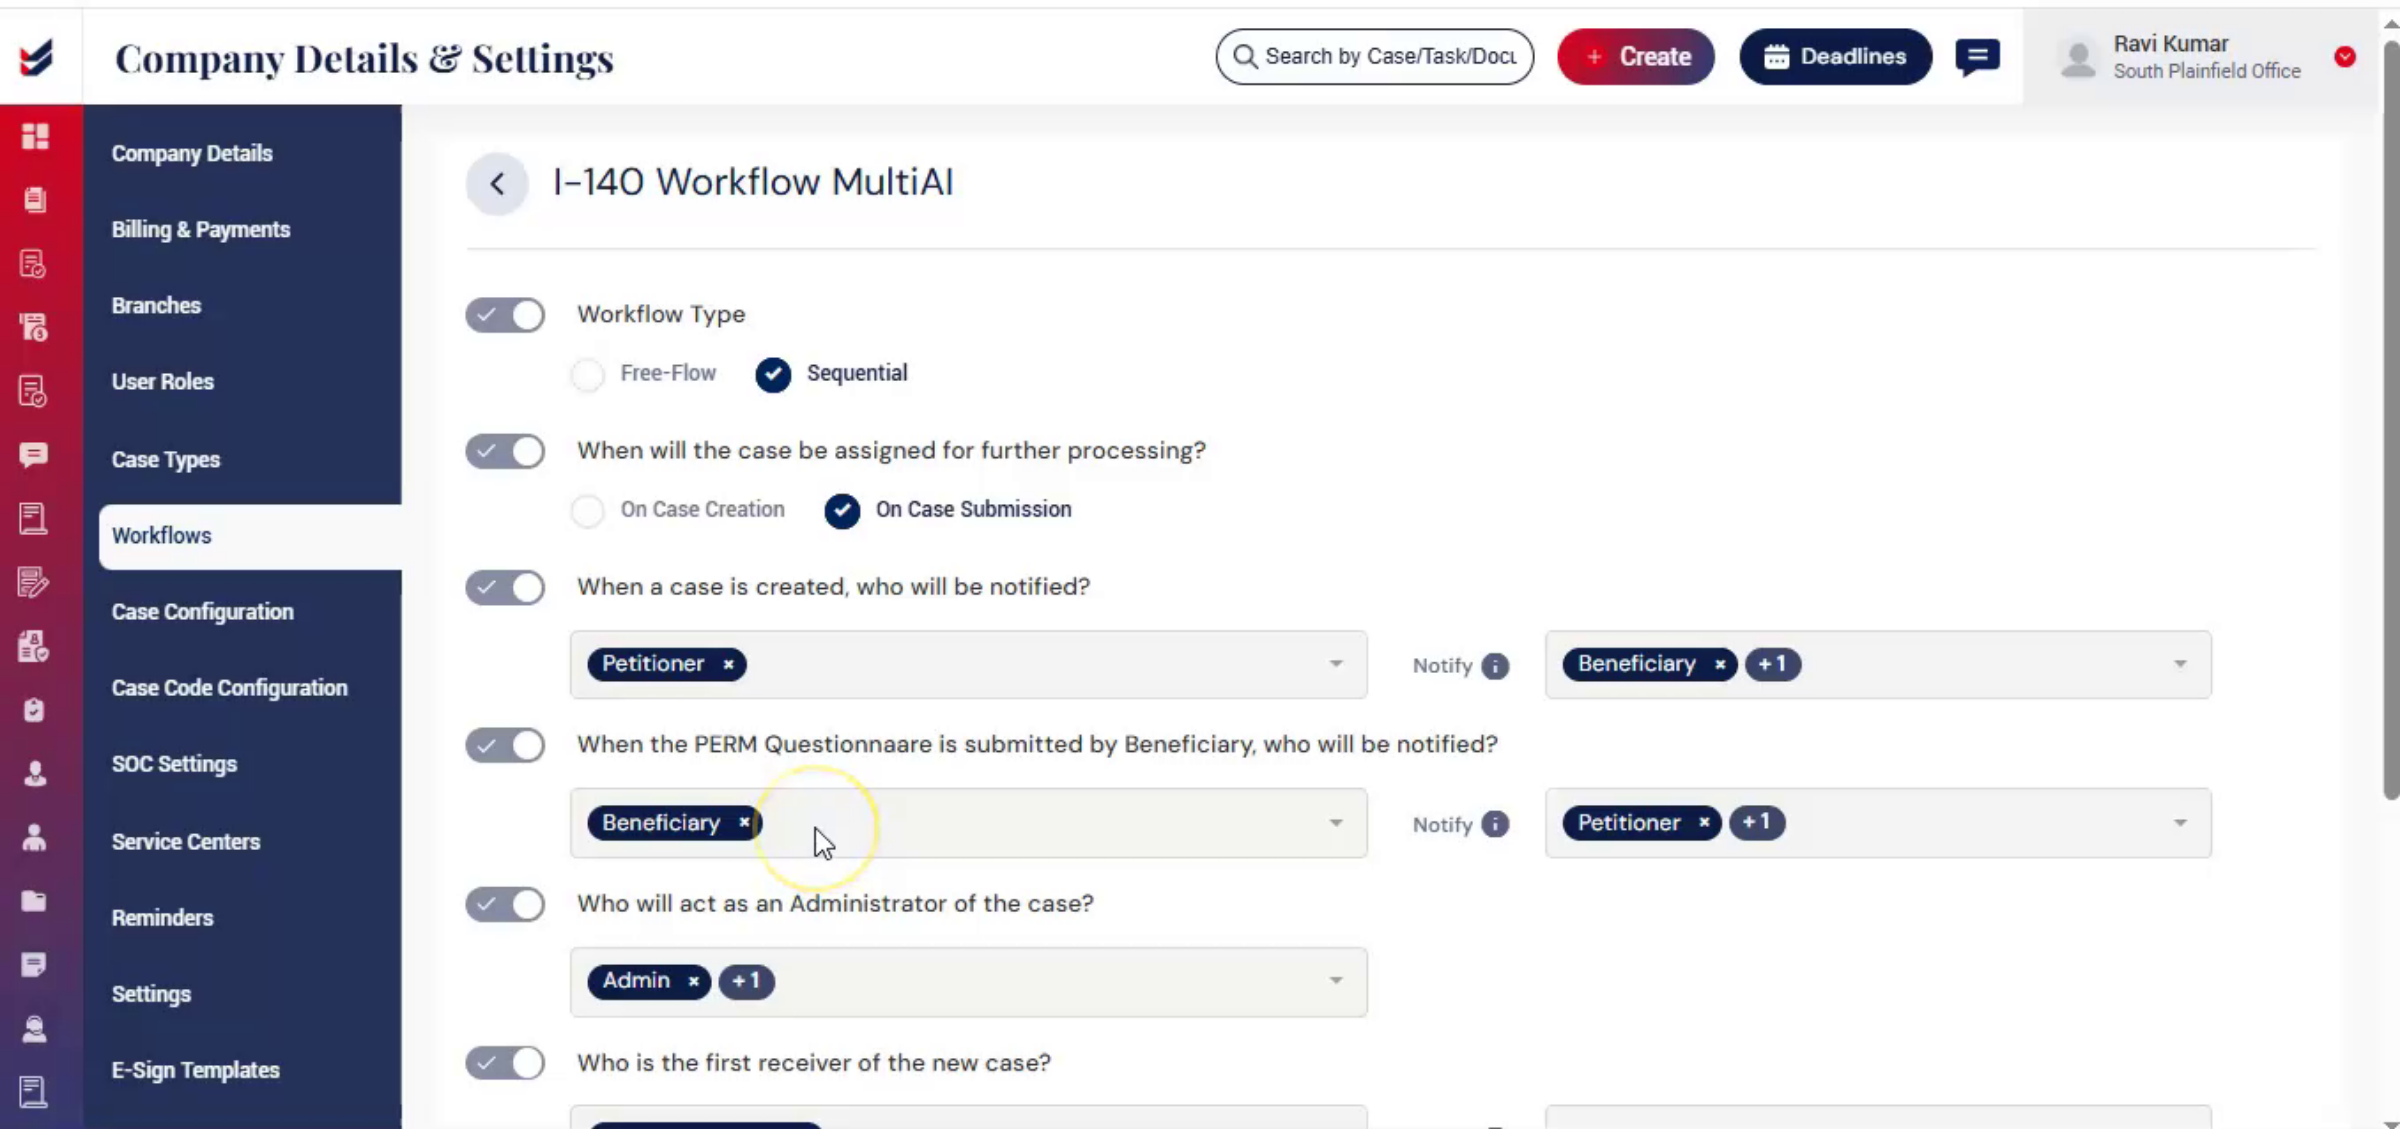
In the first field, select the user responsible for processing that case step.
In the second field, select the person who should receive notifications.
16. Responsibility and Notification Assignment
 * click the image to view enlarged
In simple terms, assign the responsible user first, then assign the notification recipient. This ensures clear responsibility while keeping the appropriate team members informed throughout the case process.
17. System Predefined and Custom Actions
 * click the image to view enlarged
Please note, some actions are predefined by the system and cannot be disabled. However, certain actions can be enabled or disabled based on your firm's requirements.
18. Continuing Through Workflow Sections
 * click the image to view enlarged
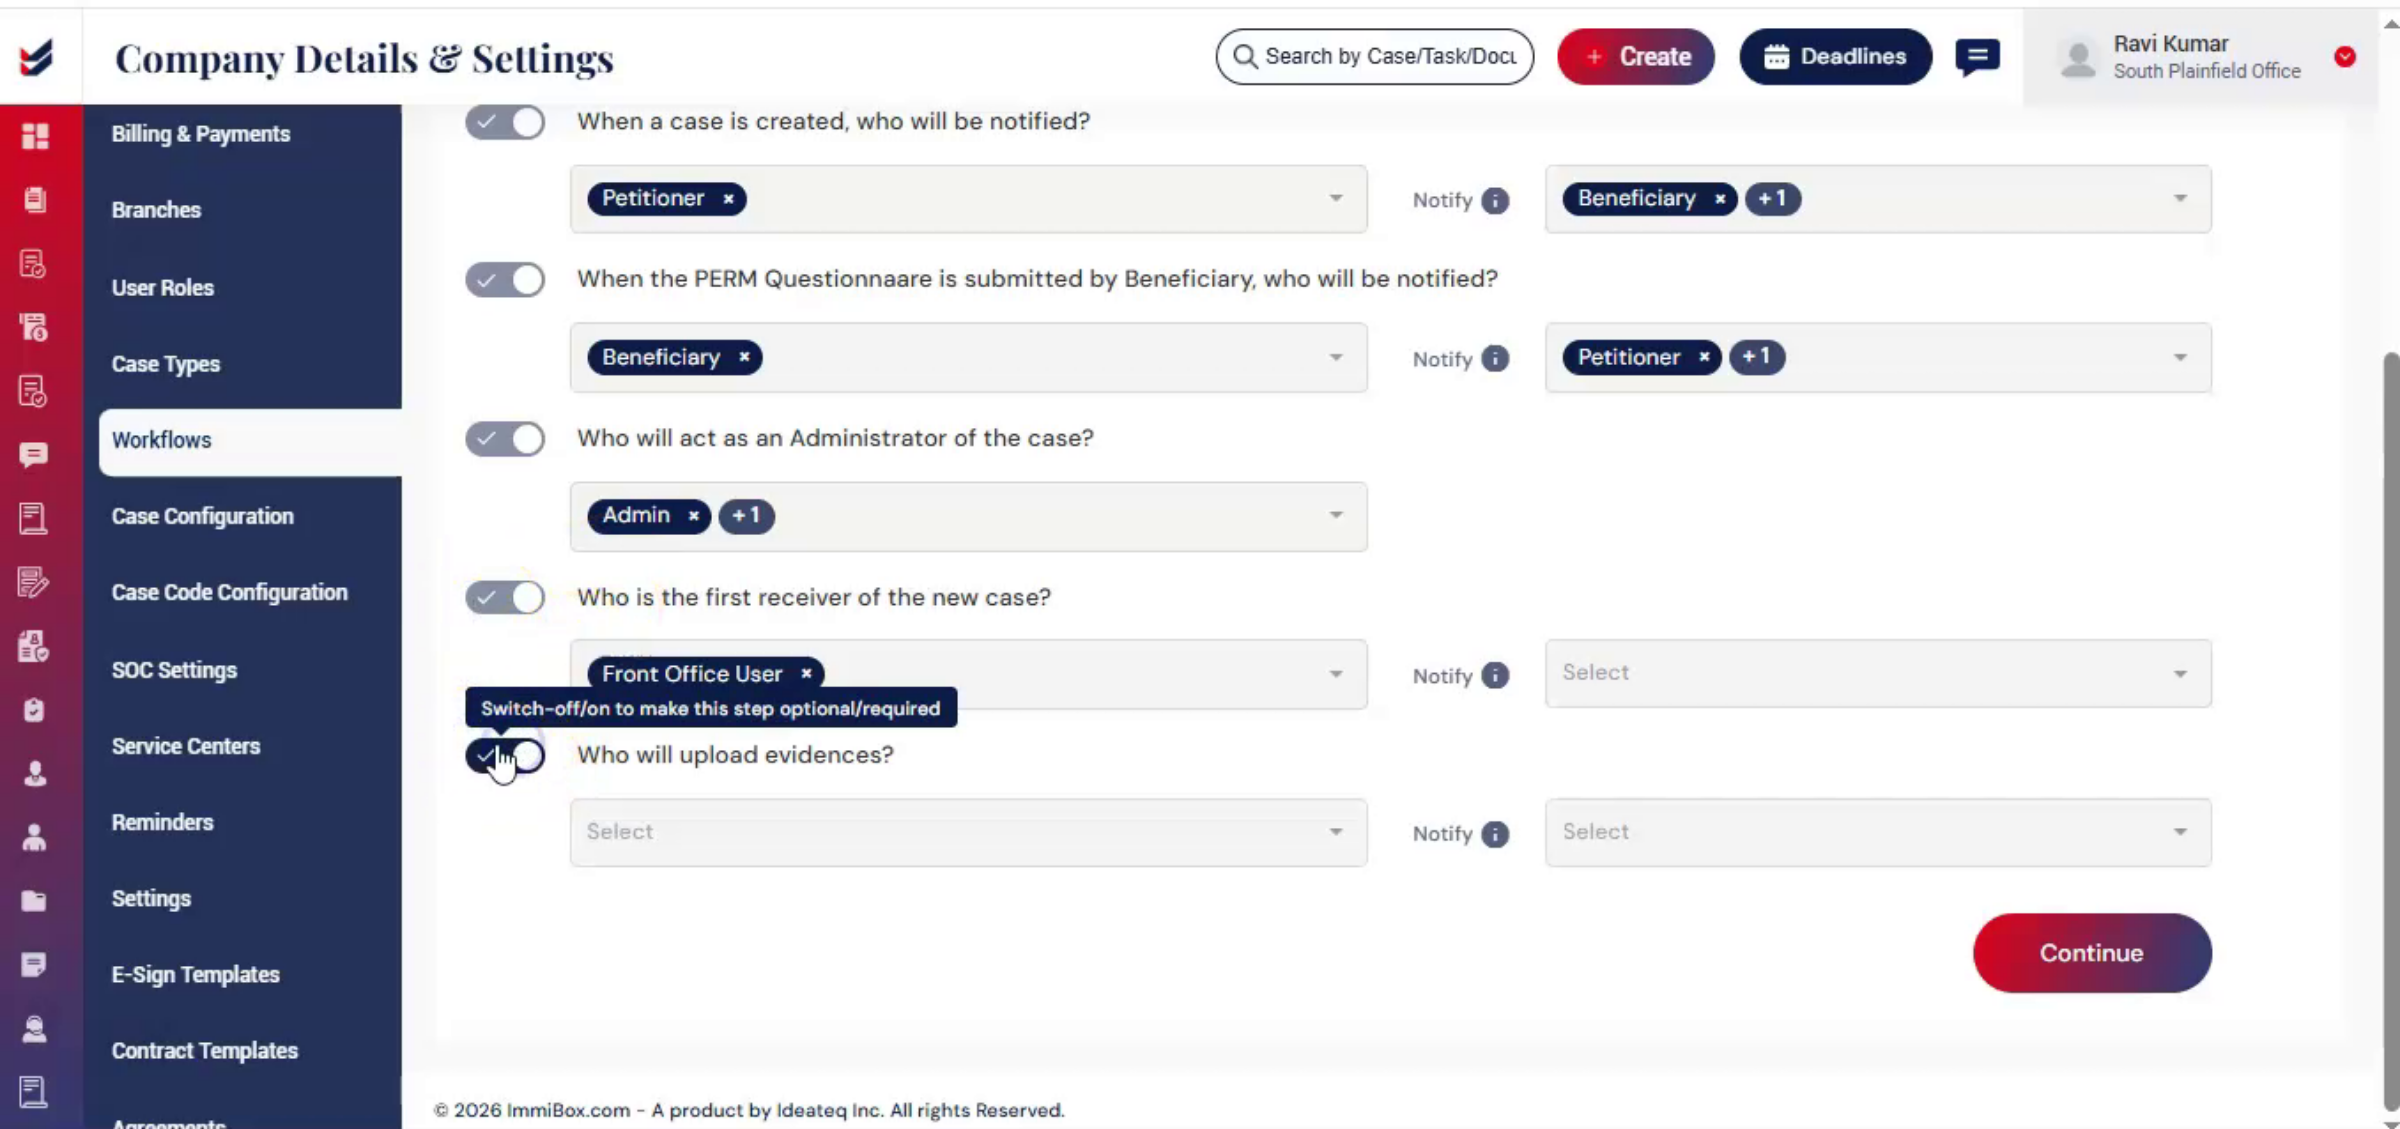
Click Continue to move to the next section. Complete the required information, then click Continue again.
19. Submitting And Saving Workflow
 * click the image to view enlarged
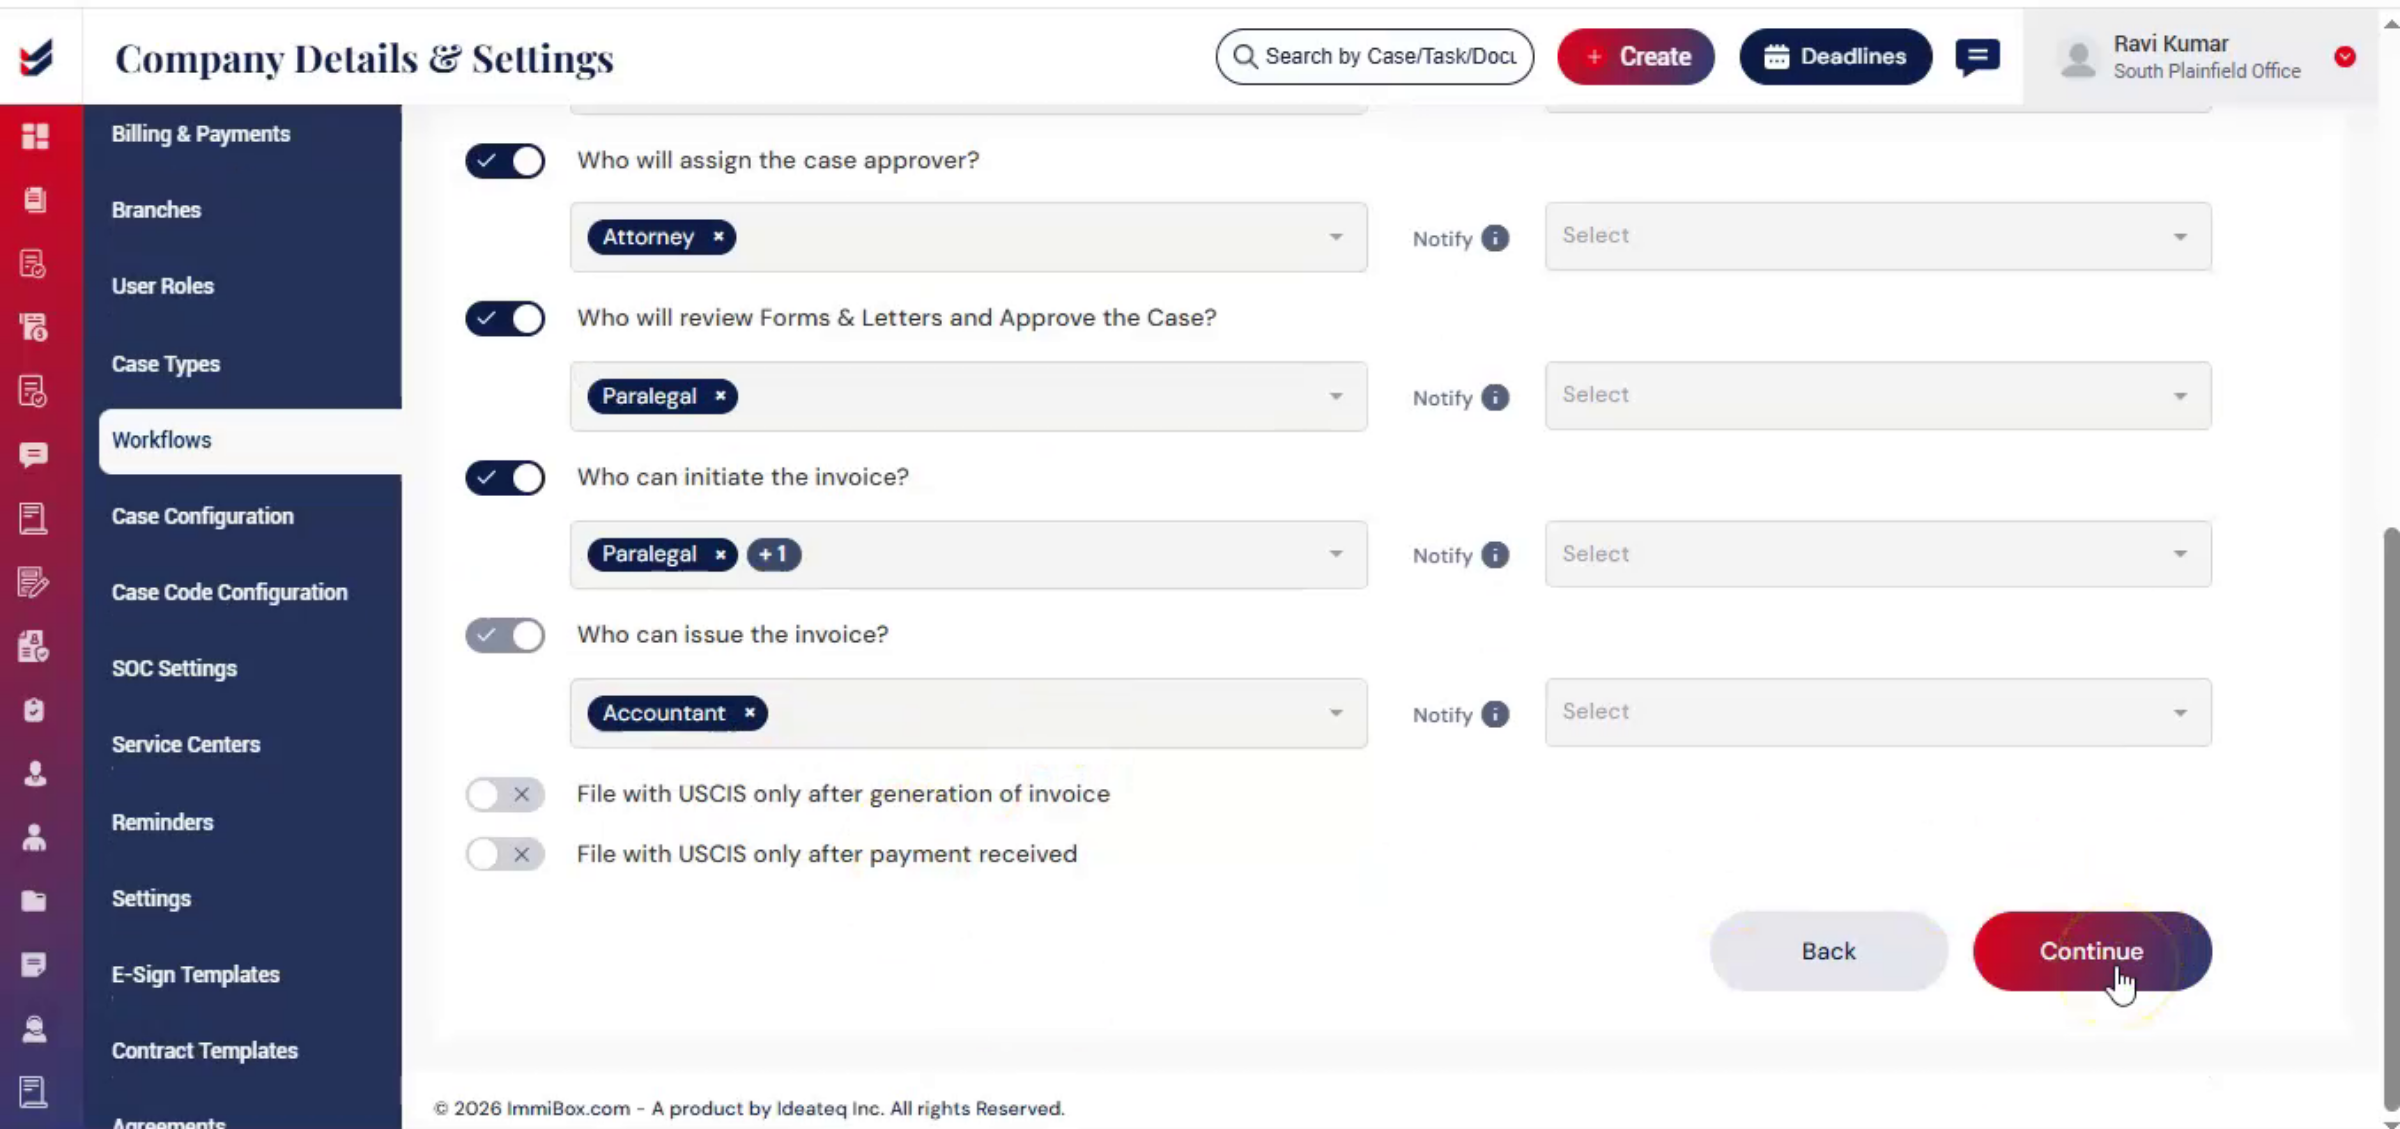
Once all steps are configured, click Submit.
Your workflow is now successfully saved in the system.
ImmiBox helps law firms standardize workflows while still allowing flexibility based on their operational structure and case management process.
20. Assigning Workflow to Case Type
 * click the image to view enlarged
Once the workflow is created and activated, it can be assigned to a specific Case Type through Case Configuration.
Navigate to Case Configuration from Settings.
Select the required Case Type from the list.
Then choose the workflow from the available workflow list and save the configuration.
You can also click on Preview to review the workflow structure before assigning it.
Once configured, whenever a new case is created under that Case Type, the selected workflow will be automatically applied to all Case Subtypes associated with that Case Type.
This helps maintain a standardized process, improves task management, and ensures users follow the configured workflow structure throughout the case lifecycle.
Note: The workflow configuration will apply only to newly created cases. Existing cases will not be affected.