

User Roles Configuration in ImmiBox
Overview
Welcome! This video helps you to understand how to manage user roles in ImmiBox.
1. Introduction
 * click the image to view enlarged
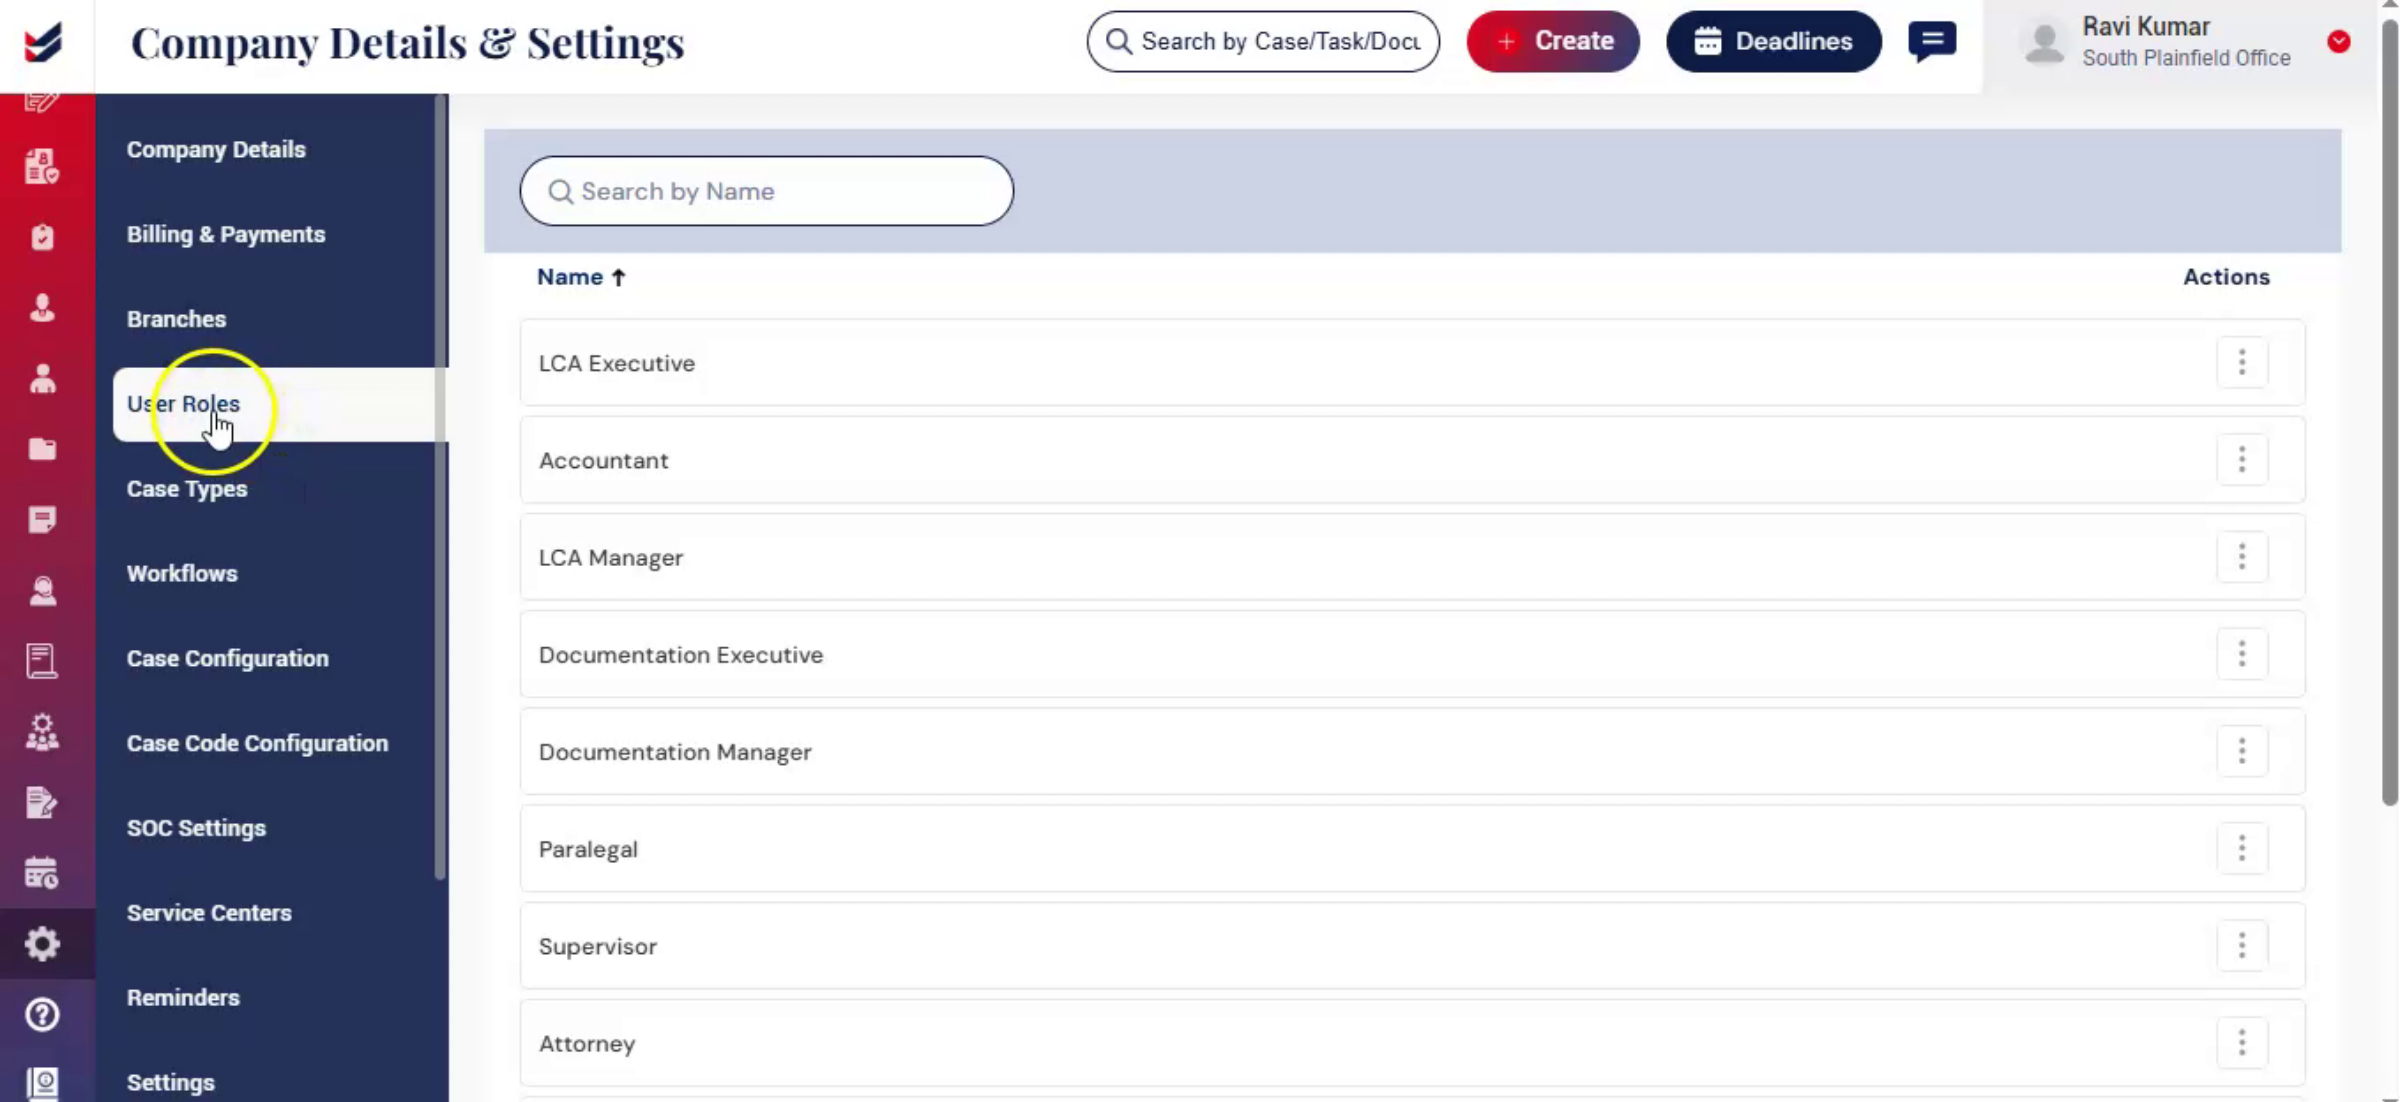
User Roles are predefined in ImmiBox with standard responsibilities to simplify setup for law firms.
These role names can be edited as needed, allowing firms to customize them based on their requirements.
2. Accessing User Roles
 * click the image to view enlarged
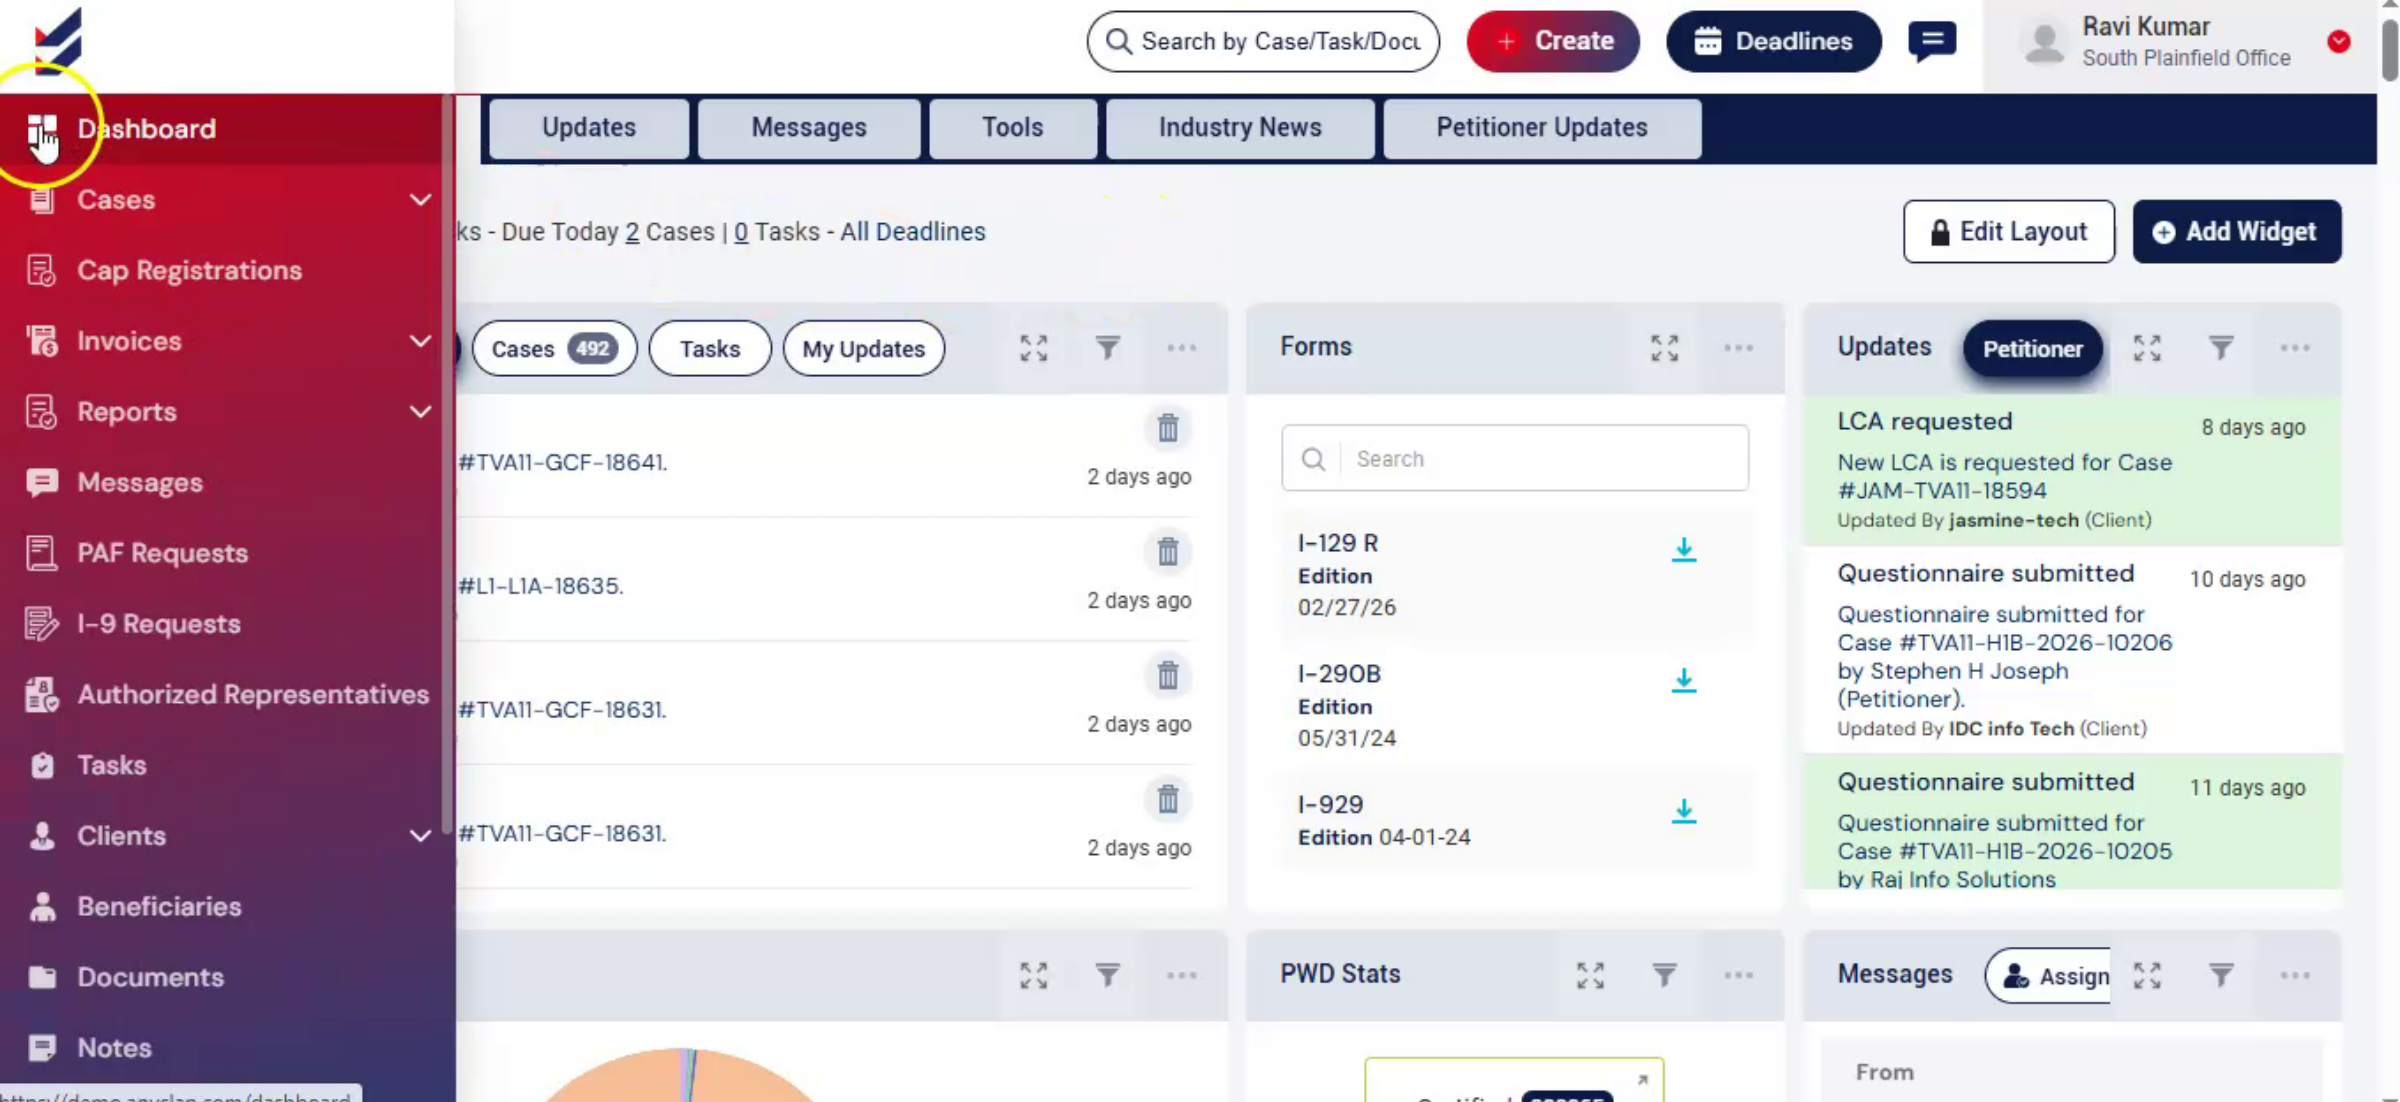
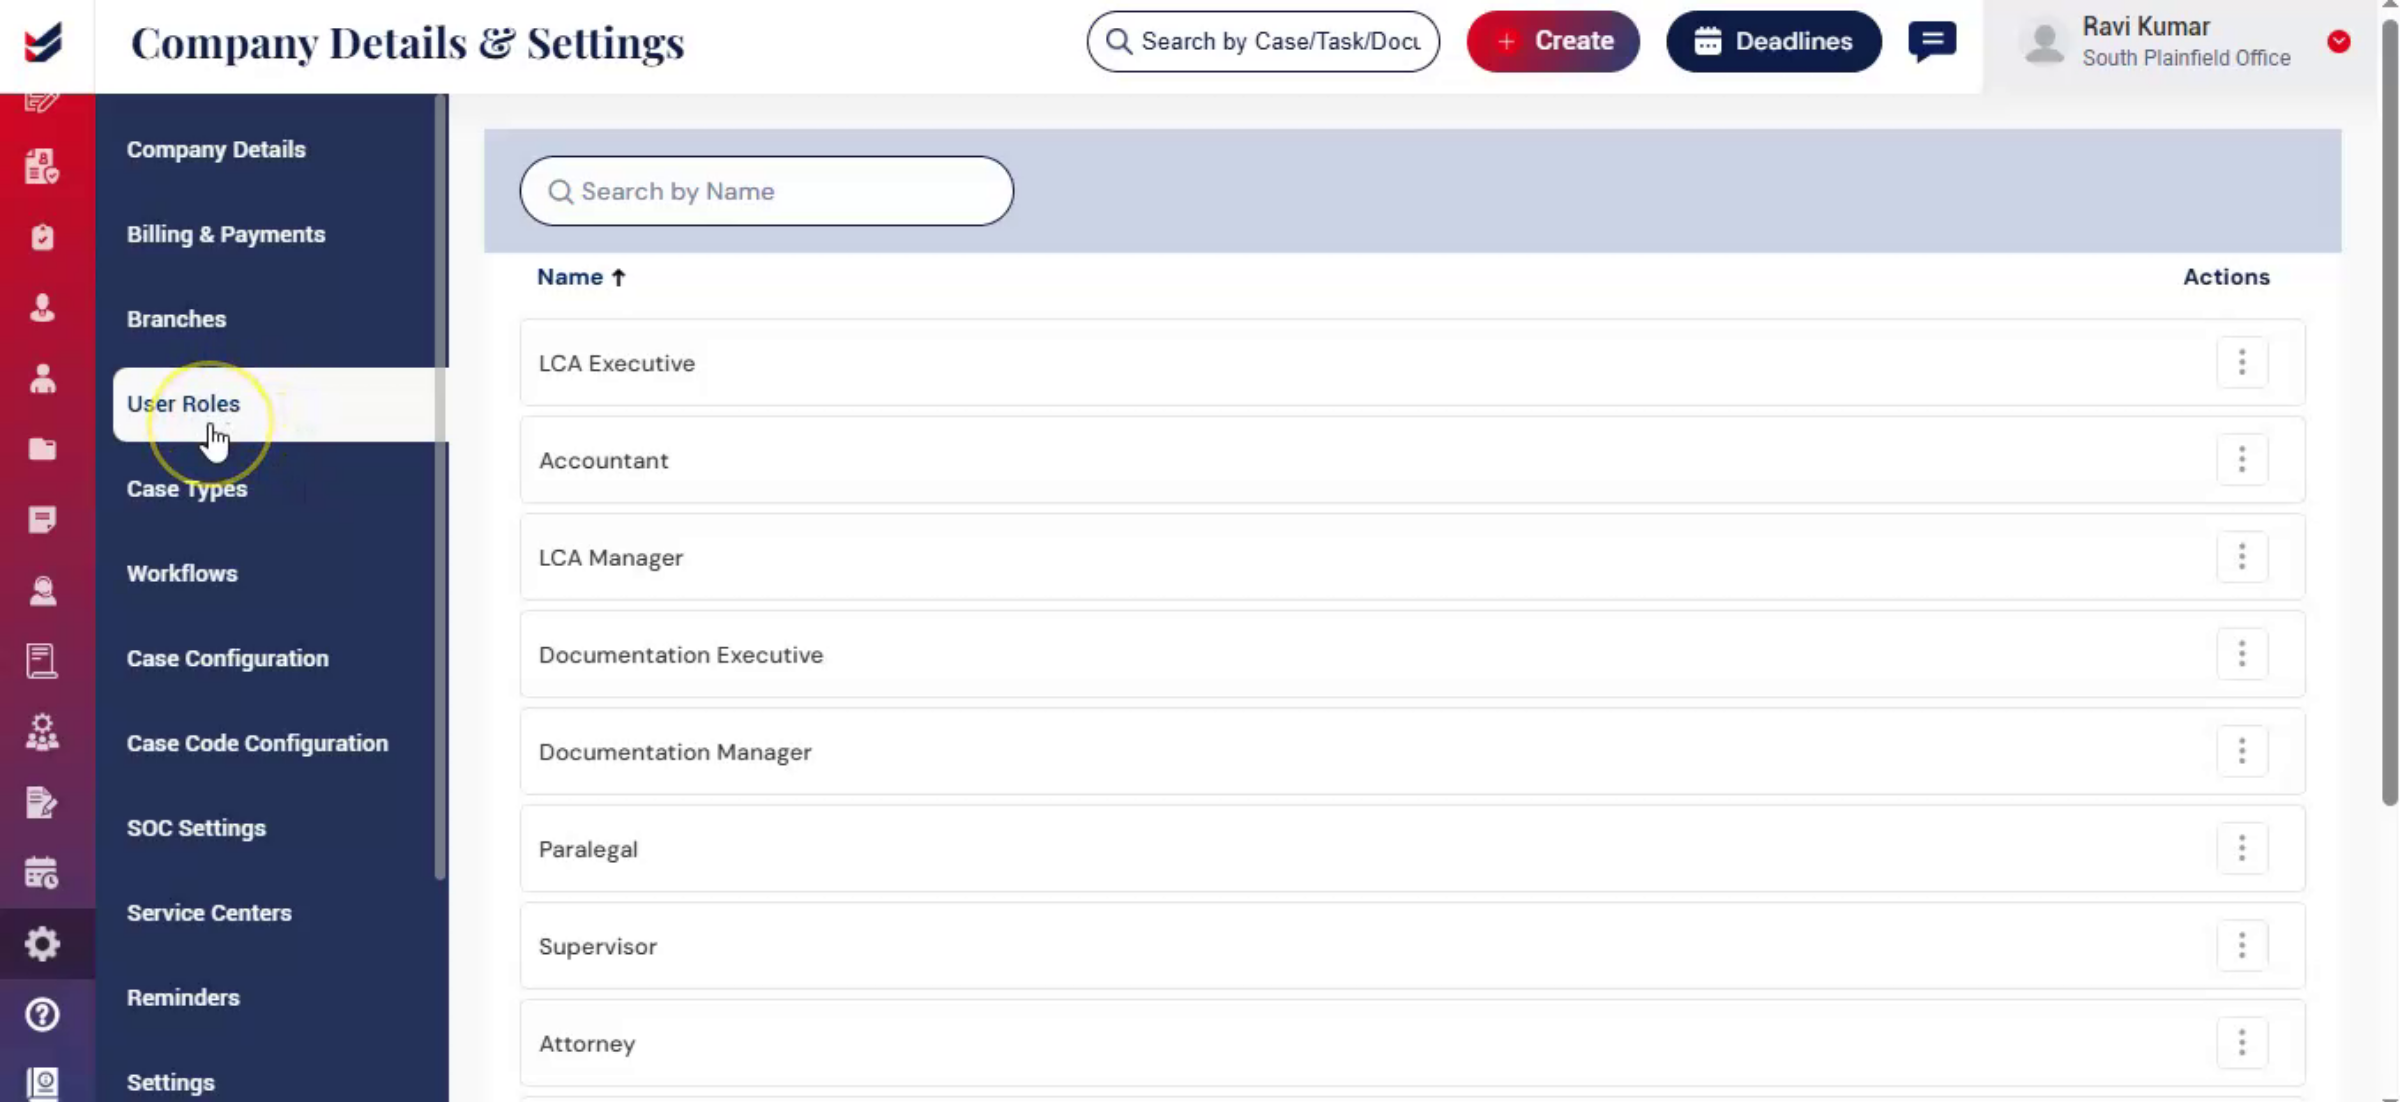
From the Dashboard, navigate to the Administration.
Select Settings, and from the left-hand menu, select User Roles.
The User Roles page will display all available roles in the organization.
3. Viewing Existing Roles
 * click the image to view enlarged
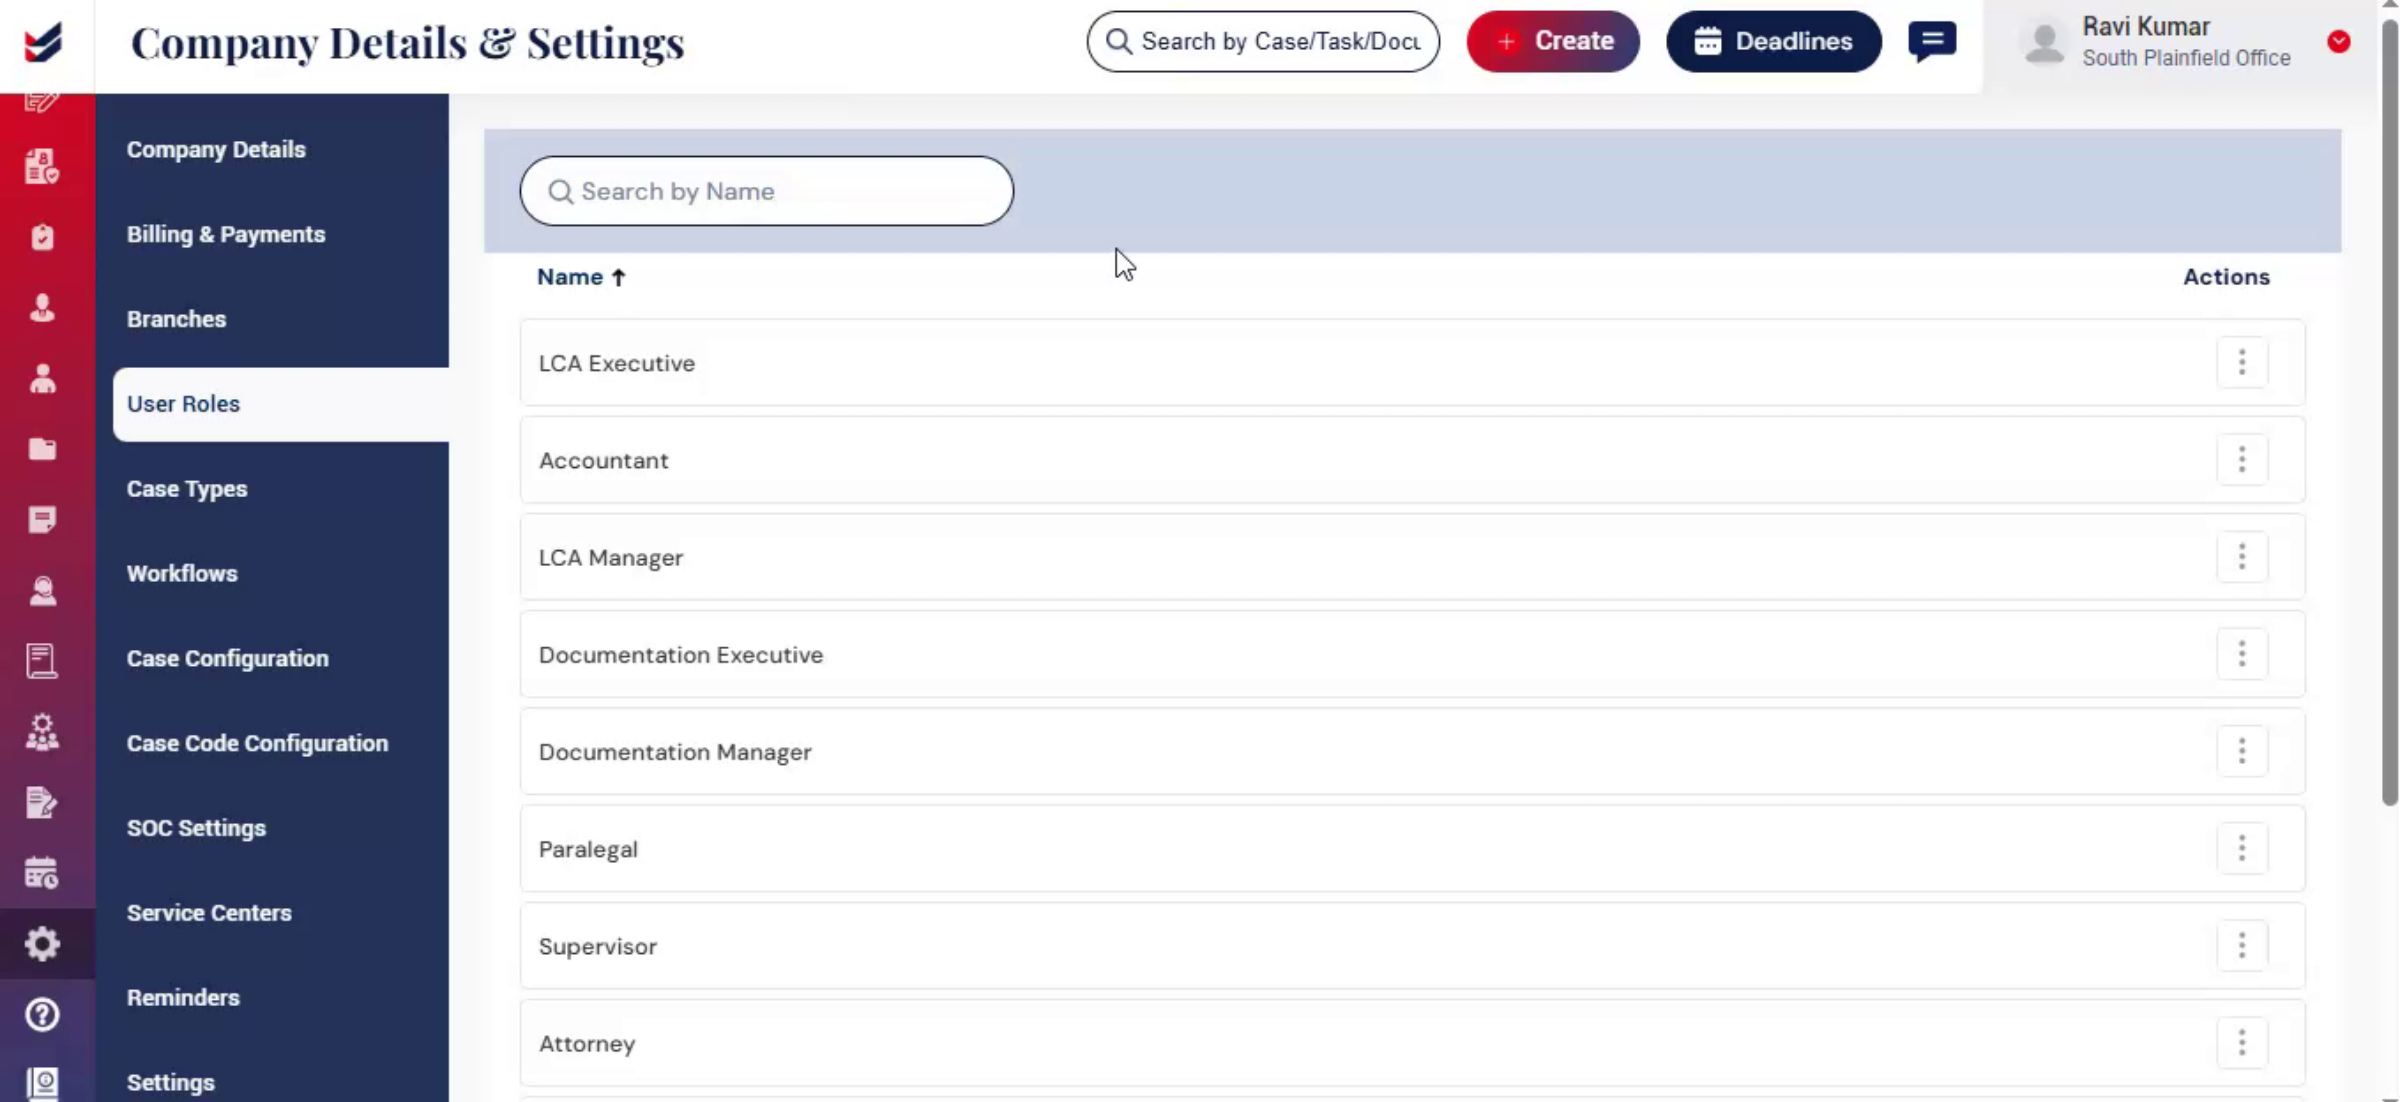
On this page, you can view a list of predefined roles such as LCA Executive, Accountant, Manager, Paralegal, and Attorney.
You can scroll through the list to review all available roles.
4. Rename a Role
 * click the image to view enlarged
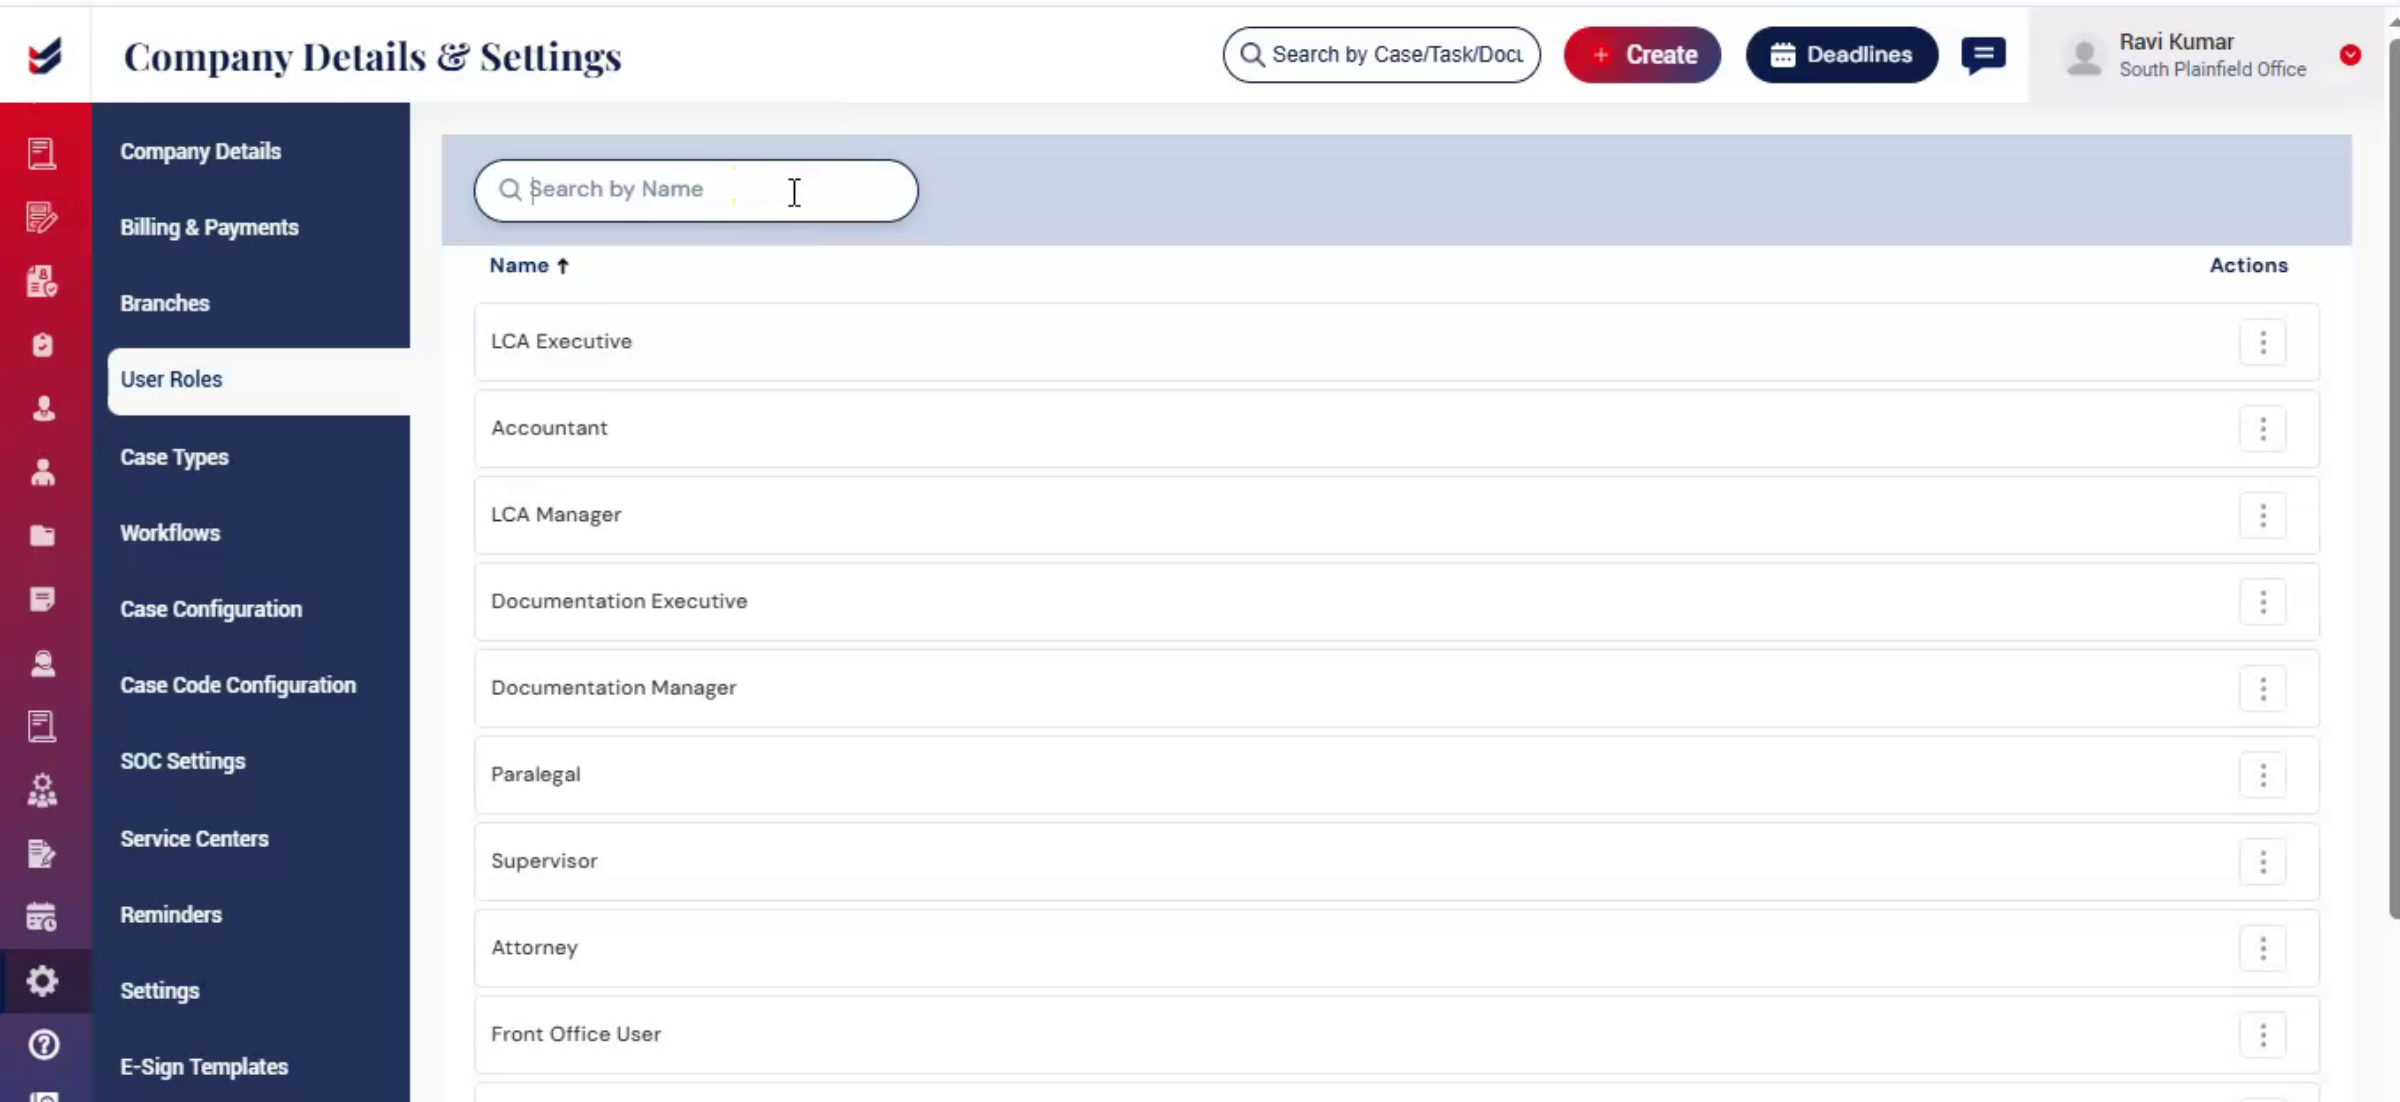
Use the Search bar at the top to quickly find a specific role. ImmiBox also allows firms to rename system roles based on their internal terminology and organizational structure.
For example, if the role “Paralegal” is referred to as “Case Worker” within your firm, you can easily update the role name to match your preferred terminology.
To rename a role, click the Actions menu next to the role and select Edit. Enter the new role name and click Update to save the changes.
Once updated, the new role name is automatically reflected across the application, ensuring consistency throughout workflows, assignments, notifications, and related modules.
5. Conclusion
 * click the image to view enlarged
User Roles help you customize role names to align with your organization’s structure.

