
Operational Dashboard in ImmiBox
Overview
Welcome! Learn how to navigate the Operational Dashboard, customize widgets, track updates, and use built-in tools to manage your workflow efficiently.
1. Introduction
 * click the image to view enlarged
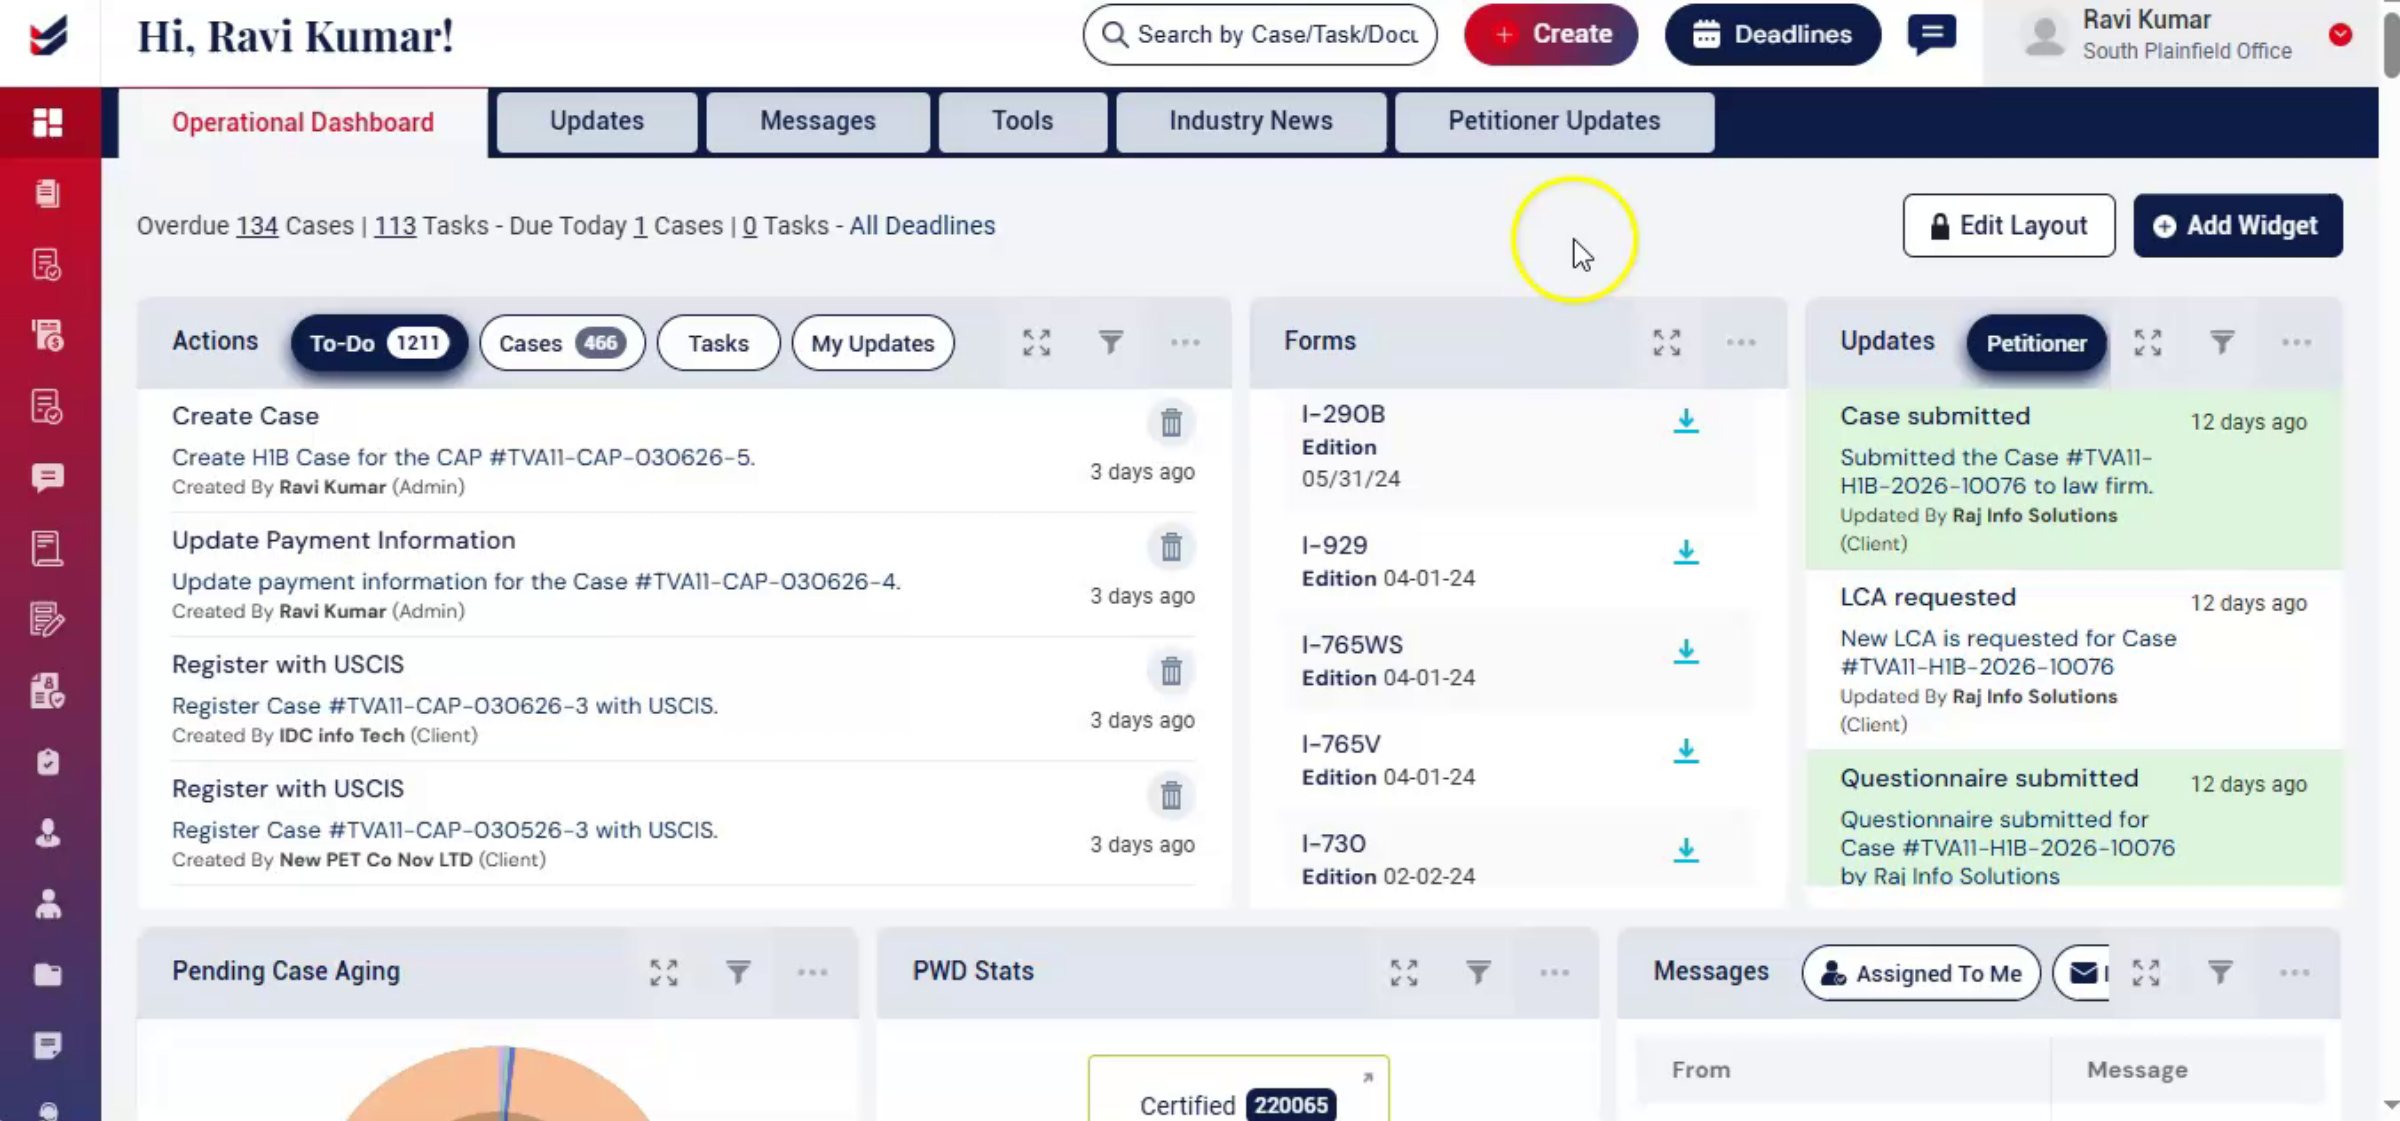
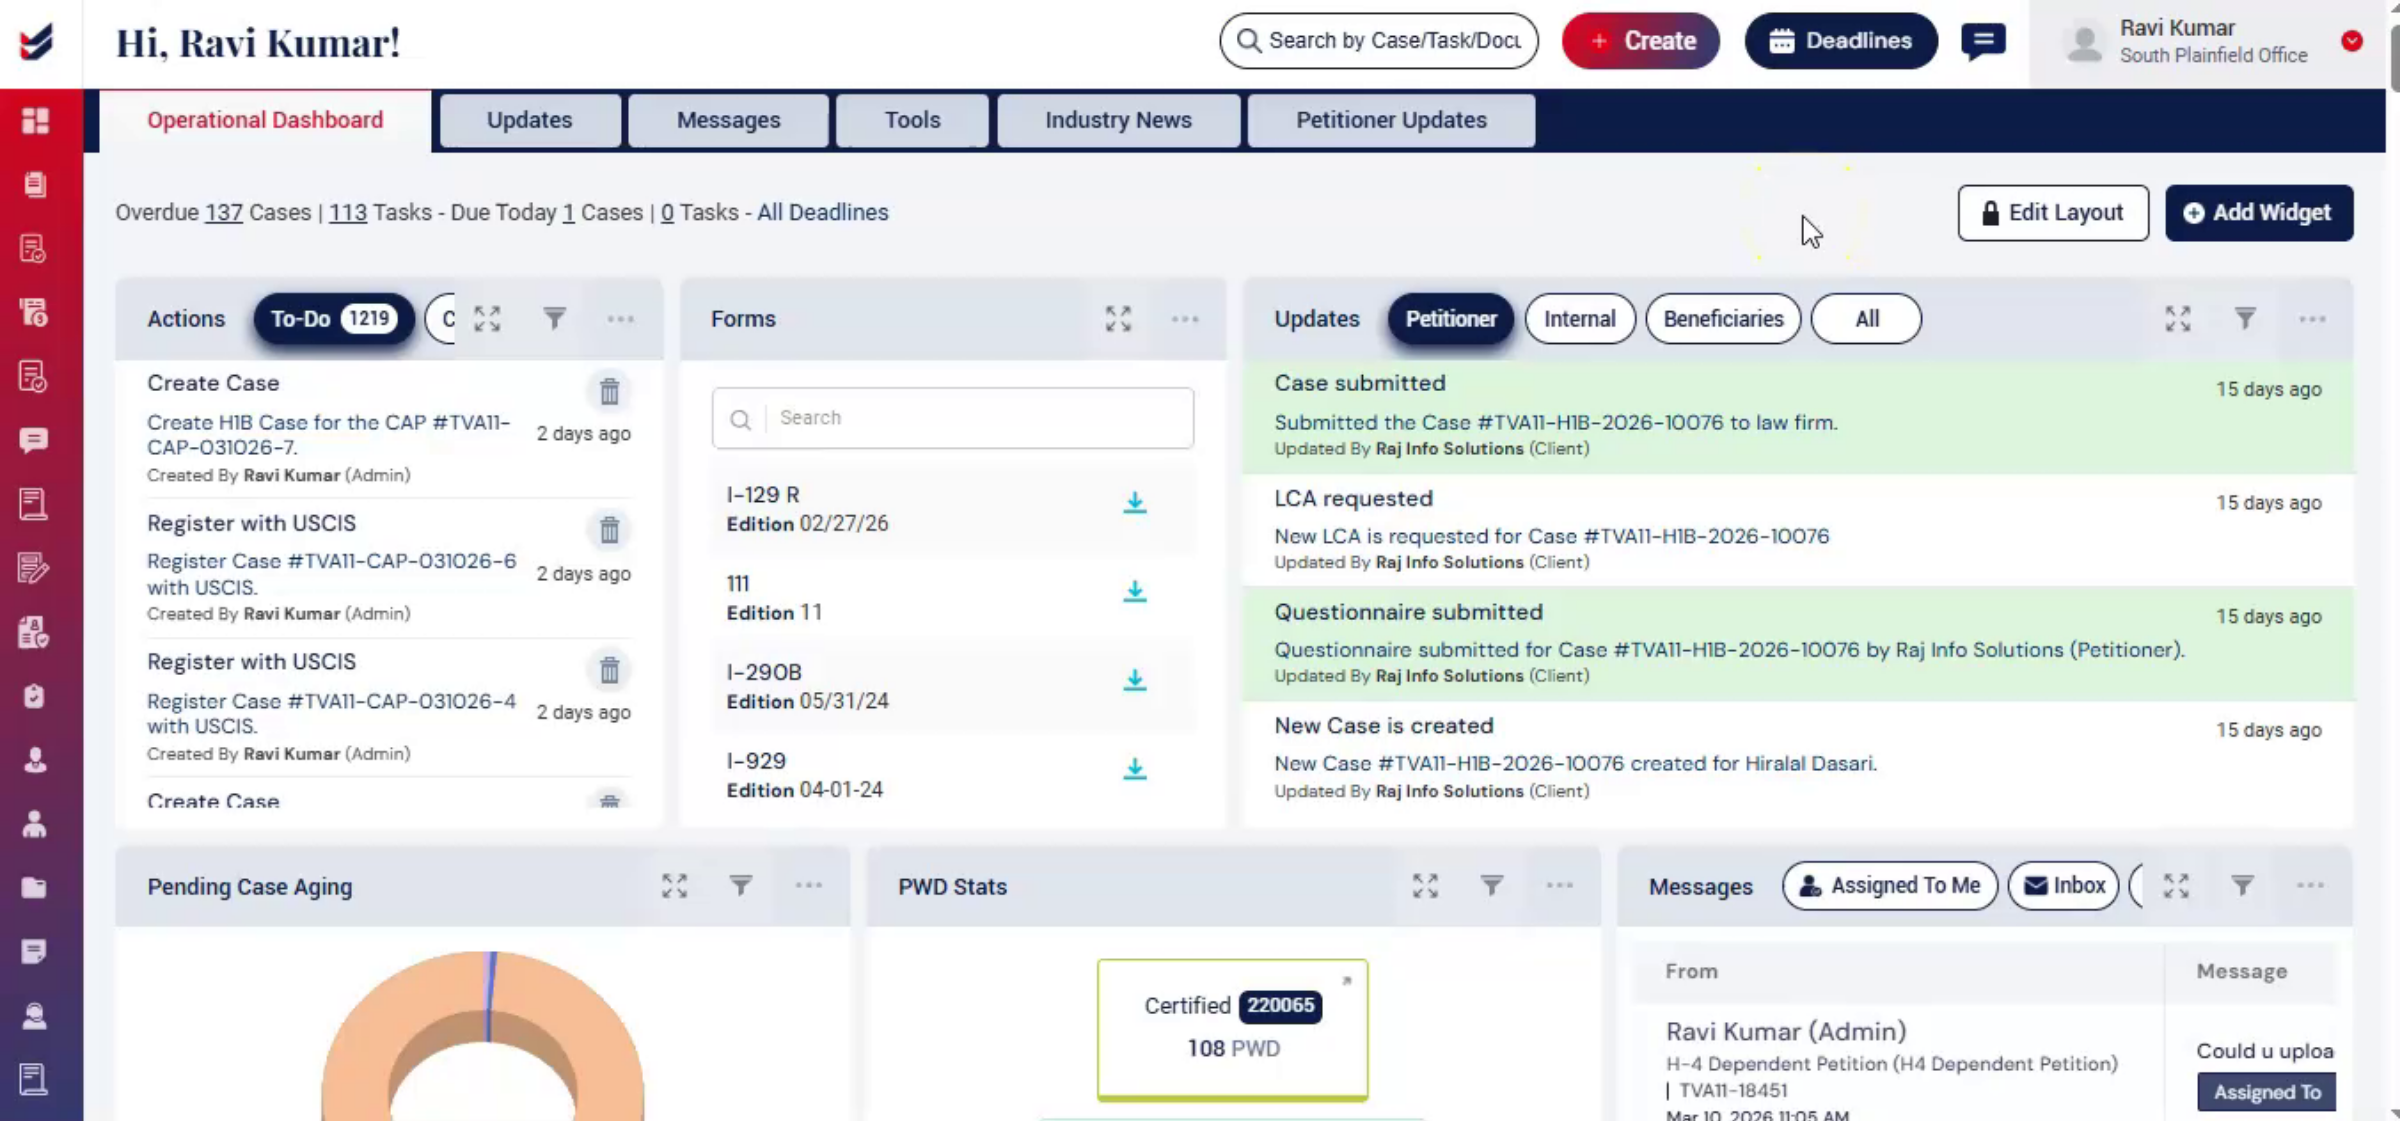
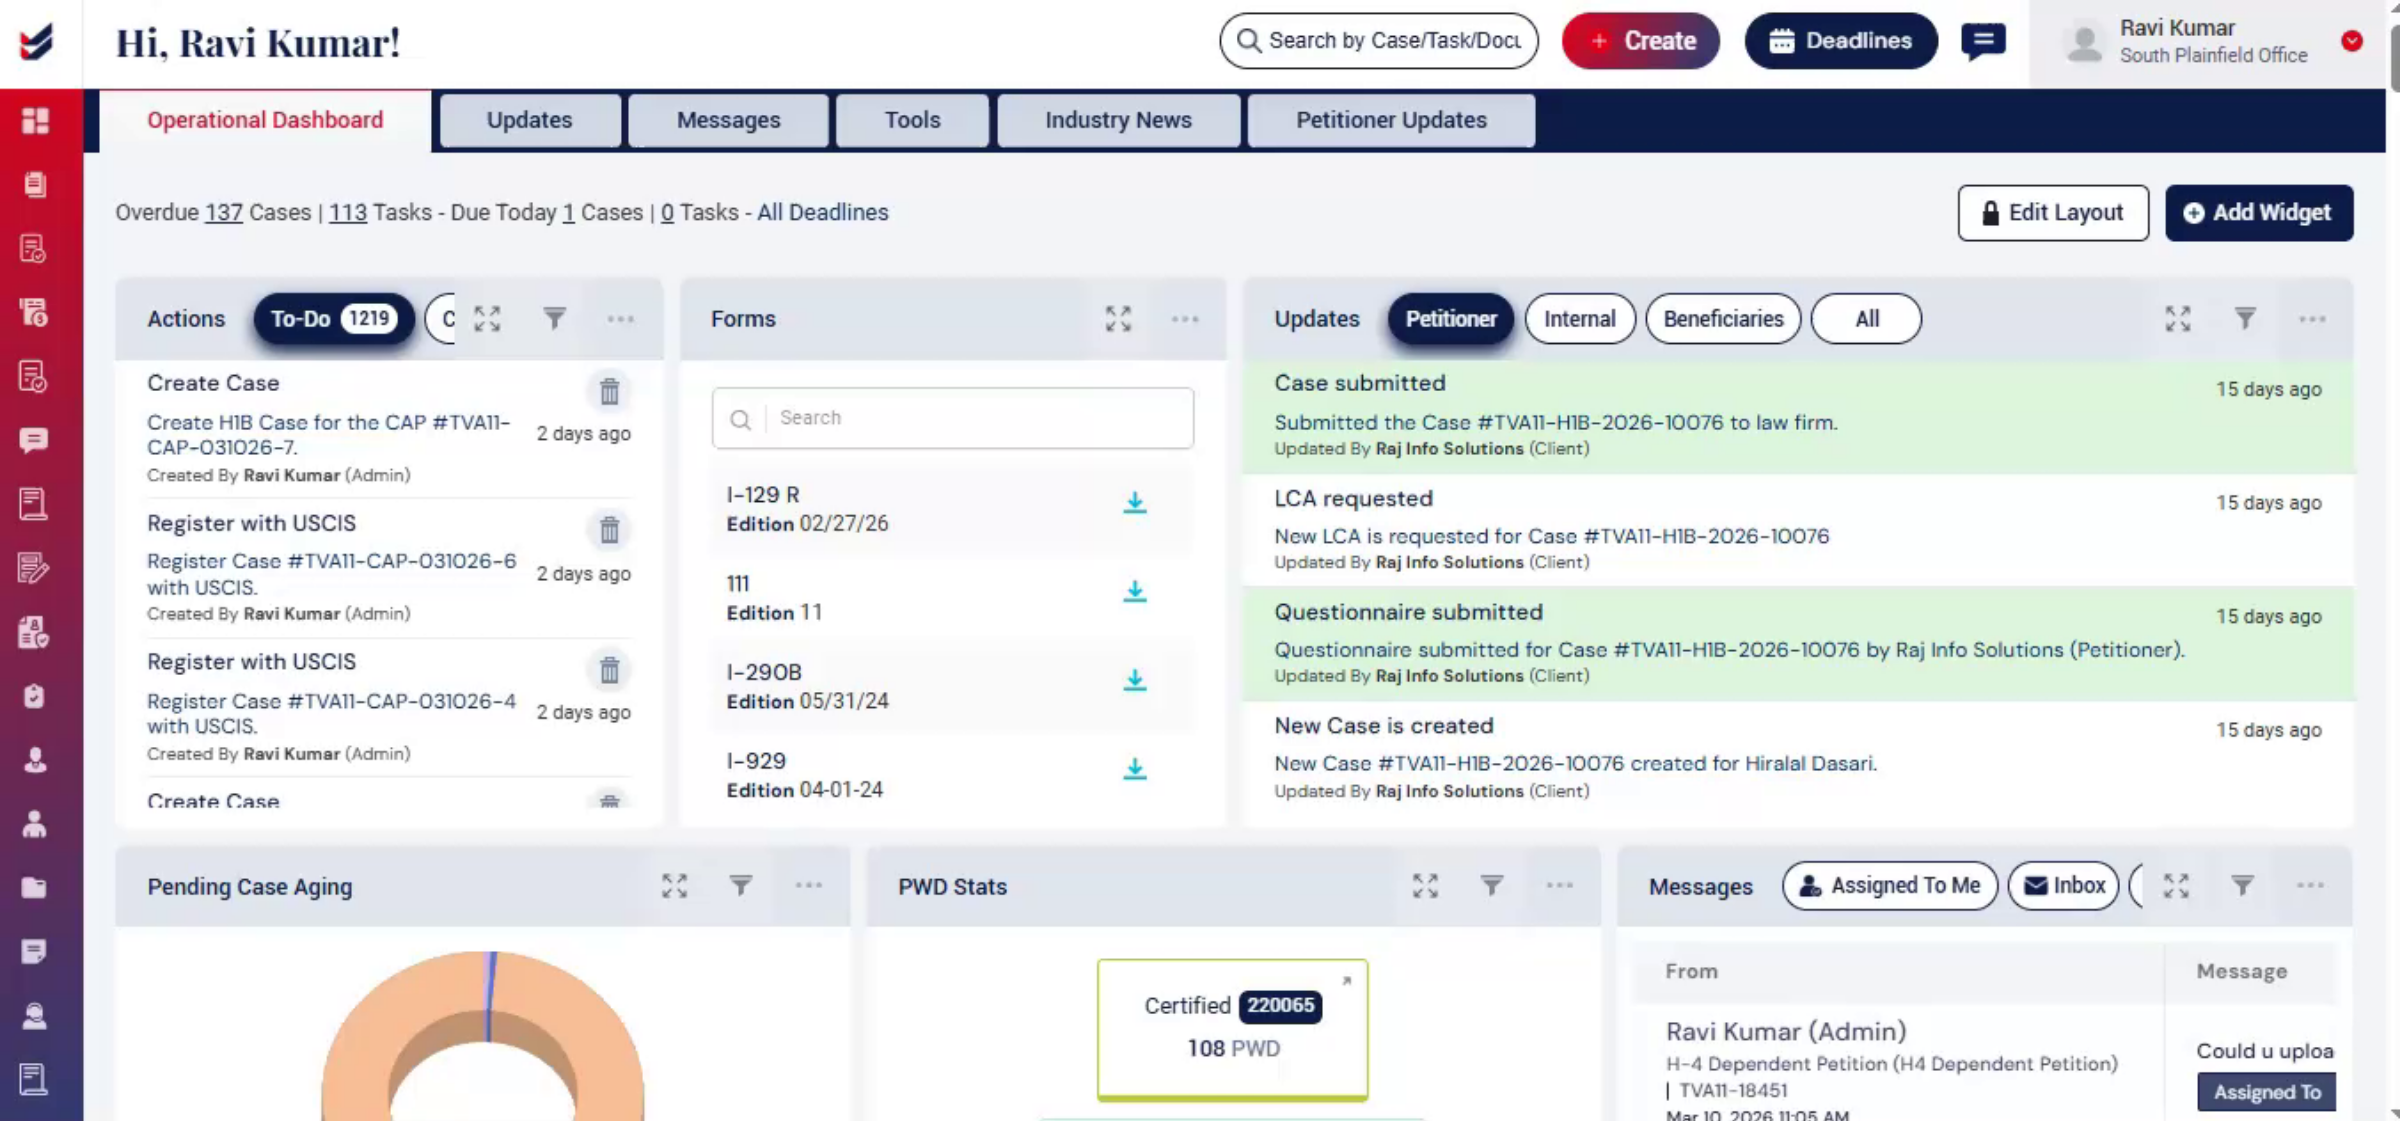
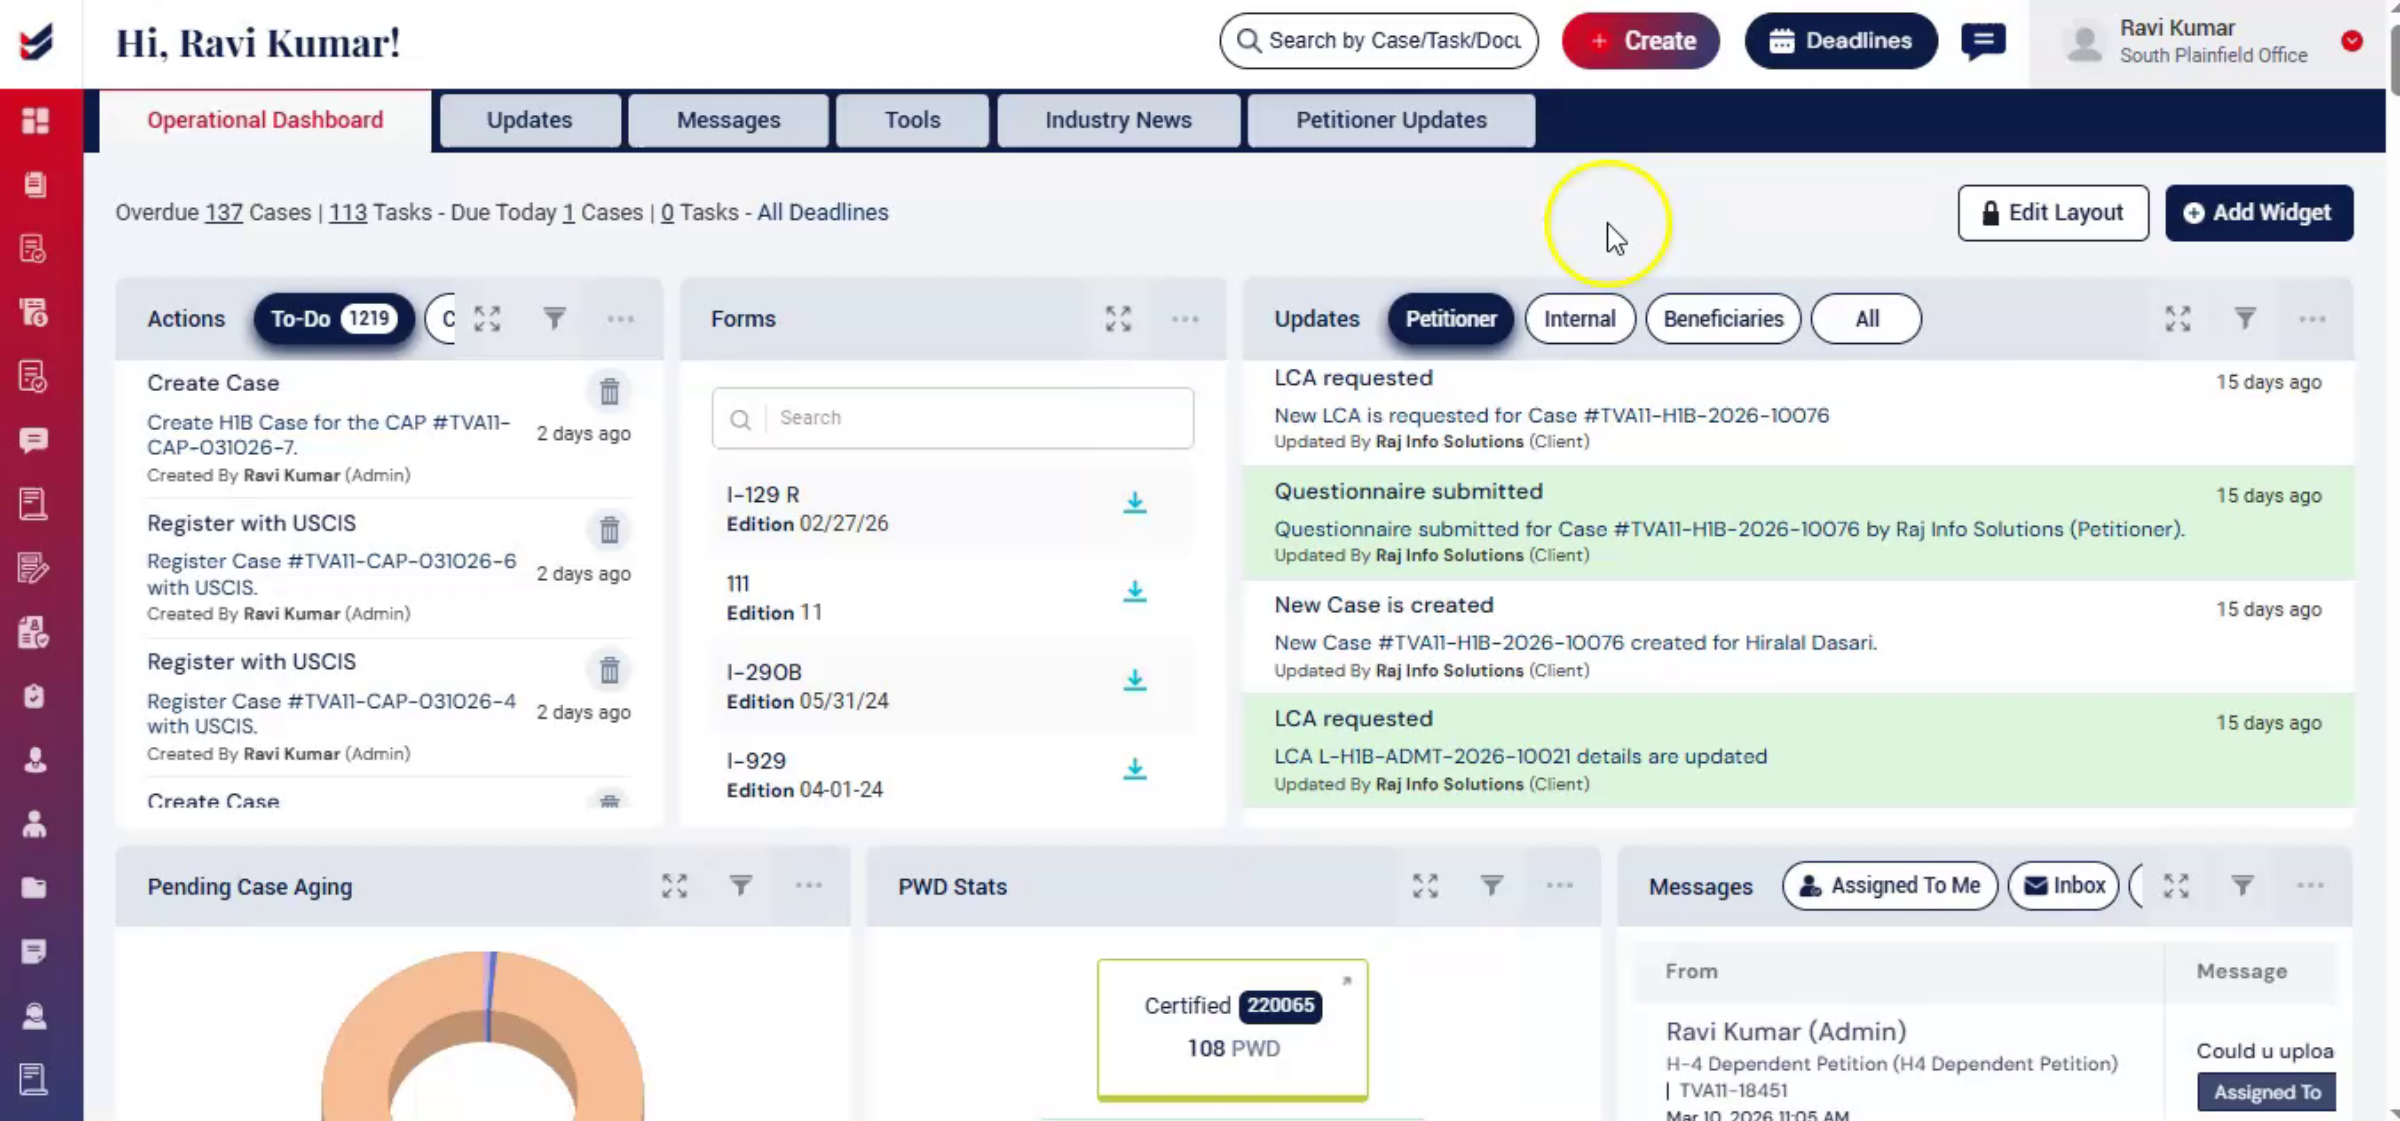
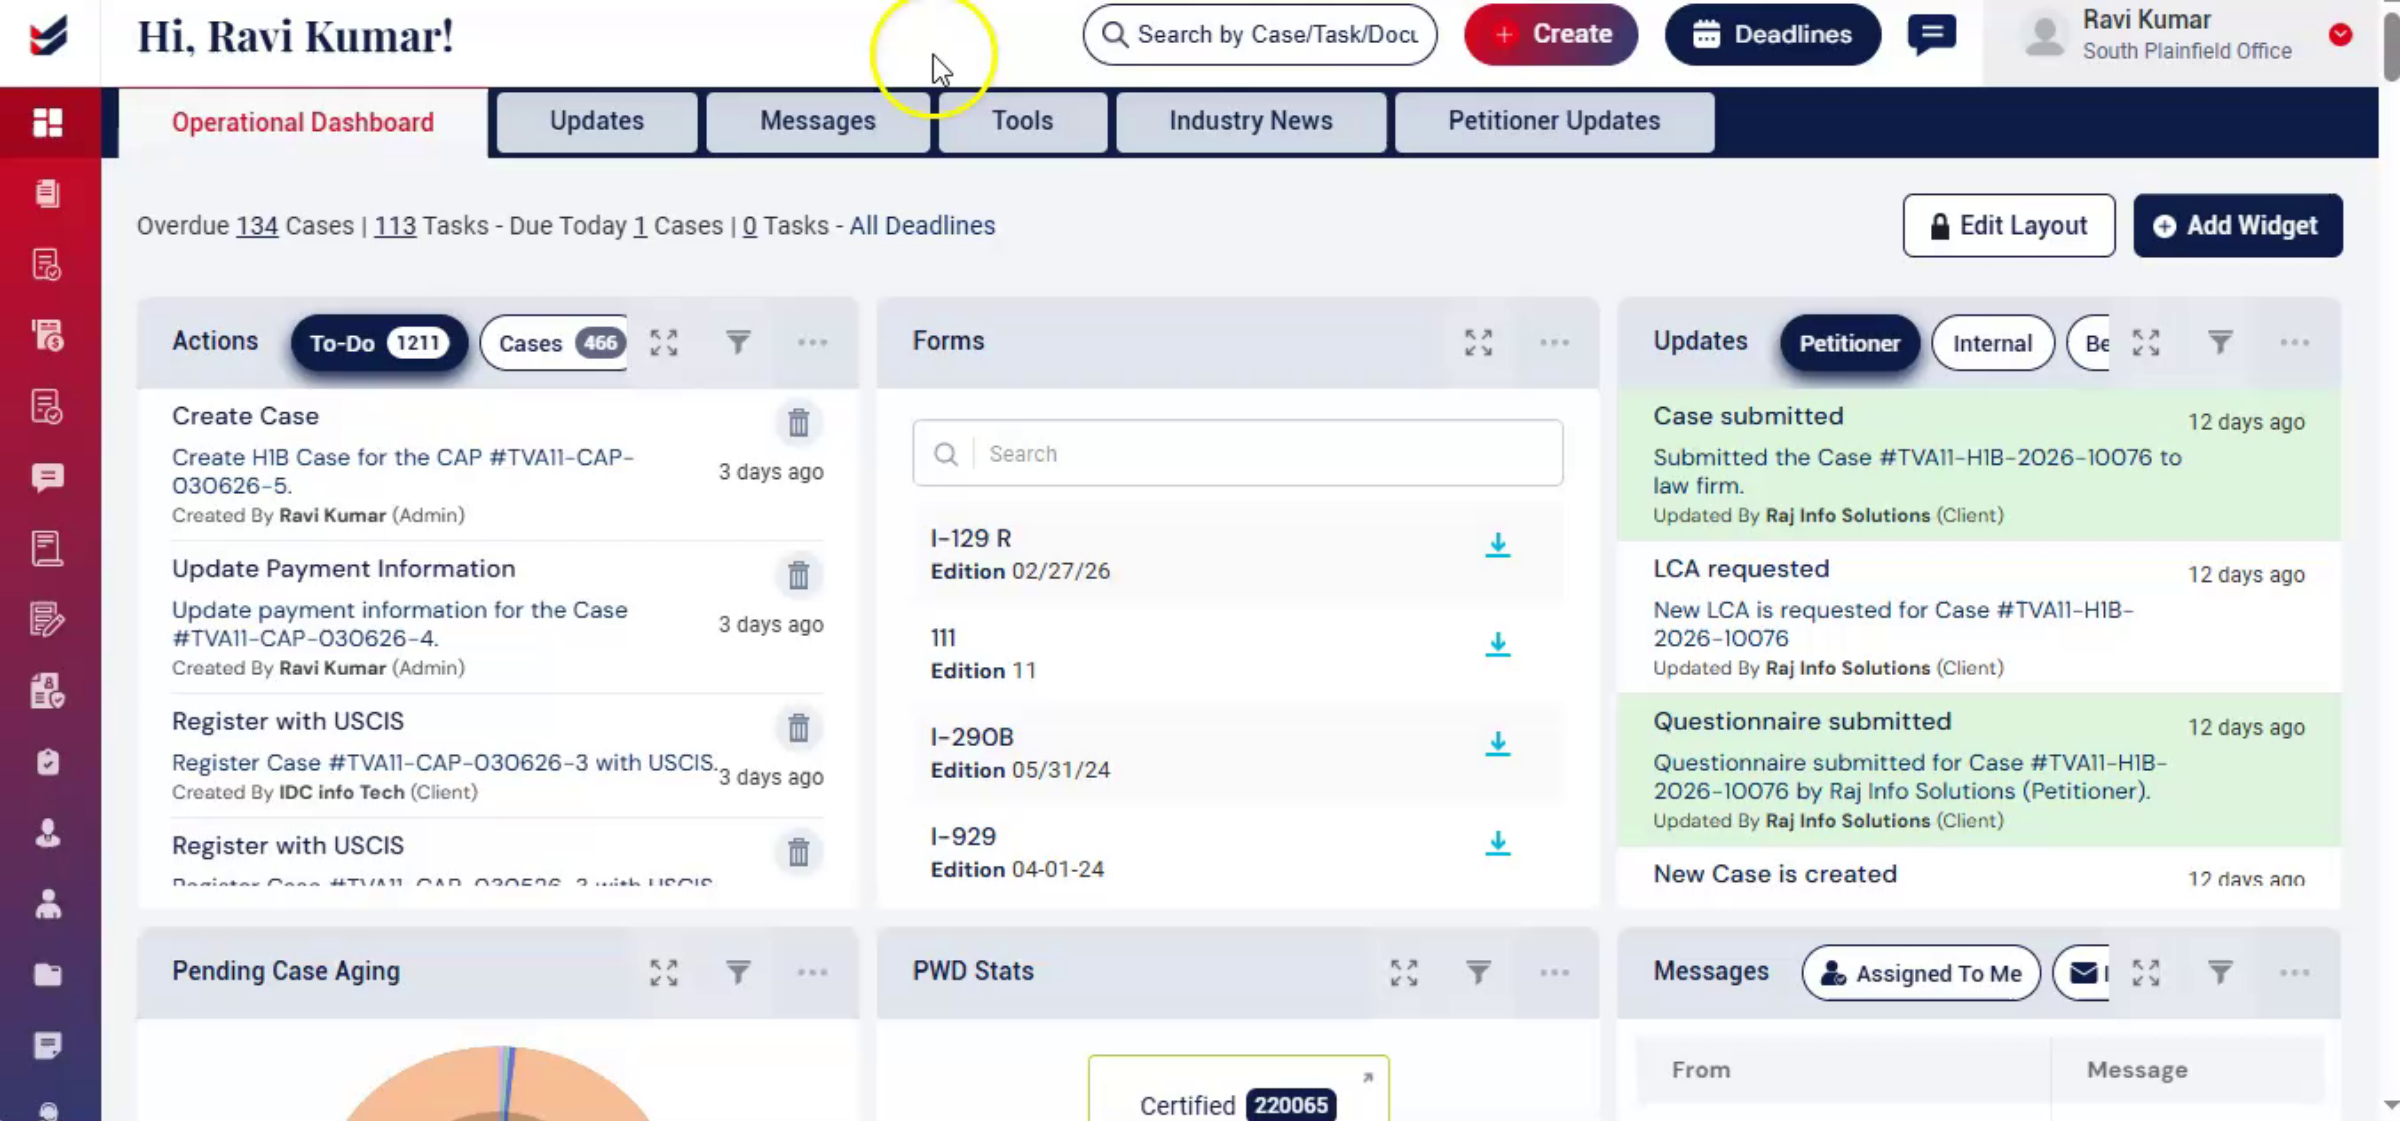
The Operational Dashboard is the default home screen displayed after login. It provides a centralized view of key information through widgets such as case lists, messages, tasks, and updates. Users can customize the layout, add widgets, and apply filters to display relevant data. All changes are personalized and visible only to the user.
2. Editing the Dashboard Layout
 * click the image to view enlarged
By default, the Edit Layout option is locked to prevent accidental changes. Click the Edit Layout button to unlock the dashboard and enable layout customization.
Once unlocked, users can:
Change the layout of widgets,
Adjust widget height,
Duplicate or delete widgets,
Move widgets to different positions,
Rename widget titles.
3. Duplicating a Layout
 * click the image to view enlarged
Users can create additional dashboard layouts by duplicating an existing one. Click Edit Layout, then select the More Options menu for the layout. From the list, select Duplicate.
This creates a new layout containing the same widgets and configuration, which can then be customized further.
4. Customizing Widgets and Applying Filters
 * click the image to view enlarged
To customize the data displayed in a widget, click Edit Layout, then select the Settings icon on the particular widget.
An Update Settings window will appear where users can rename the widget in the Title section.
In the Filters section below, users can select the Case Type, Case Subtype, Petitioner, Branch, Created Date Range, or Number of Records as required to filter the data.
The widget will then display only the information that matches the selected filters. Users can also apply filters directly within widgets by clicking the Filter icon and selecting the desired options.
Filters applied on the dashboard are user-specific, meaning they apply only to the currently logged-in user and will not affect other users’ dashboard views.
5. Additional Widget Options
 * click the image to view enlarged
To the left of the Settings icon, there is a Wide option. Clicking this option expands the widget and displays it in a wider view on the screen.
To the right of the Settings icon, there is a More Options menu, which provides additional options such as deleting the widget.
Users can also move widgets on the dashboard. To move a widget, click and hold the top section of the widget, then drag it to the desired position on the Operational Dashboard.
After making the required changes, click Edit Layout again to lock the dashboard layout.
6. Adding Widgets
 * click the image to view enlarged
To add new widgets, click the Add Widget button.
Users can browse or search from a wide range of available widgets, each designed to display specific system activities and summaries.
Each widget includes a short description explaining its purpose and functionality.
Once added, the widget will appear on the dashboard and can be repositioned or customized as needed.
7. Updates Tab
 * click the image to view enlarged
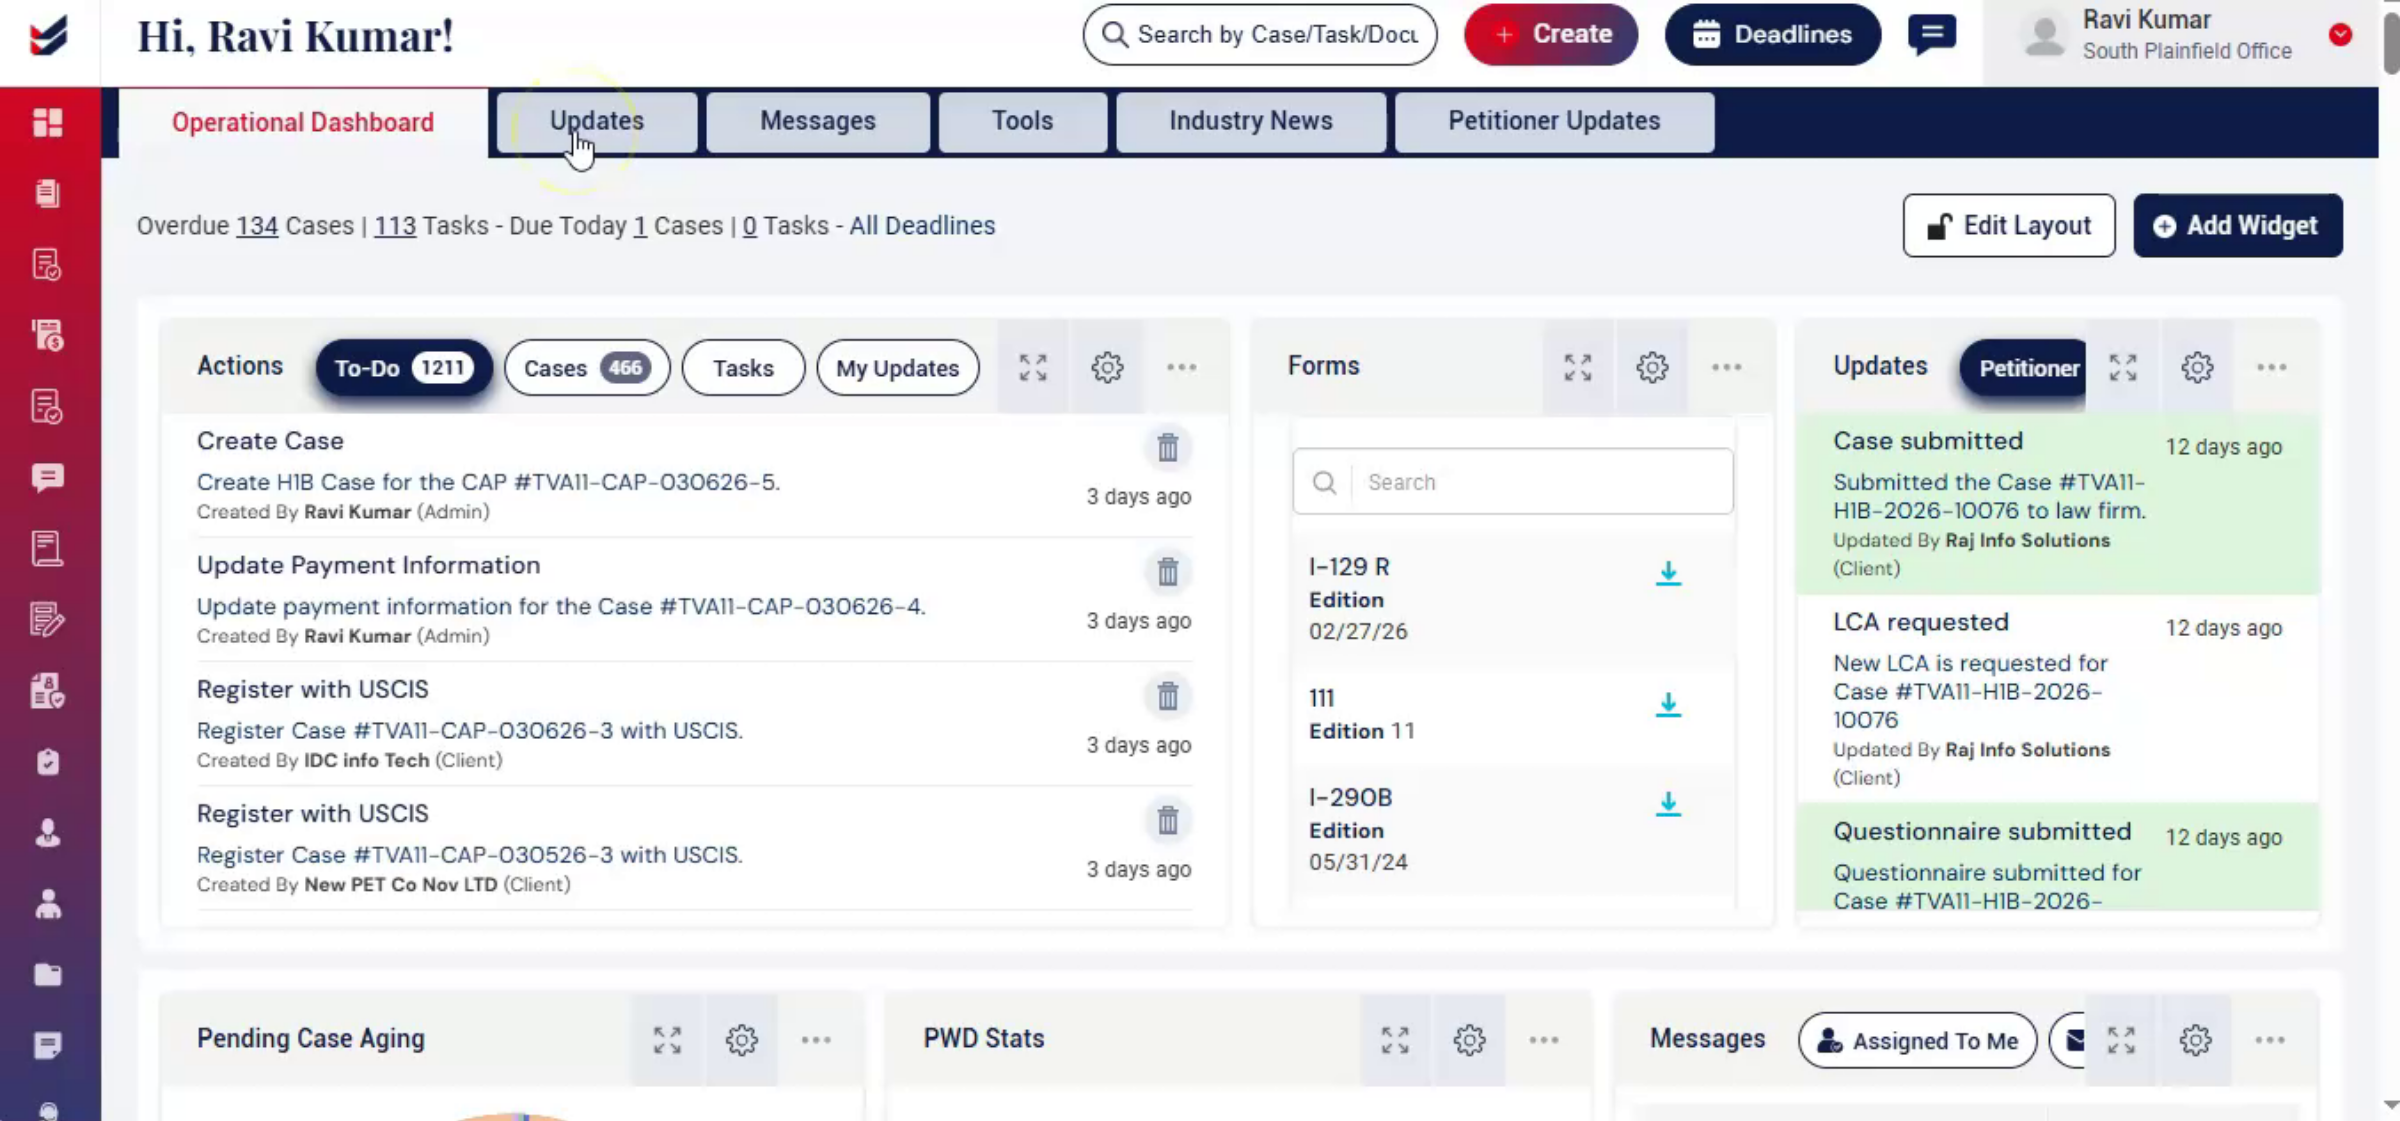
The Updates tab displays activities performed by users within the system, including timestamps, notes, and related documents. Users can filter updates by case category, user, or date to track specific activities. Each update is color-coded based on the type of action performed, making it easier to identify activities quickly. Clicking an update will navigate directly to the related case or record.
8. Messages Tab
 * click the image to view enlarged
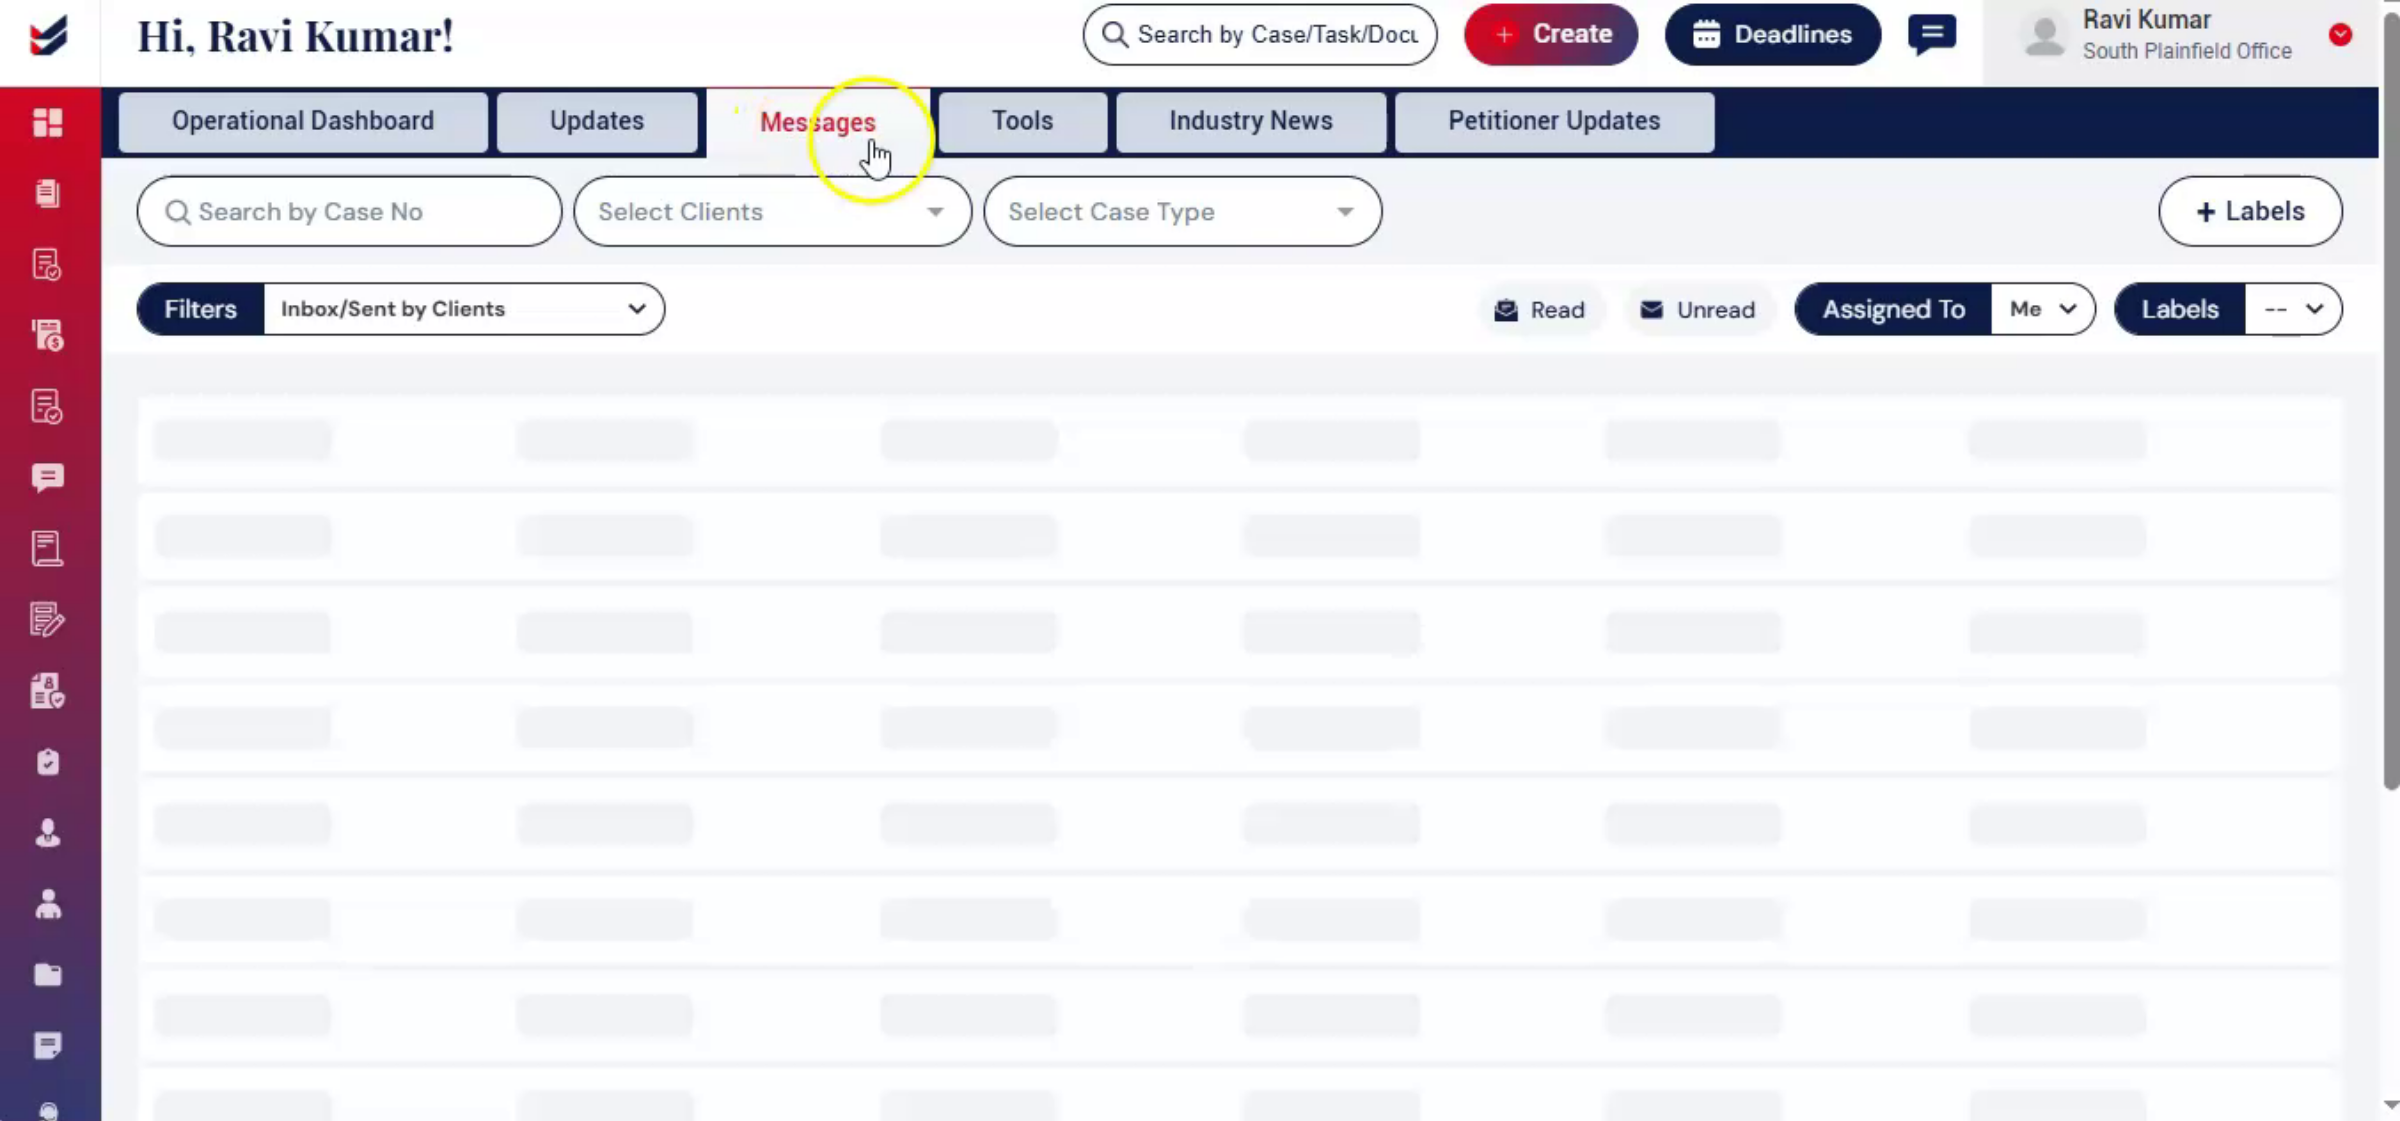
The Messages tab provides a centralized view of communication between users and clients.
These messages are the same ones displayed within individual cases but are consolidated here for easy access.
Messages can also be accessed through the Messages section in the left navigation or through notifications in the top navigation bar.
9. Tools Tab
 * click the image to view enlarged
ImmiBox provides advanced tools to help users work more efficiently. One tool allows users to upload multiple USCIS notices, and the system automatically identifies the case number update the corresponding case. To learn more, refer to the Tool Management Guide. Another tool enables users to generate a G-28 form without creating a case.
10. Industry News Tab
 * click the image to view enlarged
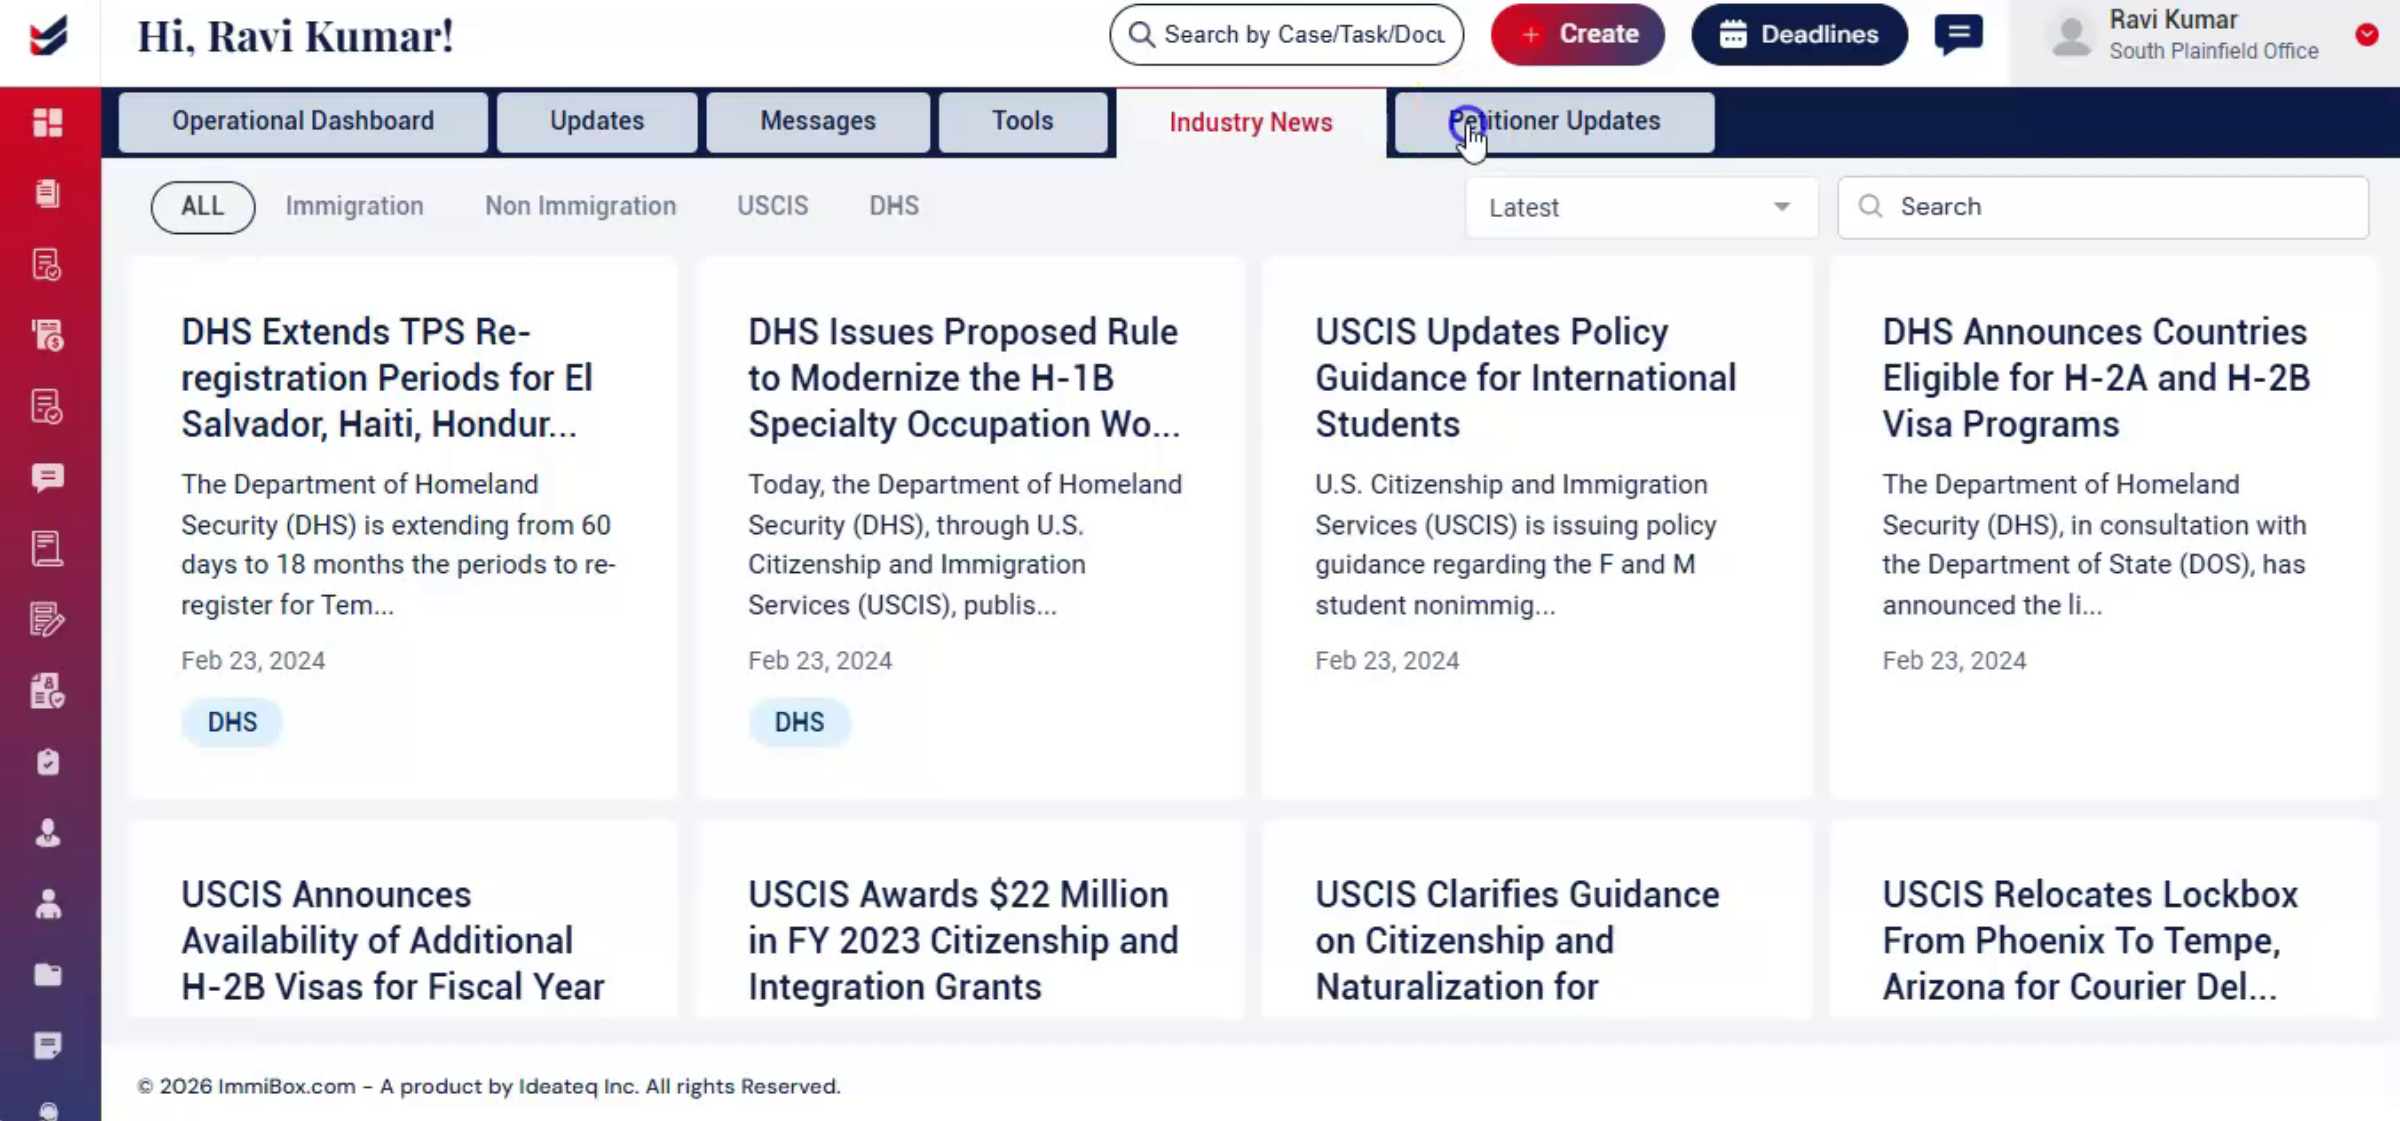
The Industry News section provides updates related to immigration policies, non-immigration updates, and USCIS announcements.
Each article includes a short summary and a link to the original source for more details.
Users can filter articles by category or date for quick reference.
11. Petitioner Updates Tab
 * click the image to view enlarged
Next, Click on the Petitioner Updates tab. This section helps Law Firms to share any updates to the Petitioners. These updates may be instructions, policy updates, precautions, travel guide, etc. Law Firm can post relevant content or share a link with a suitable title. It is a very useful section to have better connection for the Law Firm with Petitioners.
With the help of Create option you can send messages or add updates directly to the petitioner from this section.
12. Conclusion
 * click the image to view enlarged
The Dashboard in ImmiBox provides a centralized and customizable workspace for managing case activities and important updates. With these features, ImmiBox helps streamline workflows and improve overall productivity.

