

E-Filing in ImmiBox
Overview
Welcome! In this video, we’ll walk through the E-Filing process in ImmiBox for U. S. immigration law firms and legal teams.
1. Introduction
 * click the image to view enlarged
ImmiBox E-Filing streamlines case preparation and electronic submission through a centralized workflow.
ImmiBox continuously expands support for additional USCIS and DOL forms.
2. Before E-Filing
 * click the image to view enlarged
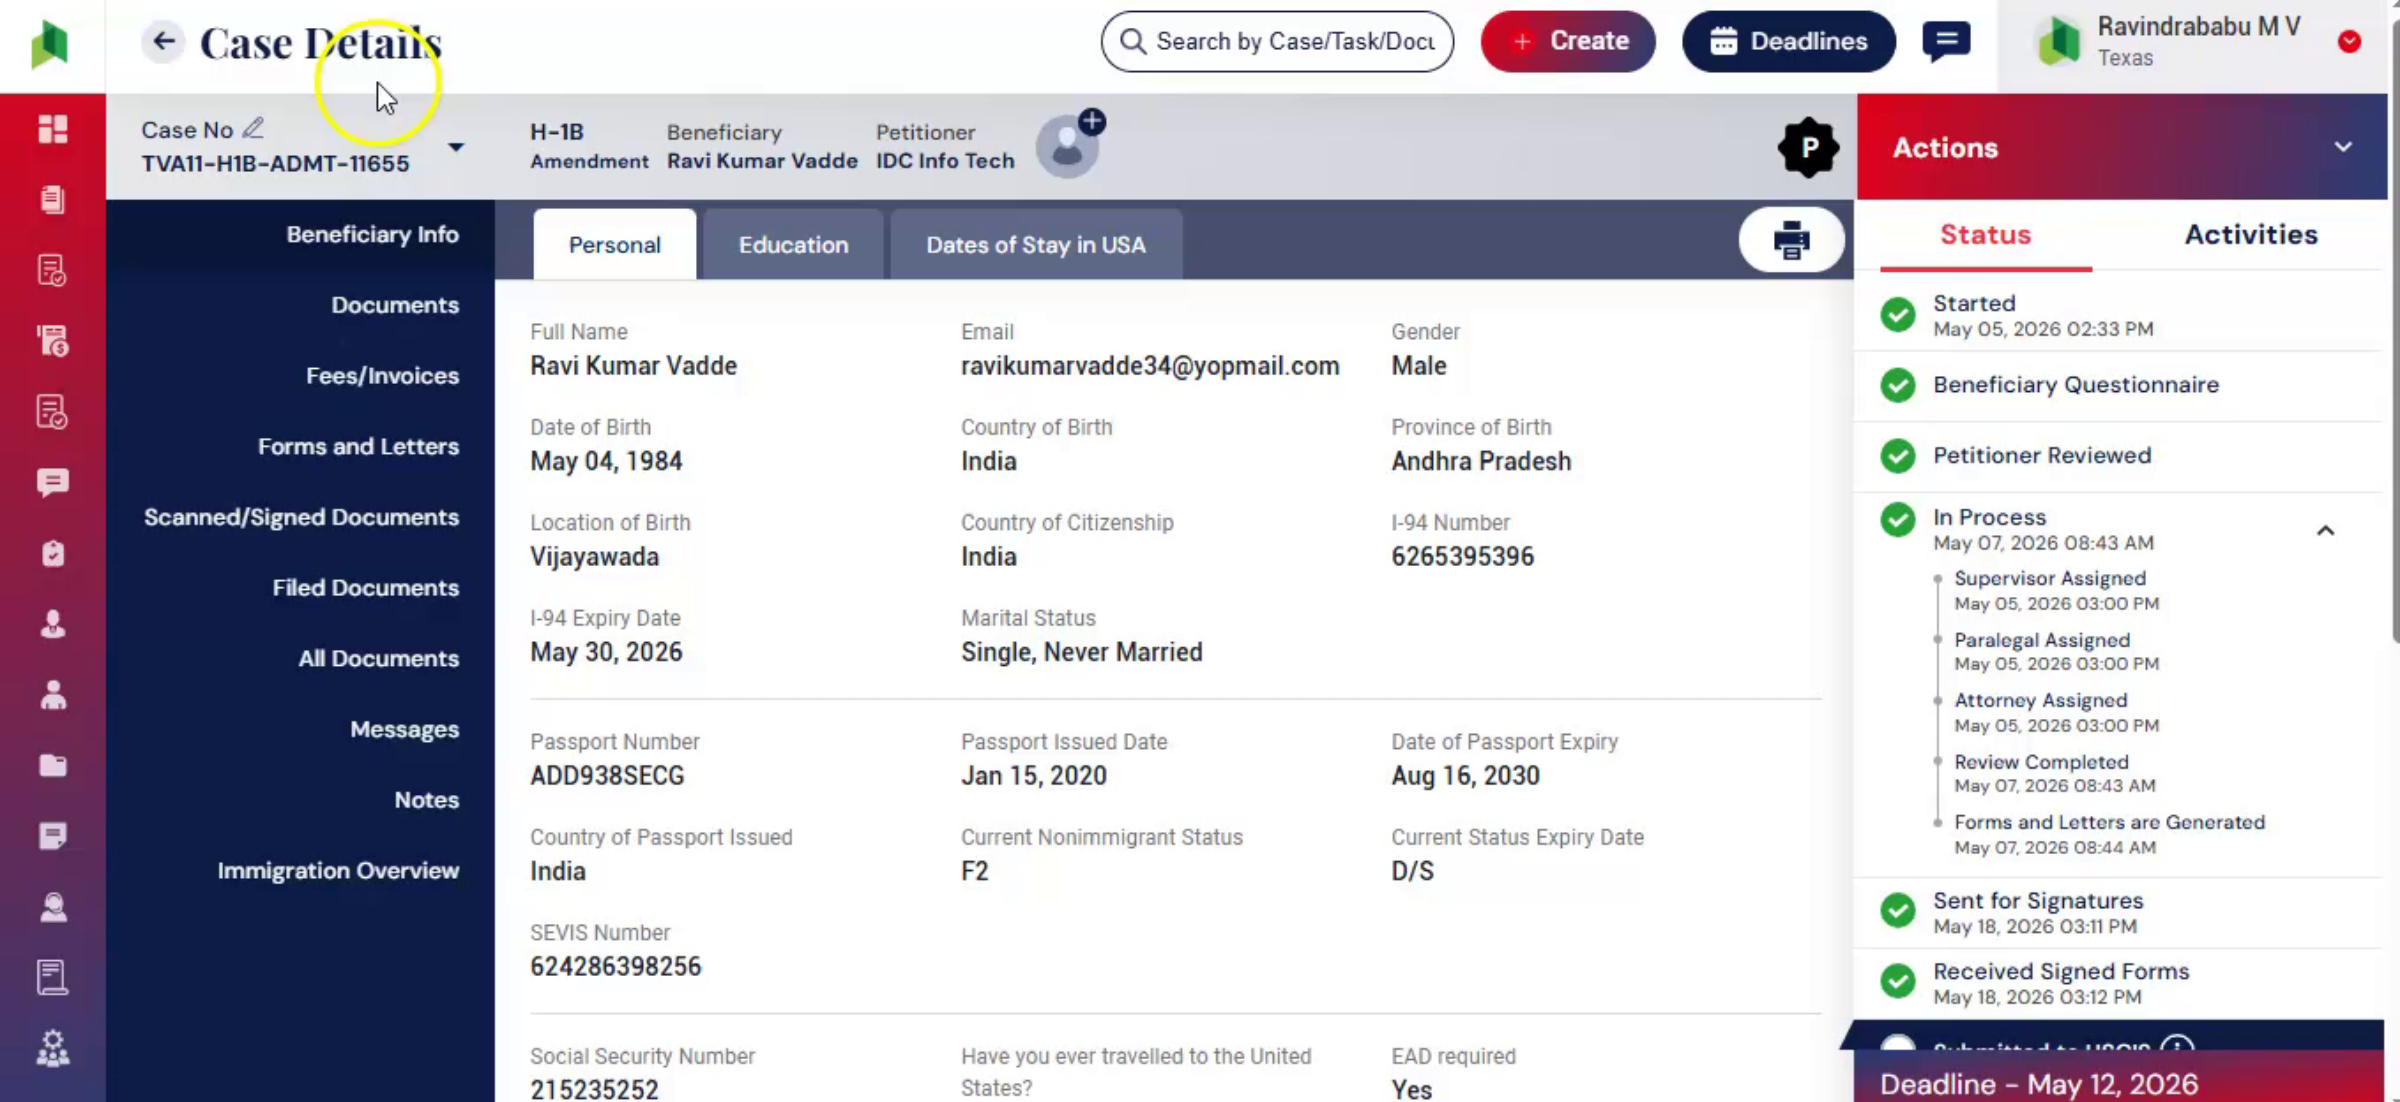
Before starting the e-filing process, the required workflow stages and supporting documentation, should be completed.
The case, questionnaire must first be completed with all required information.
Once the questionnaire is finalized, the required forms letters and supporting documents should be generated reviewed and approved.
3. Case Preparation for different Case Types
 * click the image to view enlarged
Depending on the case type additional filing requirements may apply.
For example, H1B filings require a completed and certified LCA Supporting evidence. And employer documentation, may also be mandatory for employment-based cases.
Certain case types may require signed letters and documents from the petitioner.
All required forms and letters should be generated signed and uploaded before moving to e-filing.
Please also, note that the standard PDF forms are not really required when the case is being filed electronically.
This helps ensure the case is fully filing, ready before submission.
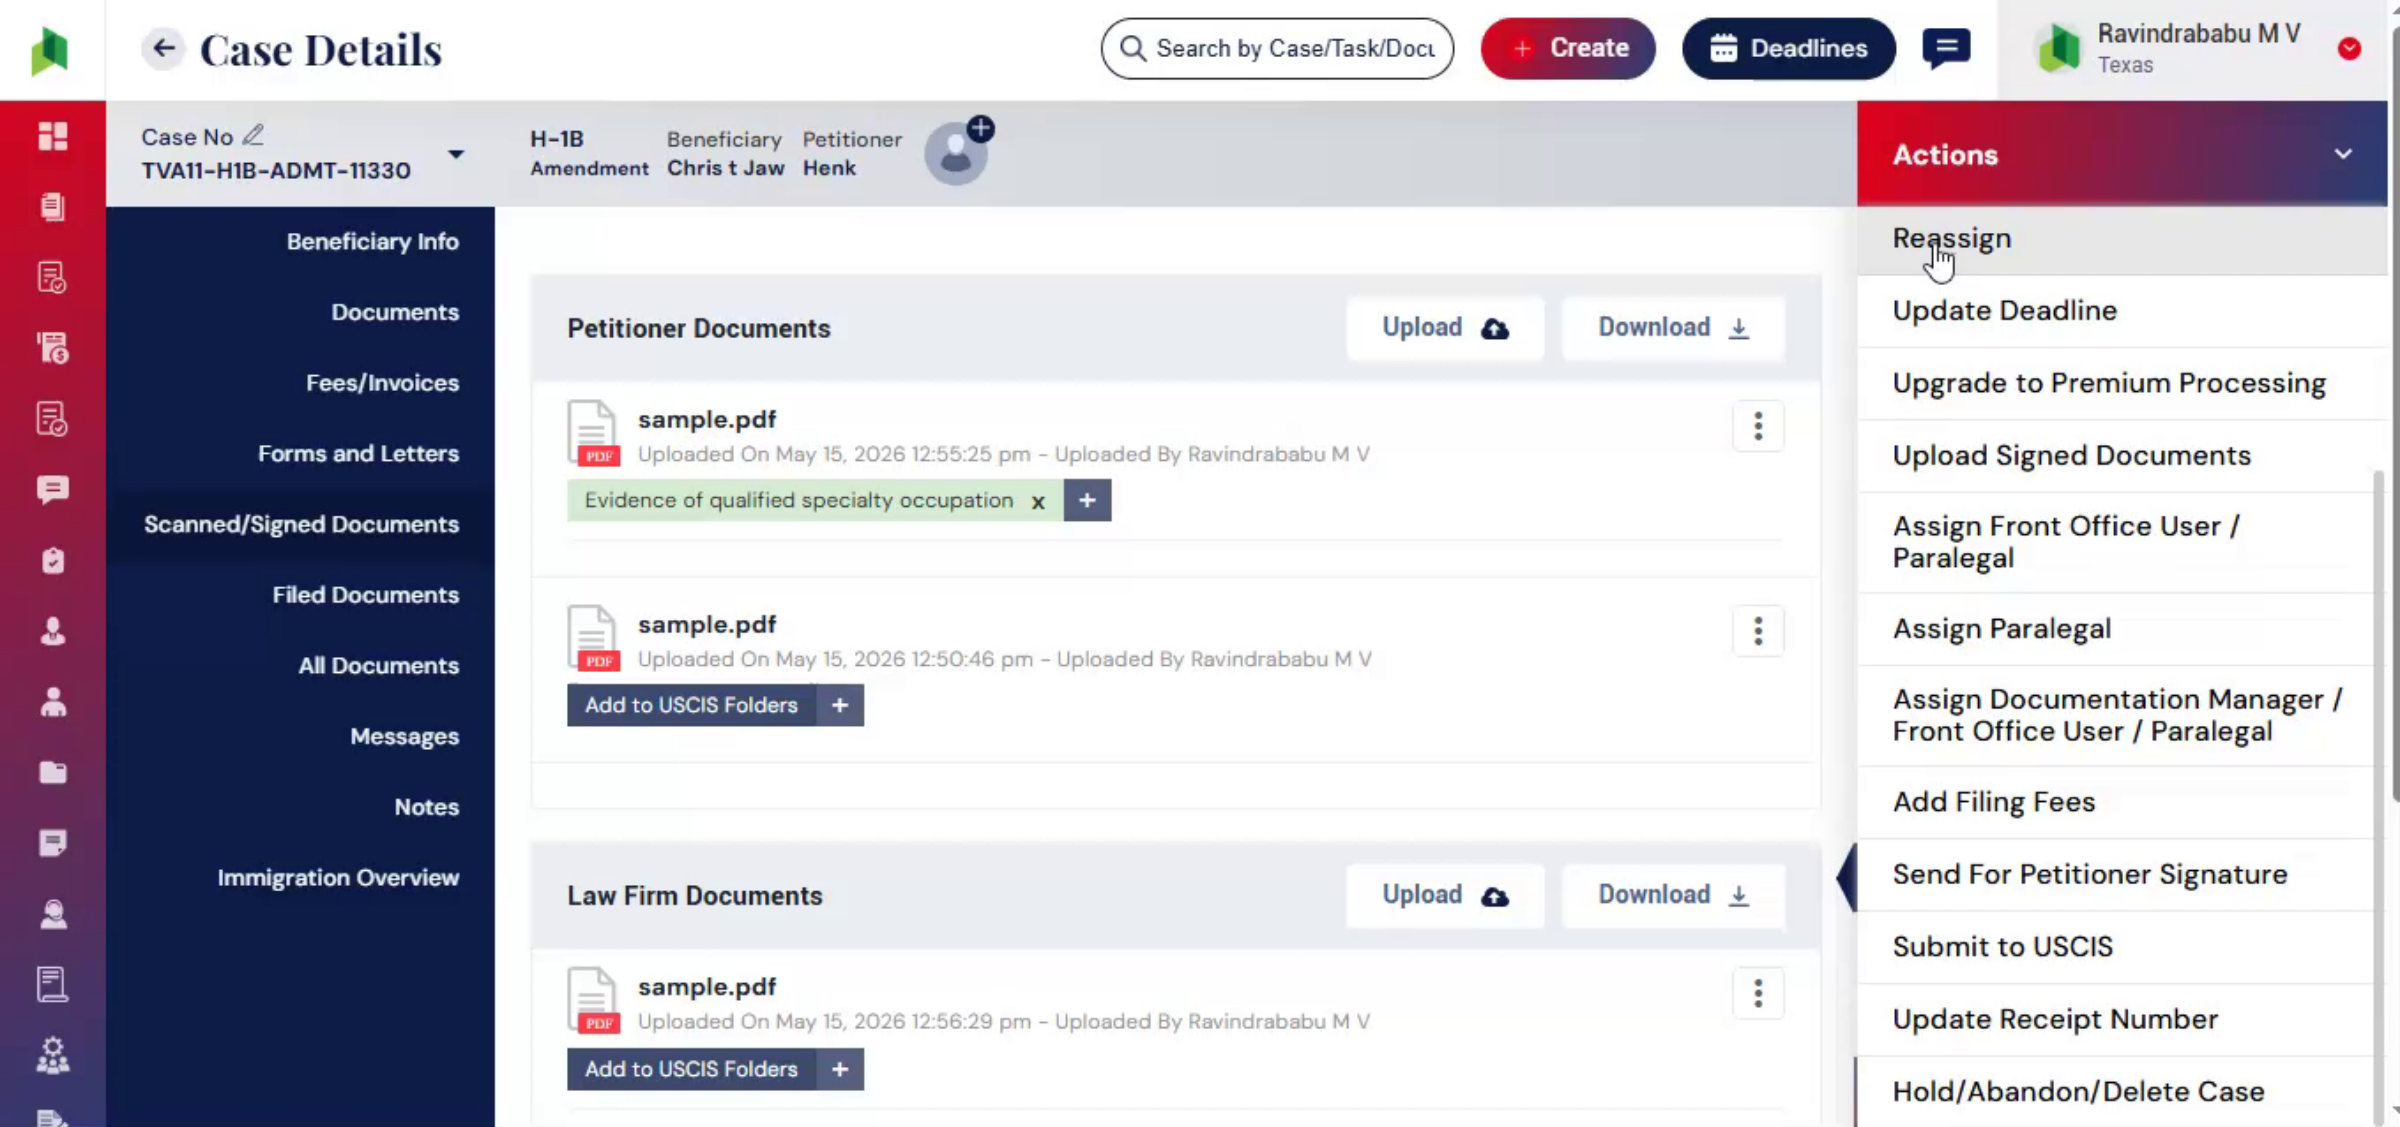
4. Document Categorization Before Filing
 * click the image to view enlarged
Before E-Filing, documents should be organized and categorized based on USCIS or DOL filing requirements.
In the Case Details page, open the Documents section to access all case-related documents.
For convenience, ImmiBox does the categorization by attaching suitable labels. It would be ideal to have this review before proceeding with e-filing.
This helps maintain a properly structured filing package before electronic submission.
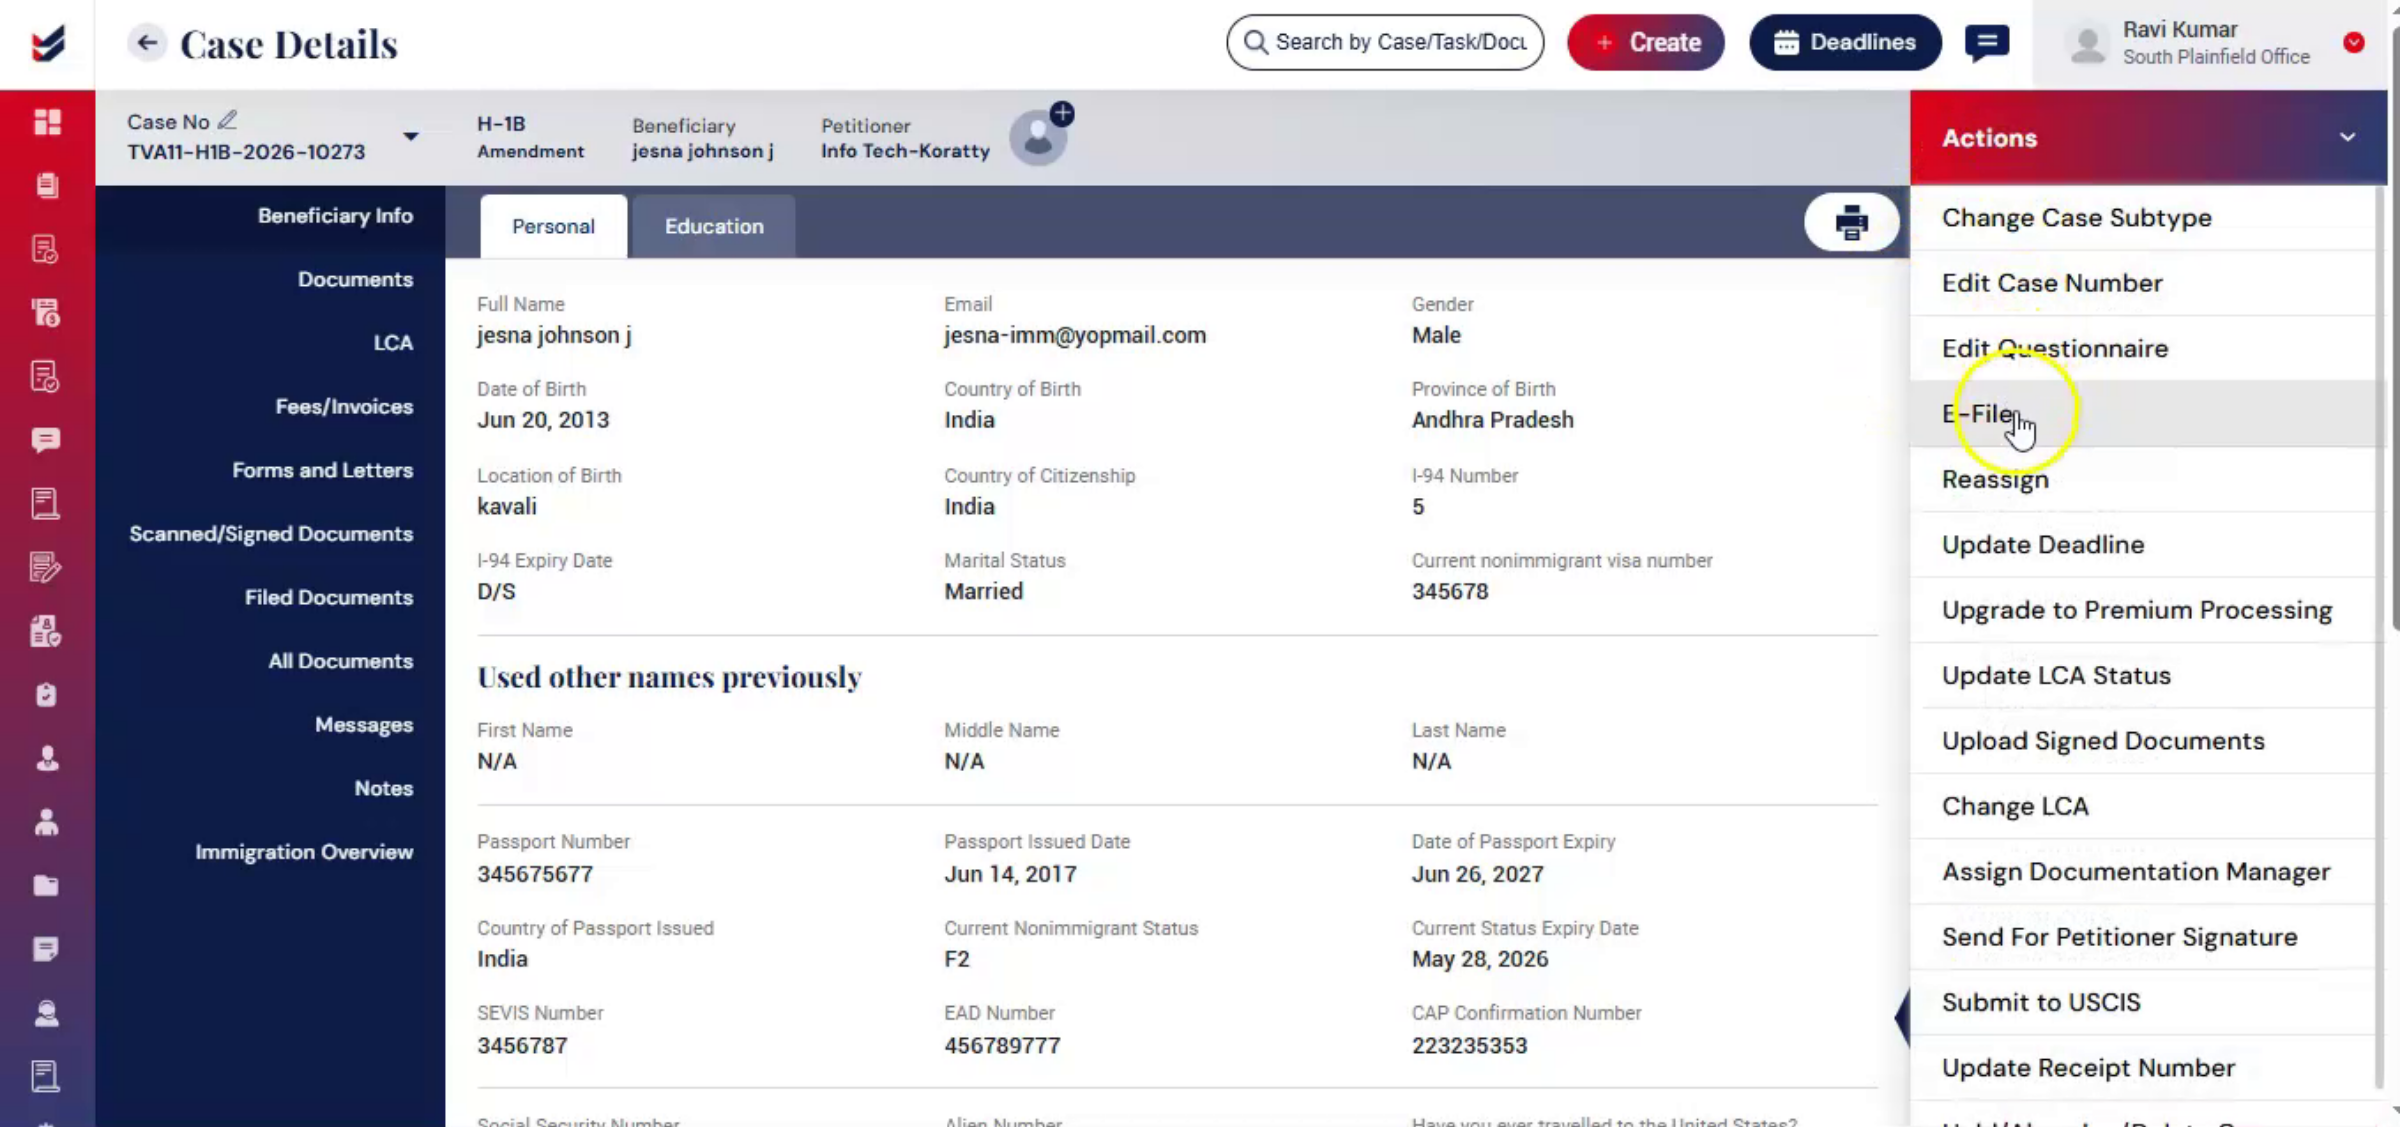
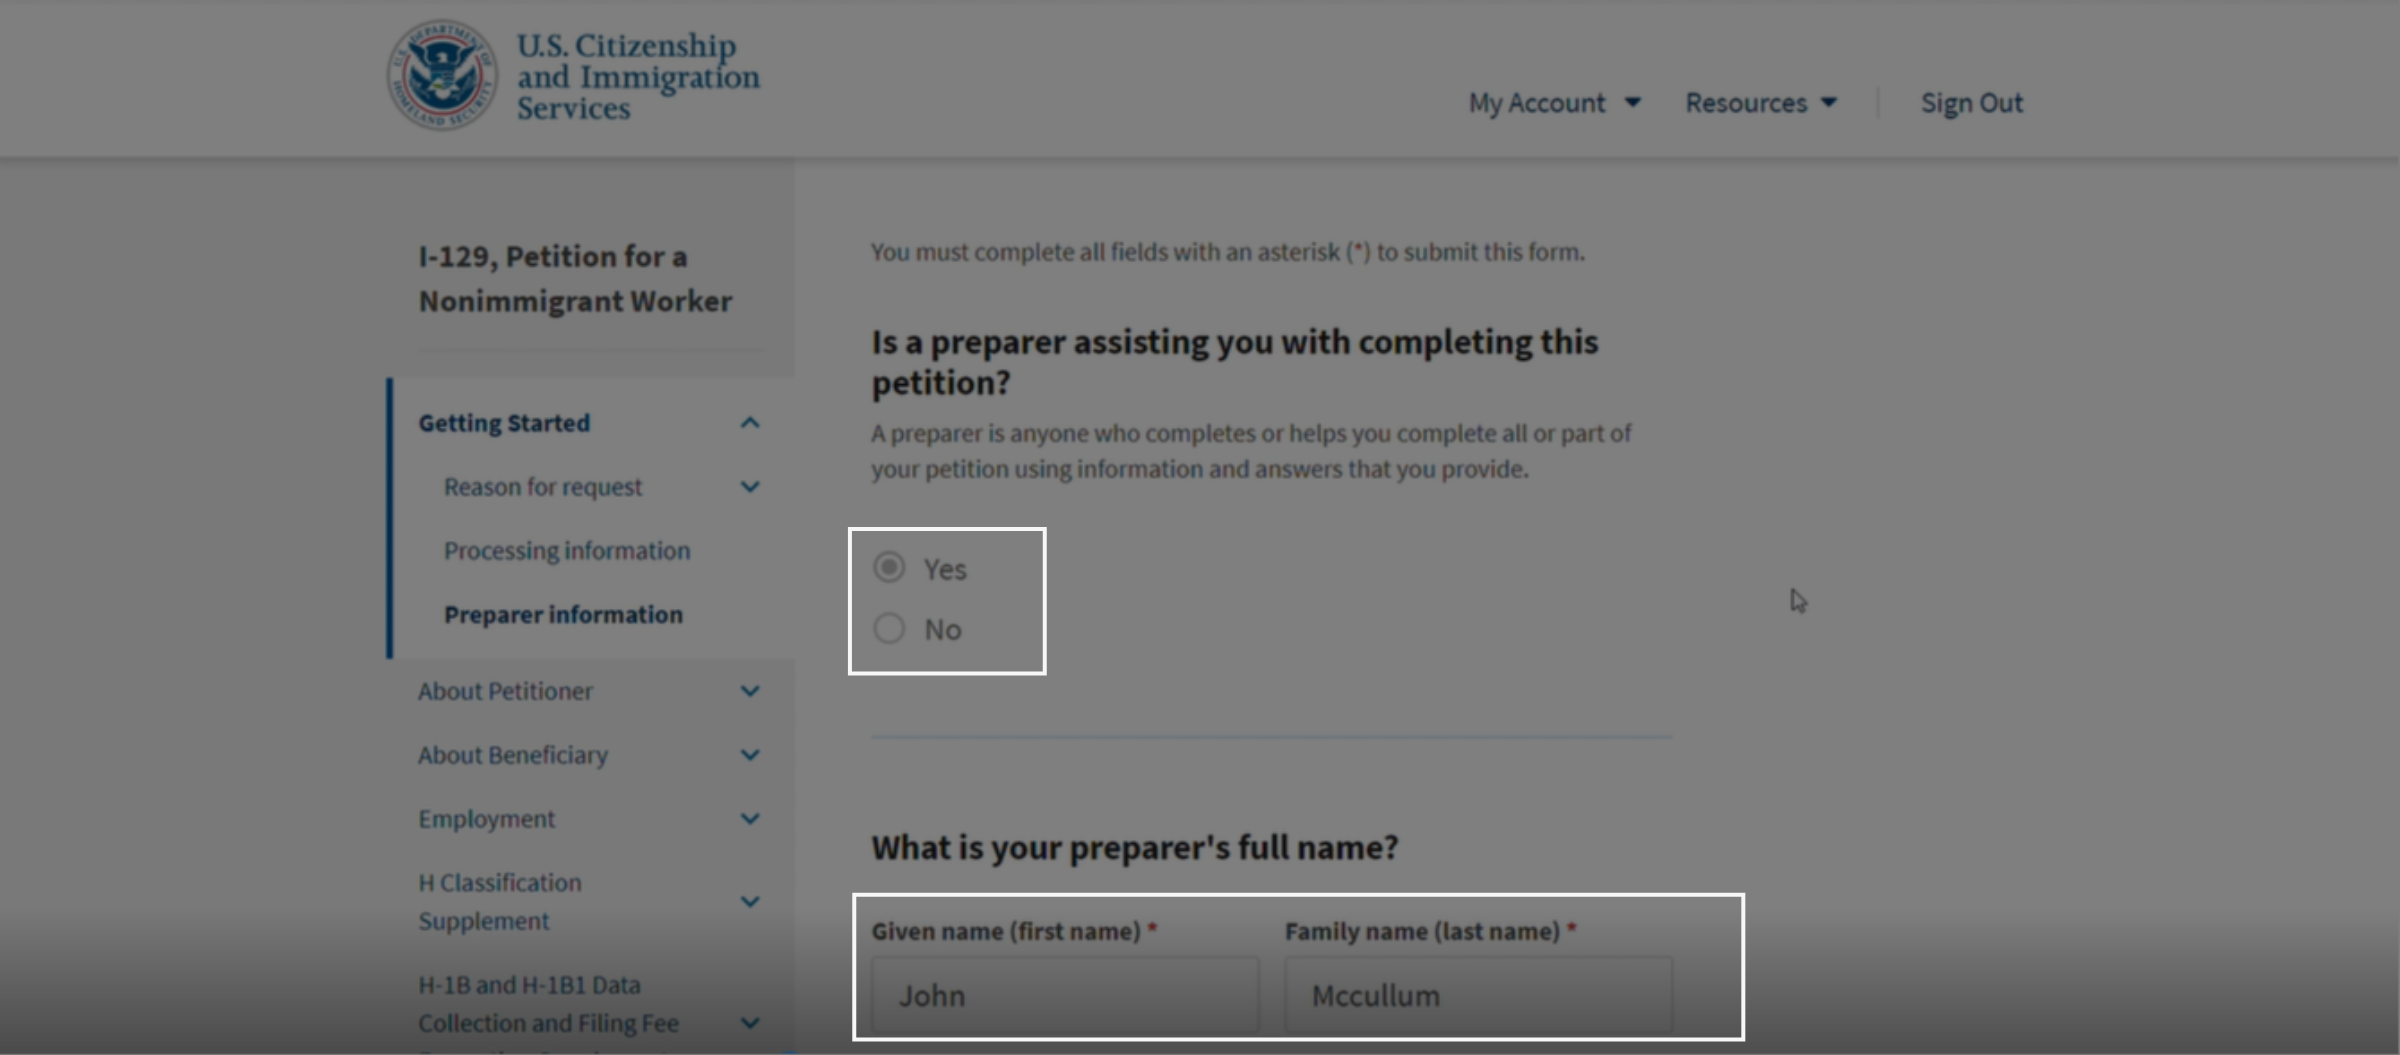
5. Attorney & Workflow Requirements
 * click the image to view enlarged
Before E-Filing can begin, the case must be assigned to the responsible Attorney, as per the default workflow. Even, if you want to reassign, you can reassign the attorney.
The assigned Attorney should upload their scanned electronic signature to their ImmiBox profile before initiating the e-filing process.
This will help ImmiBox generate Preparer Declaration document dynamically.
6. Start the E-Filing Process
 * click the image to view enlarged
Navigate to the Action tab and click the E-File button to begin the electronic filing process.
When initiating E-Filing for the first time, the system prompts users to install the ImmiBox Desktop Application required for filing integration.
7. E-Filing Dashboard
 * click the image to view enlarged
If the desktop application is already installed, ImmiBox automatically redirects the user to the corresponding case inside the application. Please note that the Desktop application functions the same as ImmiBox web application.
From there, select the E-File option to continue.
Based on the filing type, the system redirects users to the appropriate USCIS or DOL filing portal for login.
8. E-Filing - Automatication
 * click the image to view enlarged
After login, ImmiBox automatically prepares and transfers the corresponding case information into the filing workflow.
The system may take a few moments to complete the automated filing preparation process.
9. Automatication Completed
 * click the image to view enlarged
During this process, users should avoid clicking or entering information while the automation is running.
Once the automated process is completed, the system prompts users to review the filing details.
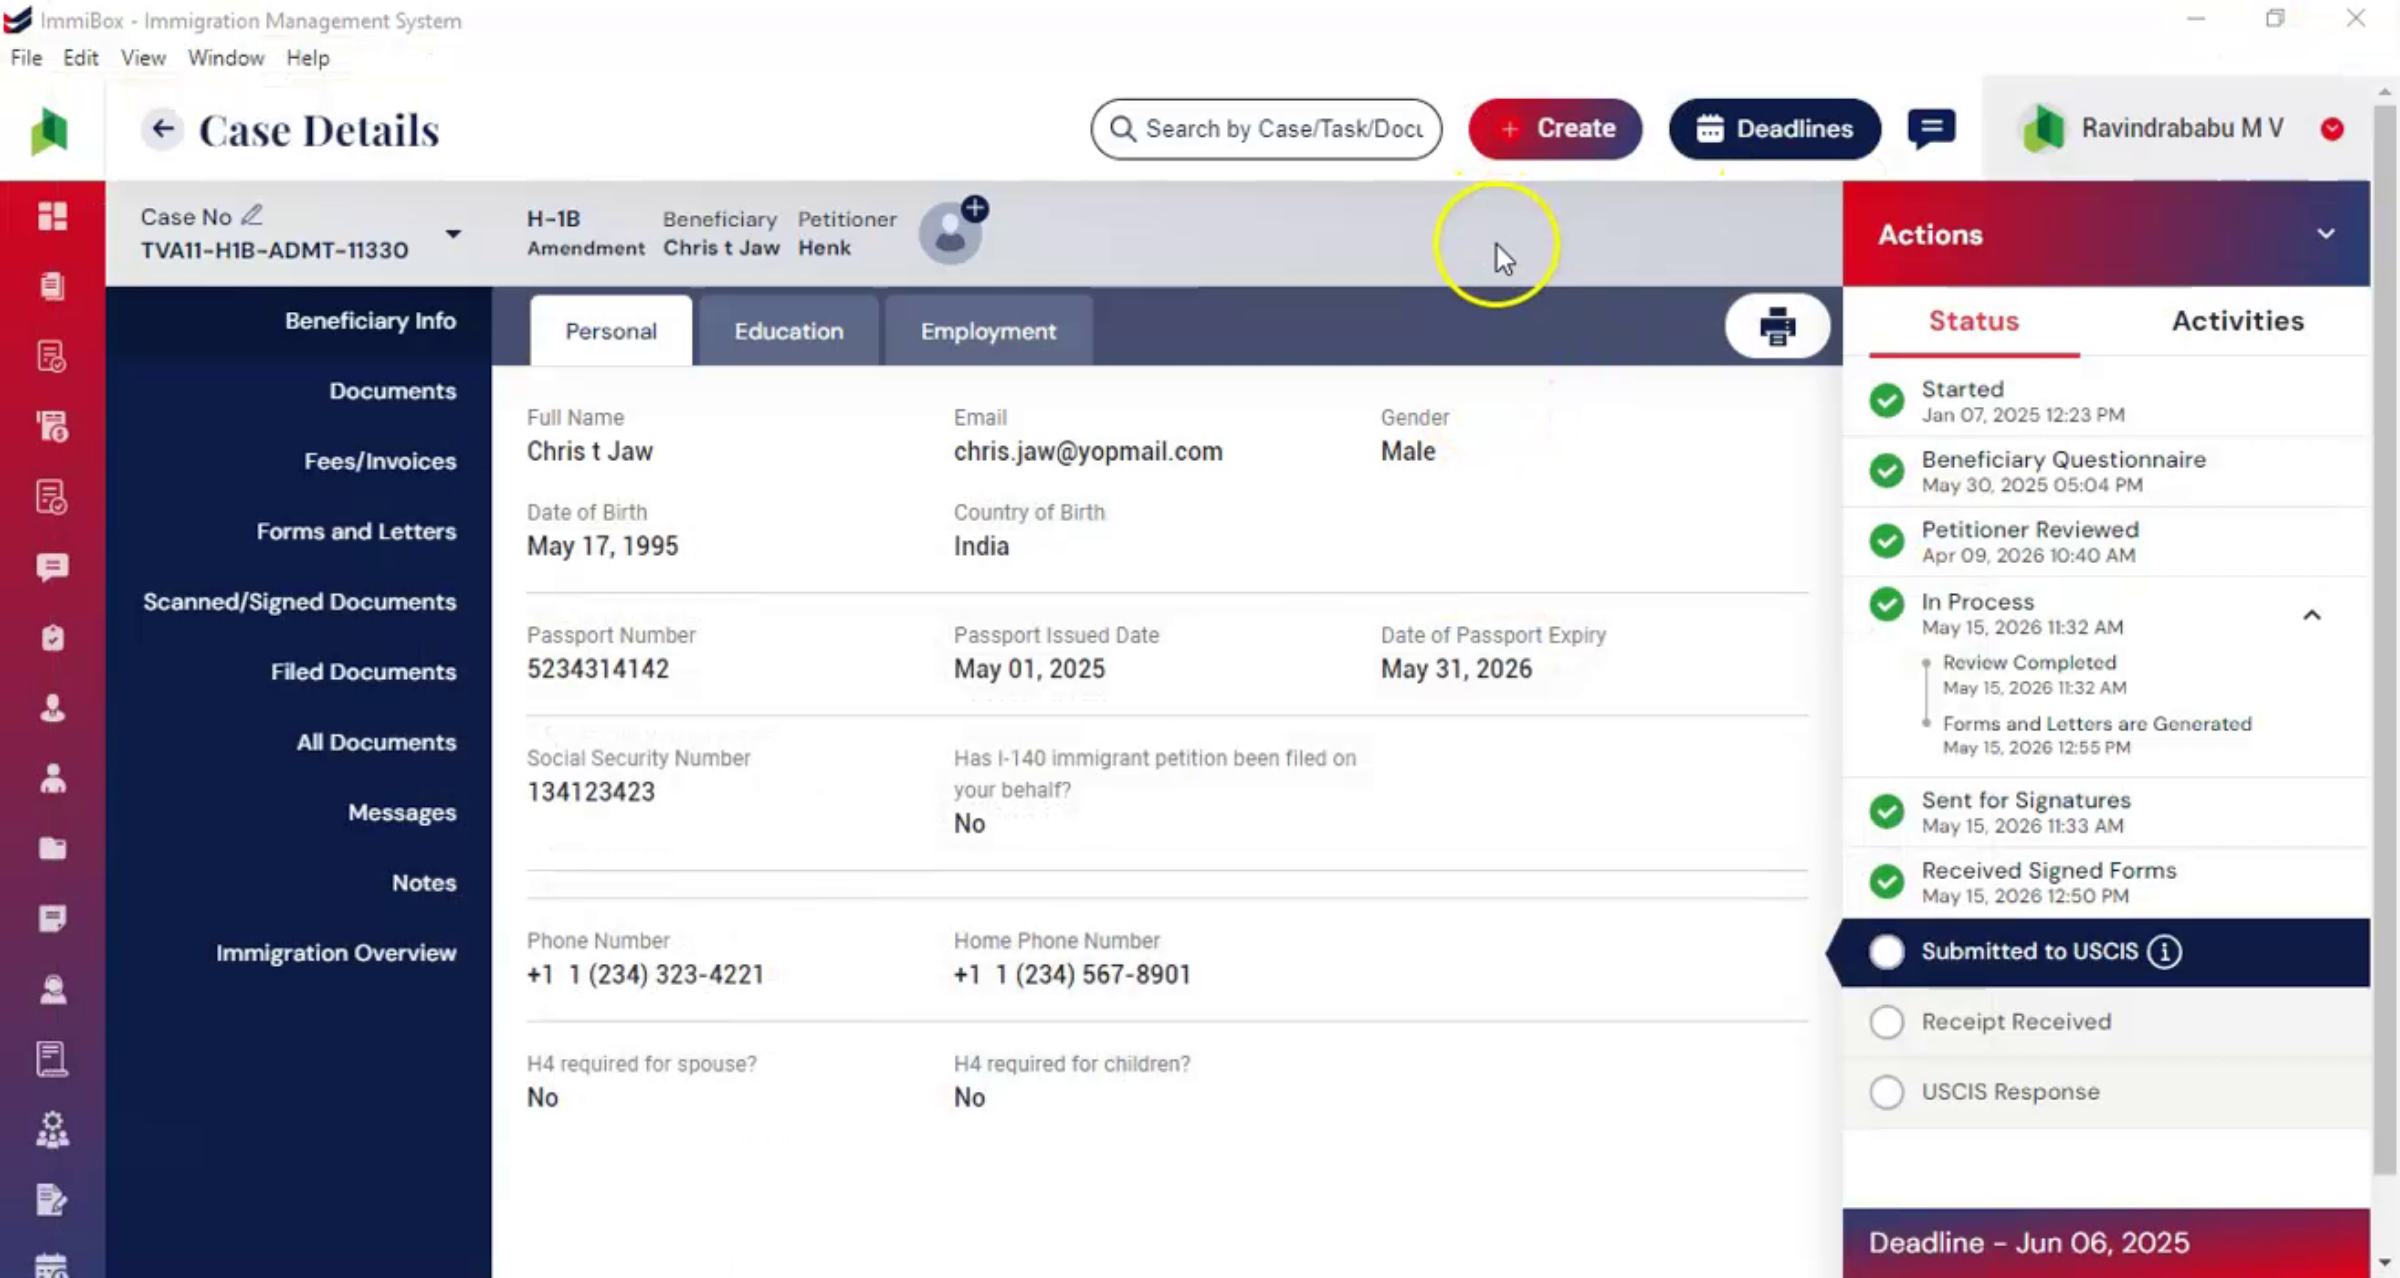
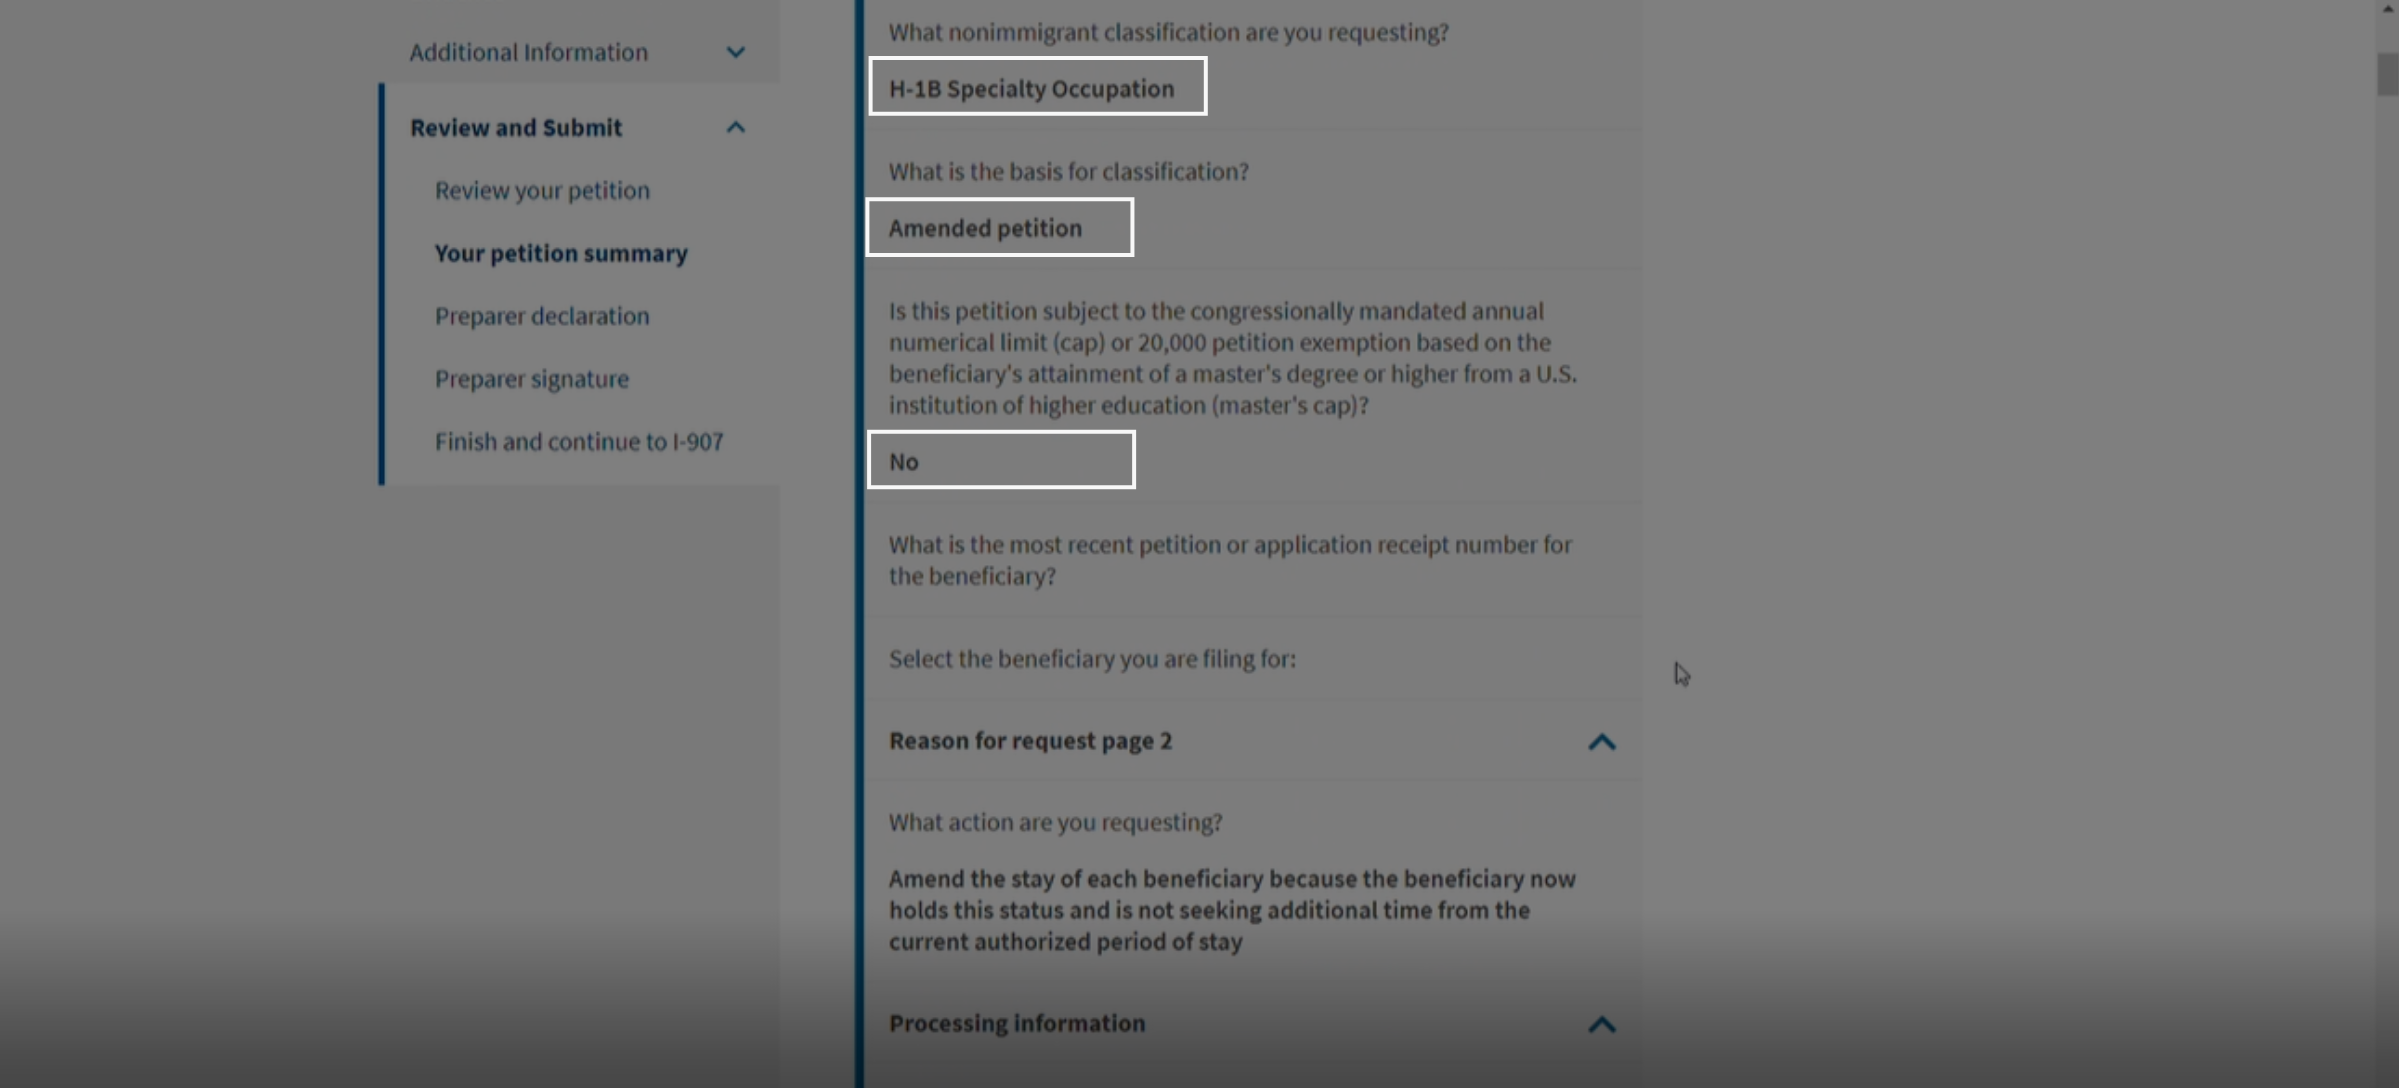
10. Review
 * click the image to view enlarged
The Review page displays a complete summary of the information entered throughout the process.
Carefully review all the information.
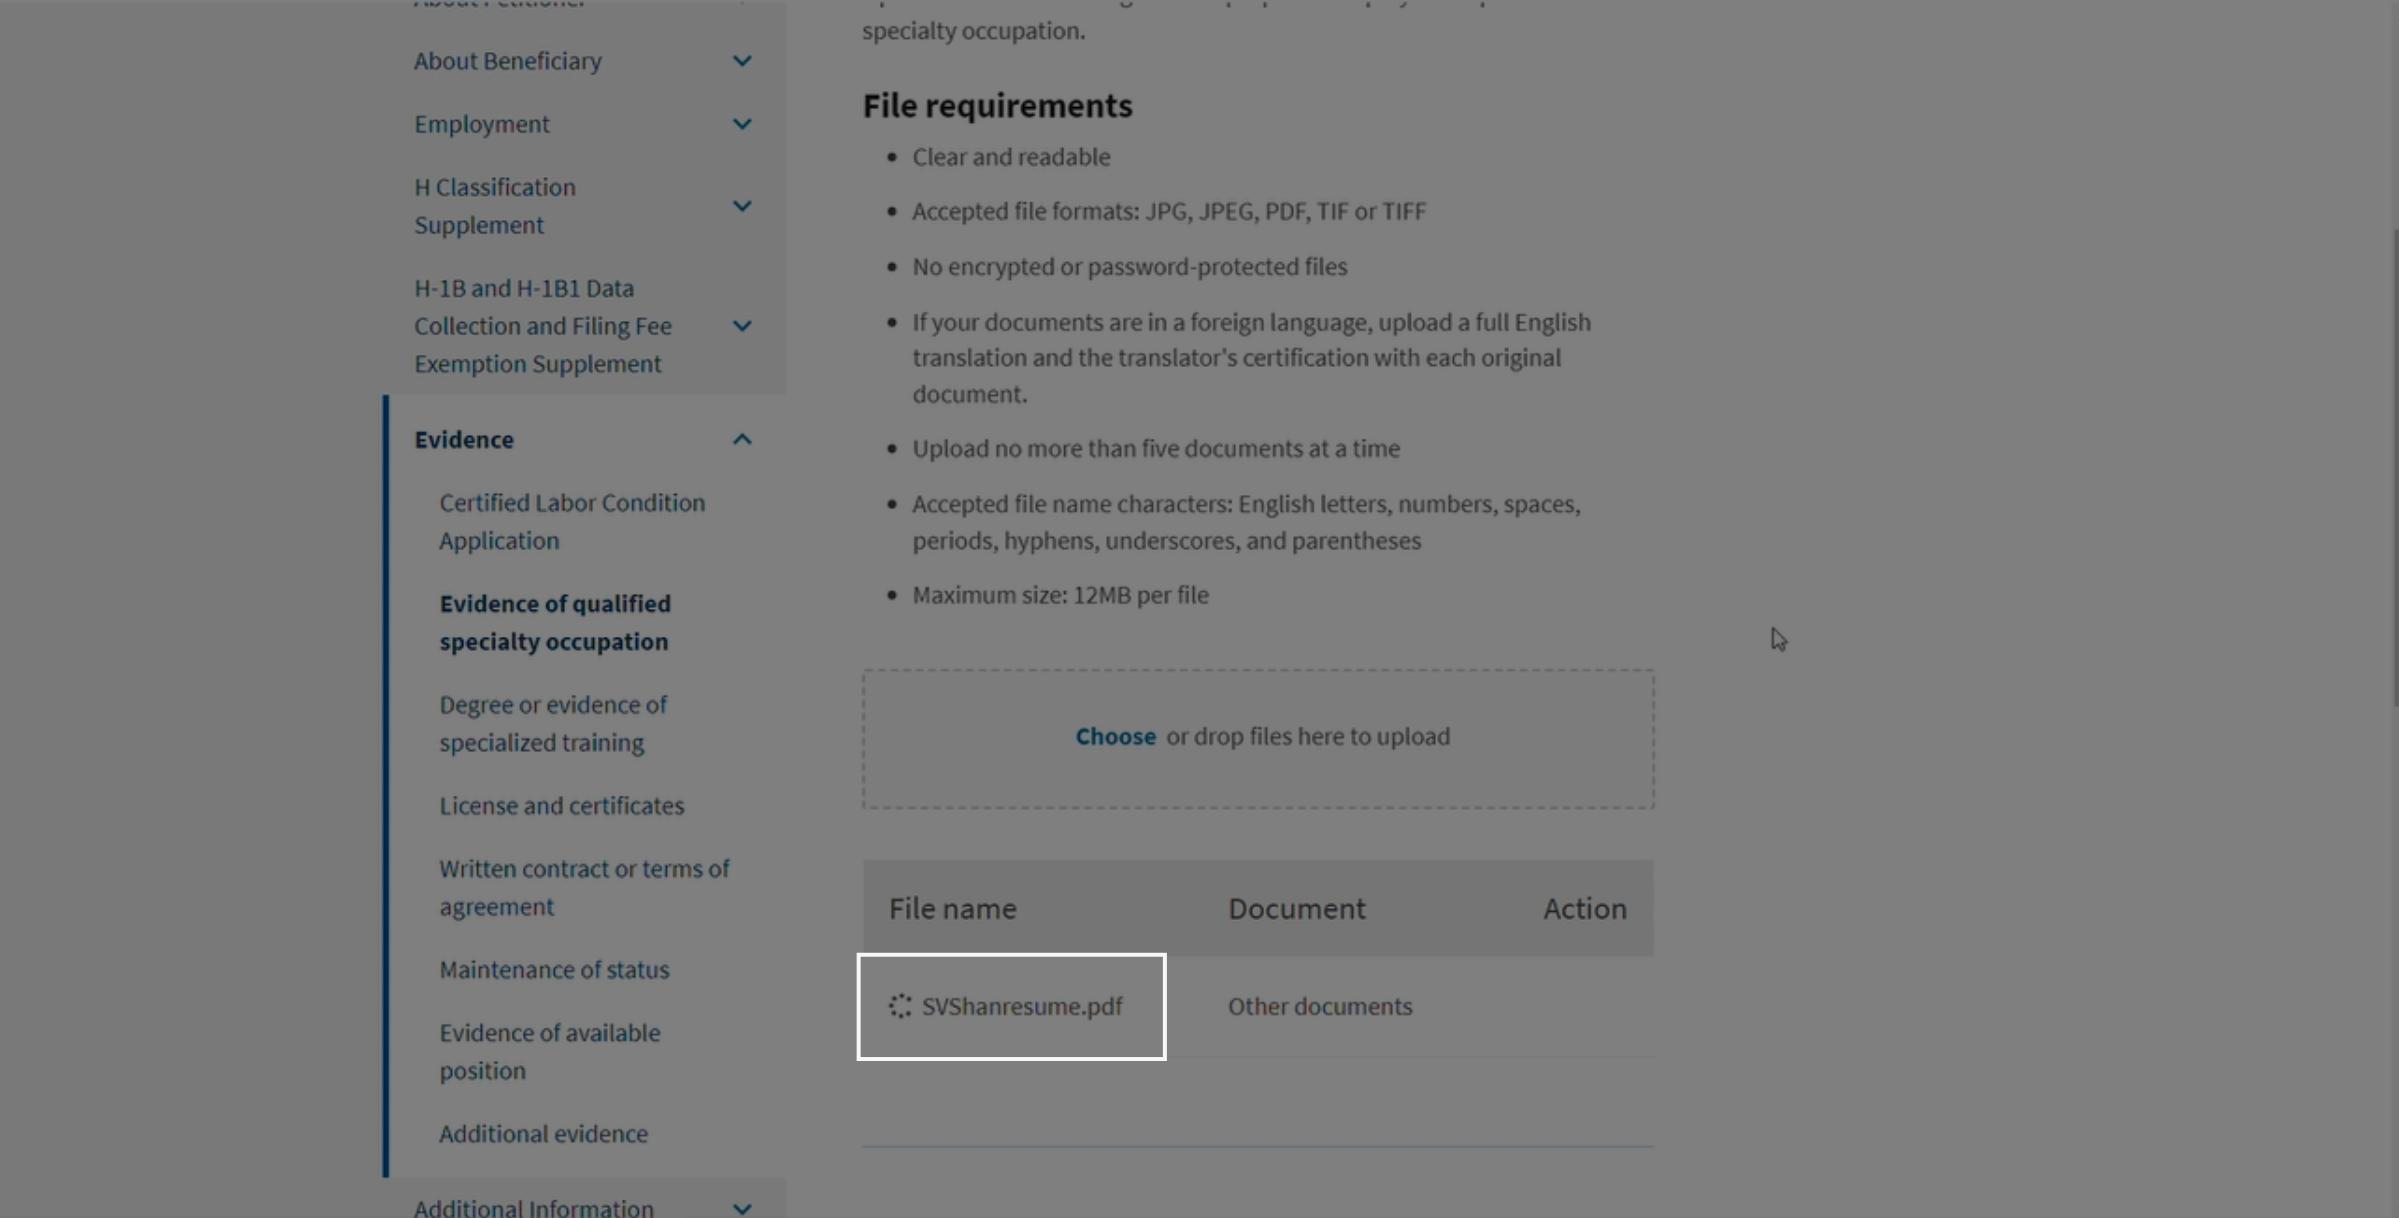
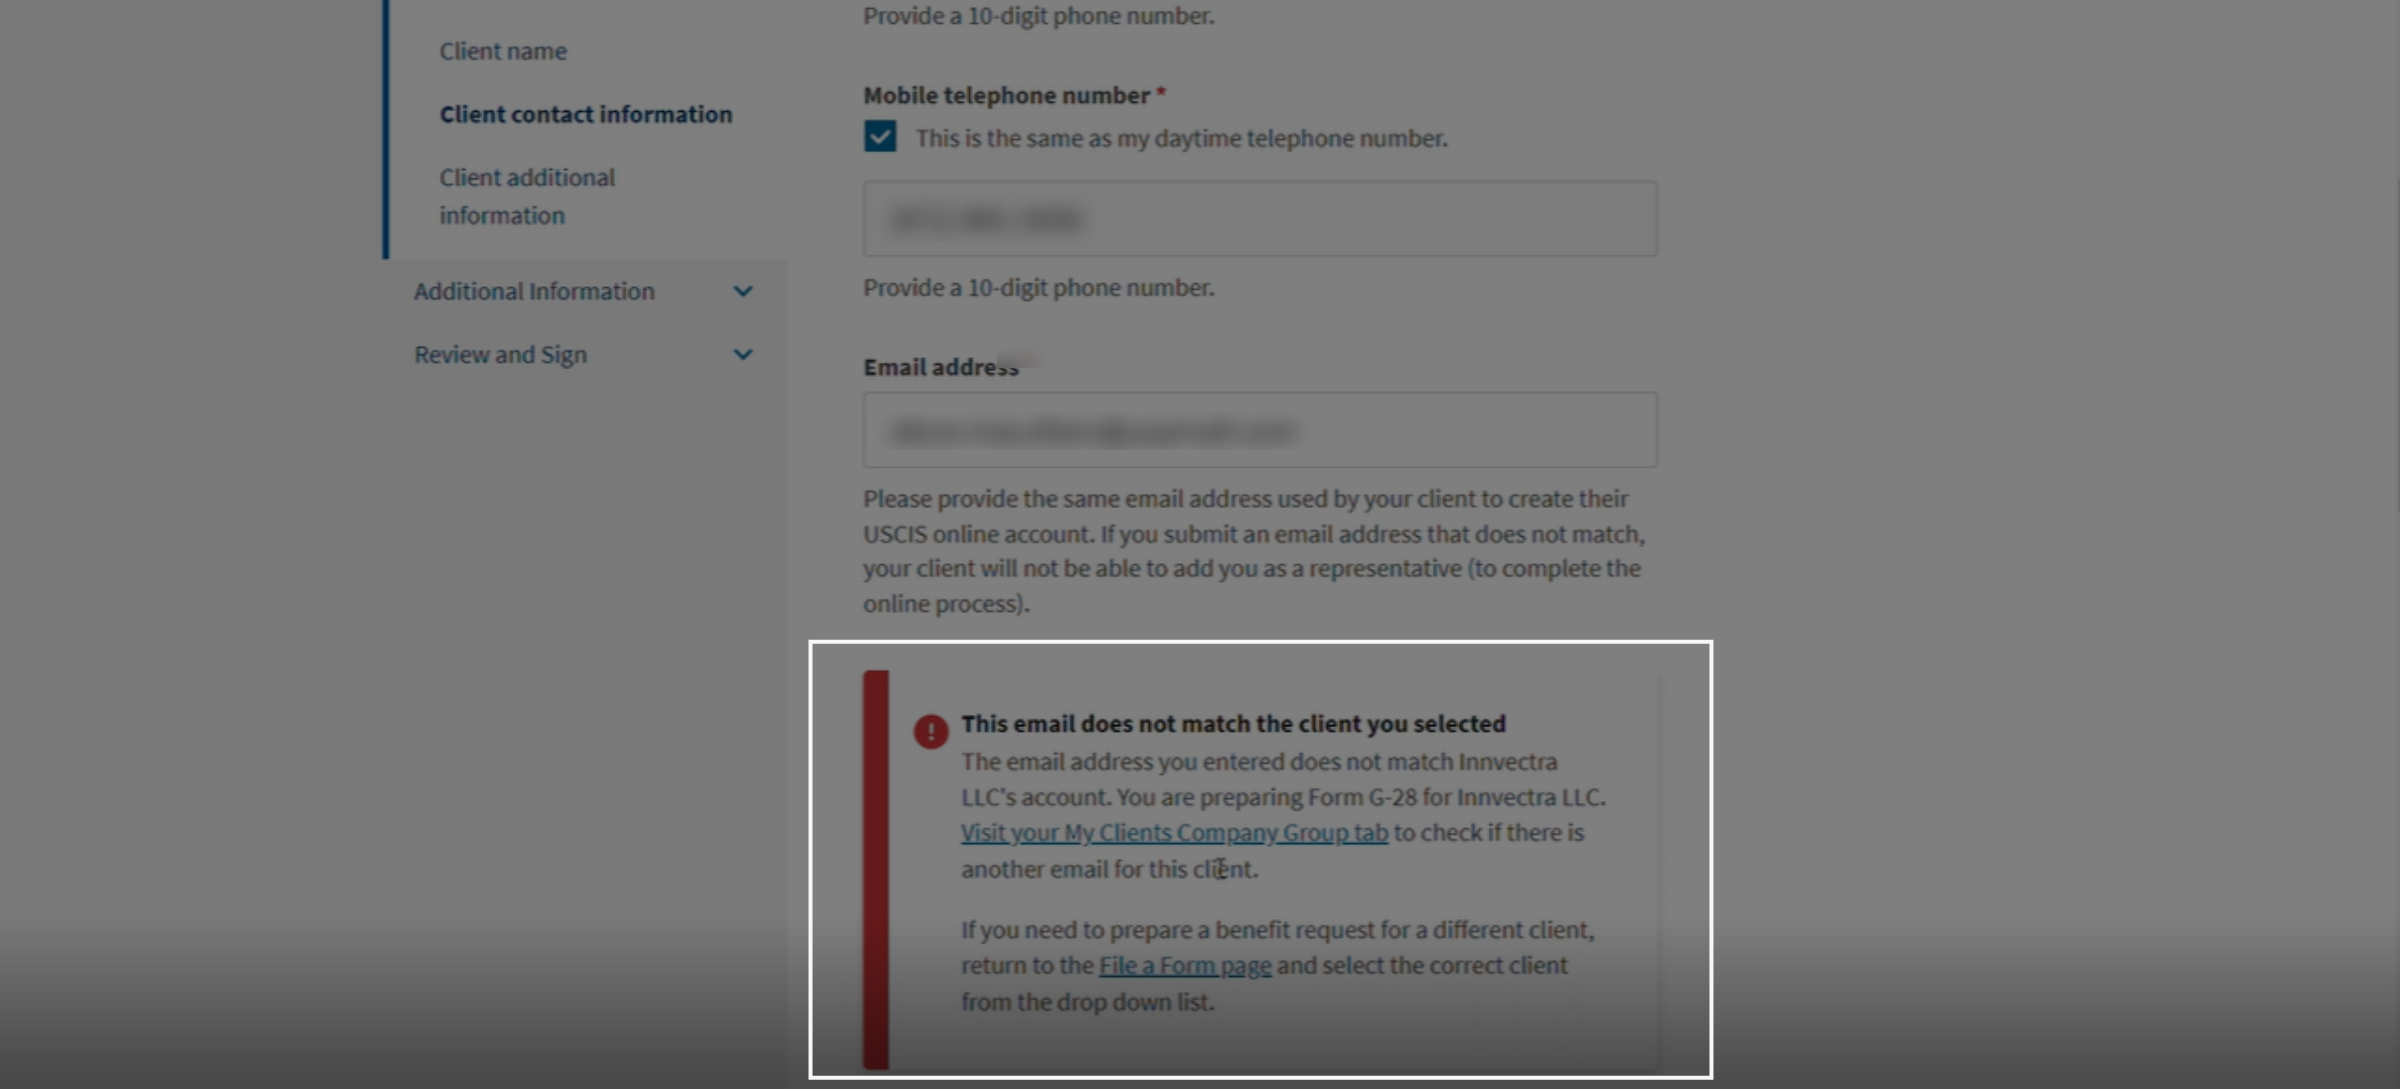
11. Missing or Errors
 * click the image to view enlarged
Sometimes, certain errors or missing information may appear during review. Correct or complete the required details to proceed with submission.
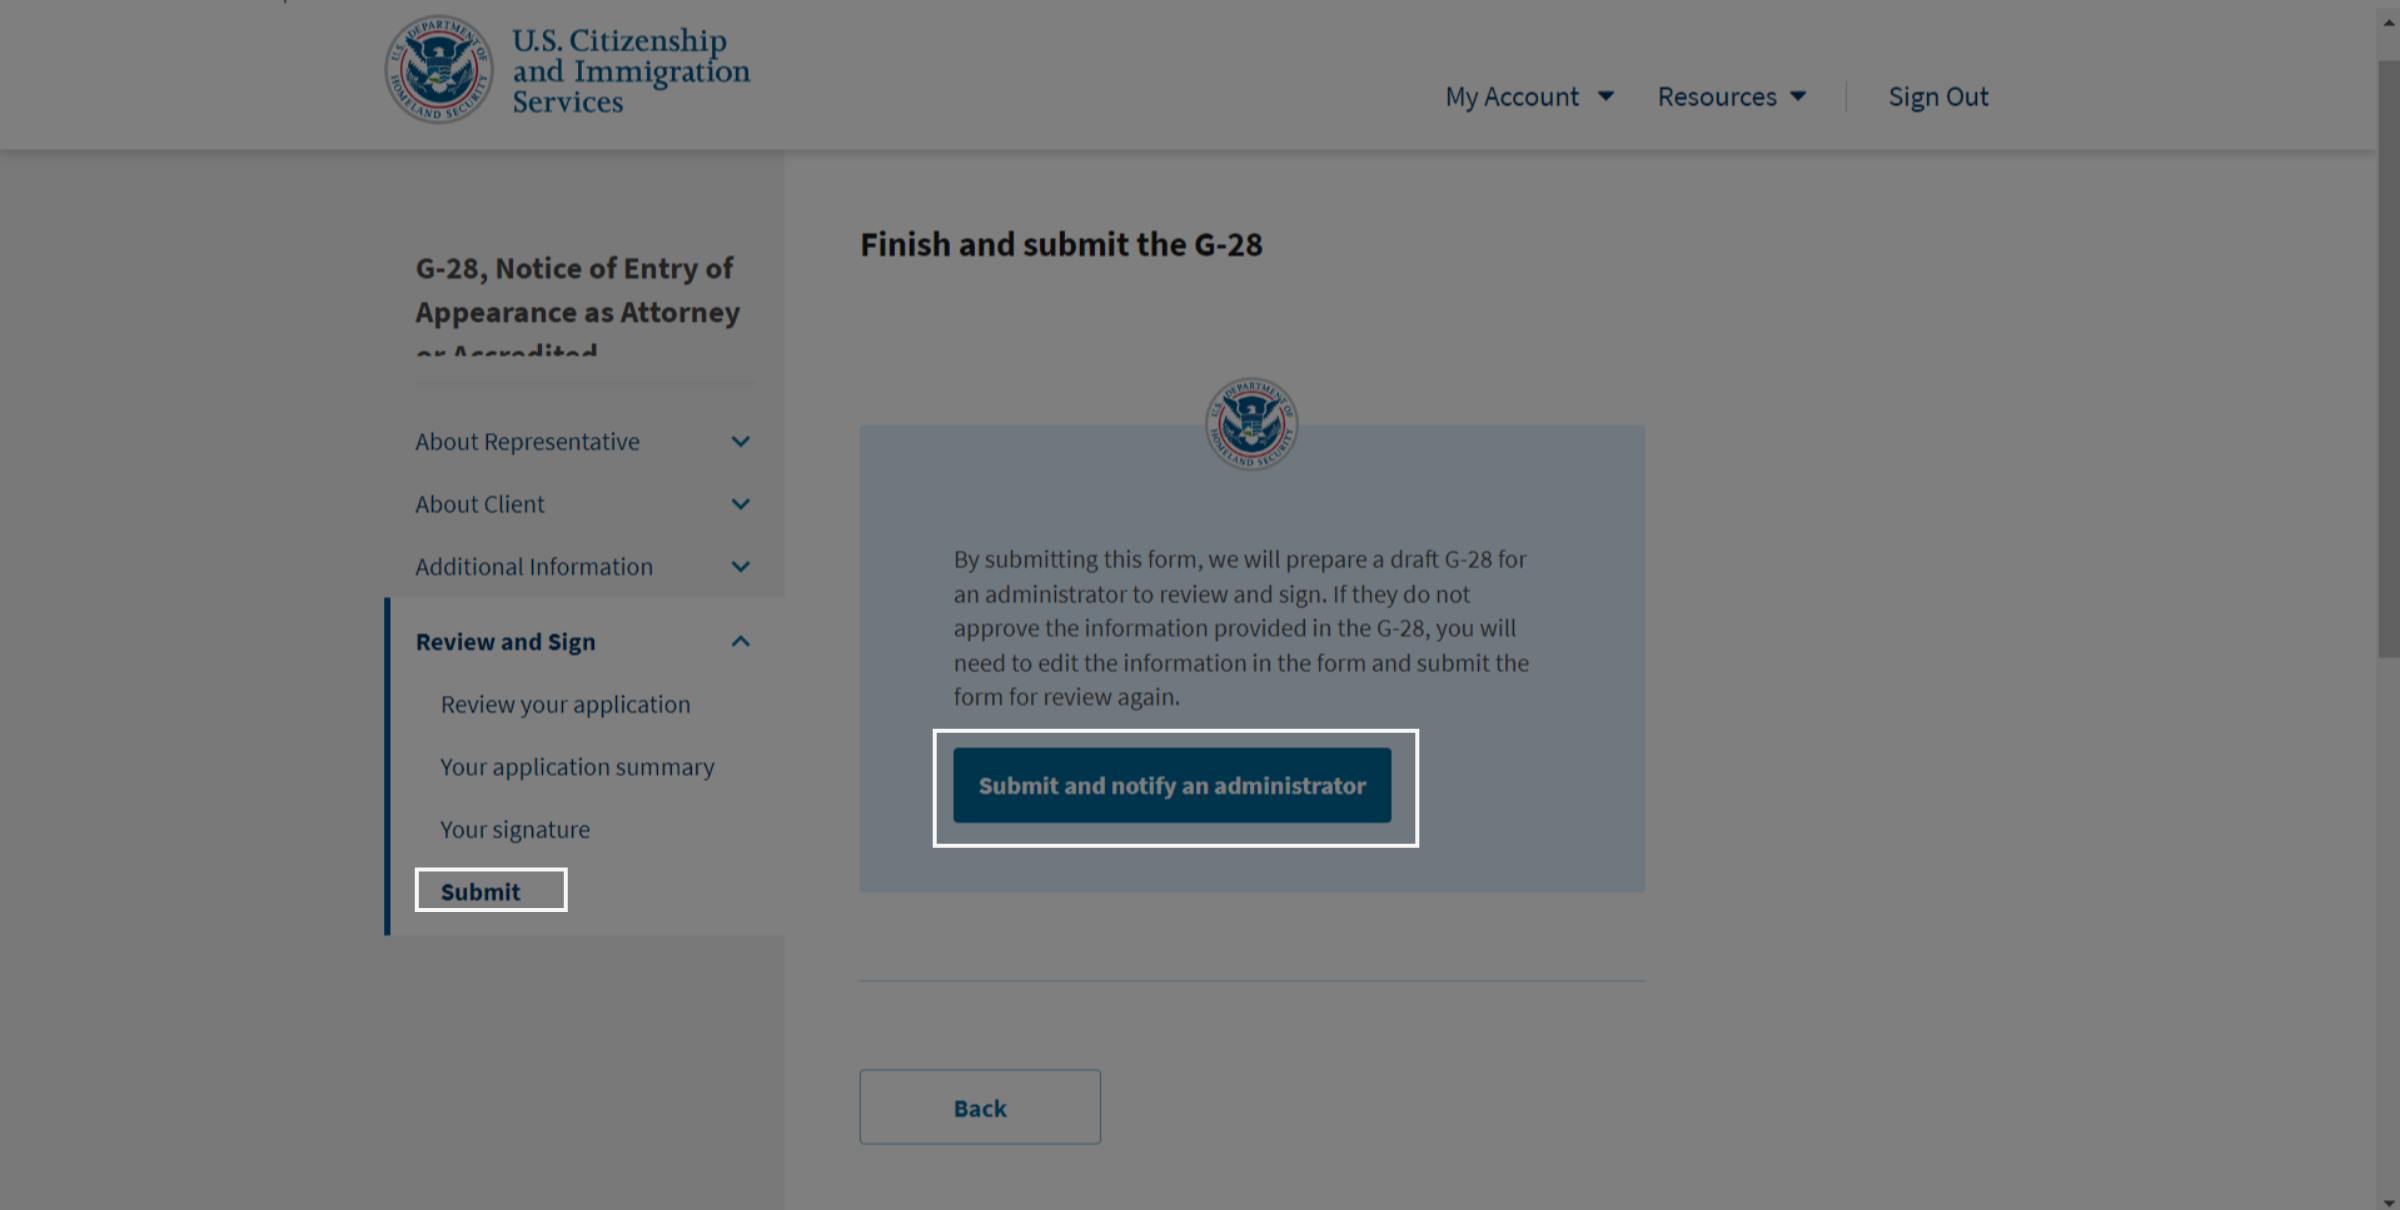
12. Submit
 * click the image to view enlarged
Once verified, accept the required confirmations and proceed with the case submission.
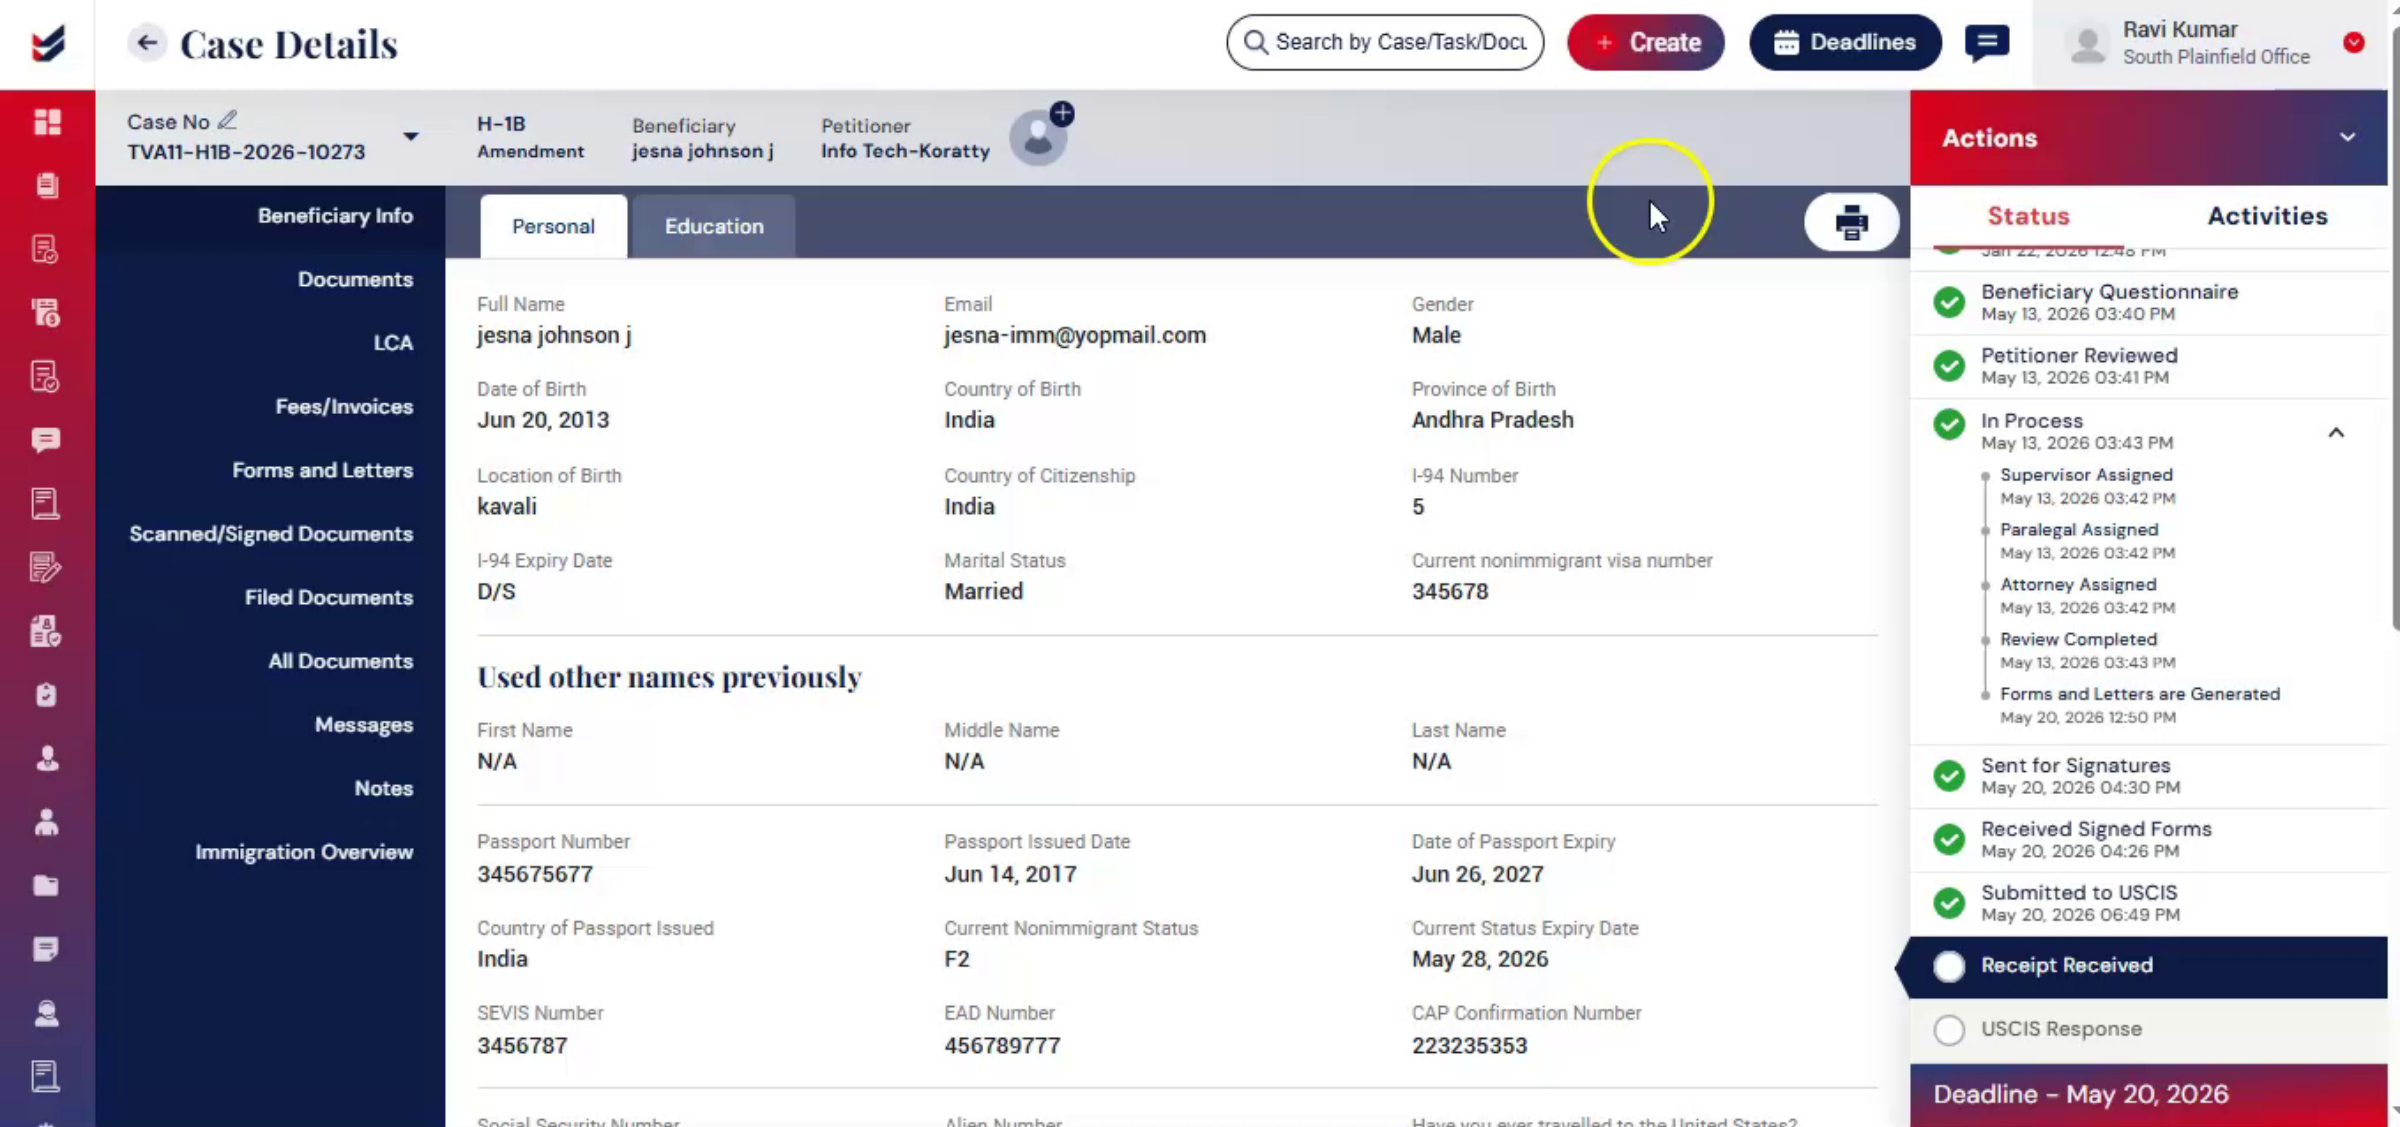
13. Receipt Upload
 * click the image to view enlarged
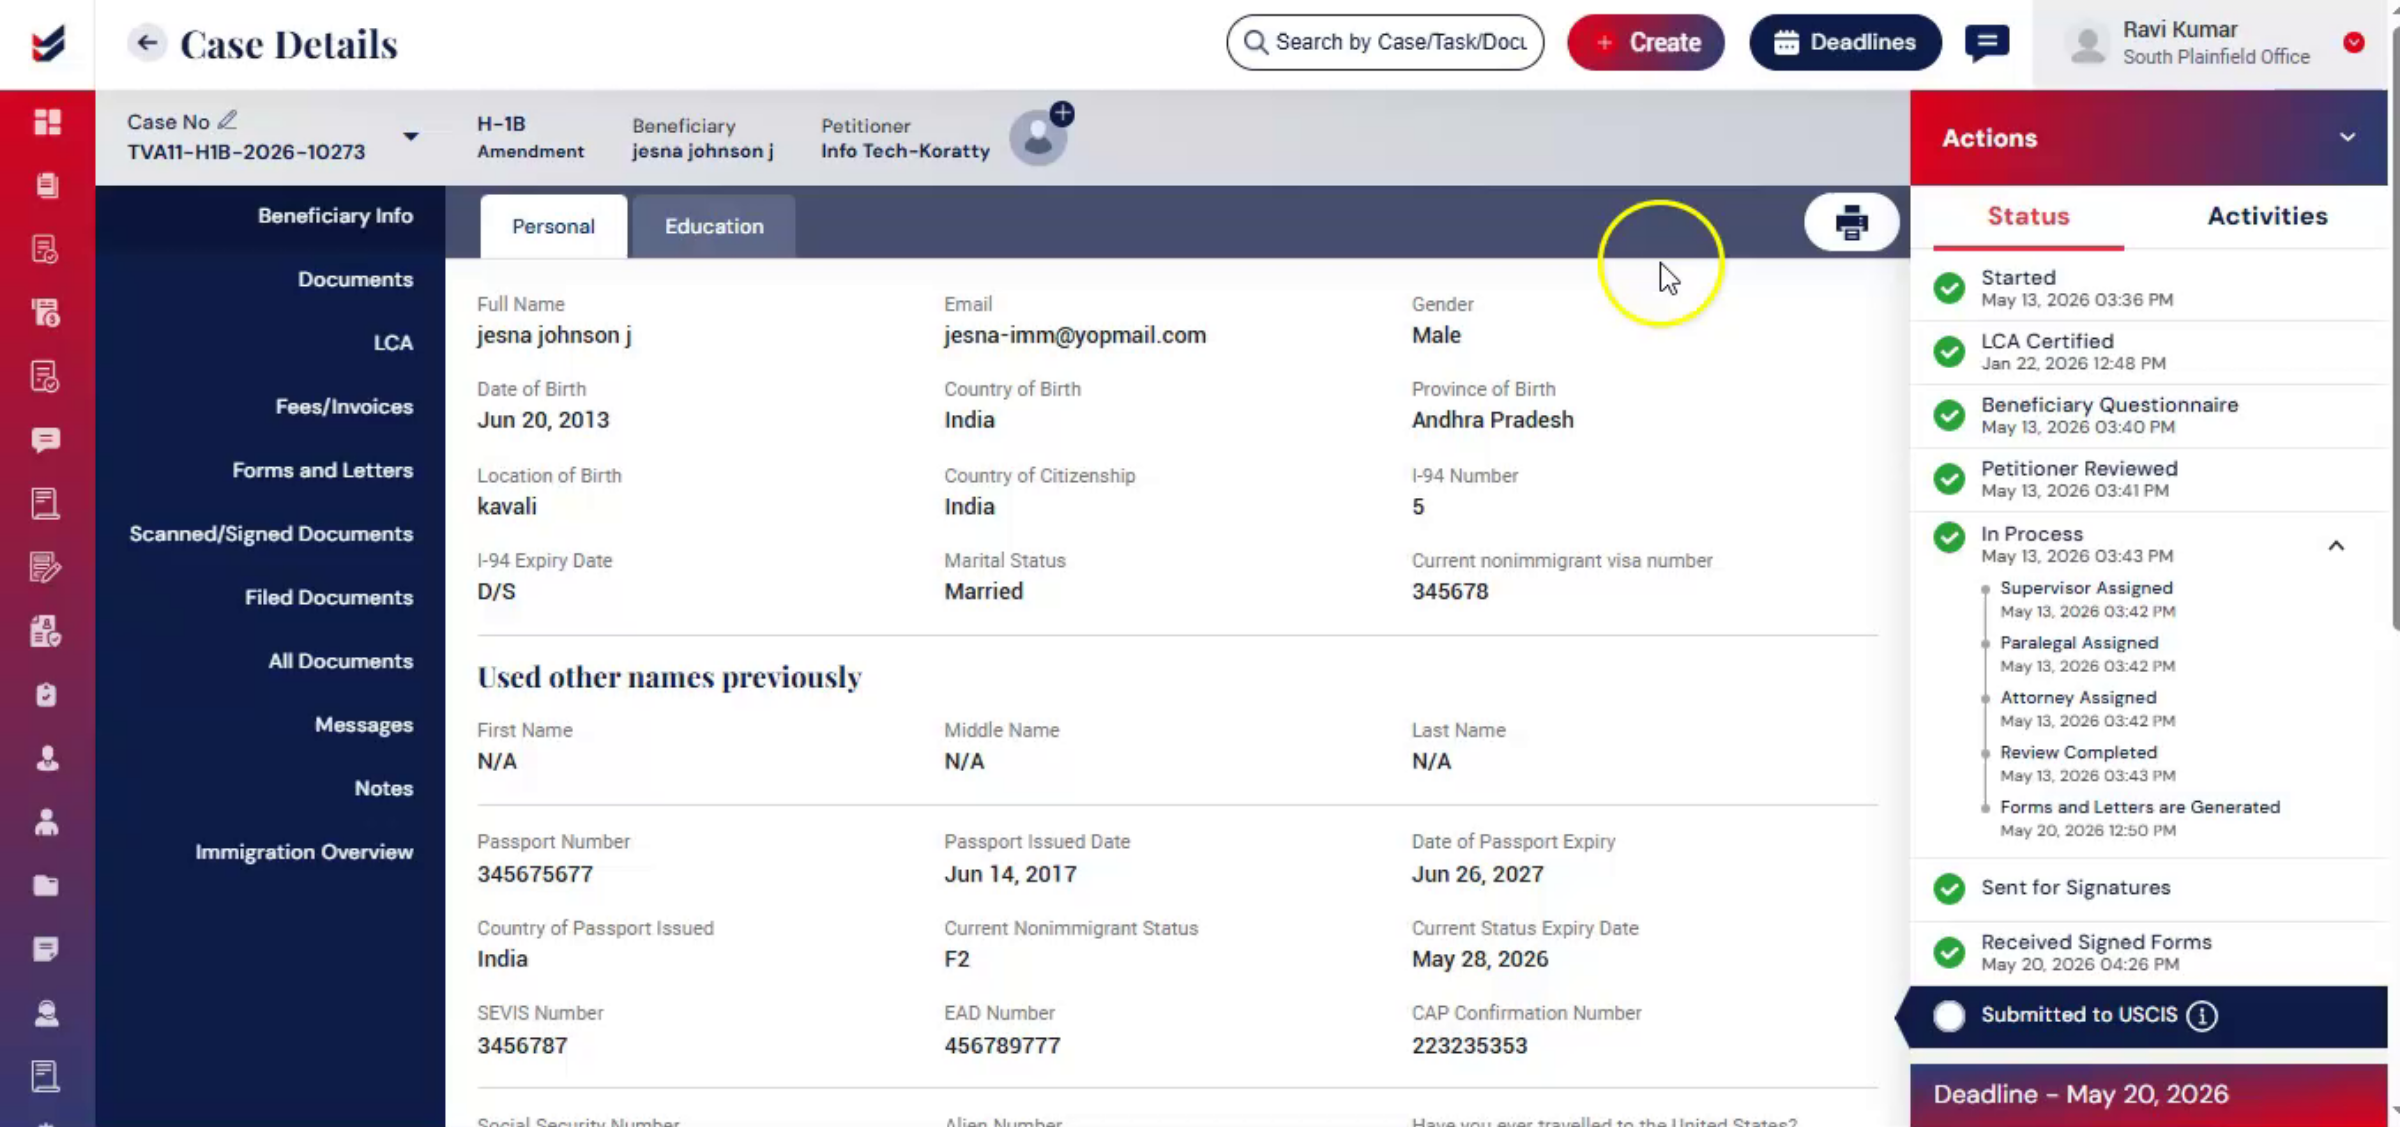
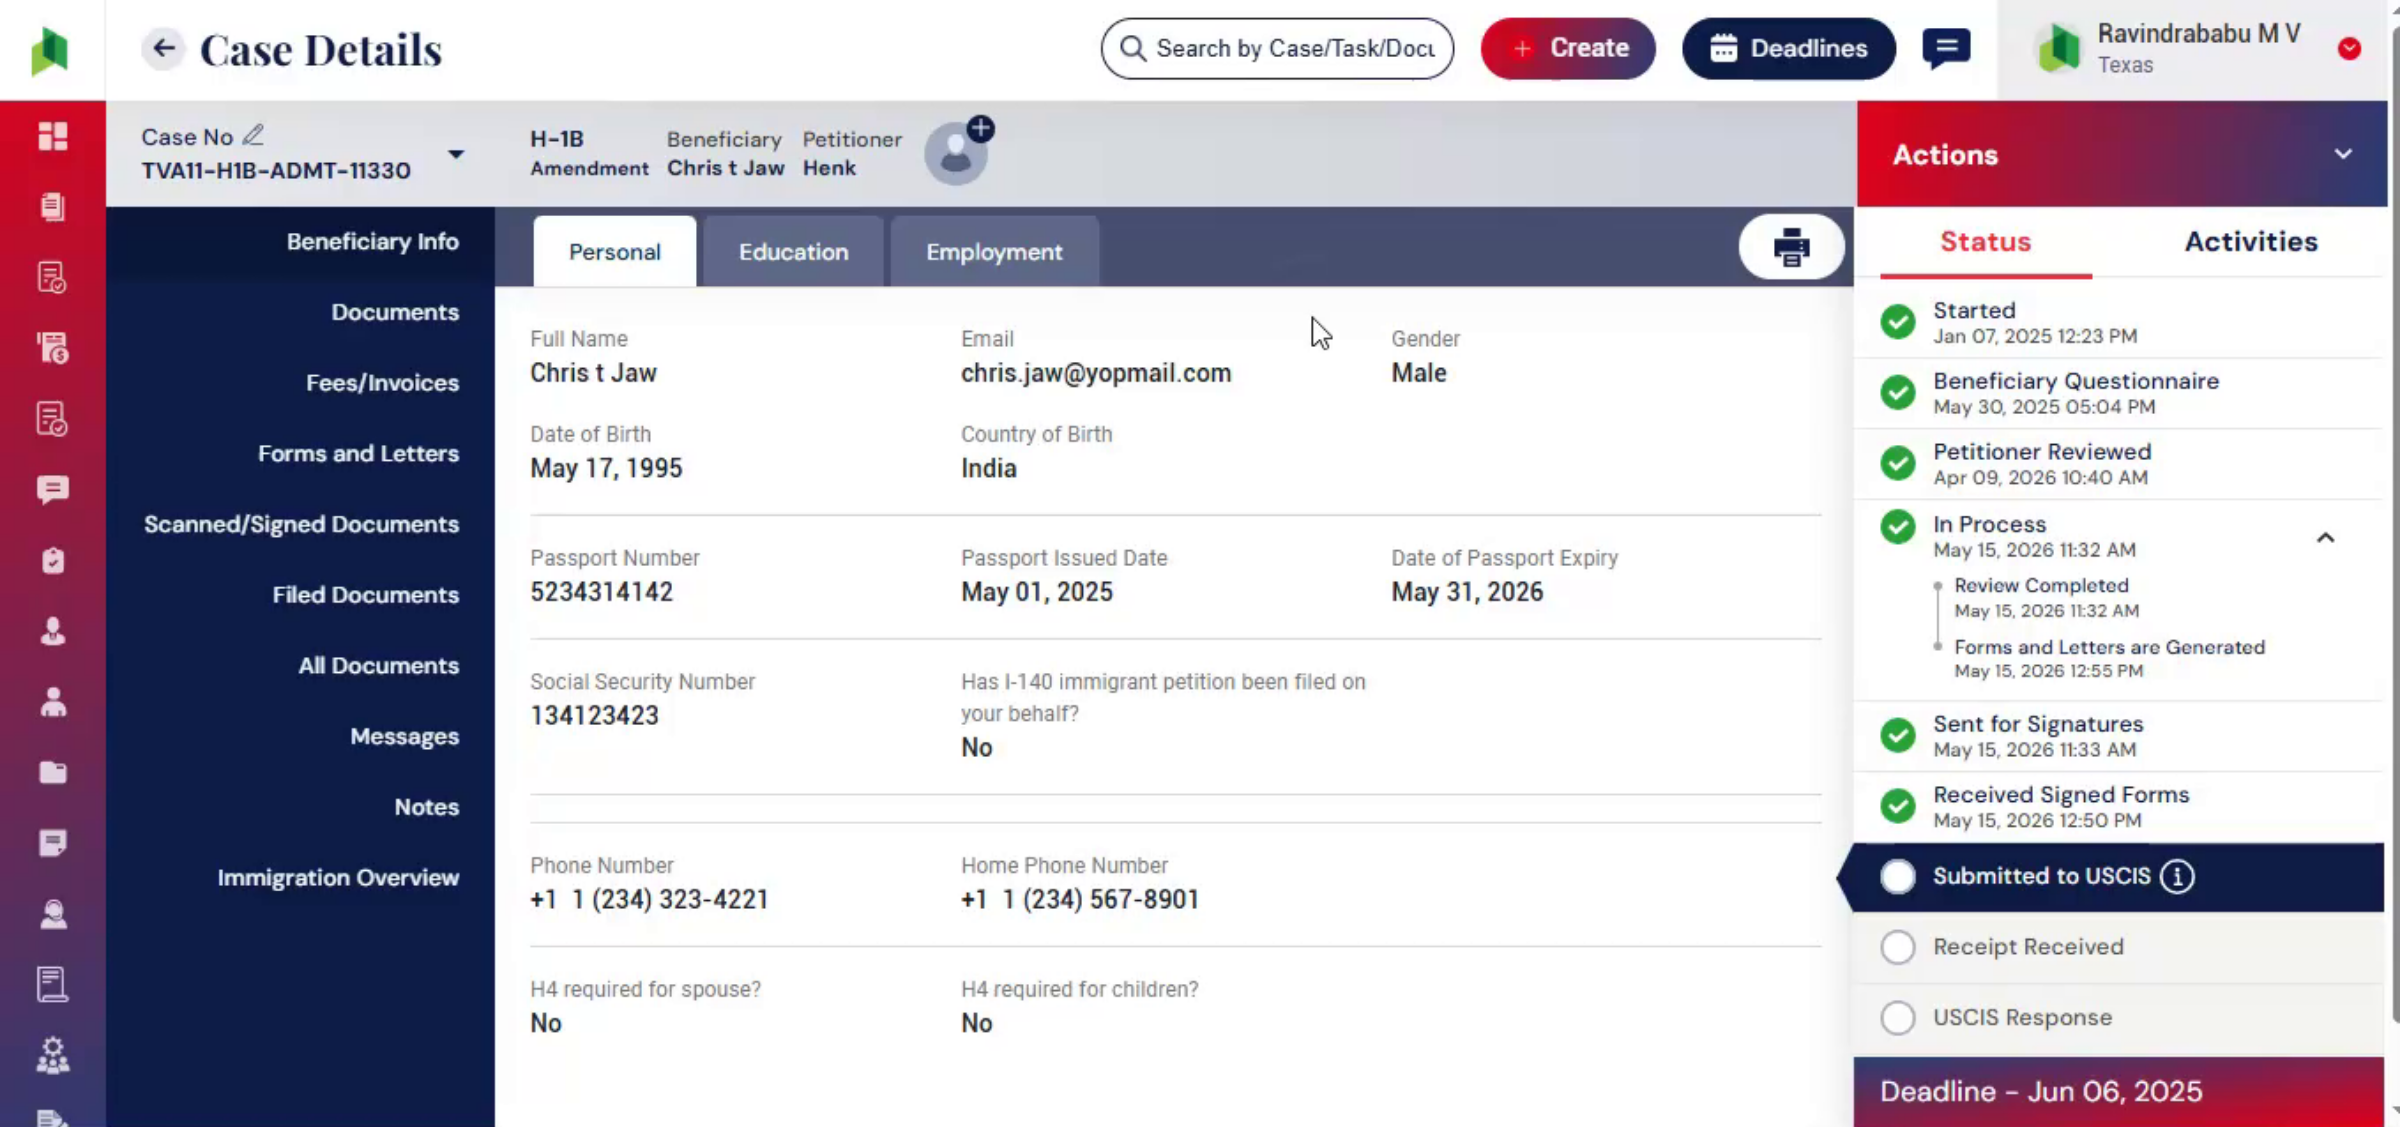
After final review and payment, users should update the receipt notices in the Case Details page. Once the receipt details are added, ImmiBox can automatically track USCIS case updates.
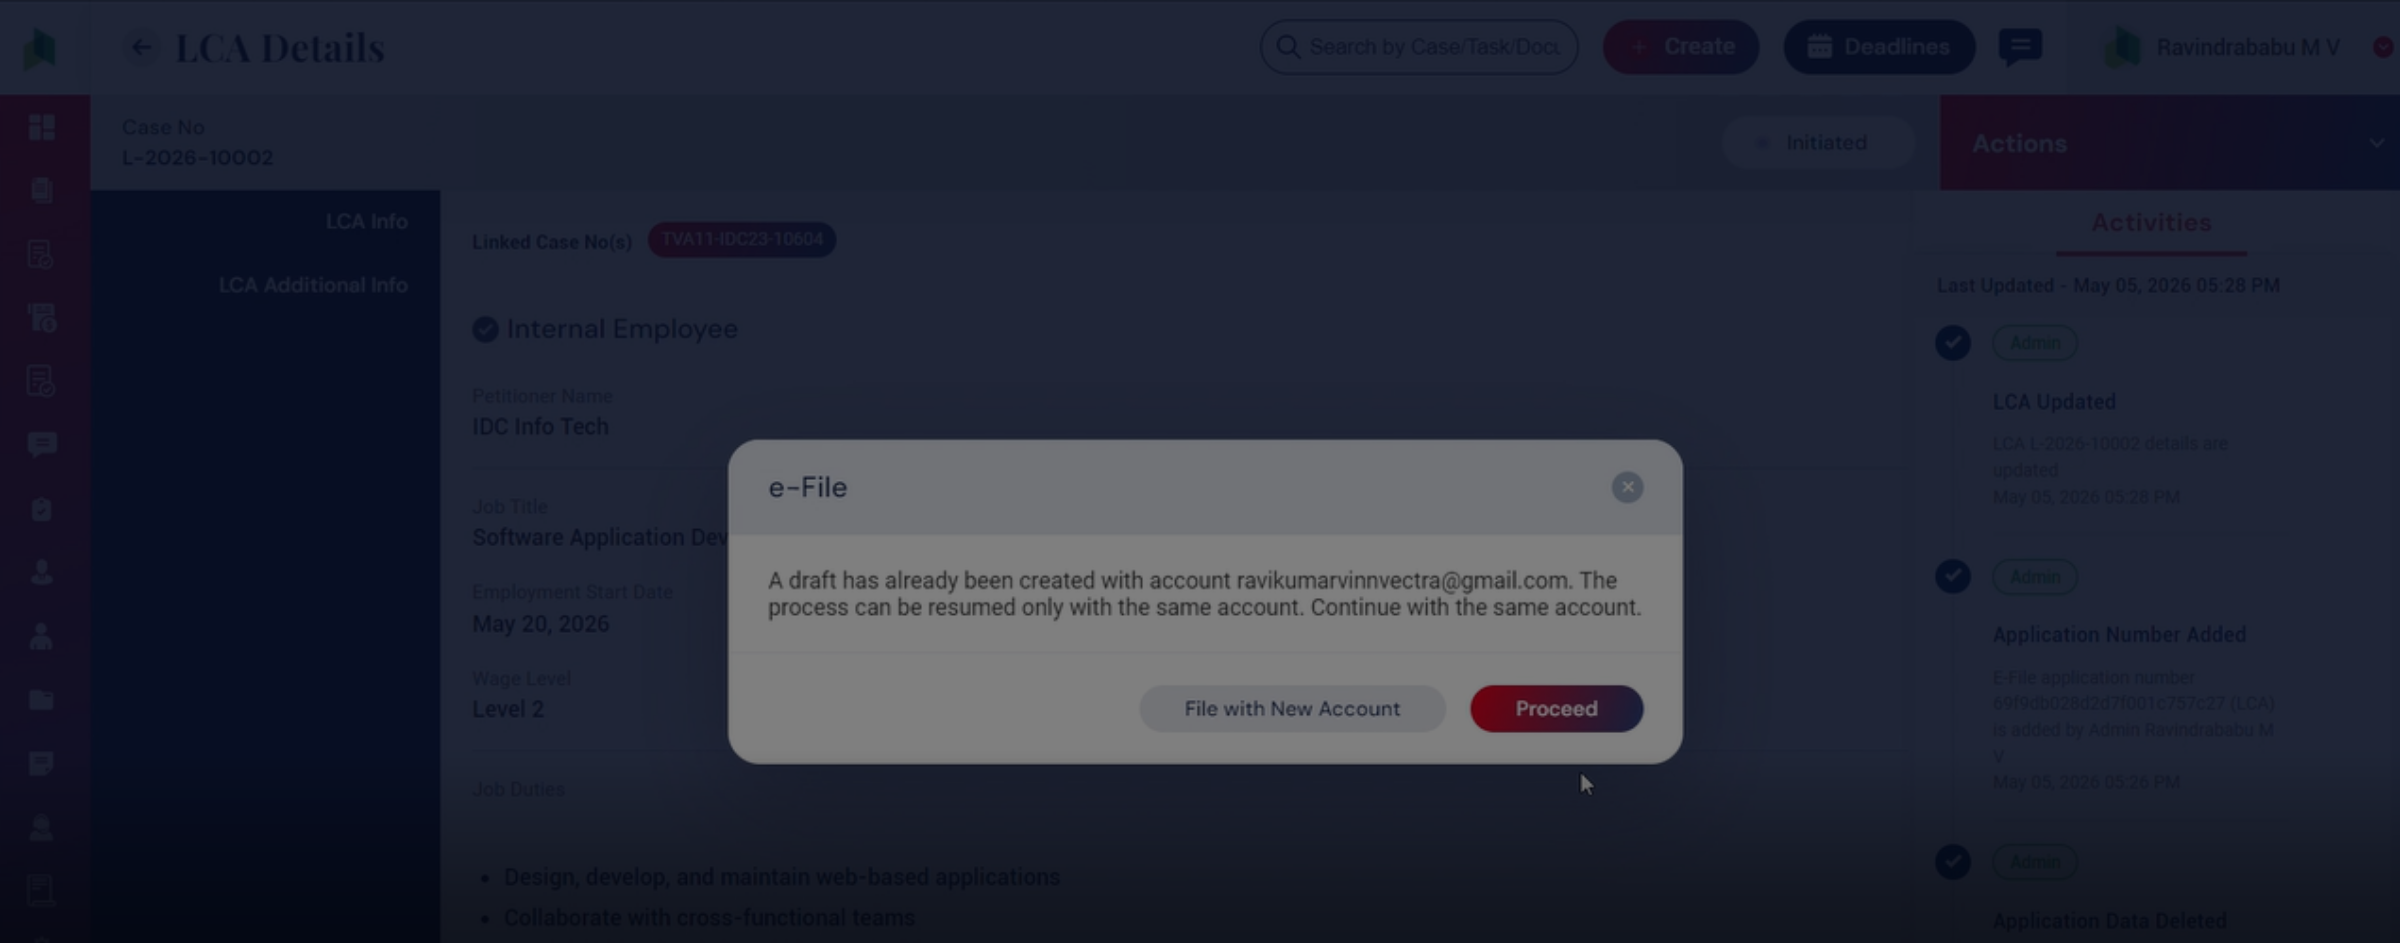
14. Resume Existing E-Filing Draft
 * click the image to view enlarged
If a user exits the E-Filing process before submission, ImmiBox can resume the previously saved filing draft.
When the user clicks E-File again, a dialog box appears indicating that an existing draft has already been created.
Users can choose:
Proceed to continue the filing from where it was previously stopped.
File with New Account means to Start the filing process again from the beginning.
15. Conclusion
 * click the image to view enlarged
ImmiBox continues to enhance its E-Filing structure with ongoing updates, and expanded support for additional case types and forms.

