

Administration Users Functionality
Overview
Welcome! This video explains how to add internal users in ImmiBox.
1. Introduction
 * click the image to view enlarged
User management is typically the feature available only for the Administrator, who can add and manage users within the law firm.
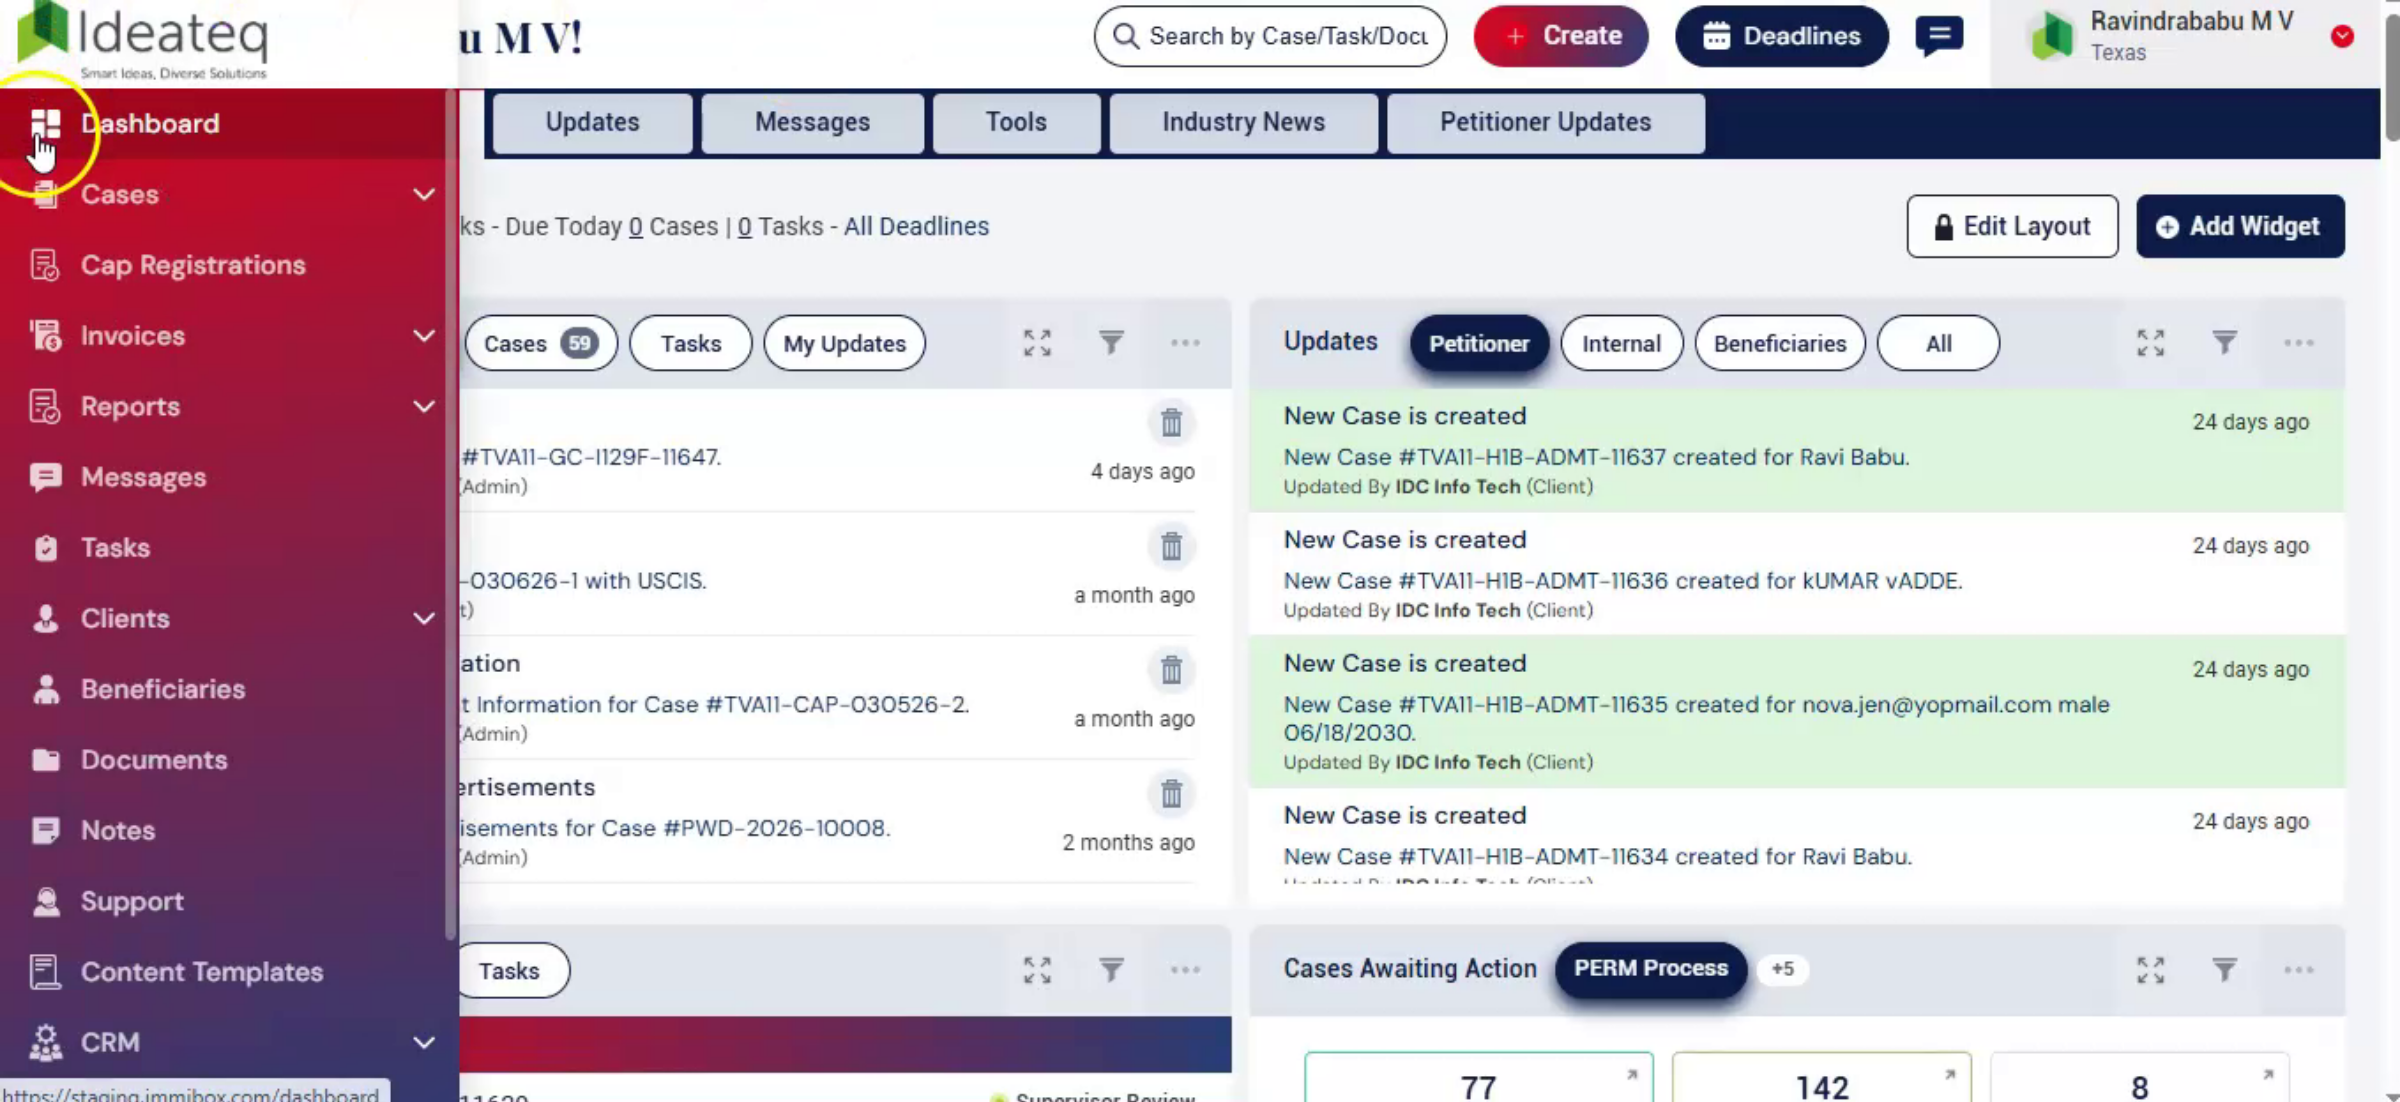
2. Access Users Section
 * click the image to view enlarged
From the Dashboard, navigate to the Administration section.
Select Users from the dropdown.
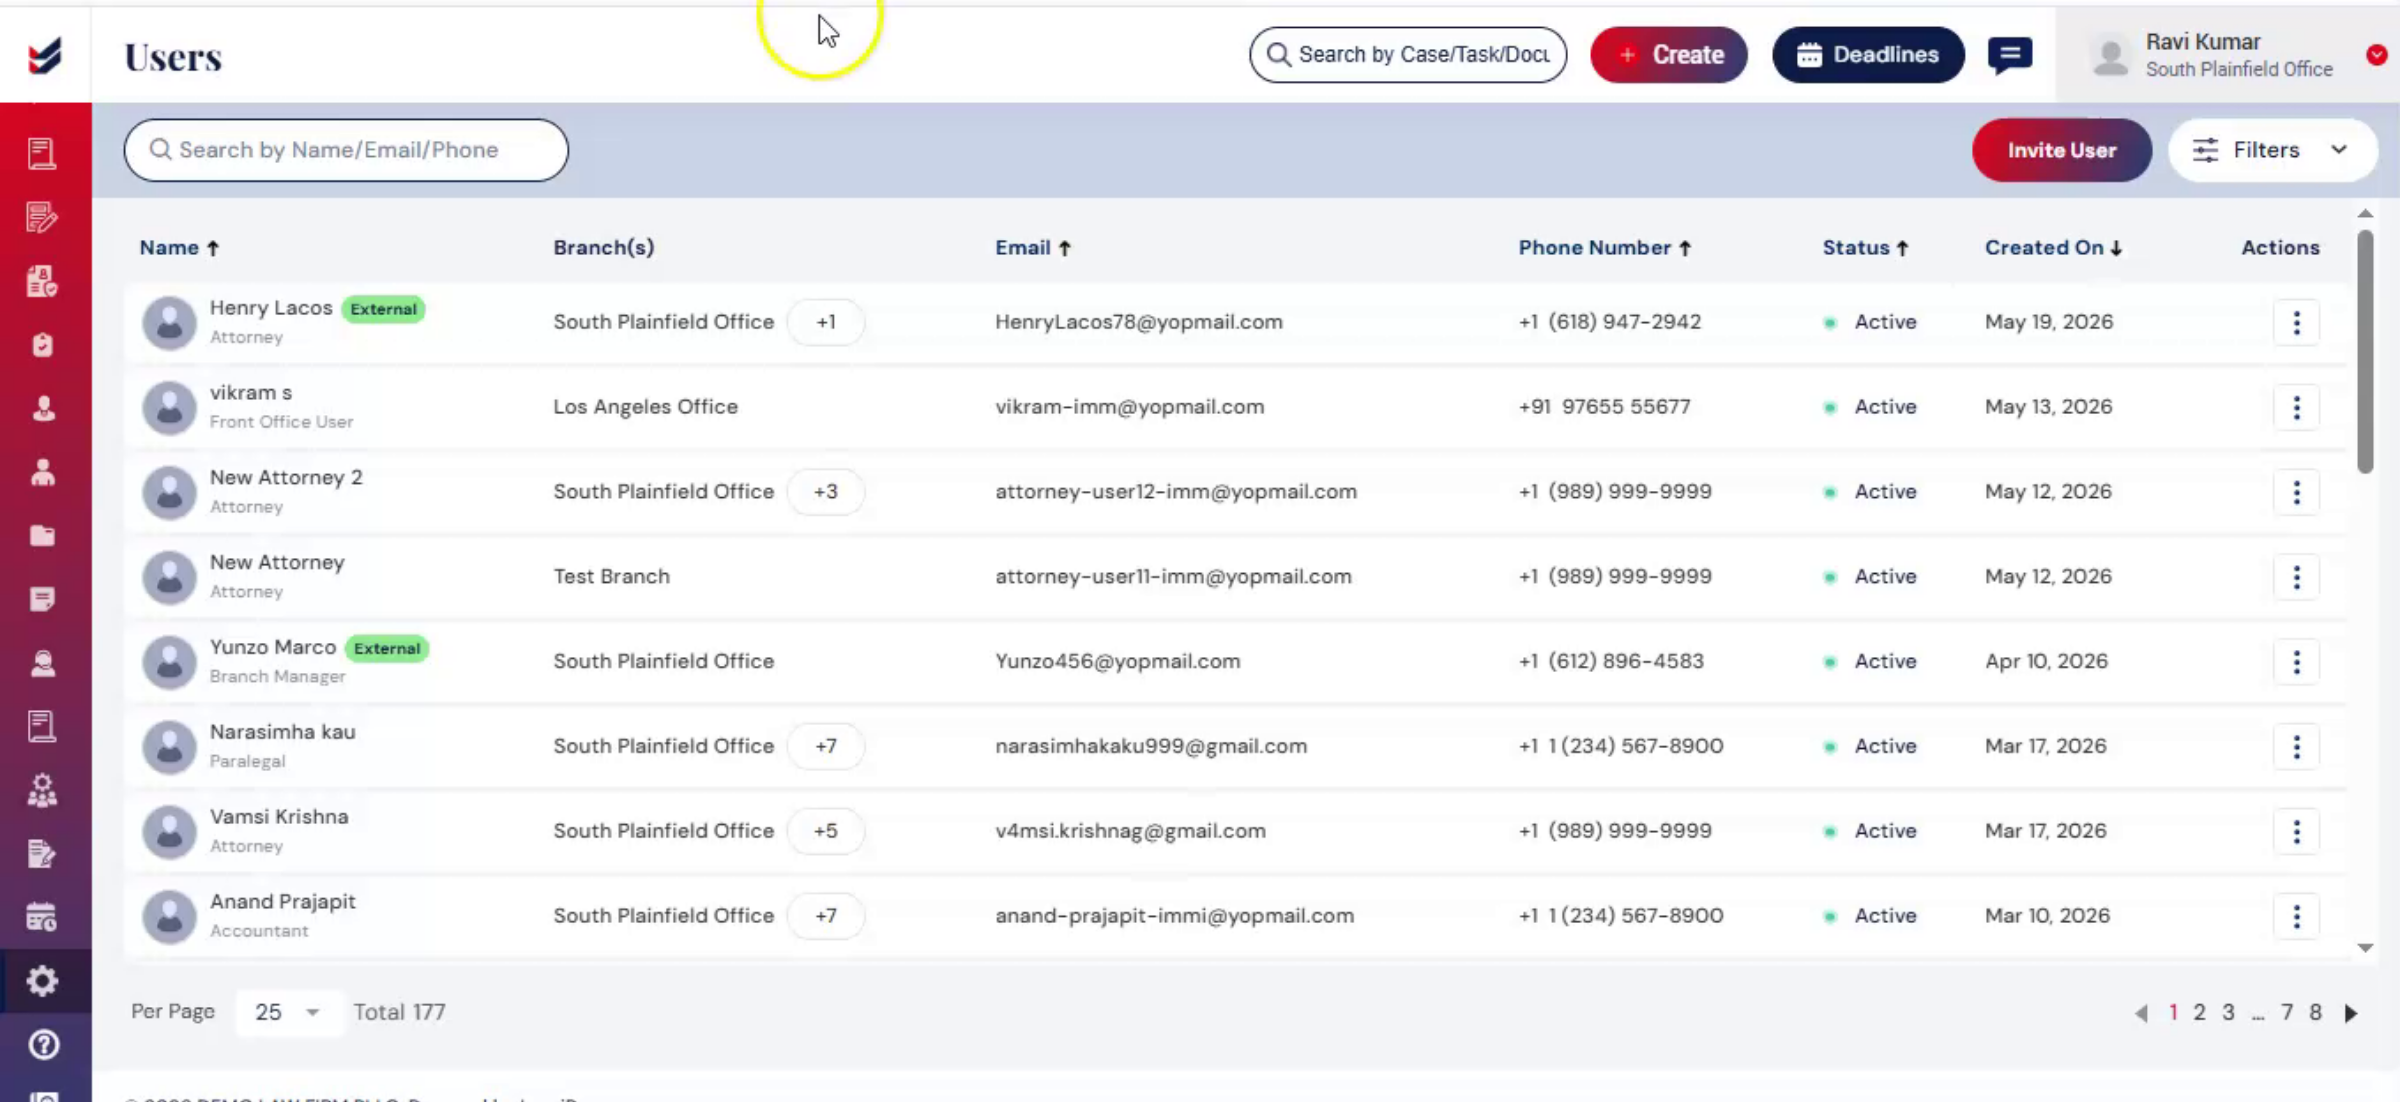
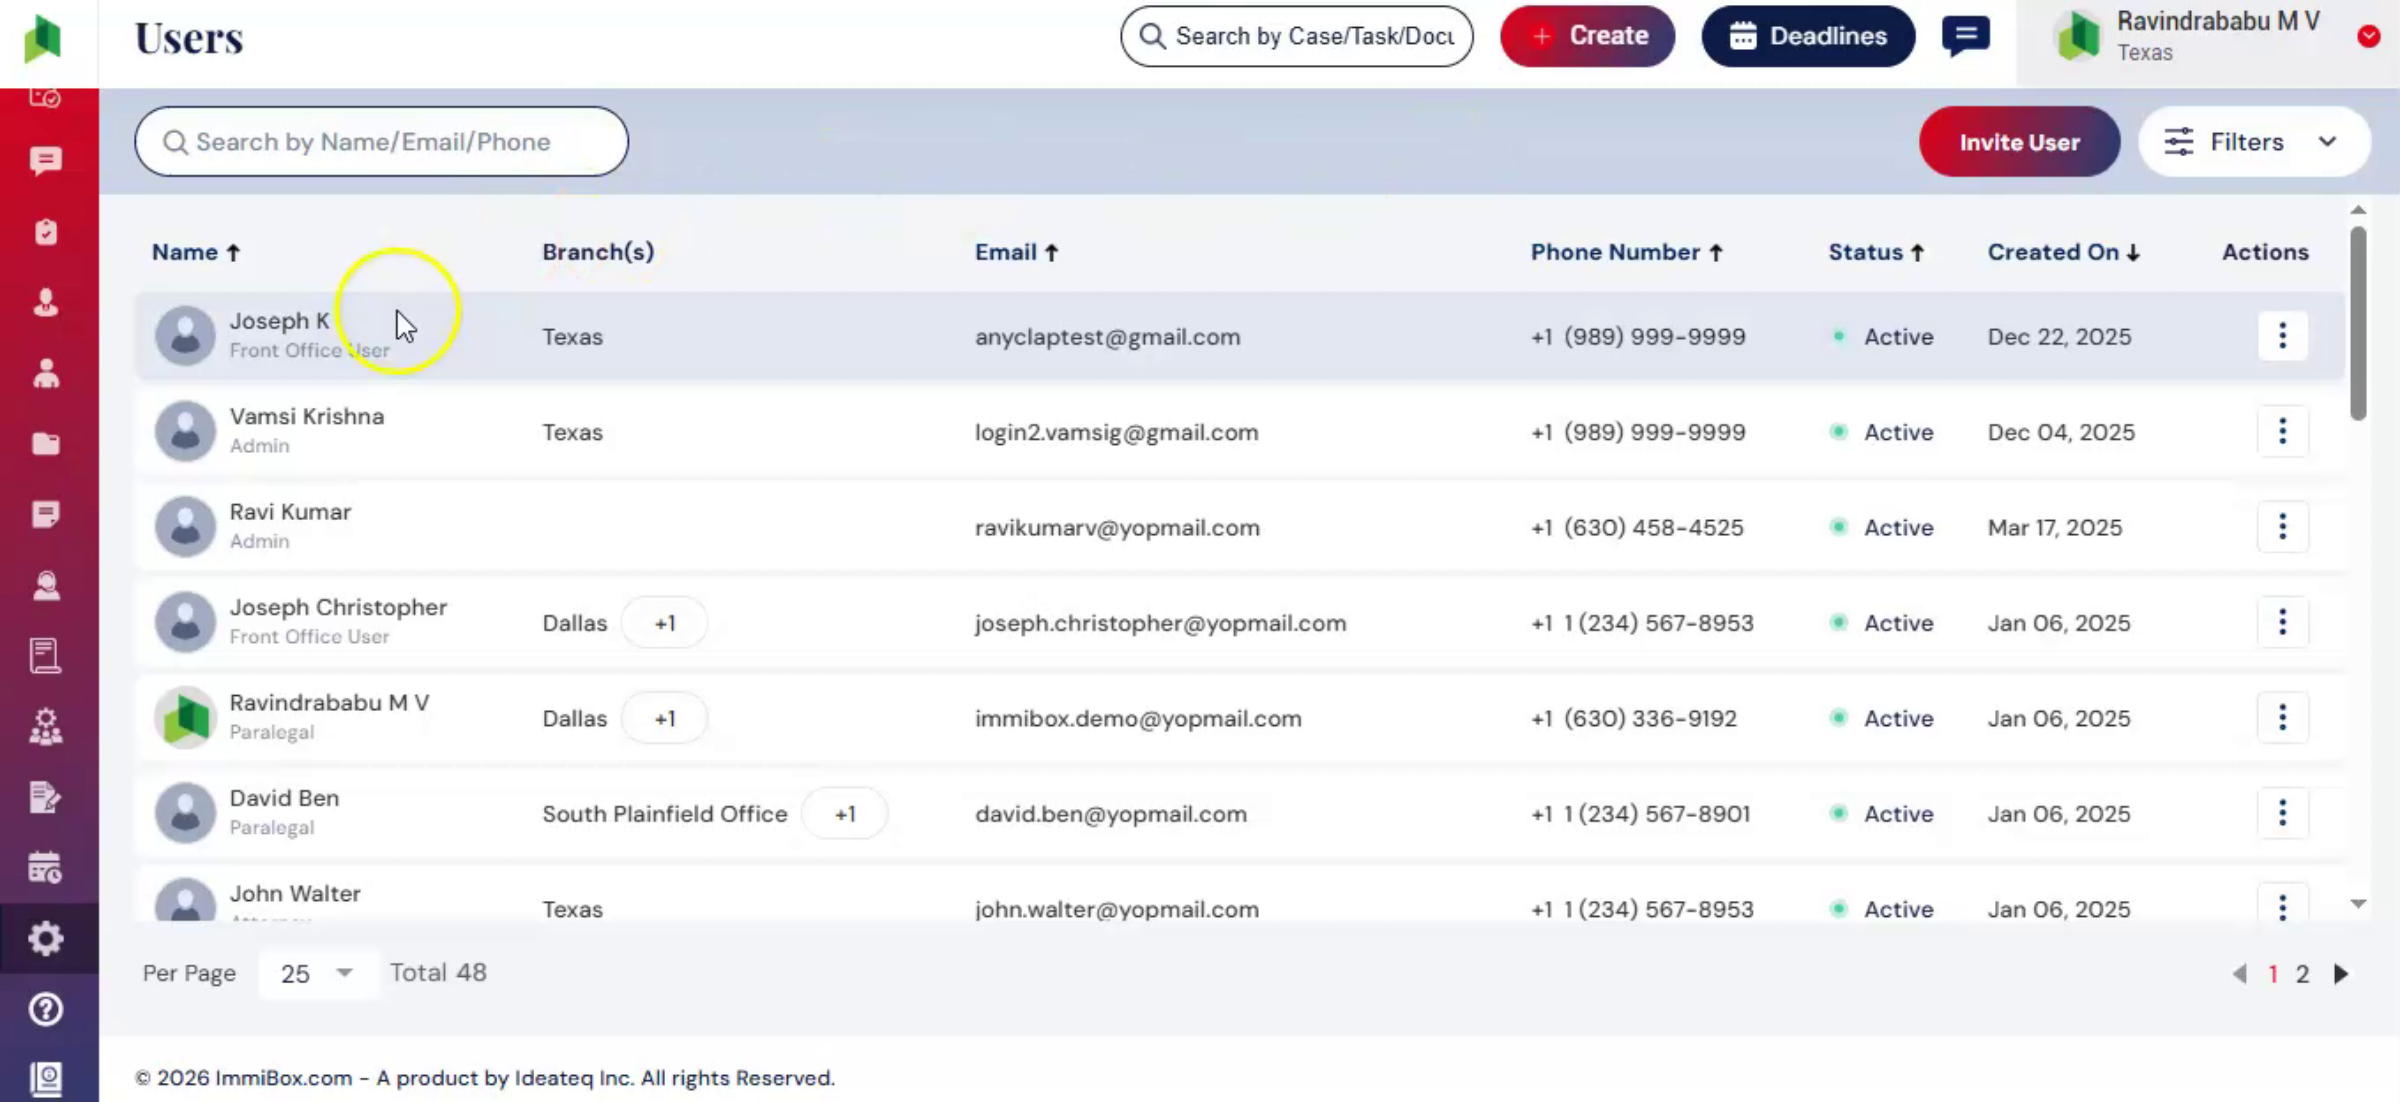
The Users page displays all active users associated with the firm, categorized by their roles.
You can use the Search bar and Filters to quickly locate specific users.
Under the Actions menu for each user, the following options are available:
Inactive – Deactivate the user
Delete – Remove the user
Set Password – Set or reset the user’s password
User Details – View detailed user information
Edit – Update user details
To view inactive, pending, or deleted users, use the Status option in the Filters section.
3. Inviting a User
 * click the image to view enlarged
To add a new user, click on Invite User.
The Invite User dialog box will appear on the screen.
Admin can add Internal or External user by using any of these options. The difference between Internal and External users is discussed later in this video.
Enter all required user details.
Assign the Role and one or multiple Branches.
Select one or multiple Case Types and Case Subtypes from the dropdown. Though this is not mandatory, it can be used on a need basis.
Provide access to all required Modules, based on the user’s responsibilities. This can be used to apply restrictions, too. Or can just leave as is to apply default permissions ImmiBox has setup.
After entering all details, review the information and click Submit.
After submission, the user will be in Pending status until they setup their password.
The user will receive an email to set up their password. Once completed, their profile becomes Active.
4. External User
 * click the image to view enlarged
Once added, the user appears in the Users list with assigned roles and permissions.
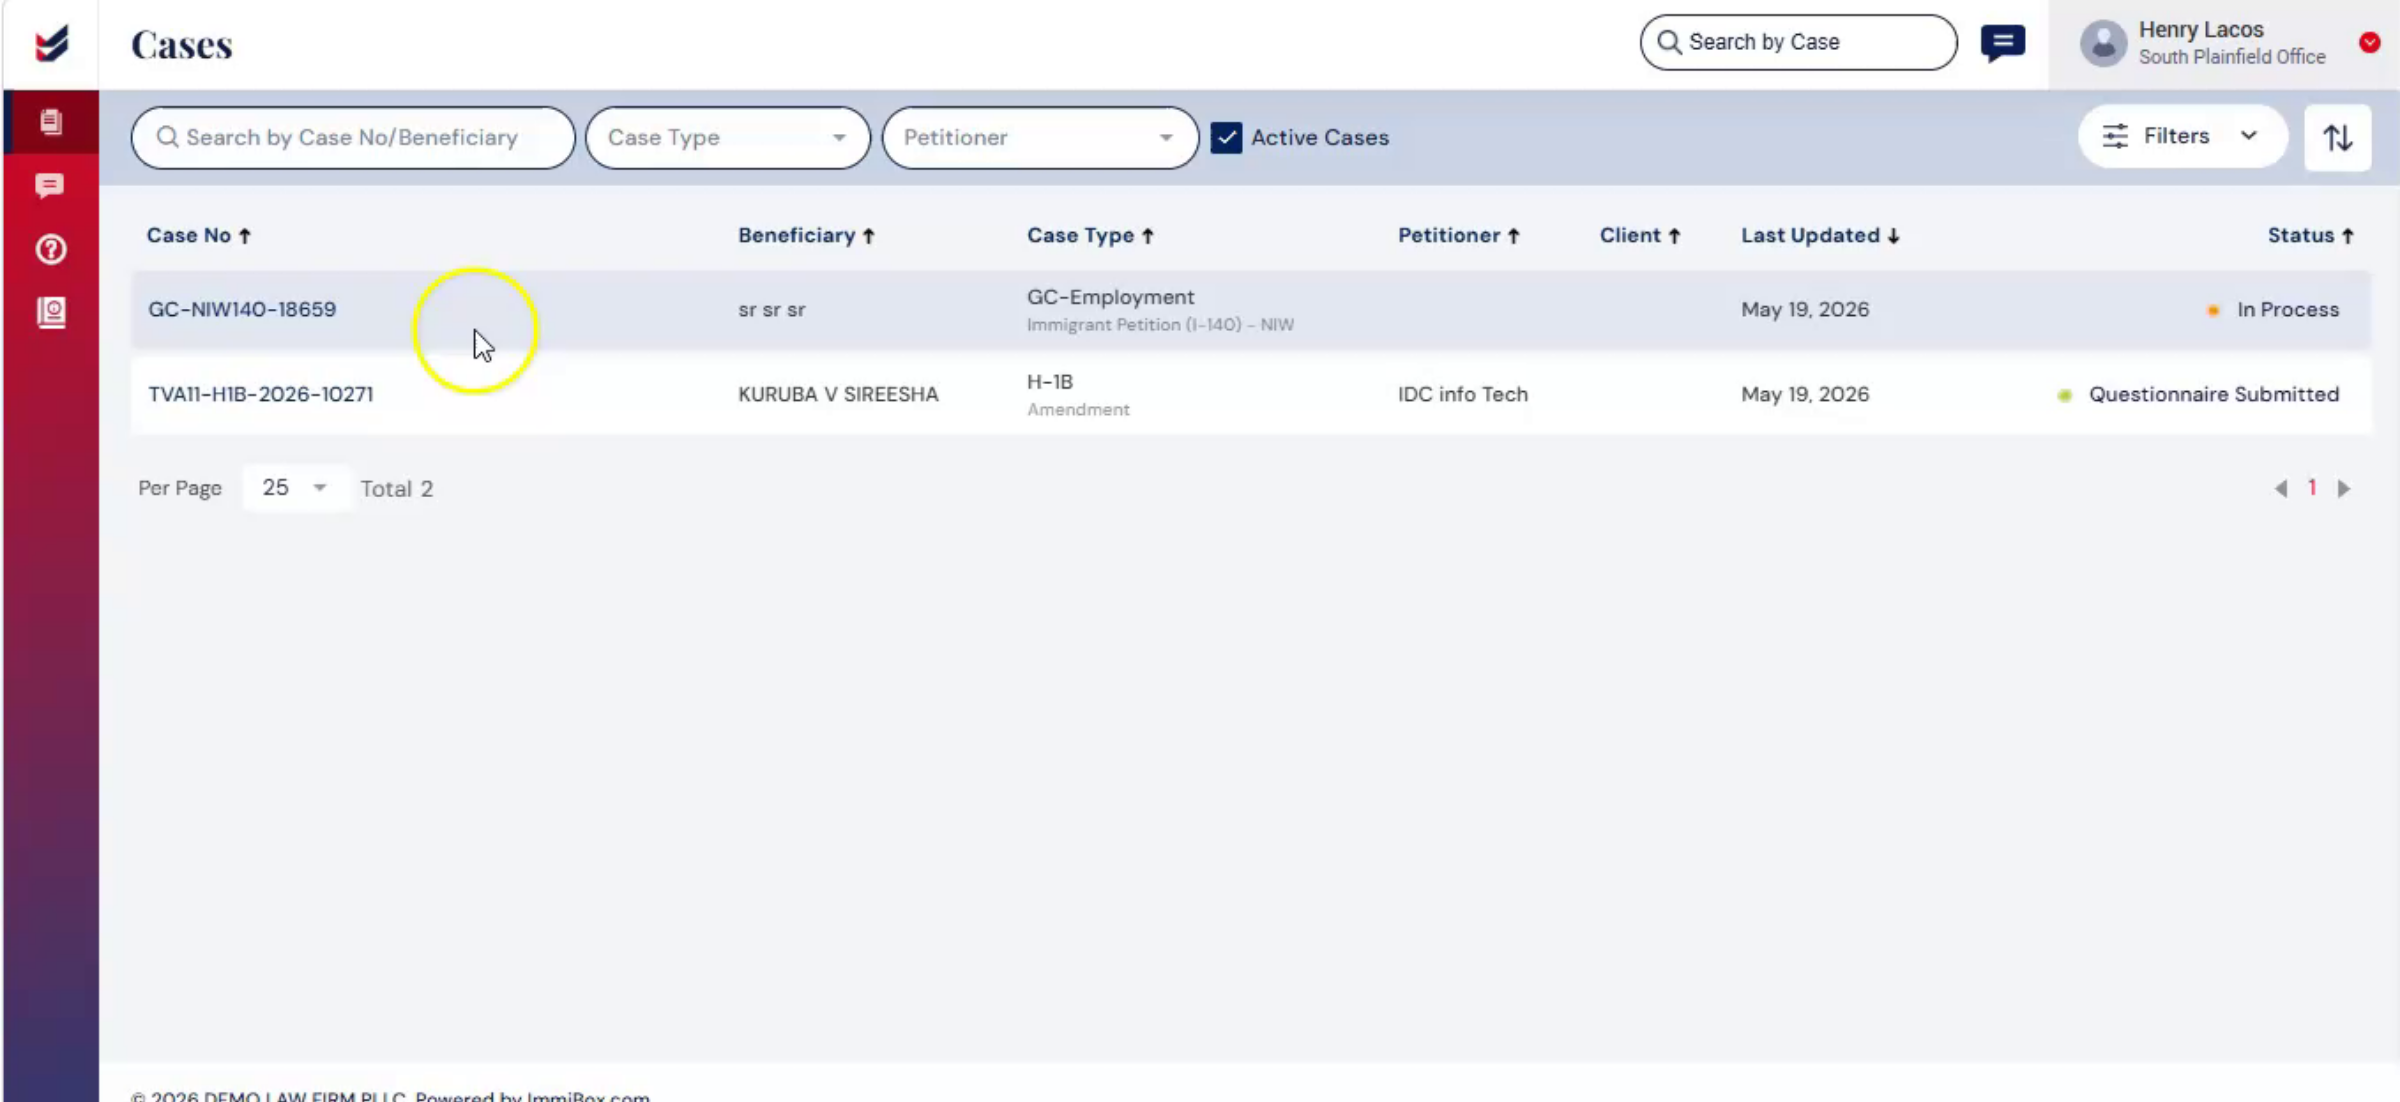
External users are identified with an External label displayed beside their name in the Users list. The Users page displays only active users by default.
External Users have limited access within ImmiBox. They can work only on the cases assigned to them during case processing.
5. External User Dashboard
 * click the image to view enlarged
Based on the permissions assigned by the Administrator, External Users can view assigned cases, access permitted case details, create notes within the Case Details page, and communicate with the Petitioner and Law Firm through the messaging functionality available within the case.
External Users can also initiate invoices related to their assigned cases. However, they do not have permission to generate invoices.
This controlled access helps law firms securely collaborate with external team members while limiting access to only the required functionalities and assigned cases.
6. Internal User Assignment
 * click the image to view enlarged
Internal Users – They can view cases based on the assigned case types within their branch. During case processing, Admin or internal team members can assign them to specific cases. They can also create new cases under the case types and branches assigned to them.
7. Conclusion
 * click the image to view enlarged
User Management helps control access, assign responsibilities, and ensure efficient team collaboration.

