

Managing Documents in ImmiBox
Overview
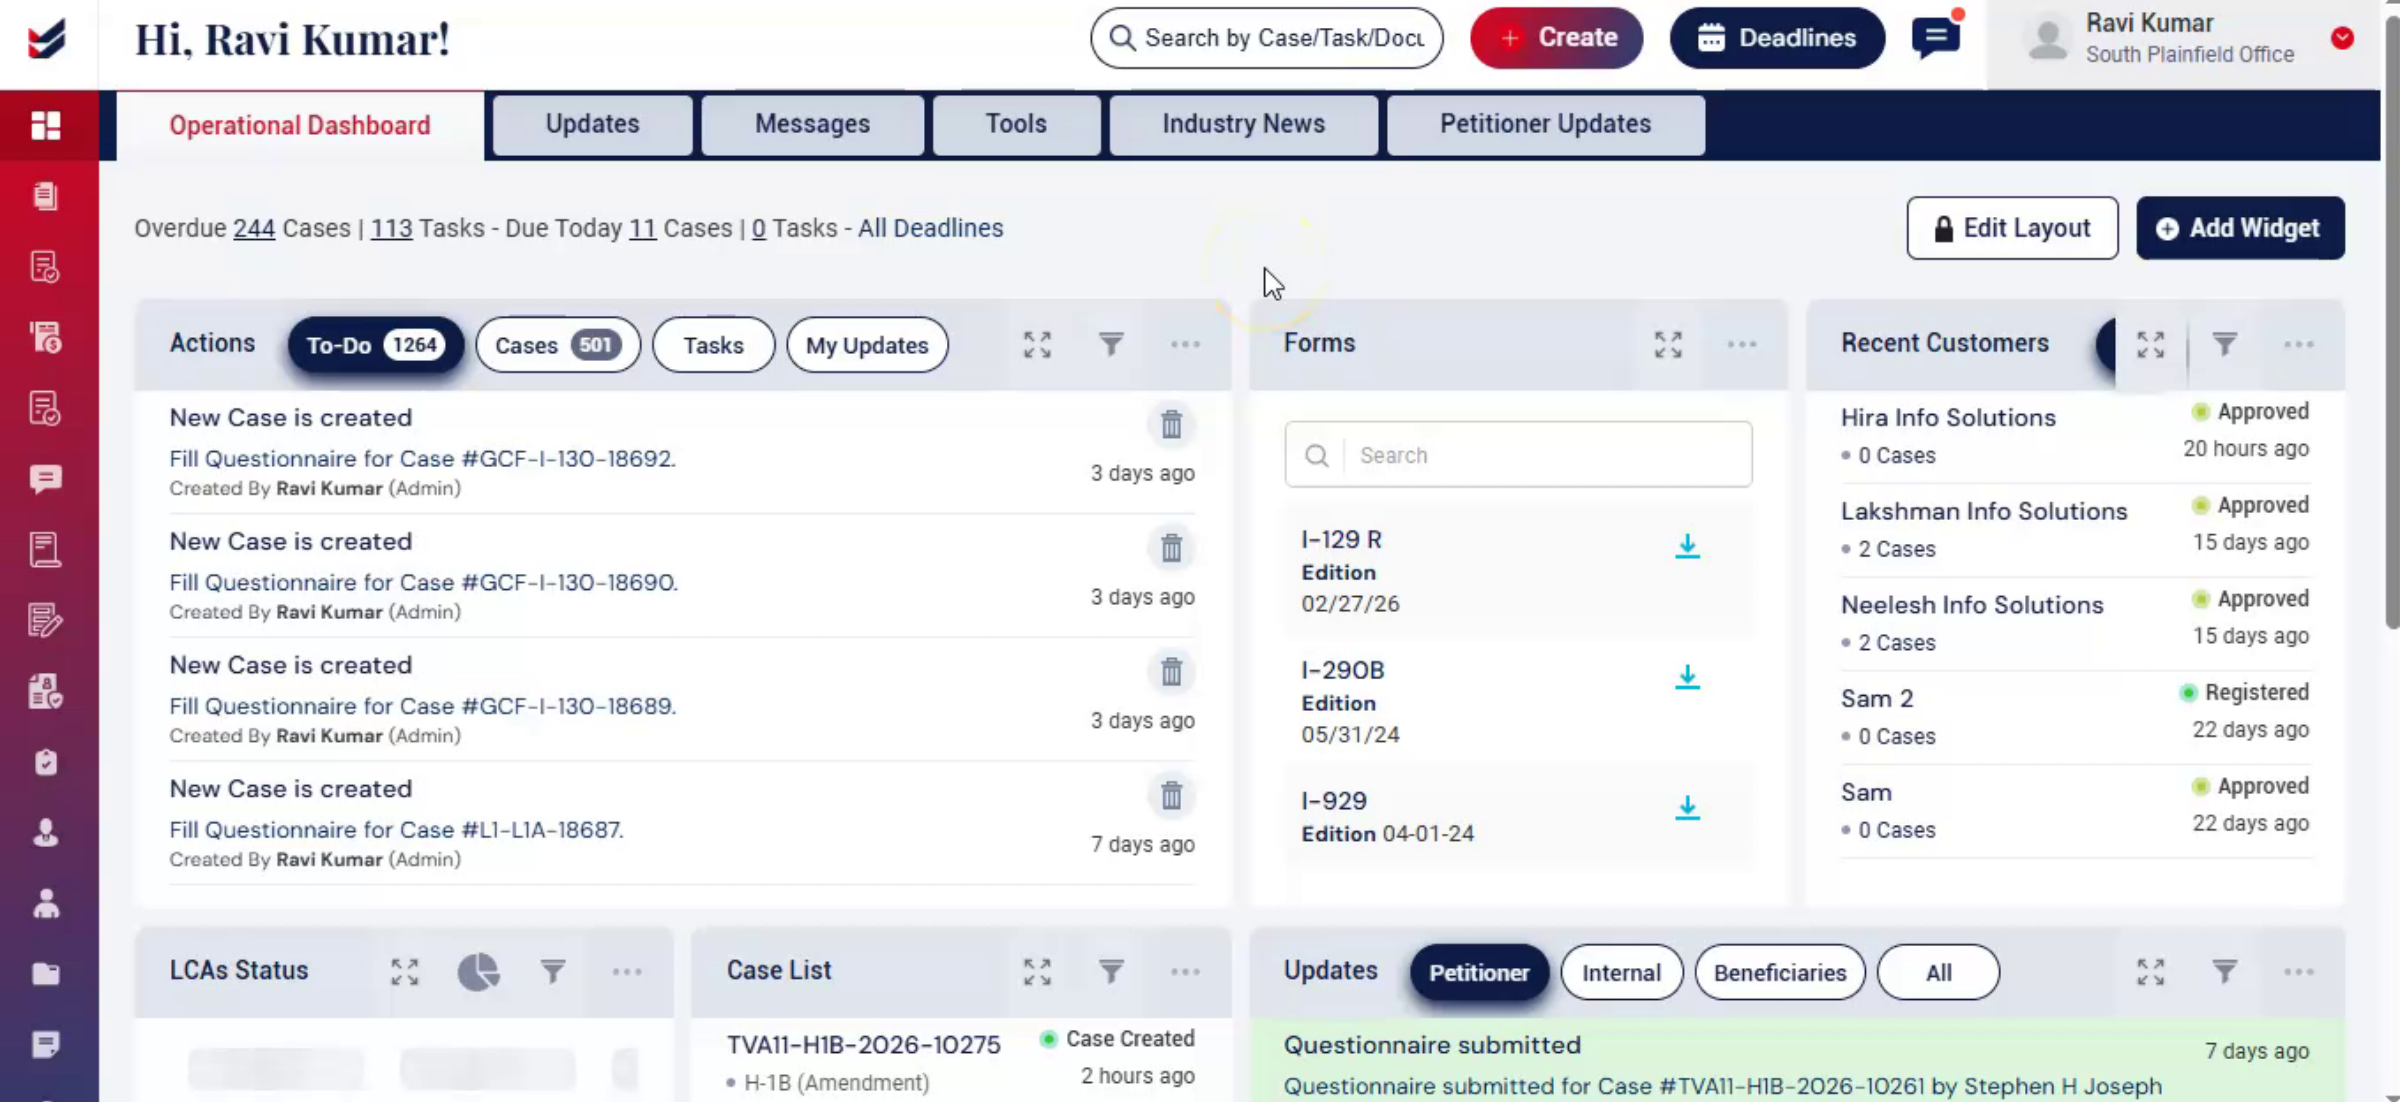
Welcome! In this video, you will learn how to manage documents using the ImmiBox Drive.
1. Introduction
 * click the image to view enlarged
ImmiBox provides a central place to store and manage documents, where all files, and case-related documents are kept organized.
This works like a personal drive, allowing users to upload, manage, and access documents easily.
2. Accessing Documents
 * click the image to view enlarged
From the dashboard, navigate to the left-side menu and click on Documents to access the document management section.
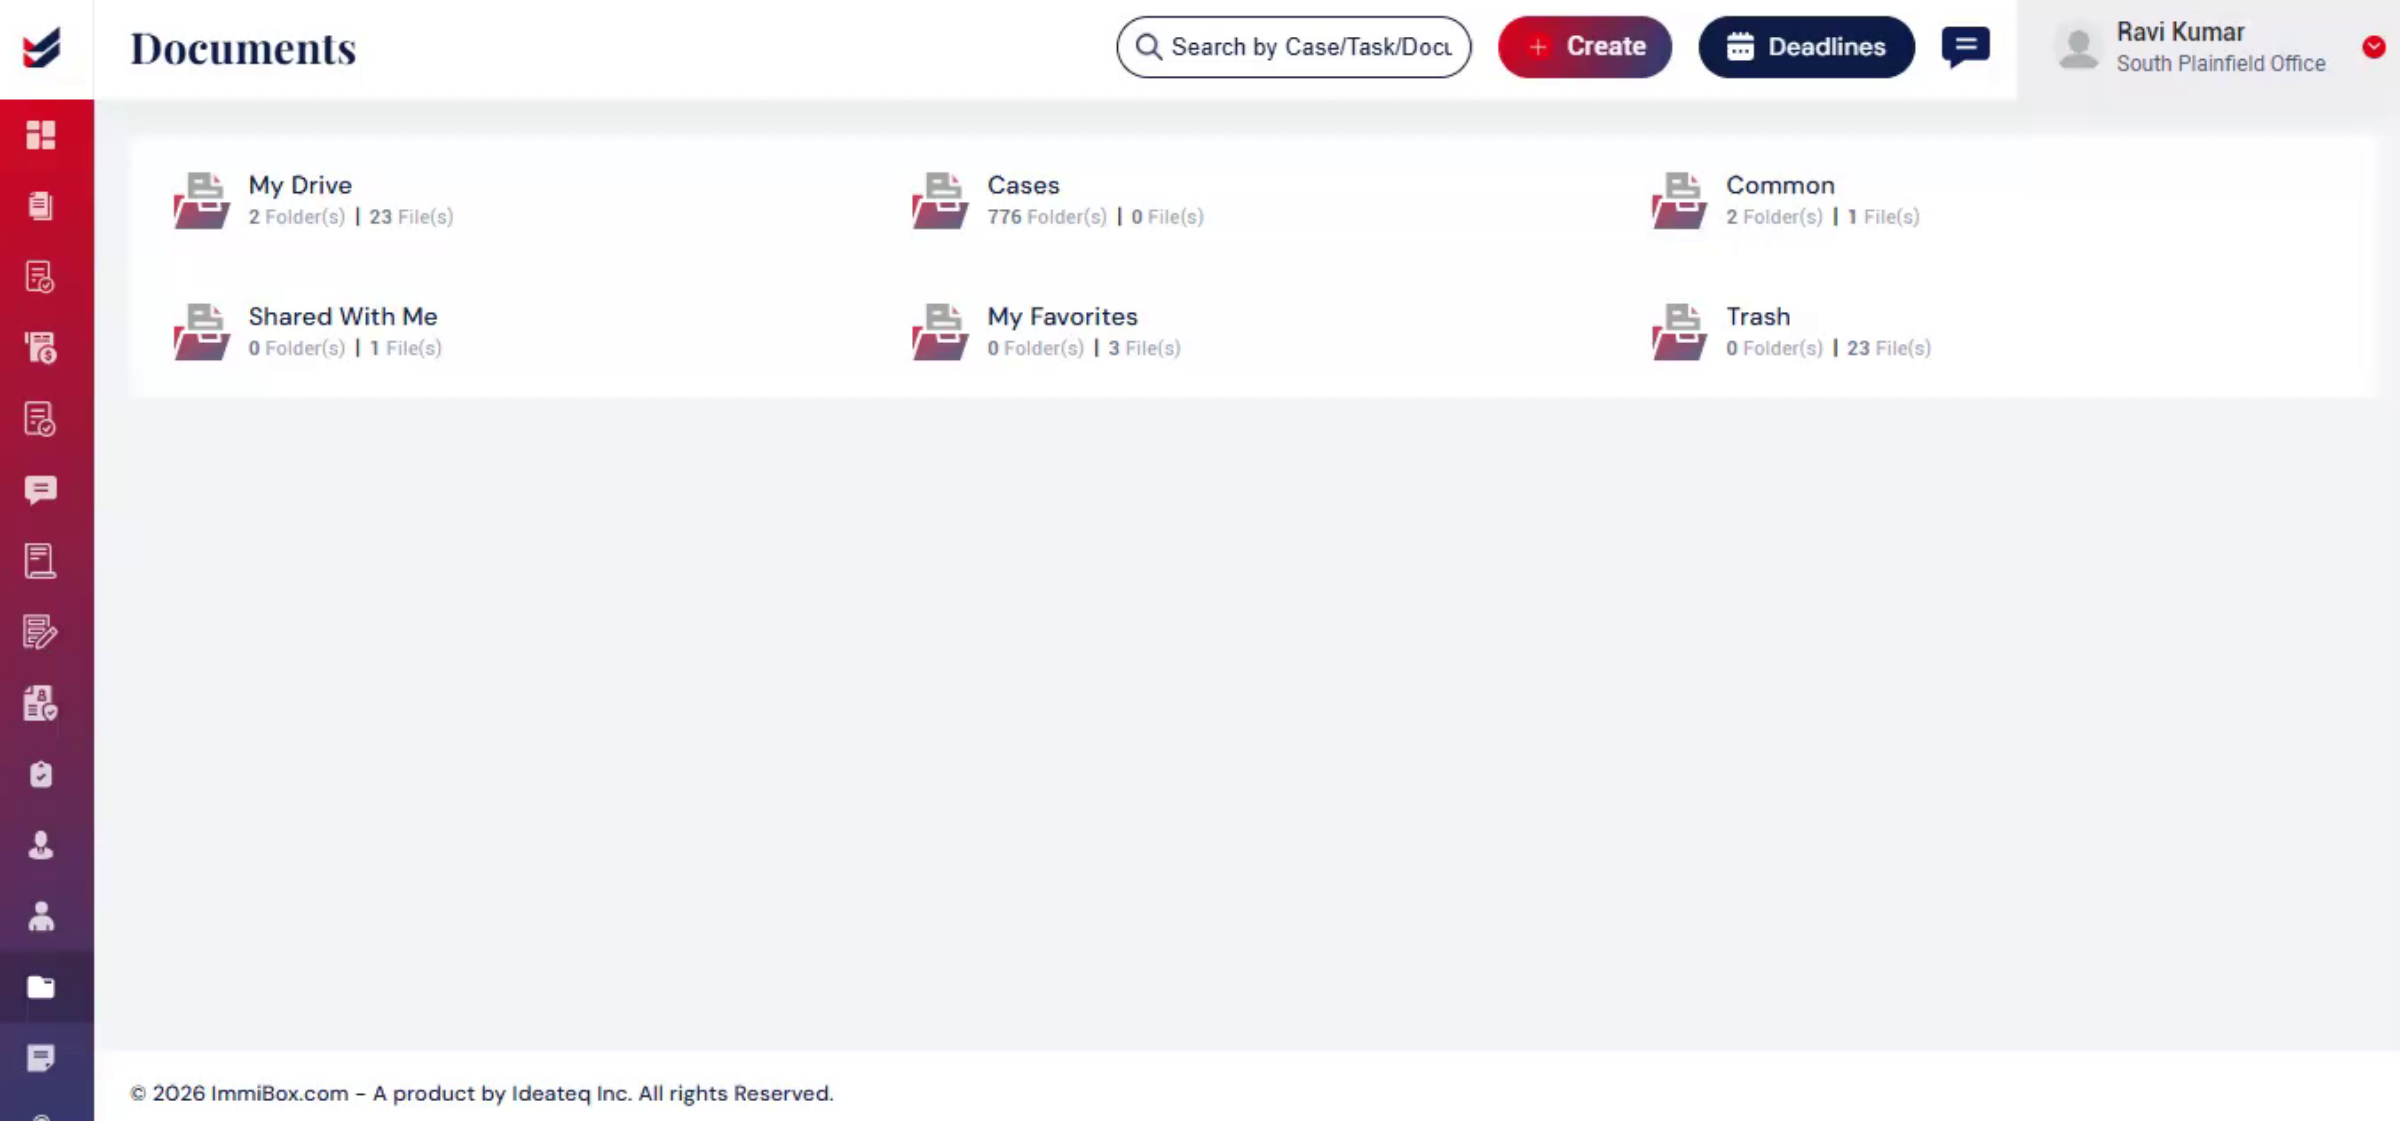
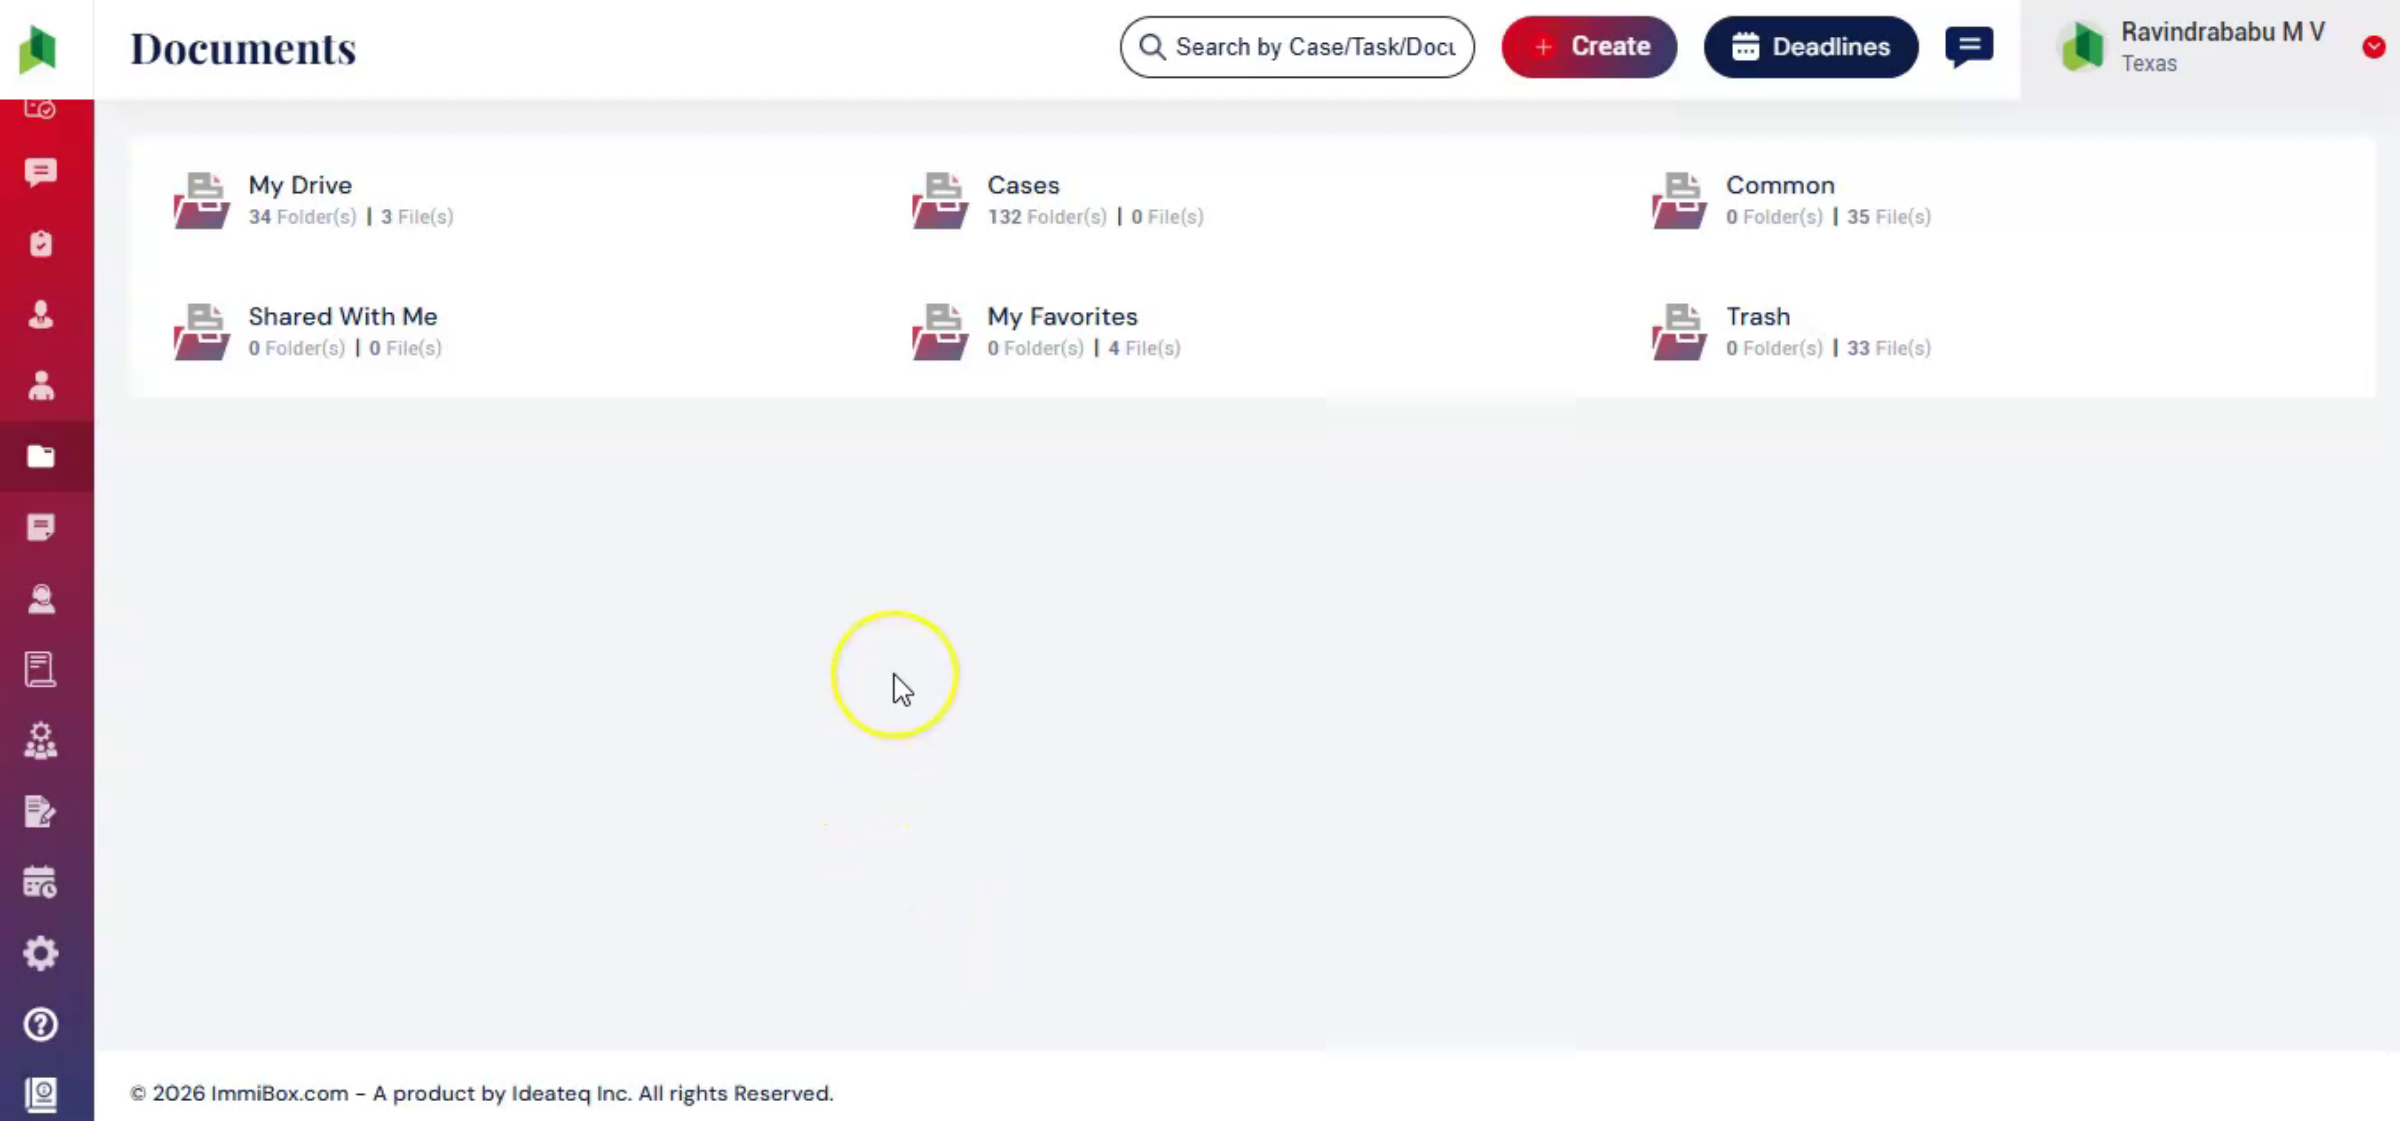
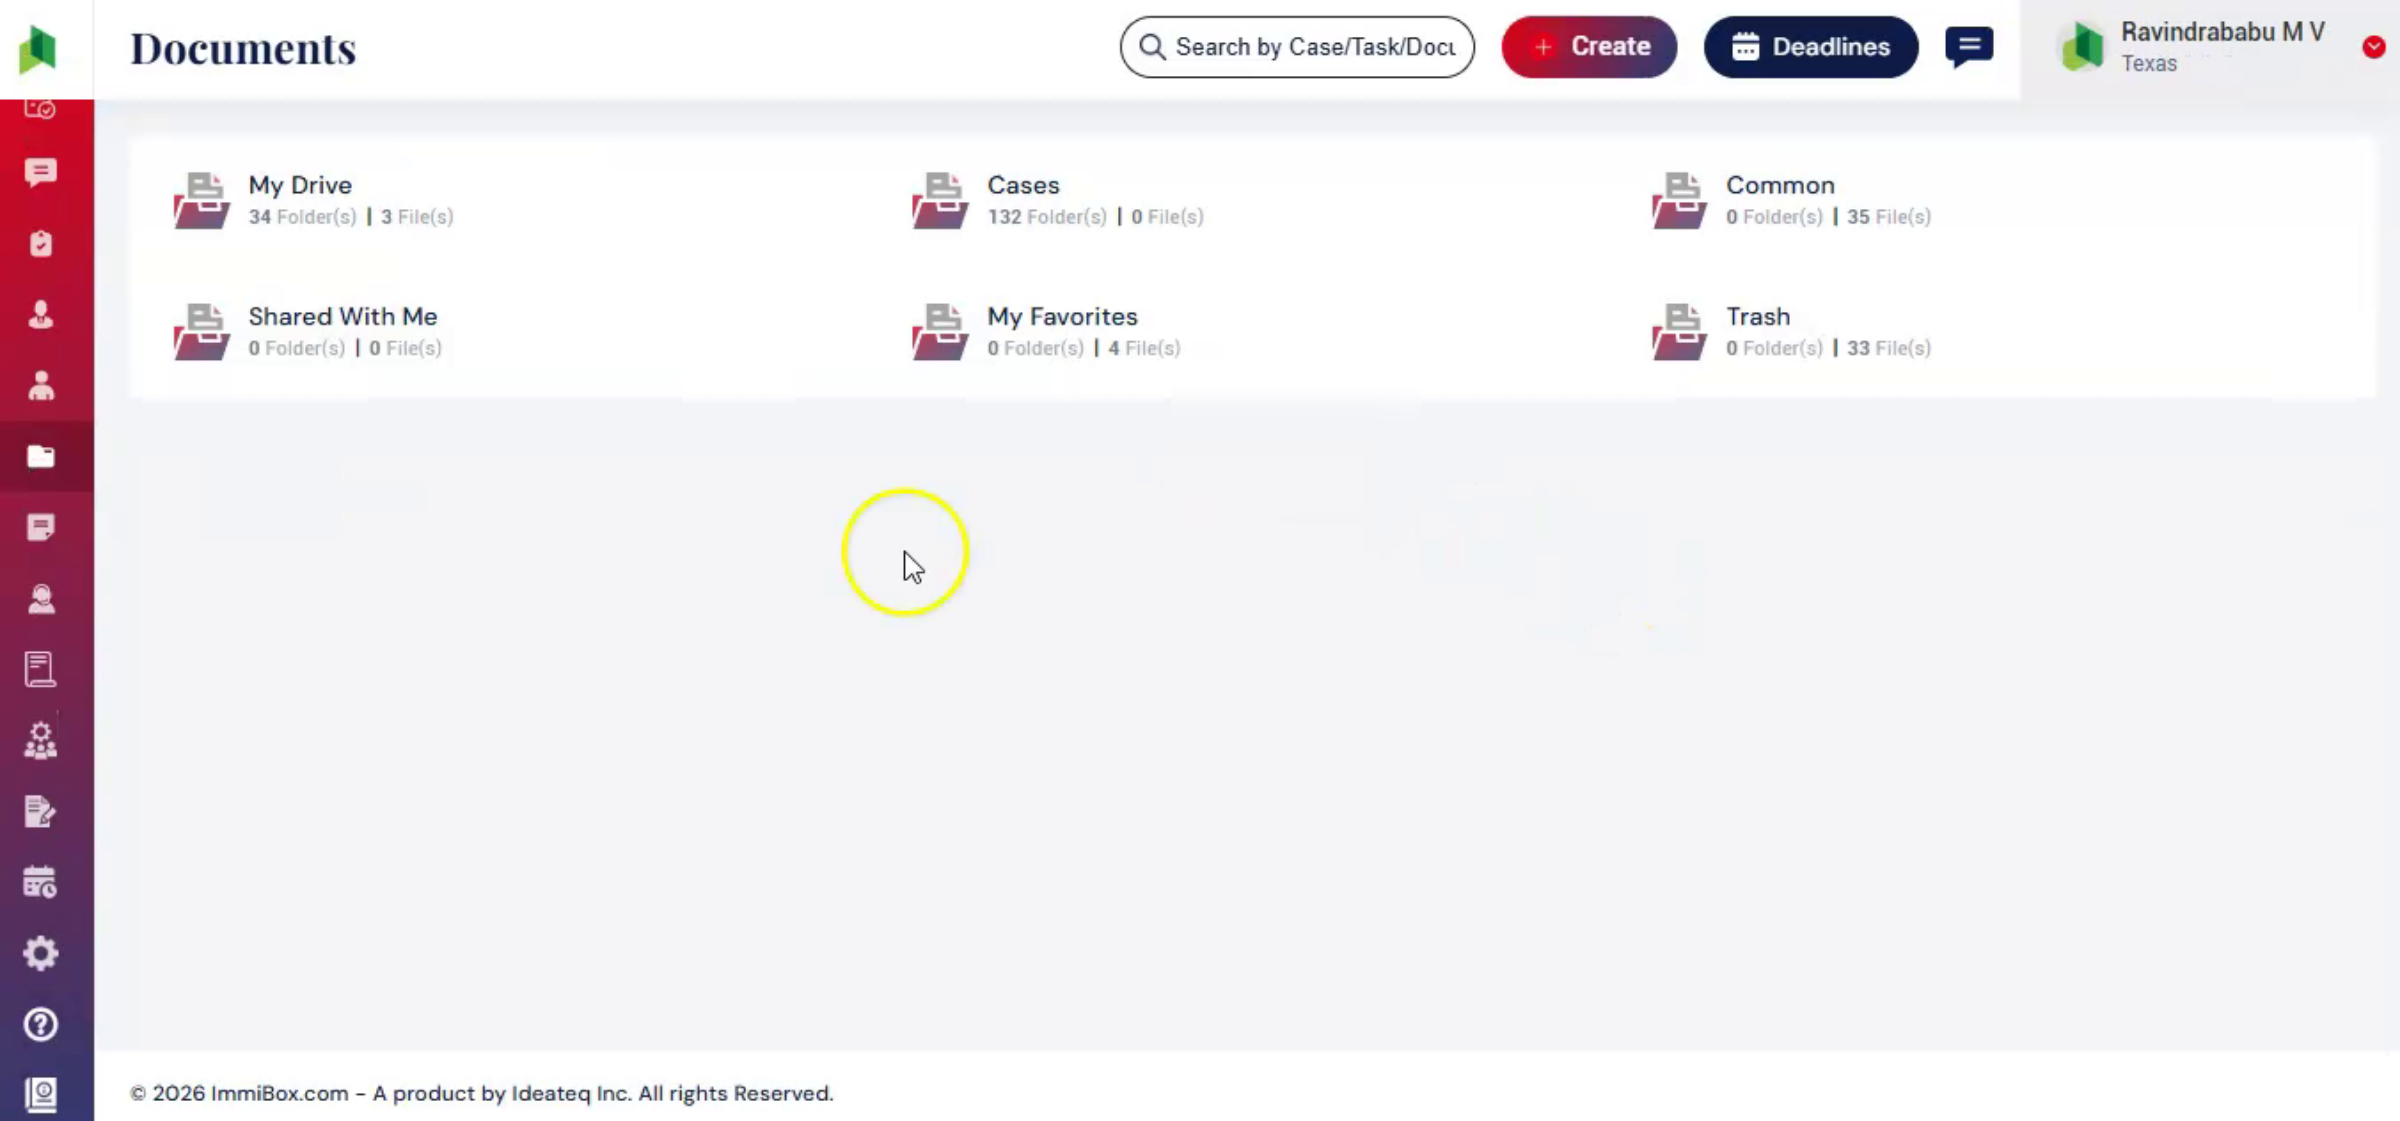
3. Documents Page
 * click the image to view enlarged
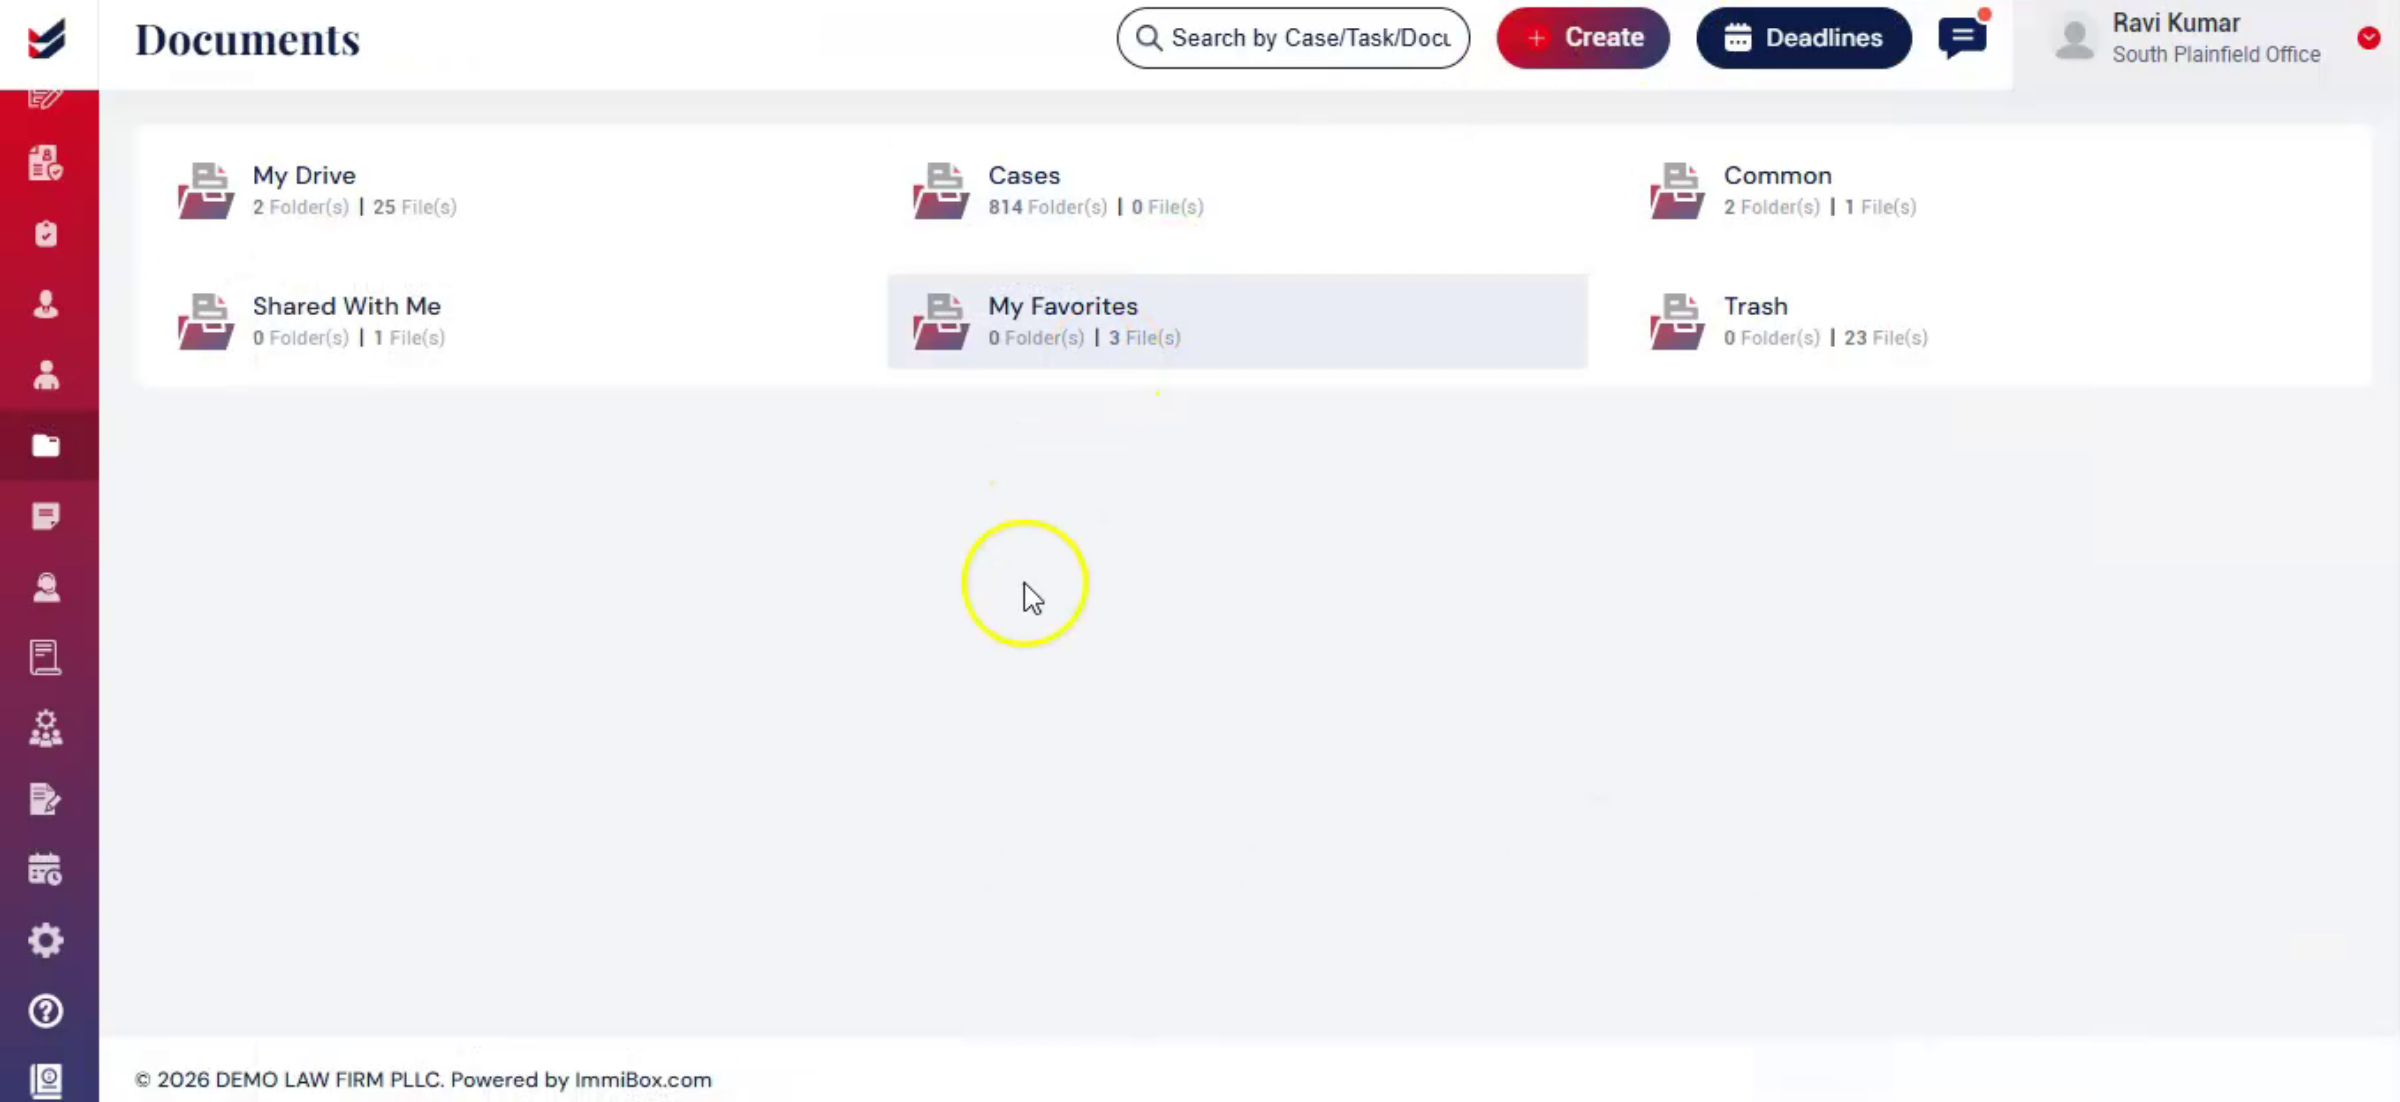
The Documents page will open, displaying the available document folders.
These folders include My Drive, Cases, Common, Shared with Me, My Favorites, and Trash.
Users can open these folders to view, manage, and organize their documents efficiently.
4. Access My Drive
 * click the image to view enlarged
When you click on my drive, you will be redirected to your personal storage folder where you can upload and manage documents. Files in My Drive remain private unless shared with others.
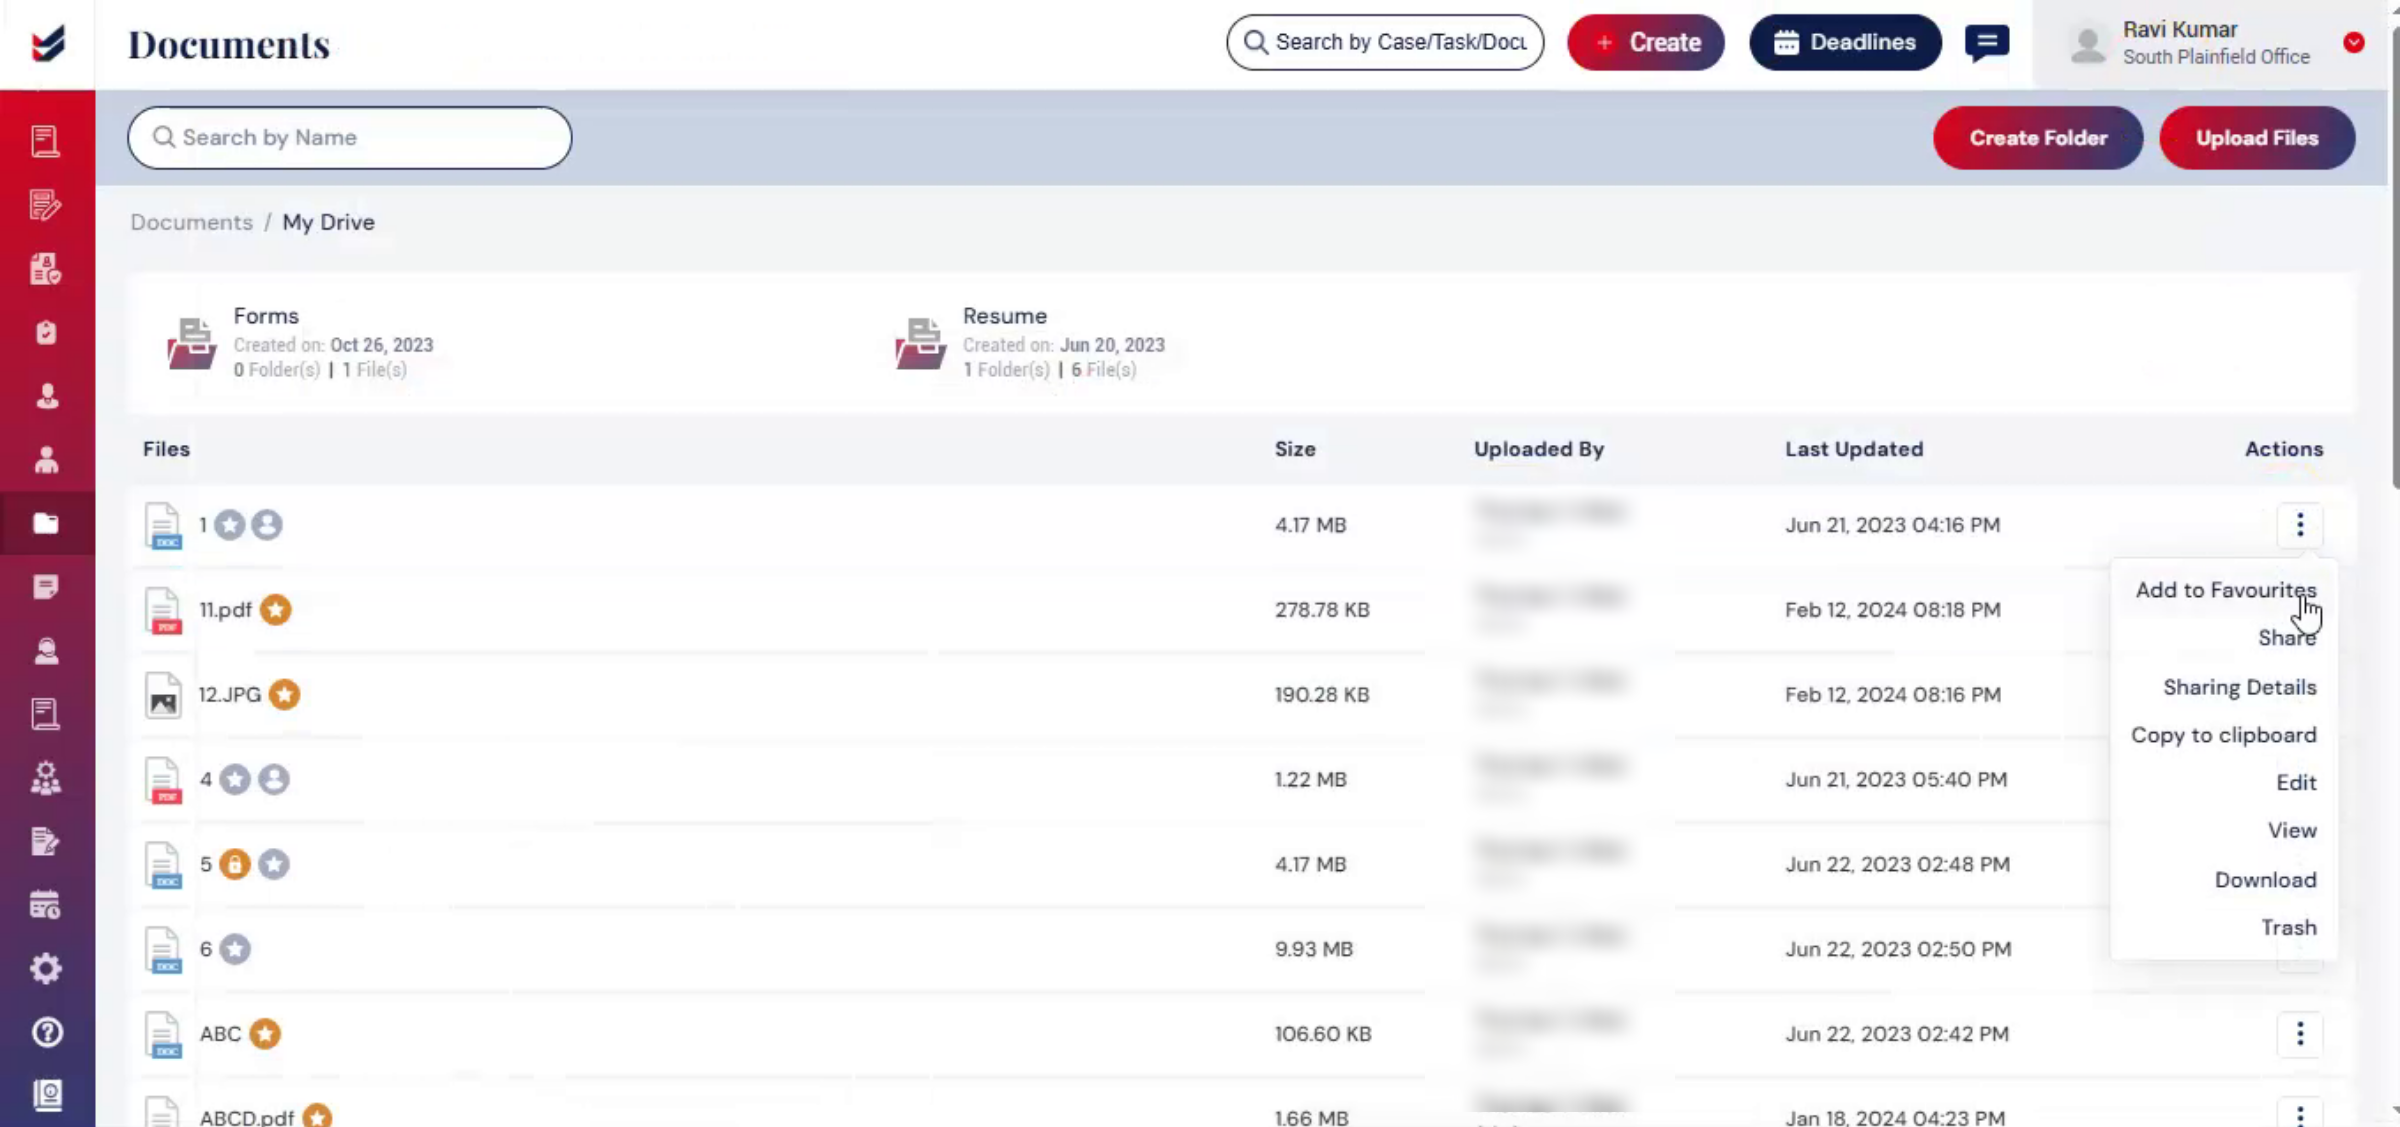
5. My Drive
 * click the image to view enlarged
Here, you will see all uploaded files, such as PDF, DOC, or PNG files.
At the top section of the page, you will see:
Search bar, where you can search for files by name.
Create Folder to create new folder.
An Upload Files to upload documents.
For each file, you can also view details such as File Size, Uploaded By, Last Updated, and Actions.
Under the Actions menu, several options are available.
6. Action Menu - 1
 * click the image to view enlarged
Select Add to Favorite to add the PDF document to your favorites.
Use Share to quickly share the document with selected users from the list.
Open Sharing Details to view the users with whom the file has been shared. To stop sharing the file with a user, select Delete beside the user’s name.
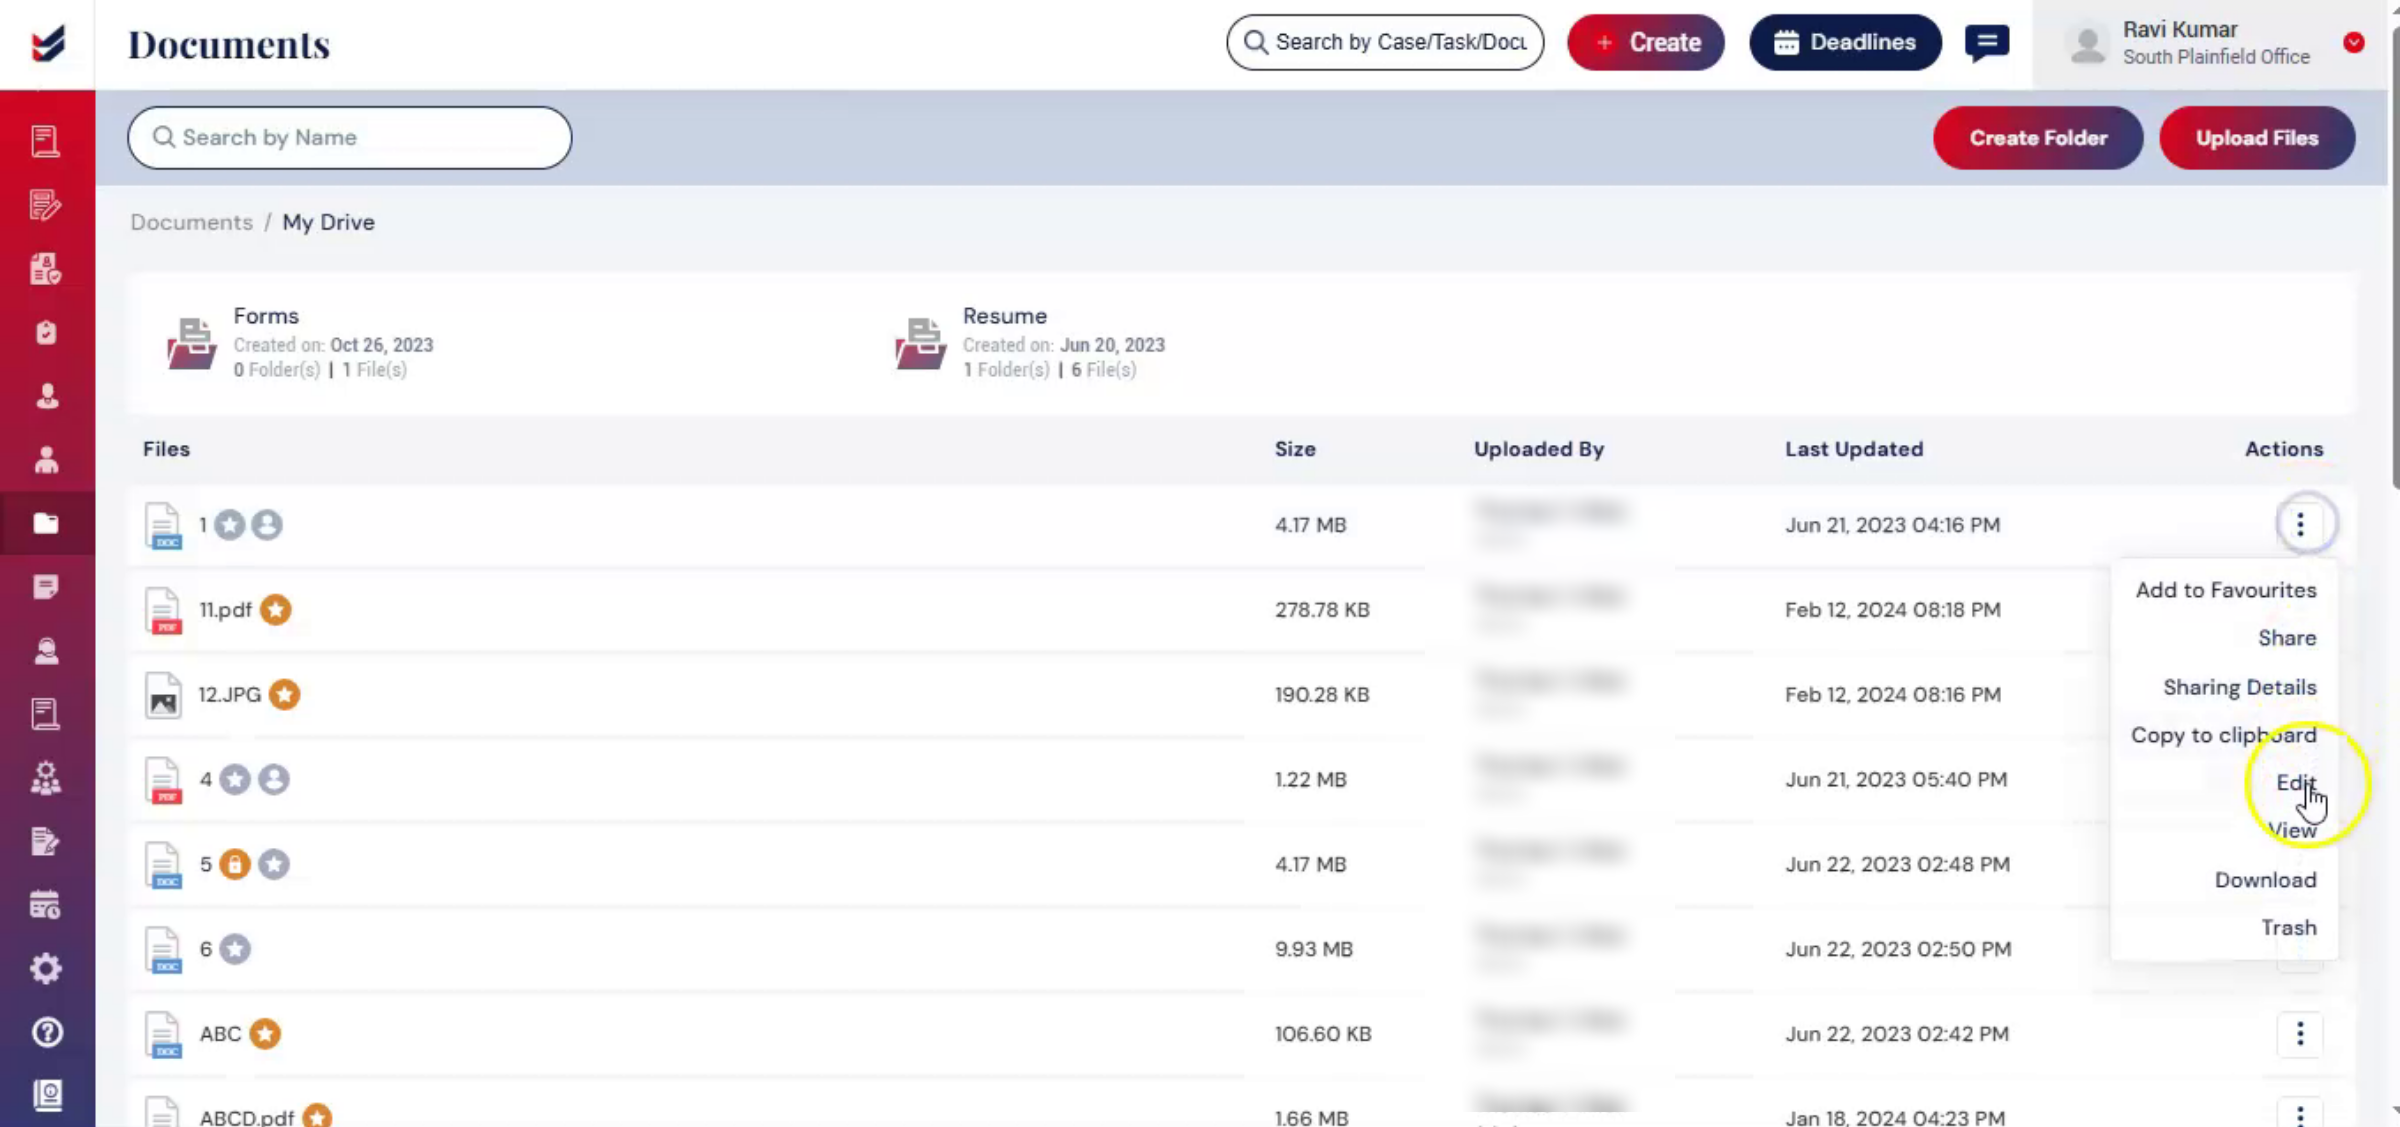
7. Action Menu - 2
 * click the image to view enlarged
Use Copy to Clipboard to copy the folder path.
Select Edit to modify the file name.
8. Action Menu - 3
 * click the image to view enlarged
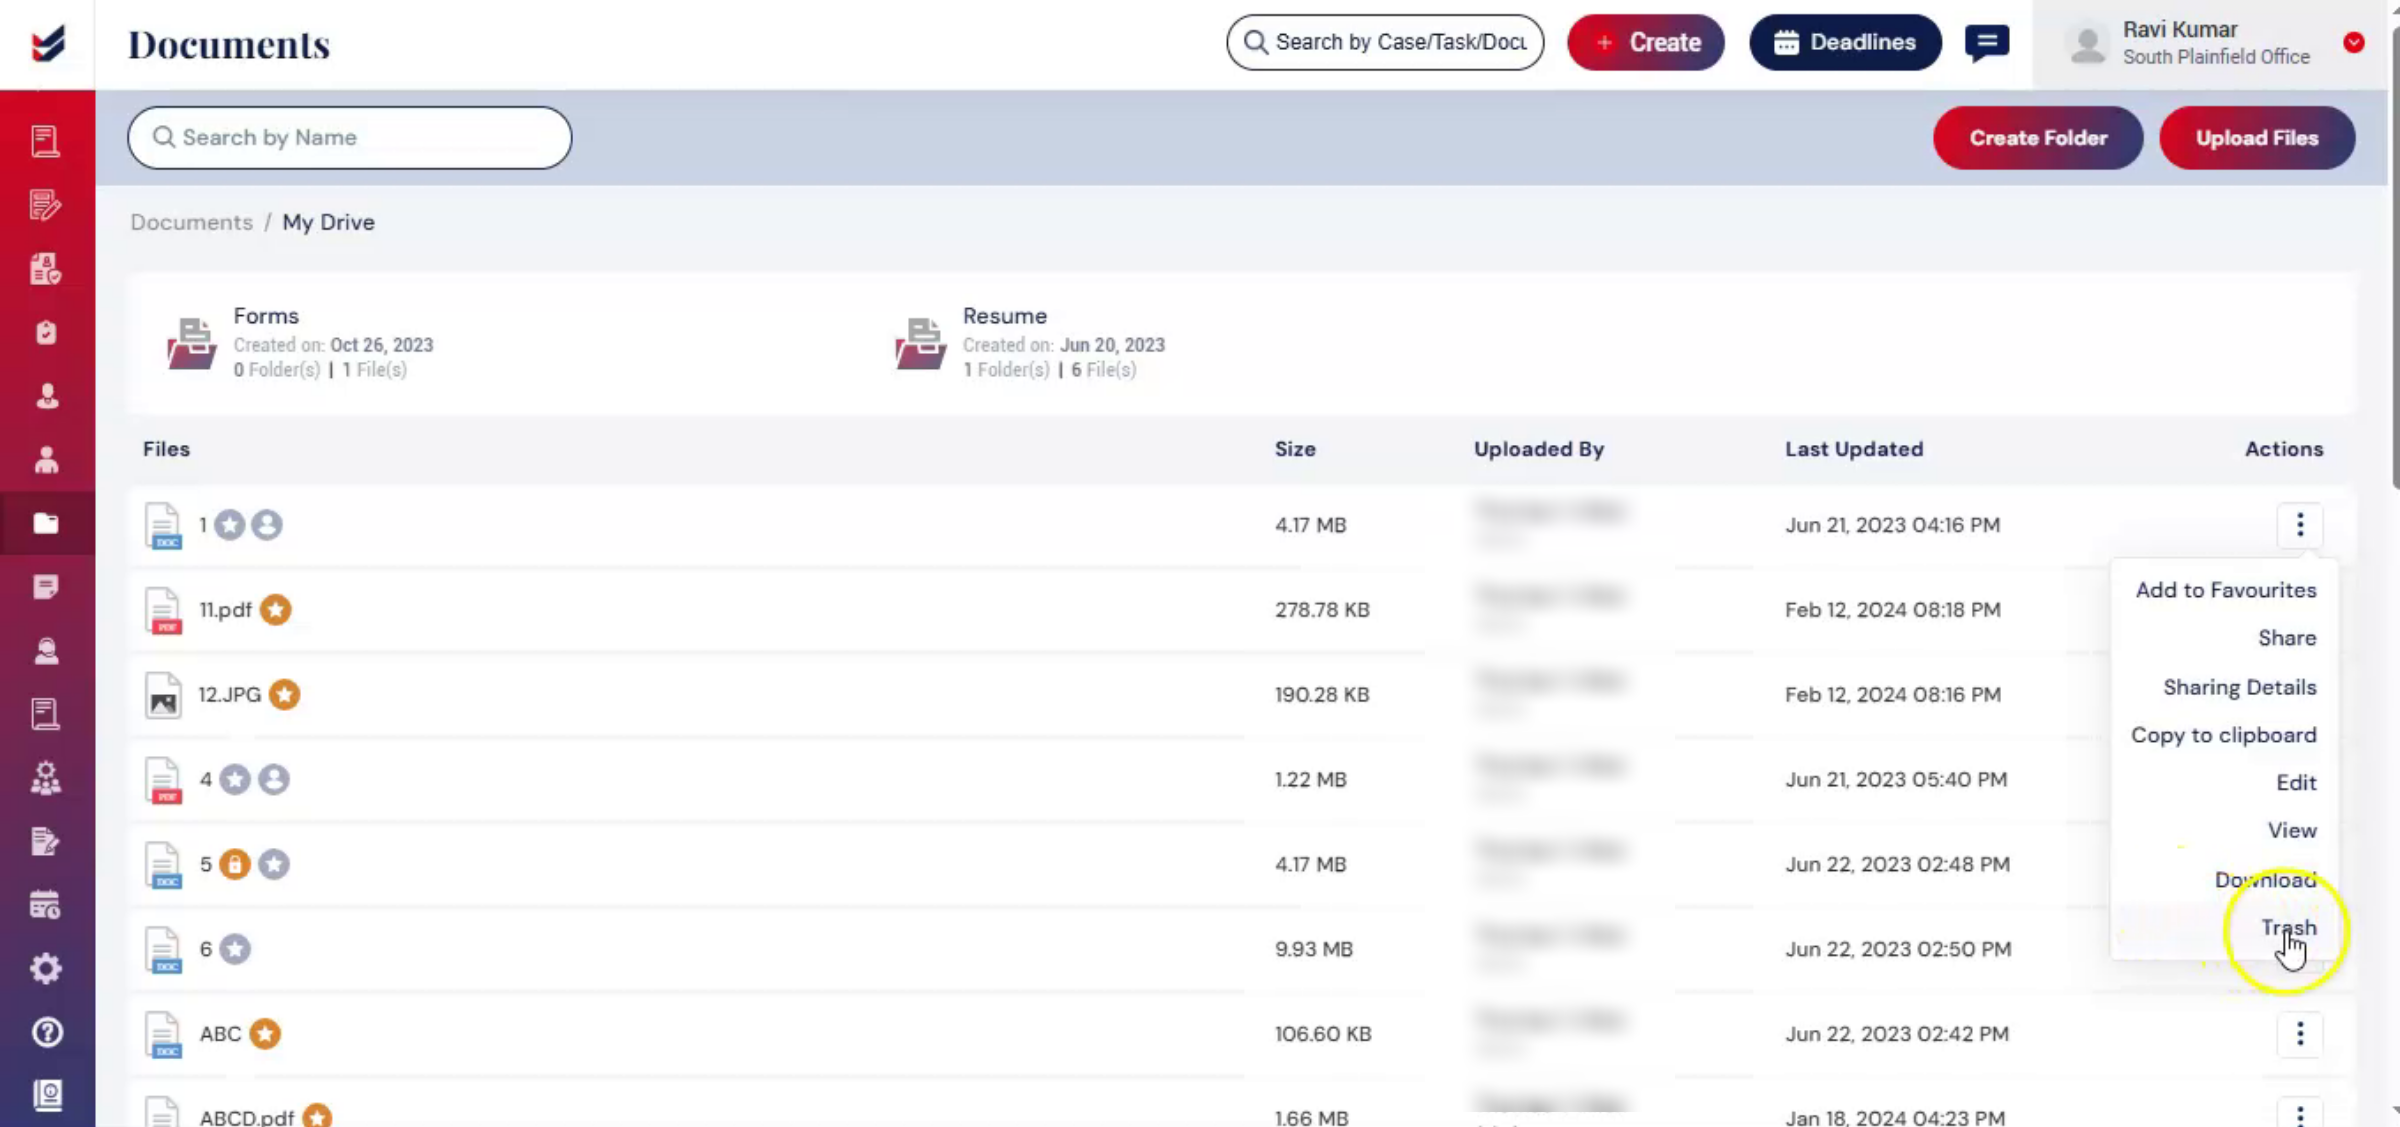
Use View to open and review the file. Select Download to save the file to your device.
9. Action Menu - 4
 * click the image to view enlarged
Use Trash to move the file to the trash.
10. Different Icons
 * click the image to view enlarged
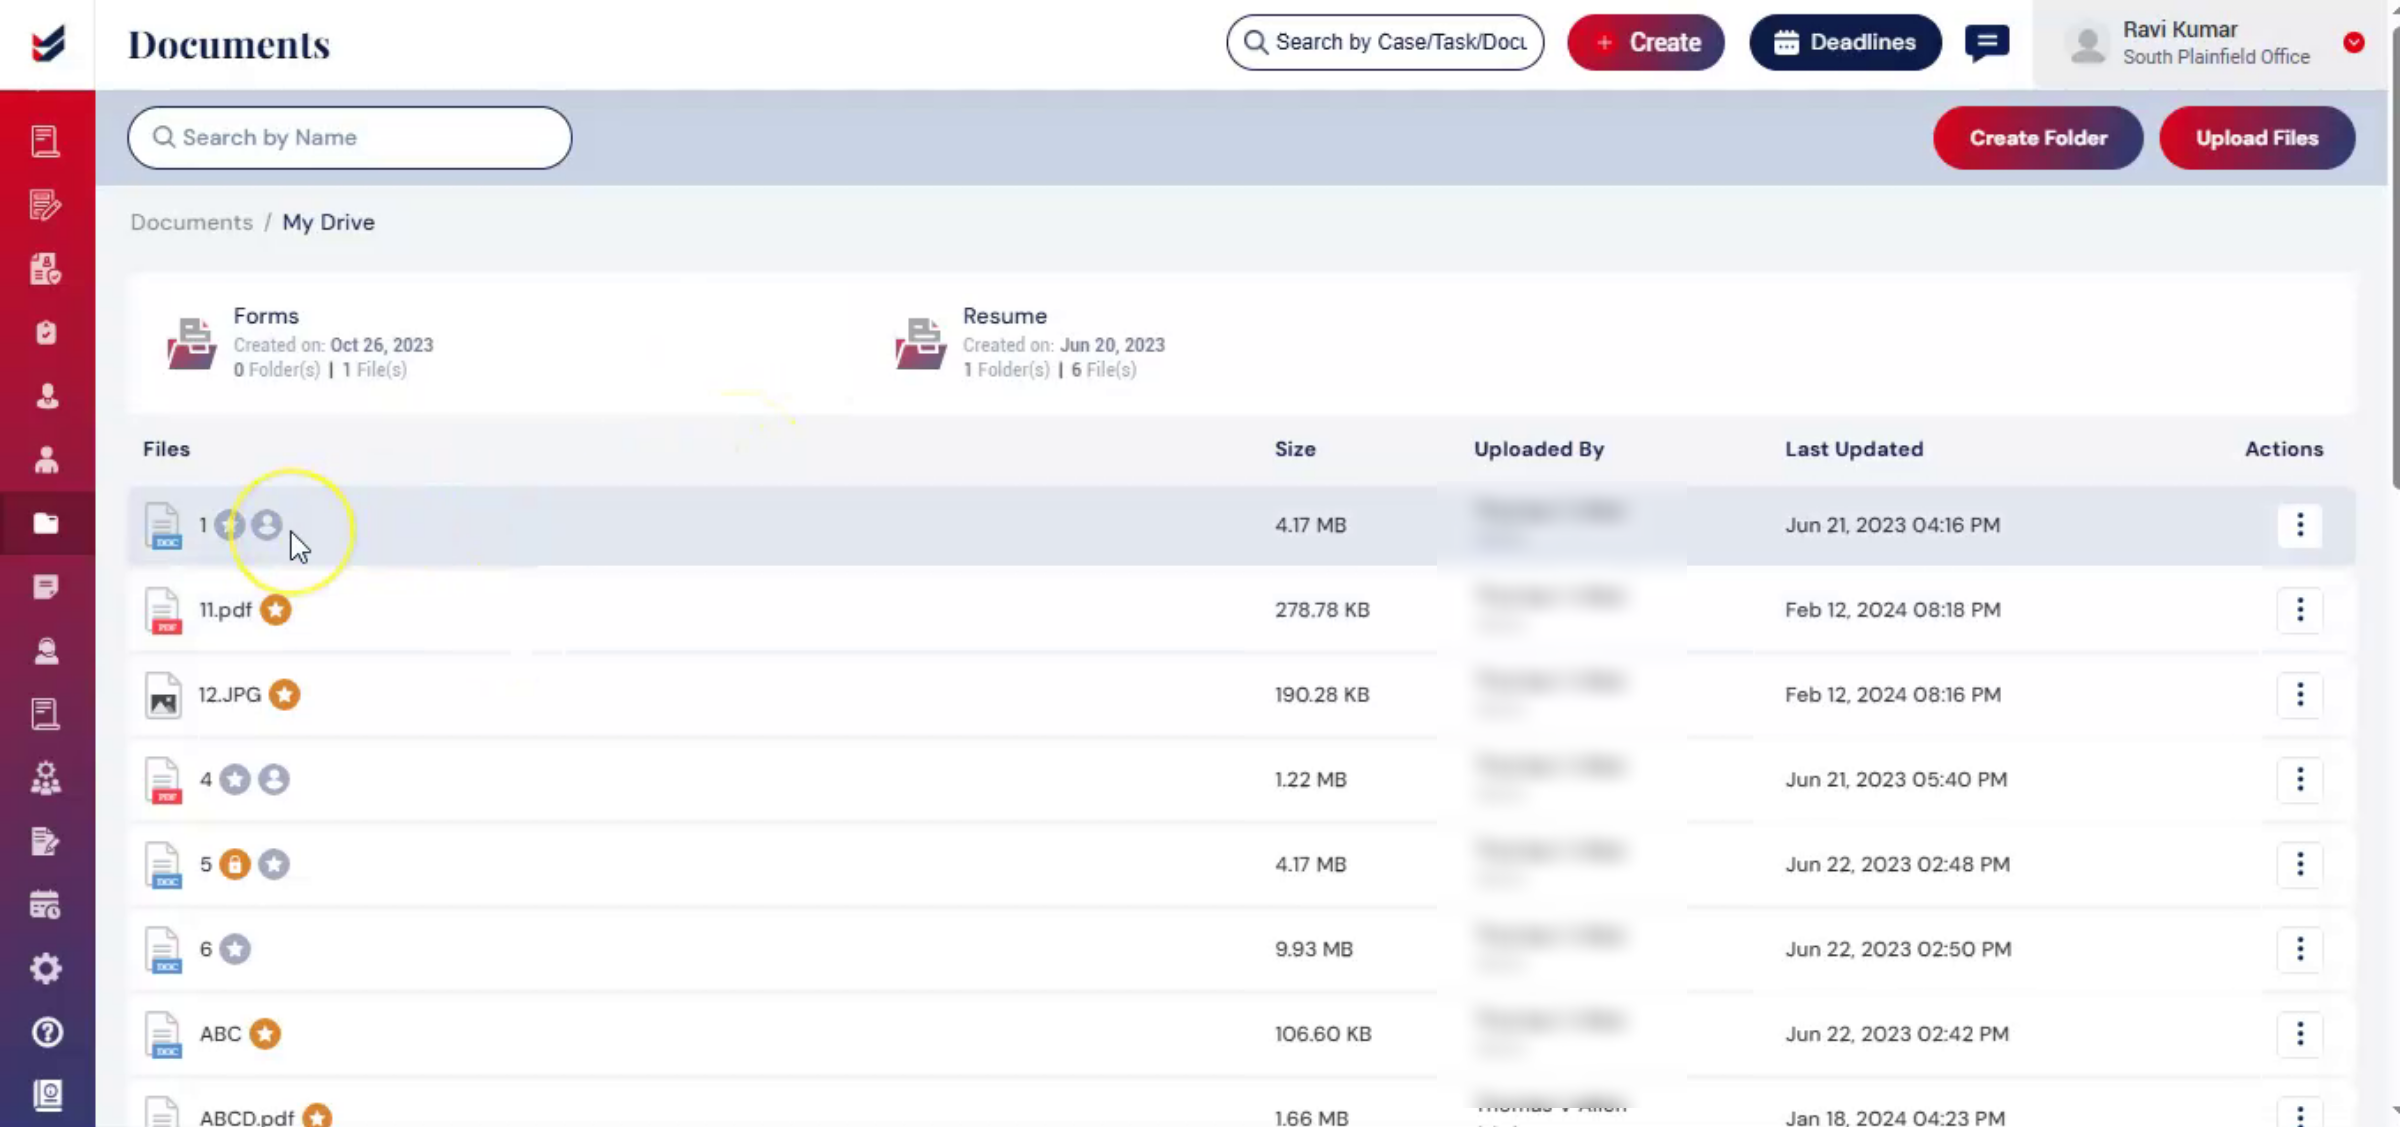
Beside each document, you may notice different icons that indicate the document status and sharing details:
The orange star icon indicates that the document has been added to your favorites.
The grey star icon indicates that the document has not been added to favorites.
The person icon indicates that the document has been shared with users.
11. Case Document
 * click the image to view enlarged
The Case Documents folder is a centralized repository where all case-related files are securely stored and automatically organized into sections such as Petitioner, Beneficiary, and Individual.
12. In Case Document
 * click the image to view enlarged
Within Case Documents, the Petitioner can be either a Corporate or an Individual. When you open the Petitioner folder, you will see the associated Beneficiaries along with a Common folder. Selecting a Beneficiary will display the Case ID folders related to that beneficiary. If the beneficiary has multiple cases, multiple Case ID folders will be available.
Opening a Case ID folder displays all documents related to that specific case, including both Uploaded and Generated documents. When a case is created, the system automatically saves and organizes the related documents under the corresponding Petitioner, Beneficiary, and Case folders within Case Documents.
This serves as a centralized location where users can access and manage all case-related files together, excluding questionnaires.
This structured document management system improves organization, reduces manual effort, and allows users to quickly locate required files during case processing.
13. Common Documents
 * click the image to view enlarged
Click on Common, to access the Common folder page. This folder is accessible to both Law Firm users and Petitioners or Employers. It is typically used to store documents that need to be shared across multiple users or teams.
14. Shared with Me Documents
 * click the image to view enlarged
When you click on the shared with me, the folder will open. This folder contains documents that have been shared with you, by other users, allowing you to quickly access files shared by team members.
15. My Favorites Documents
 * click the image to view enlarged
Click on my favorites to access this folder. The, my favorites folder stores files, that users Mark as important for quick access. Users can Mark a file as a favorite by clicking. The star icon next to the file name or through the available file actions.
16. Trash Documents
 * click the image to view enlarged
Selecting the Trash folder takes you to the Trash Documents page, where all deleted files are stored.
One can search for files by name using the Search Bar.
Users can restore, download, view, or permanently delete files from the Trash folder.
17. Conclusion
 * click the image to view enlarged
Using these features helps ensure better document management and improved collaboration across teams.

