

Adding and Managing Petitioners in ImmiBox
Overview
Welcome! In this video, we will learn multiple methods to register and manage petitioners.
1. Petitioner Addition Overview
 * click the image to view enlarged
Let's see how easy it is to add a petitioner. There are four ways to do it, depending on your workflow.
2. Register from Login Page
 * click the image to view enlarged
First, from the login page, click Register as a user below the Login button. Then a registration form will open. Enter the client's company name, first and last name, phone number, and email. Select Corporate and click Register.
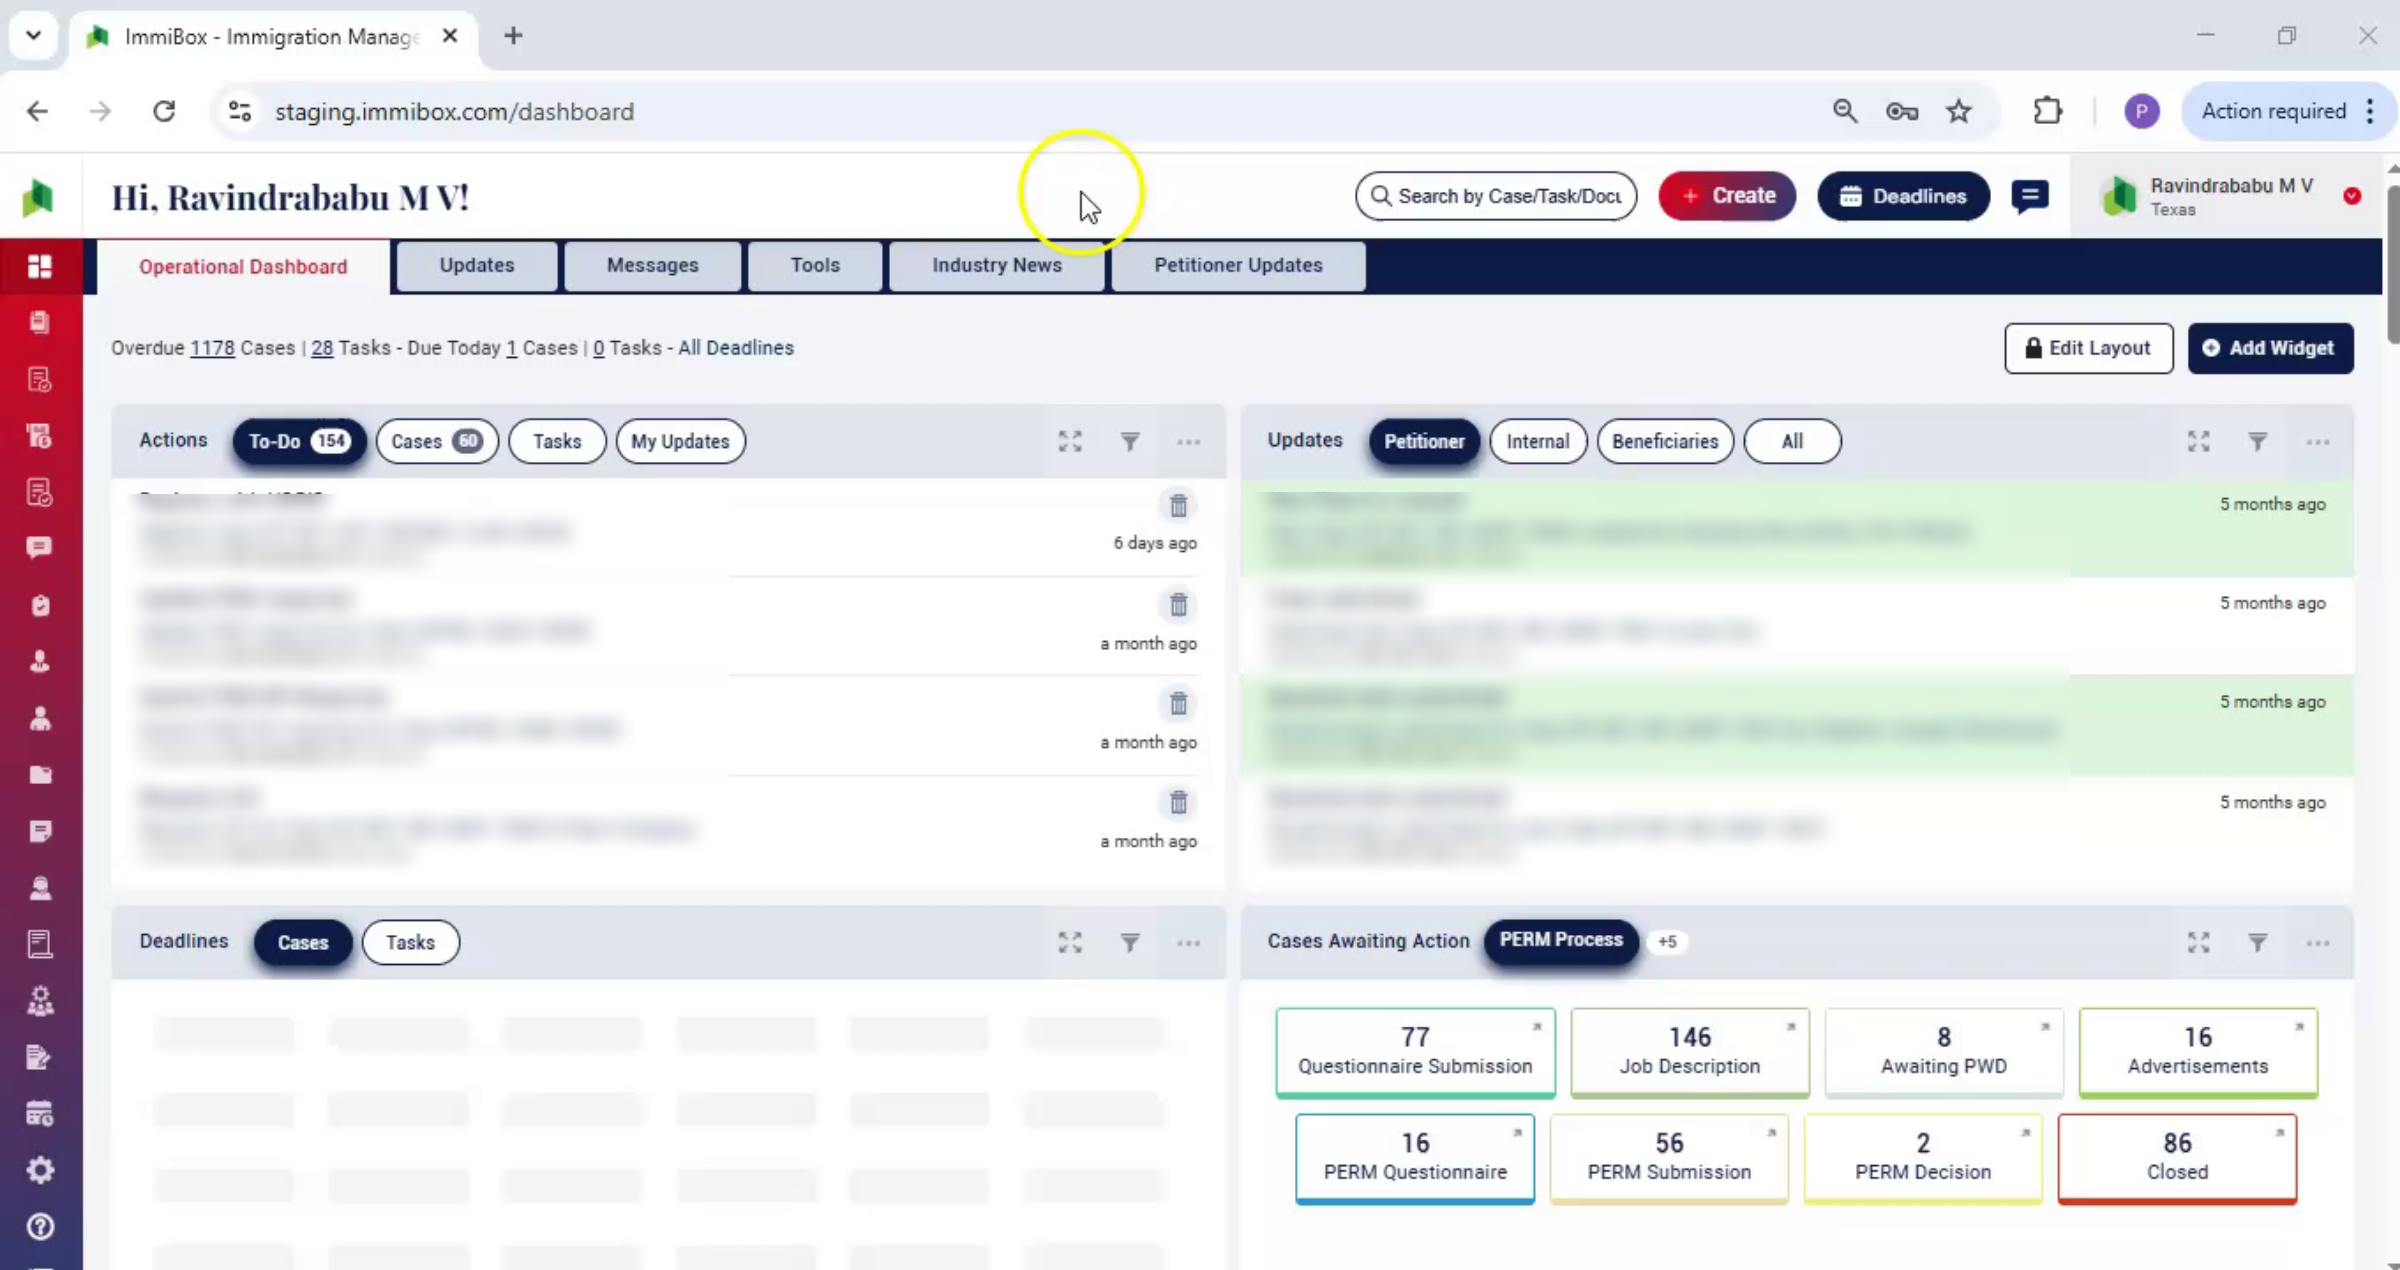
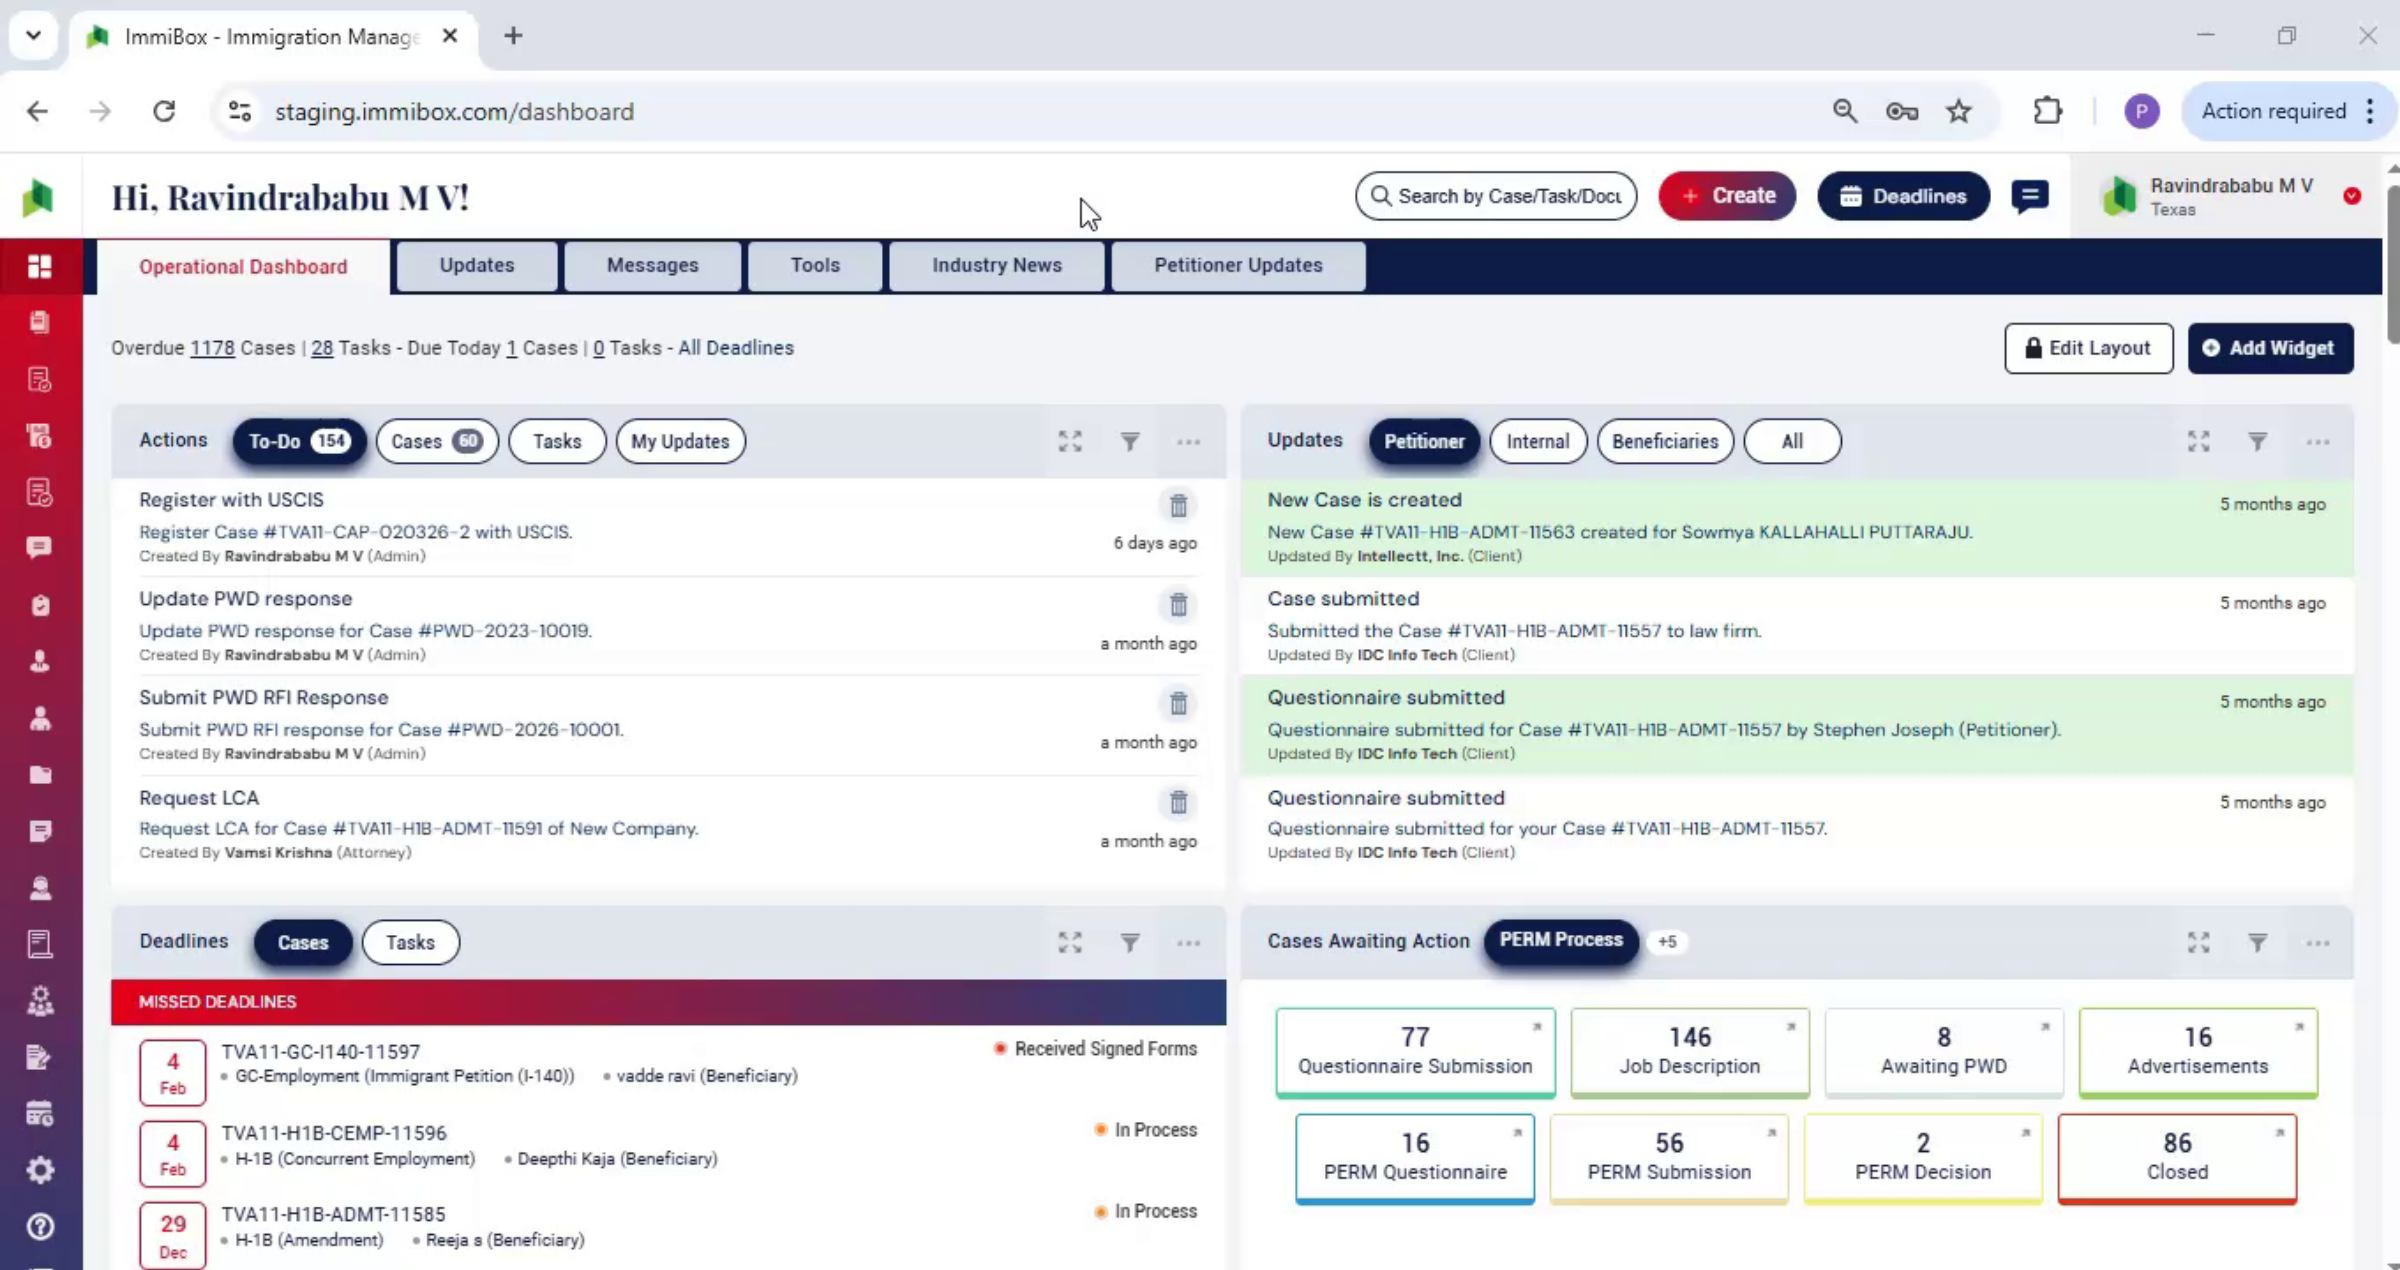
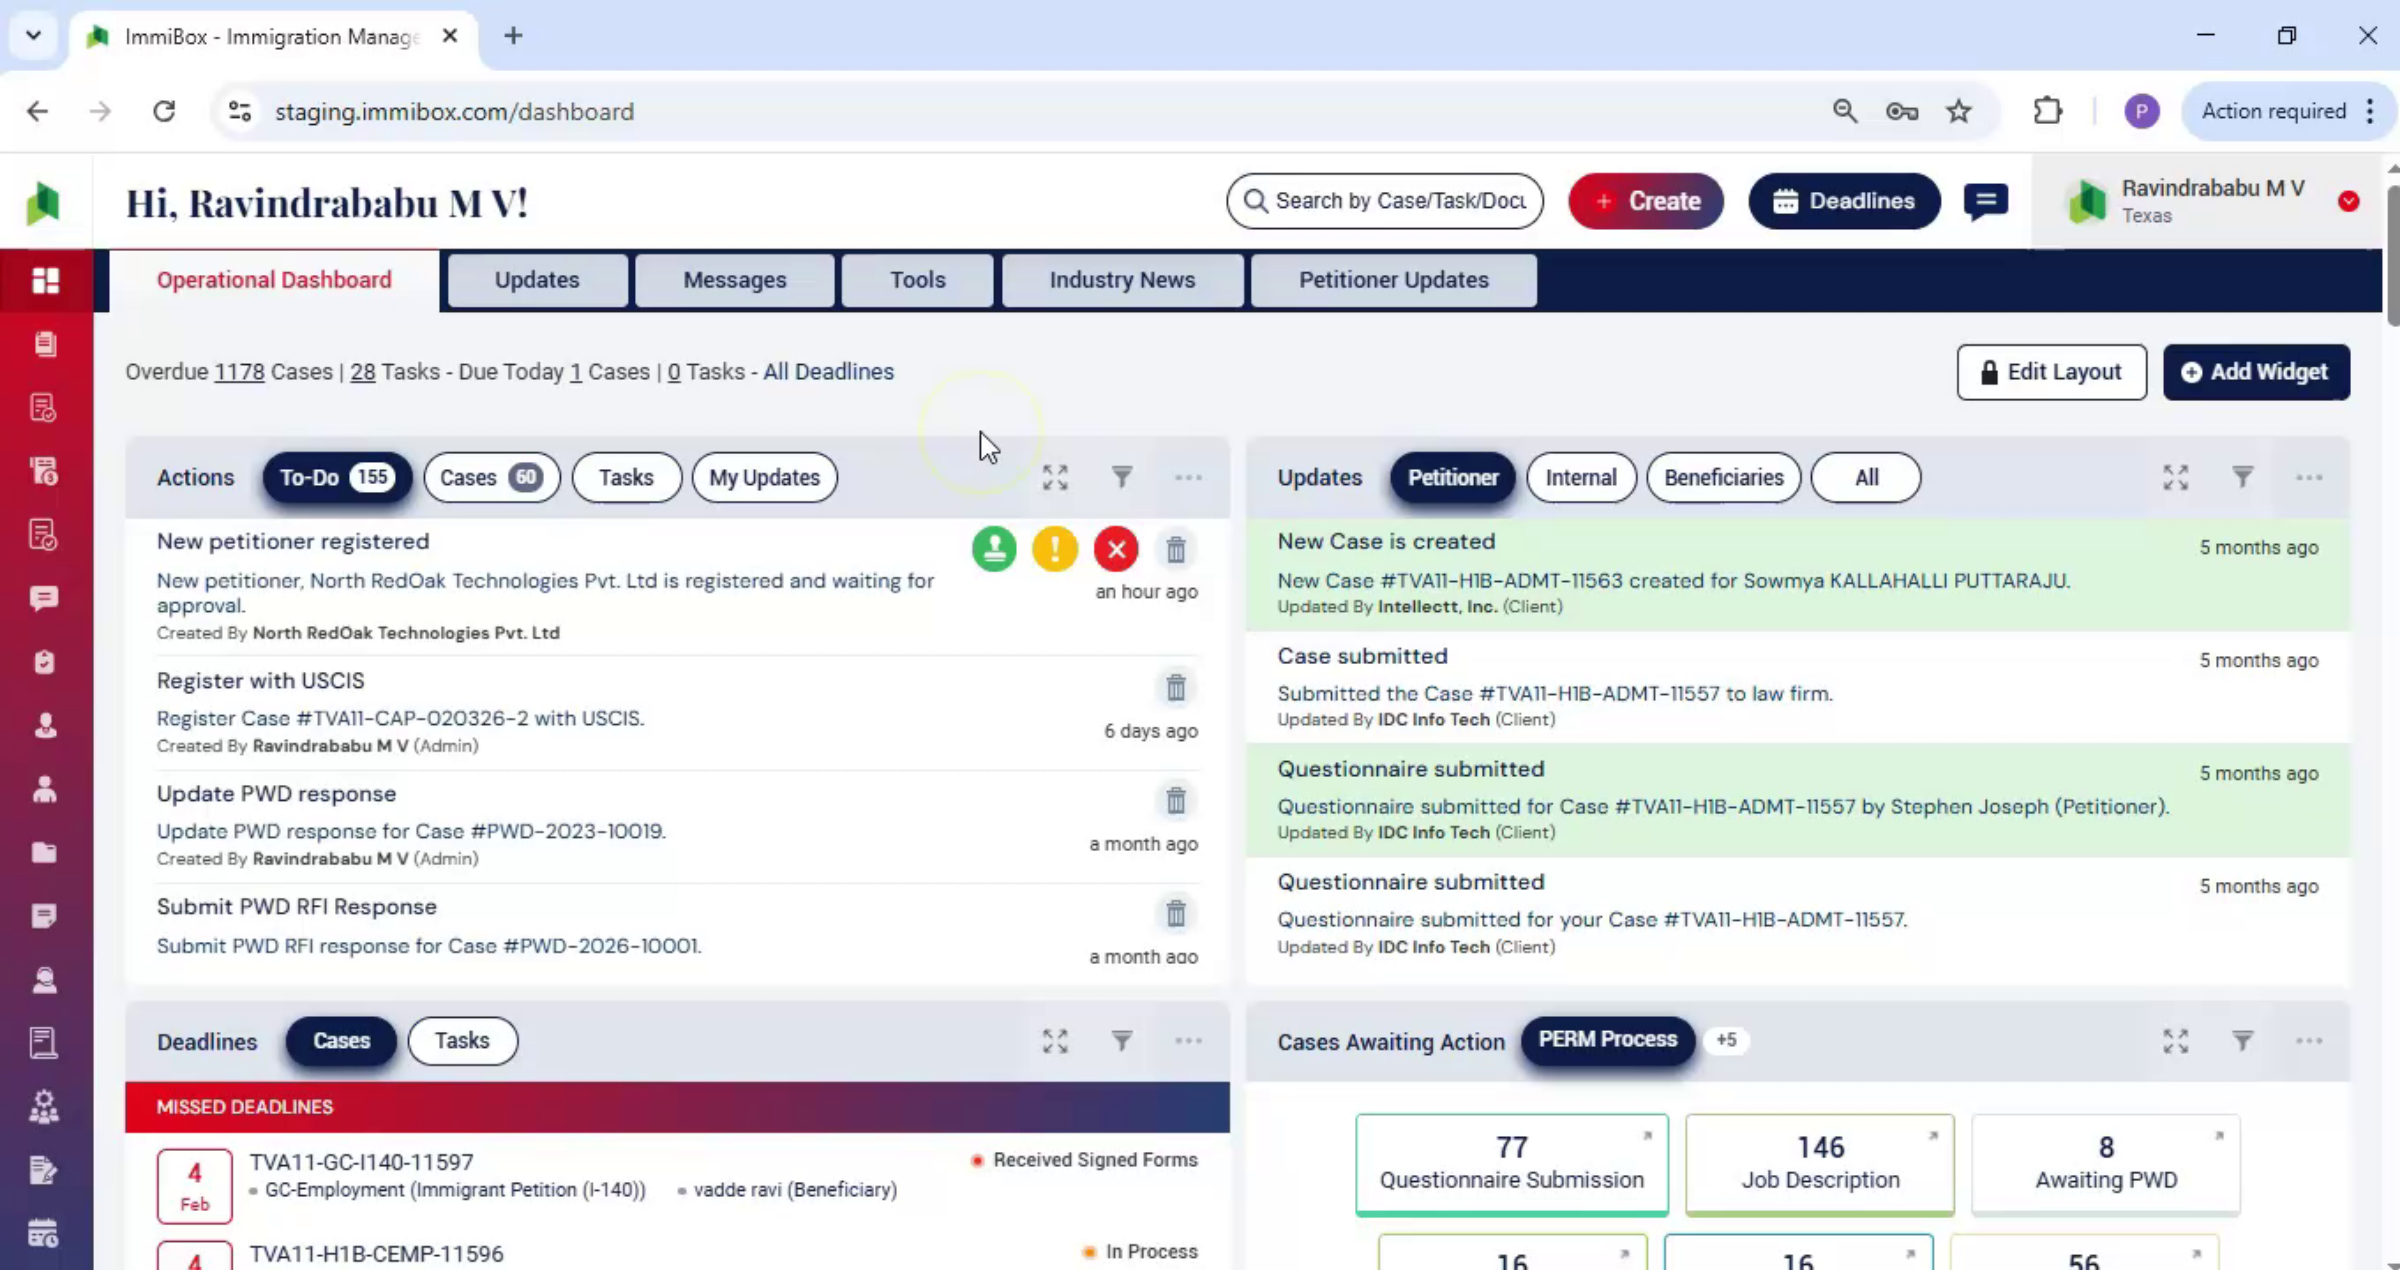
3. Email and Dashboard Notifications
 * click the image to view enlarged
After registration, the petitioner will receive an email to set their password. At the same time, the law firm will receive a notification on the dashboard to approve the petition.
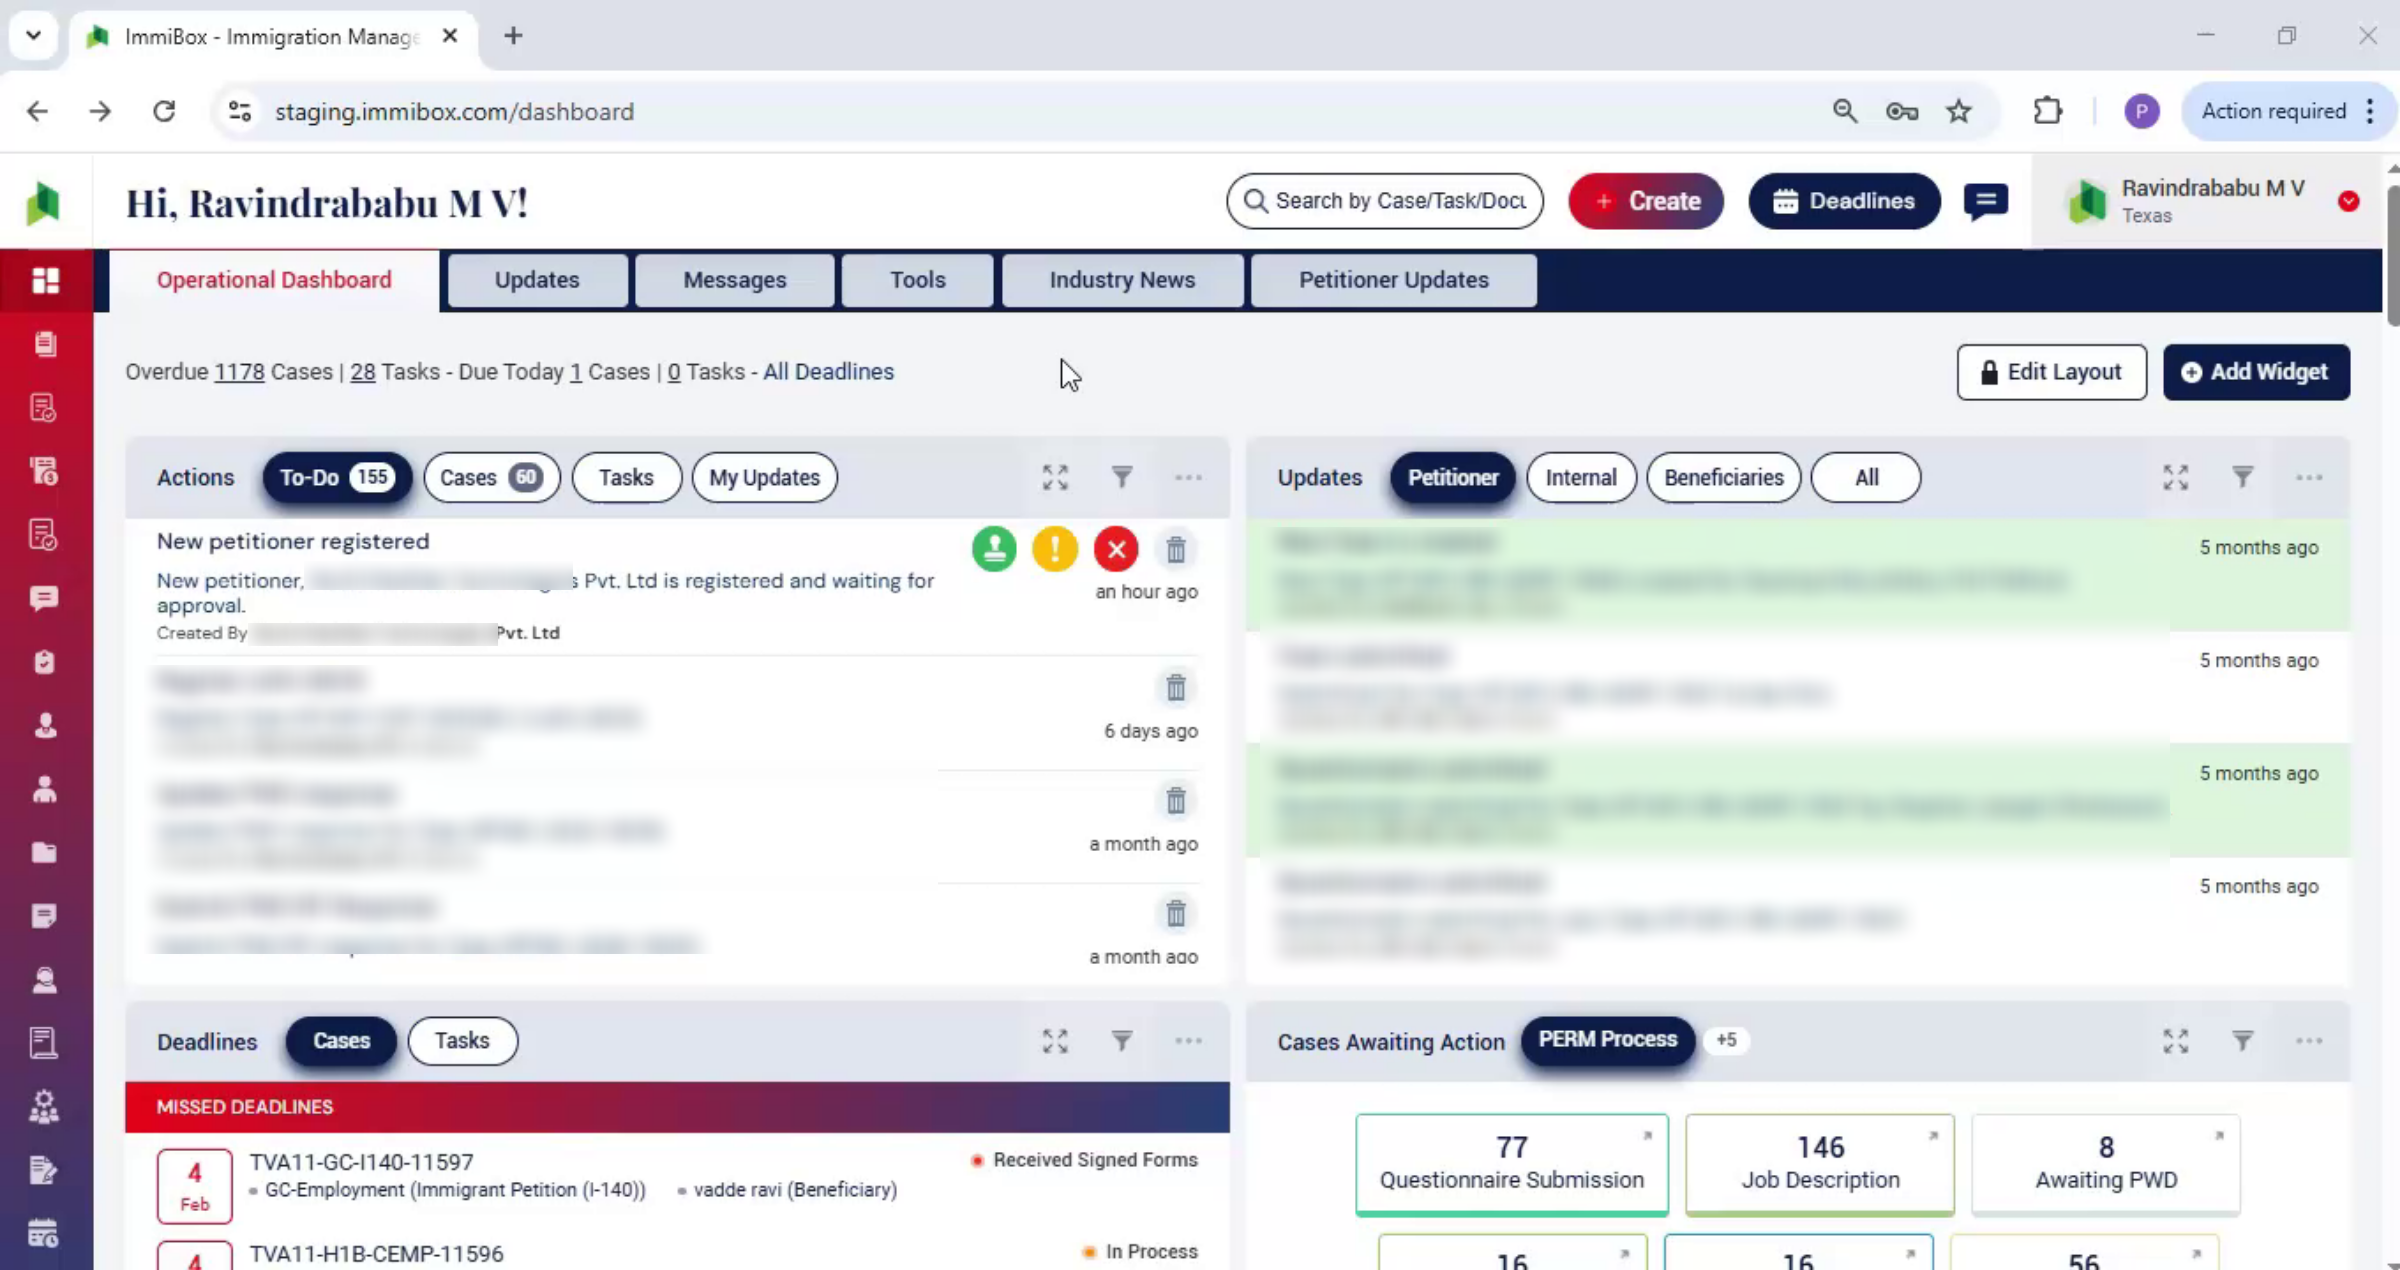
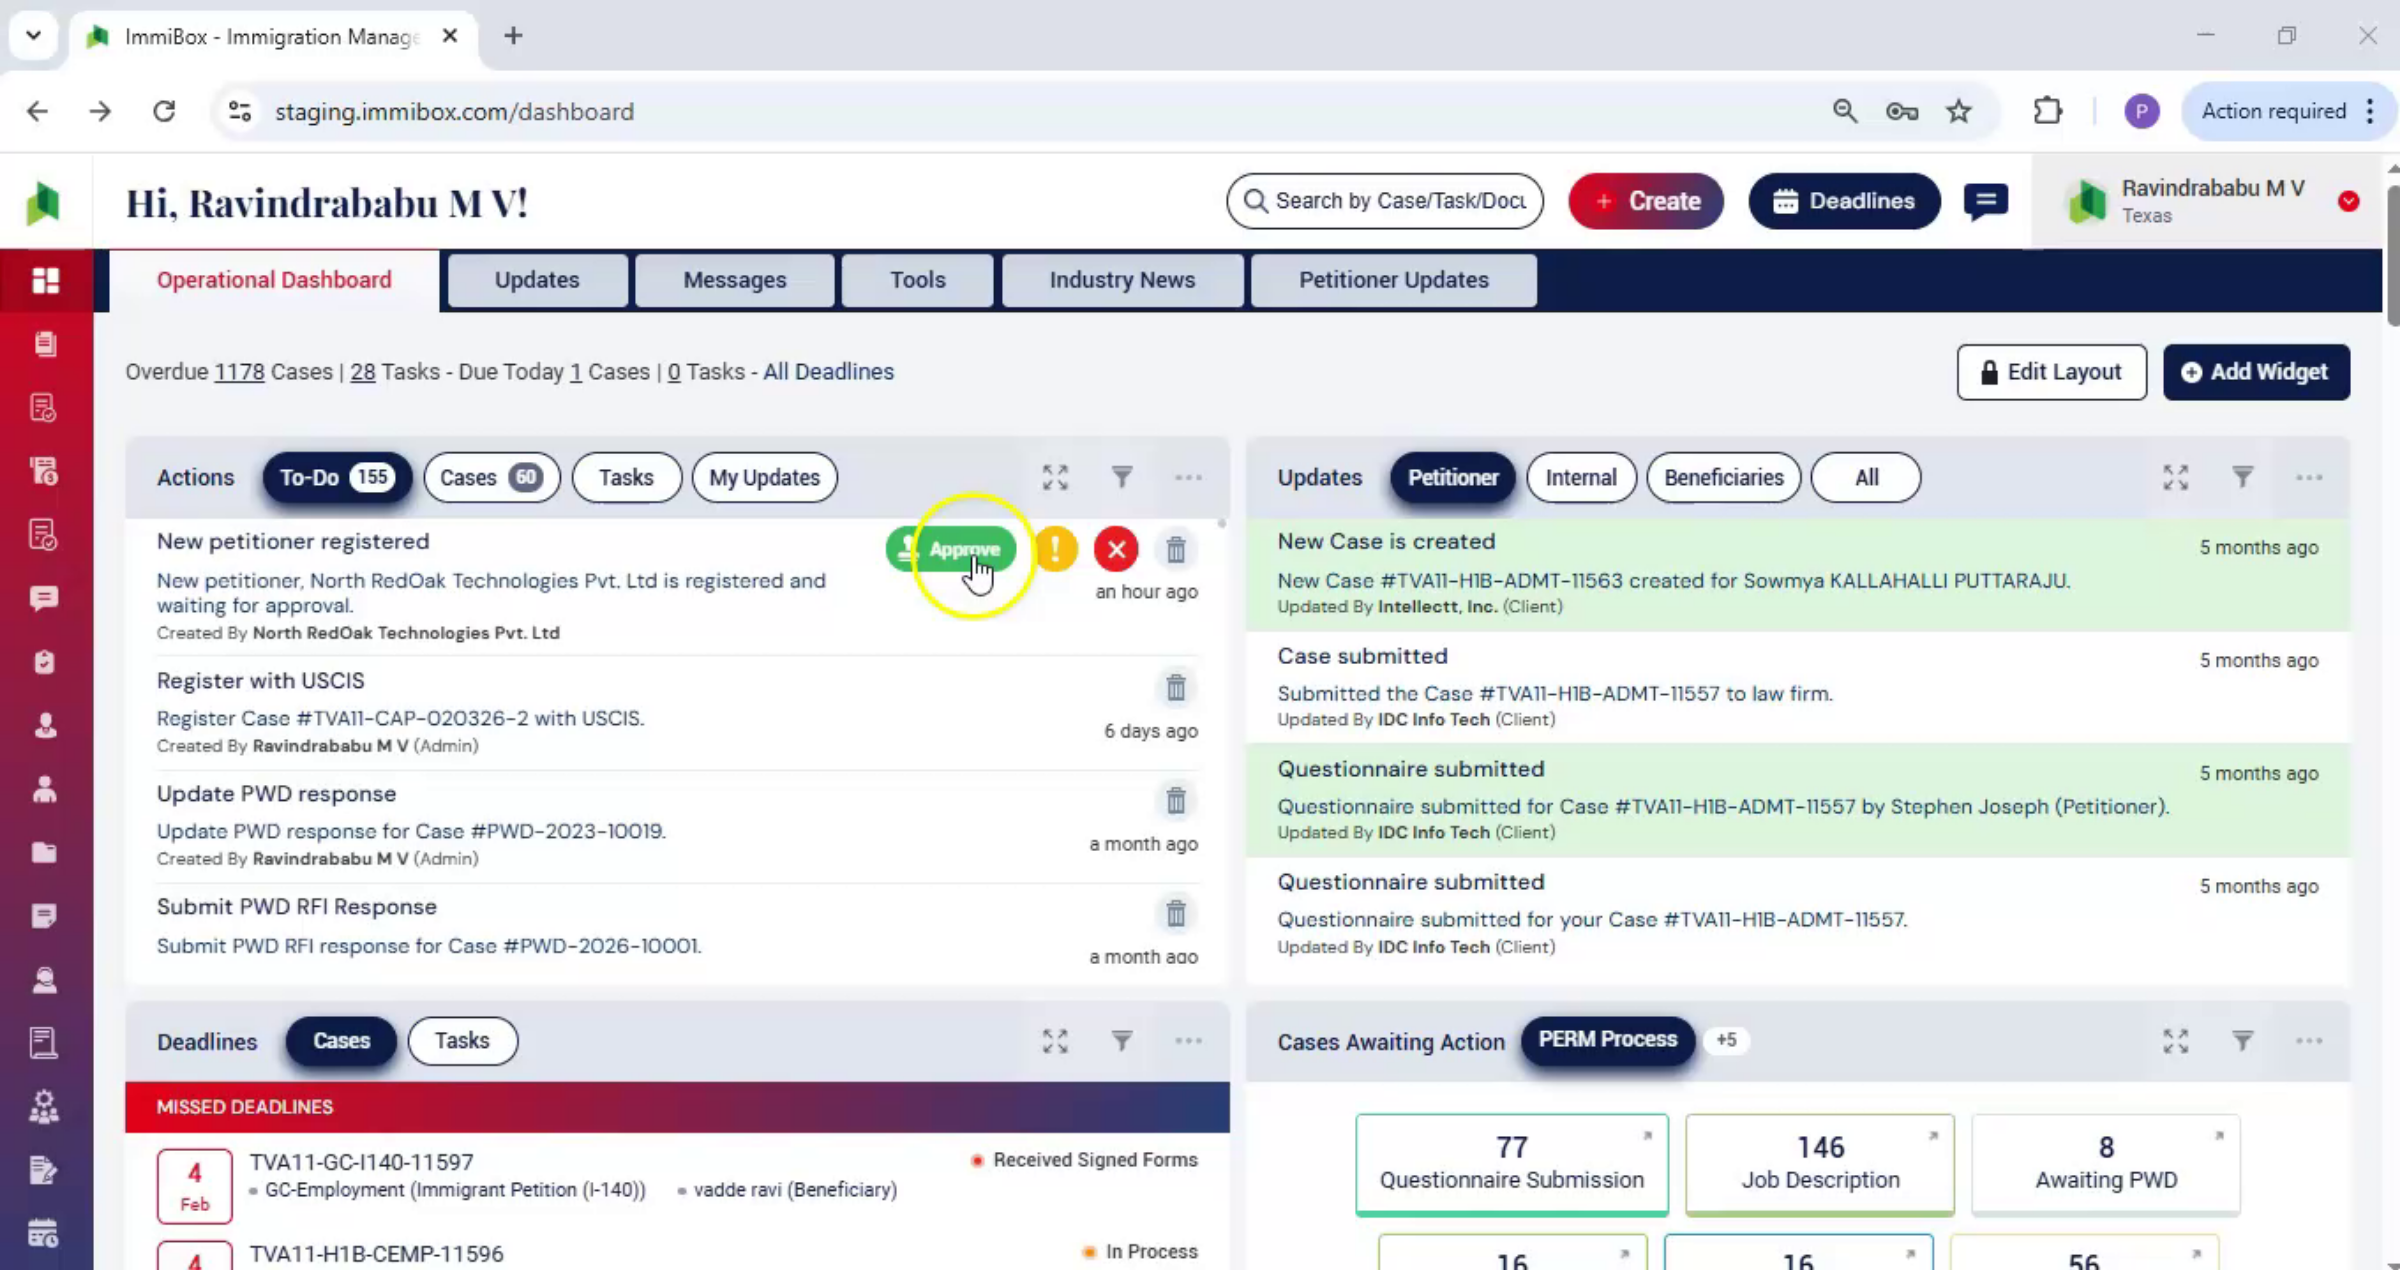
4. Petitioner Registration Request Actions
 * click the image to view enlarged
Under Actions, law firm user sees a new petitioner registration request. You can approve, hold, or reject the request.
5. Approving and Editing Petitioner Details
 * click the image to view enlarged
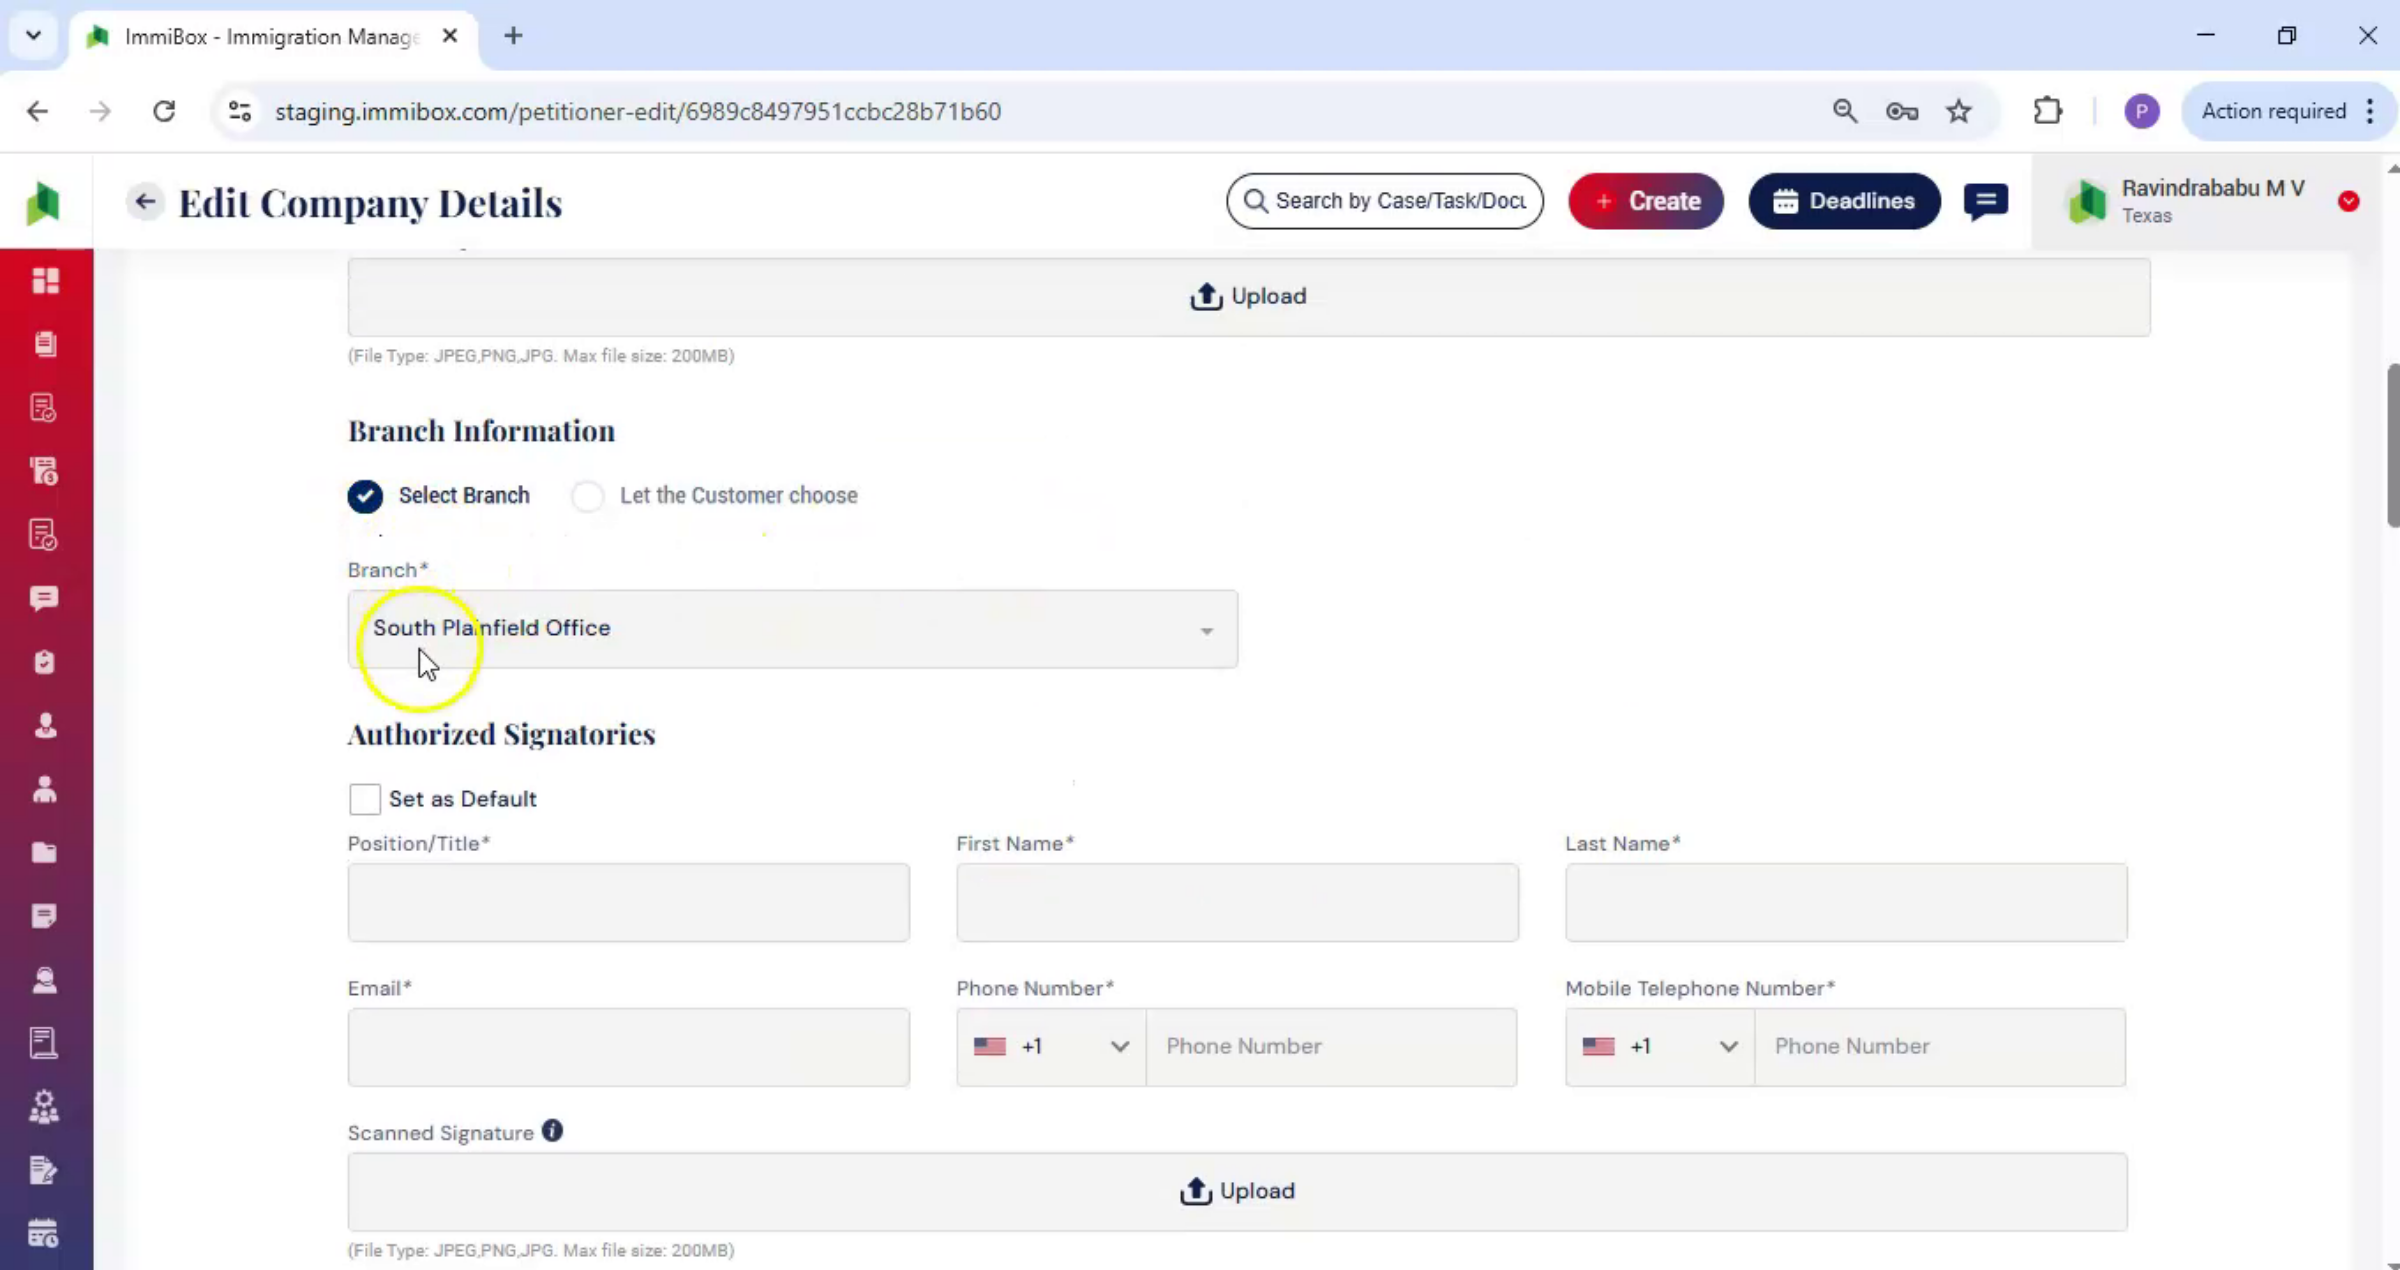
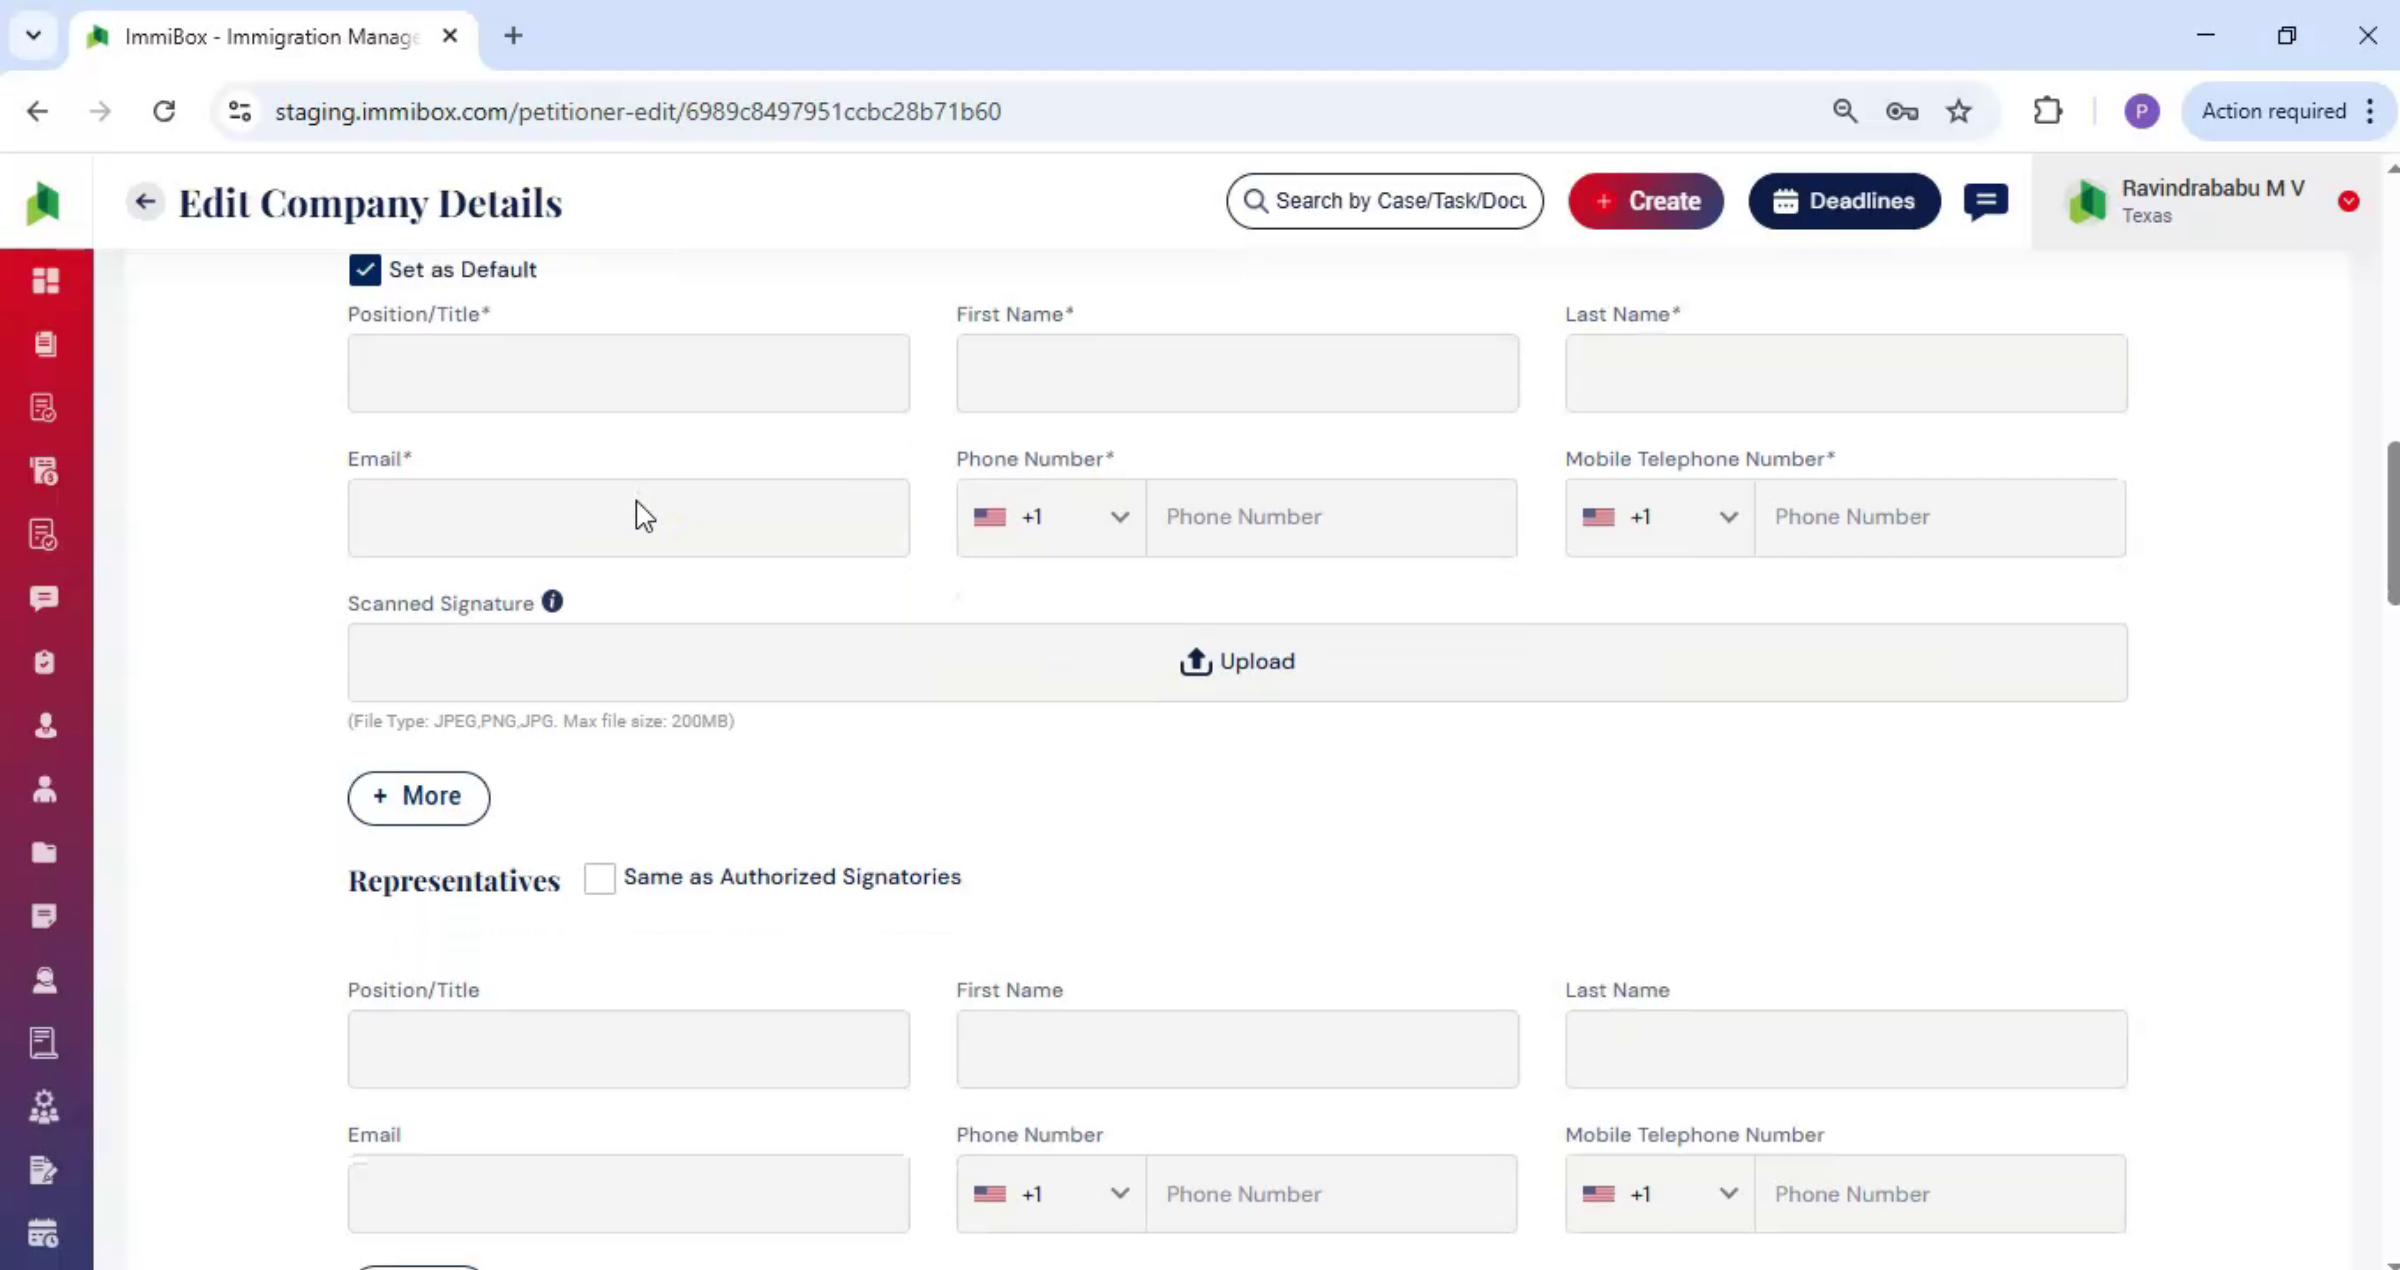
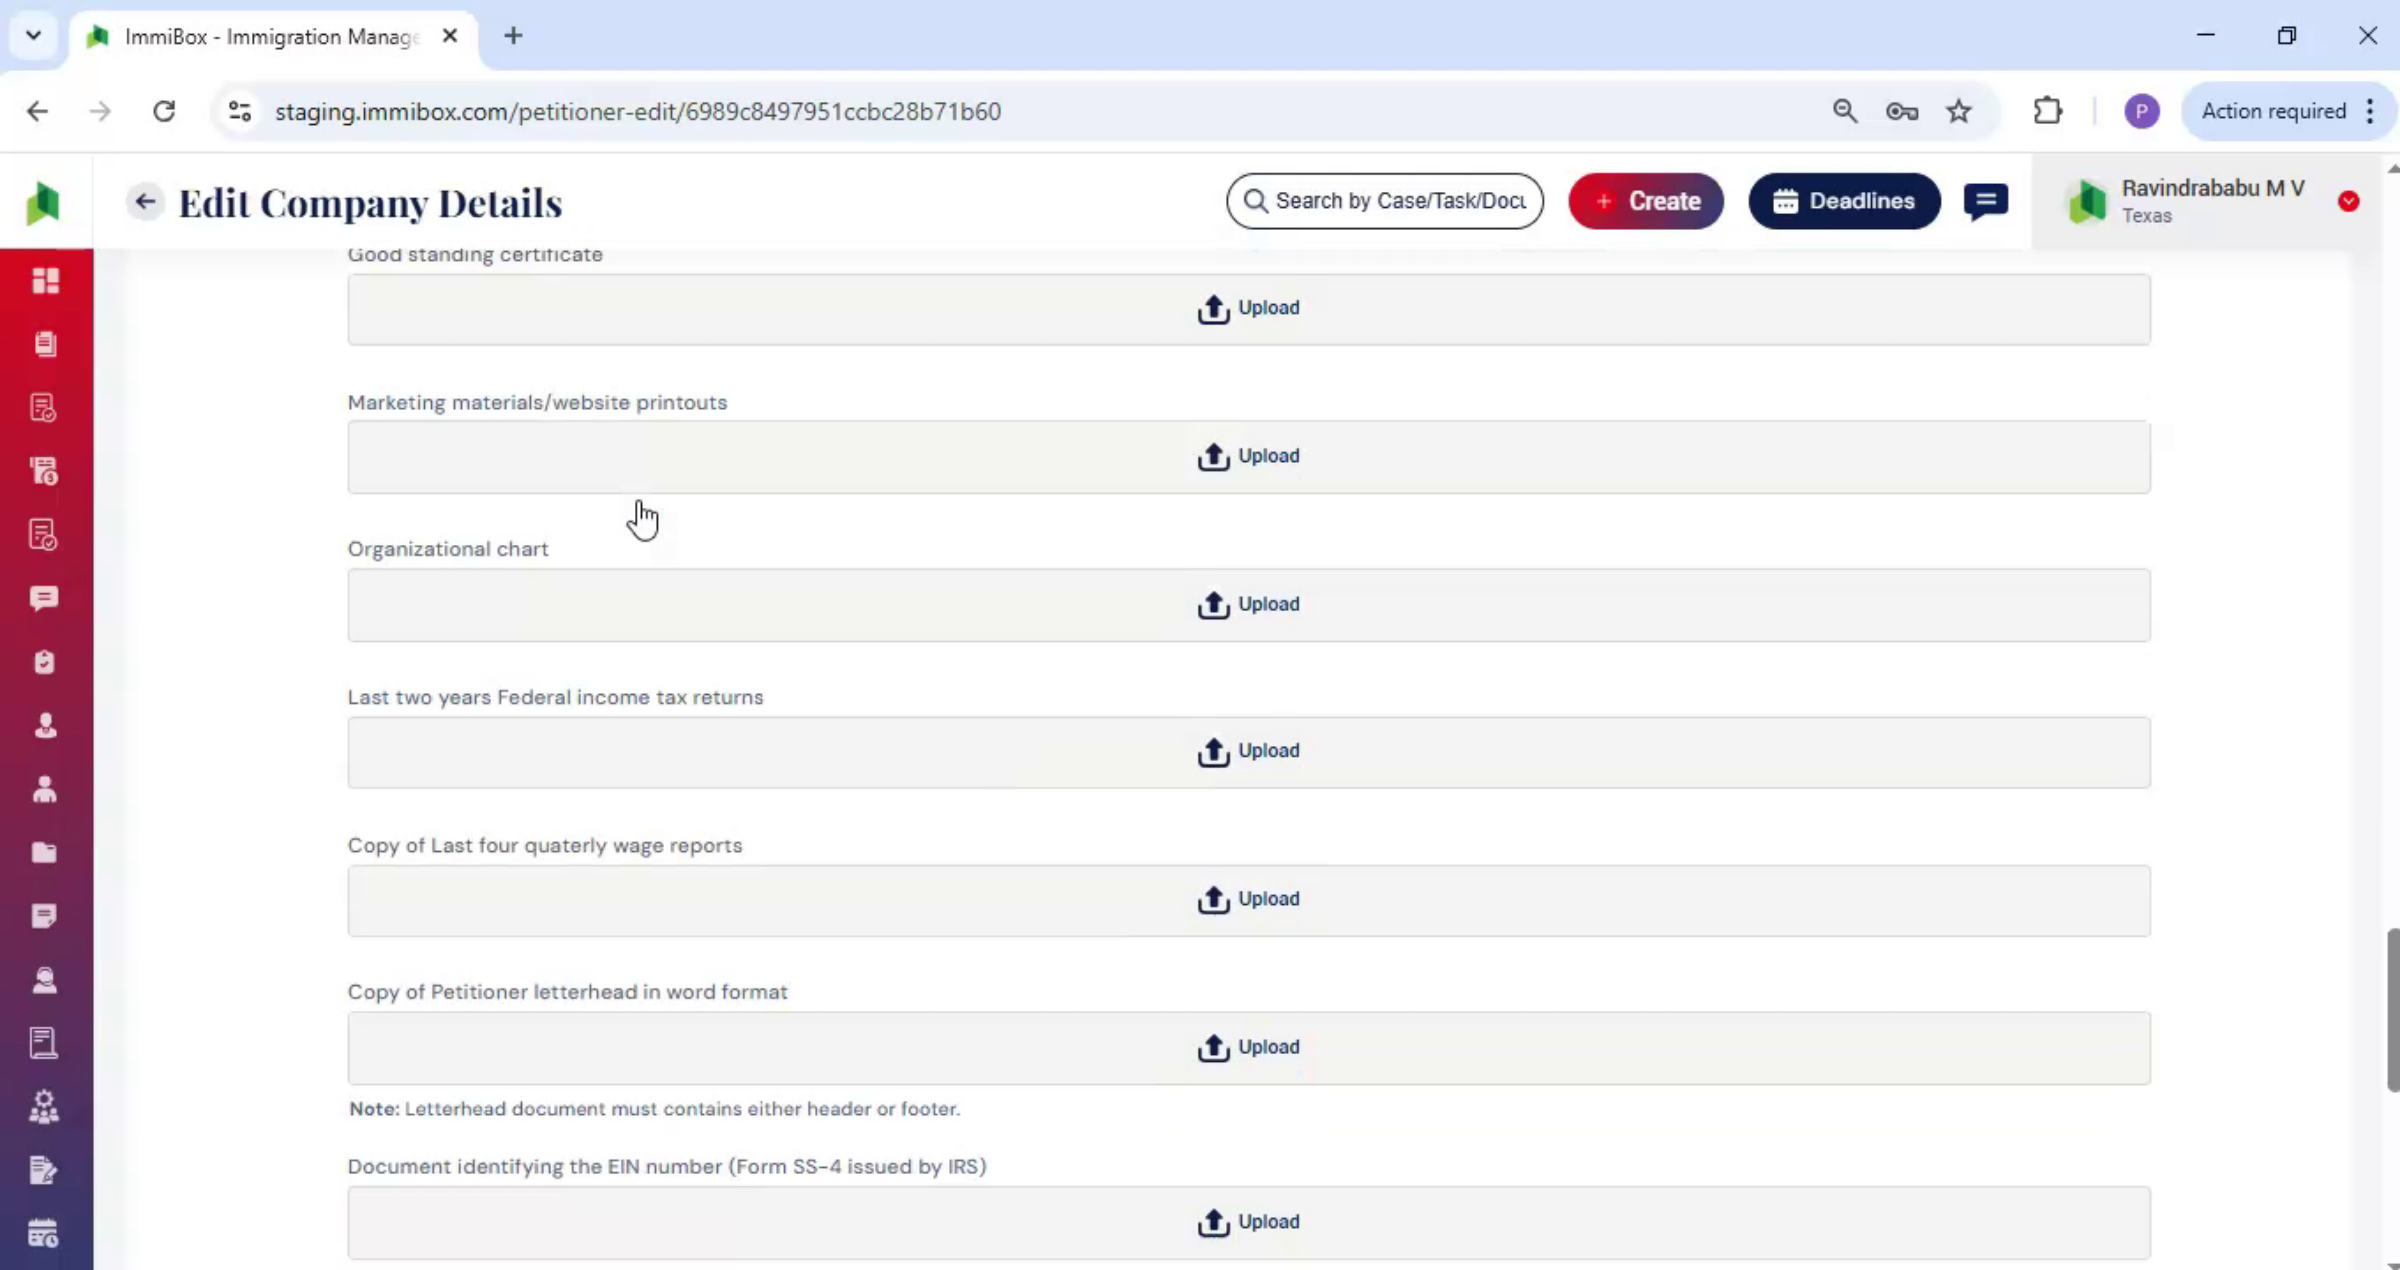
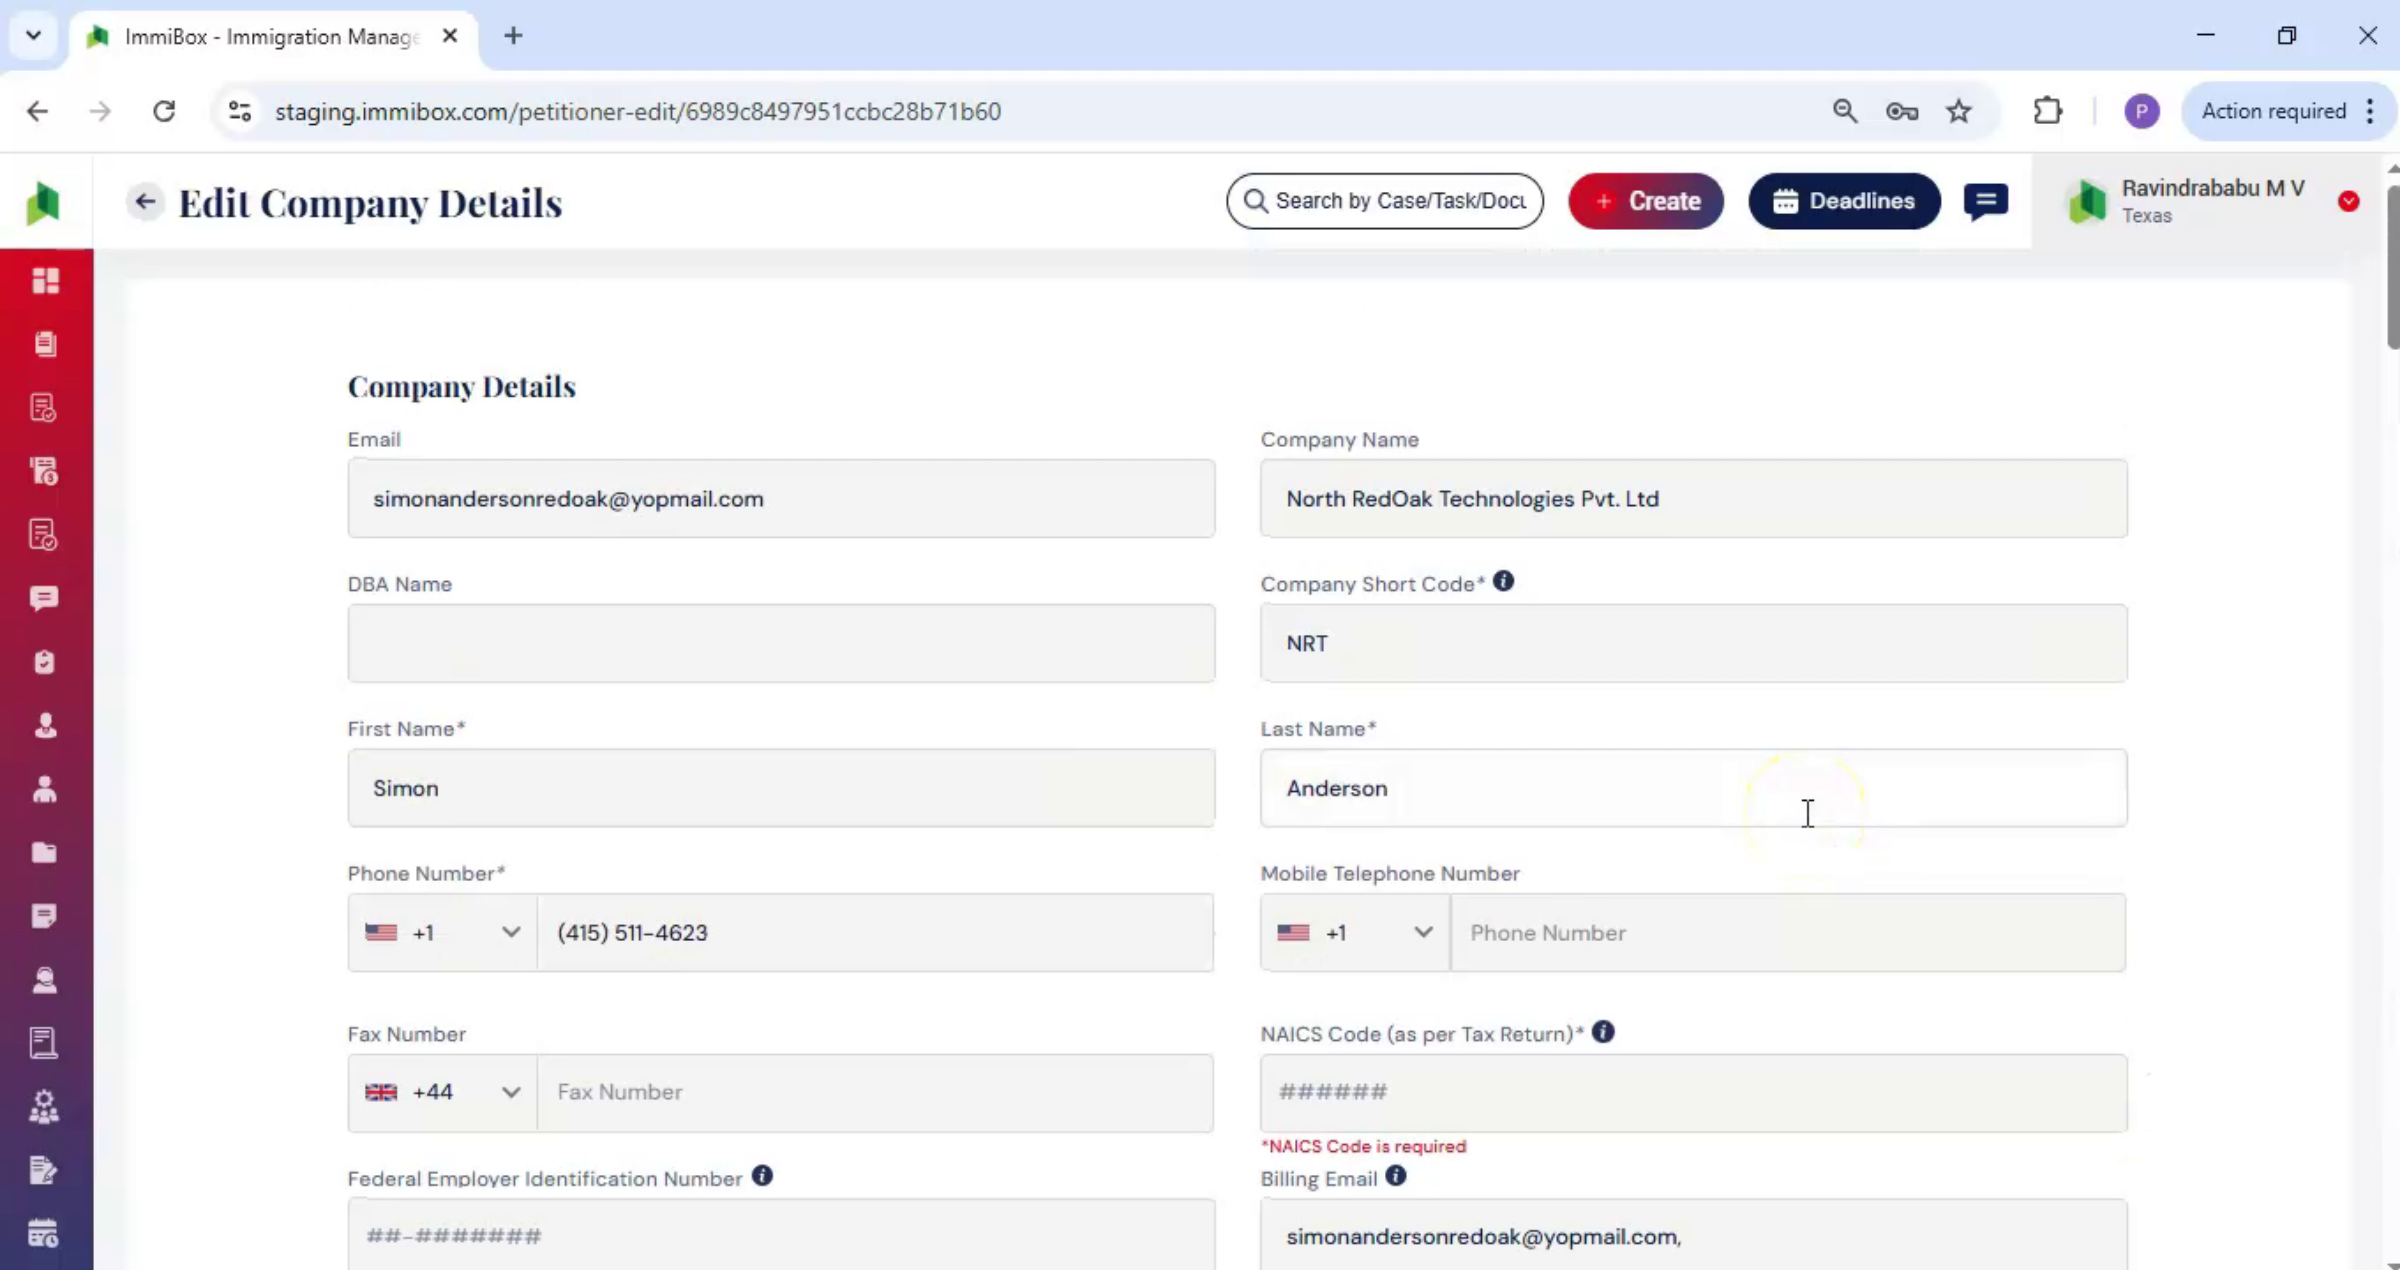
Once approved, the petitioner details page opens. On the right-hand side, click Edit. The Edit Company Details section opens. Fill in all required details, upload the relevant documents, and click Update.
6. Completing Company Details Options
 * click the image to view enlarged
These details can be completed either by the law firm or directly by the petitioner. ImmiBox keeps all company information securely stored and centrally available.
7. Data Reuse and Error Reduction
 * click the image to view enlarged
This ensures accurate data is reused across cases, forms, and document generation, helping reduce manual entry, avoid errors, and keep filings consistent throughout the process.
8. Alternative Petitioner Invitation Methods
 * click the image to view enlarged
In addition to registering from the login page, you can invite a petitioner in three other ways. No matter which method you choose, the approval process and company details remain the same.
9. Second Invitation Method
 * click the image to view enlarged
Let's continue and see Second method.
10. Create New Corporate From Dashboard
 * click the image to view enlarged
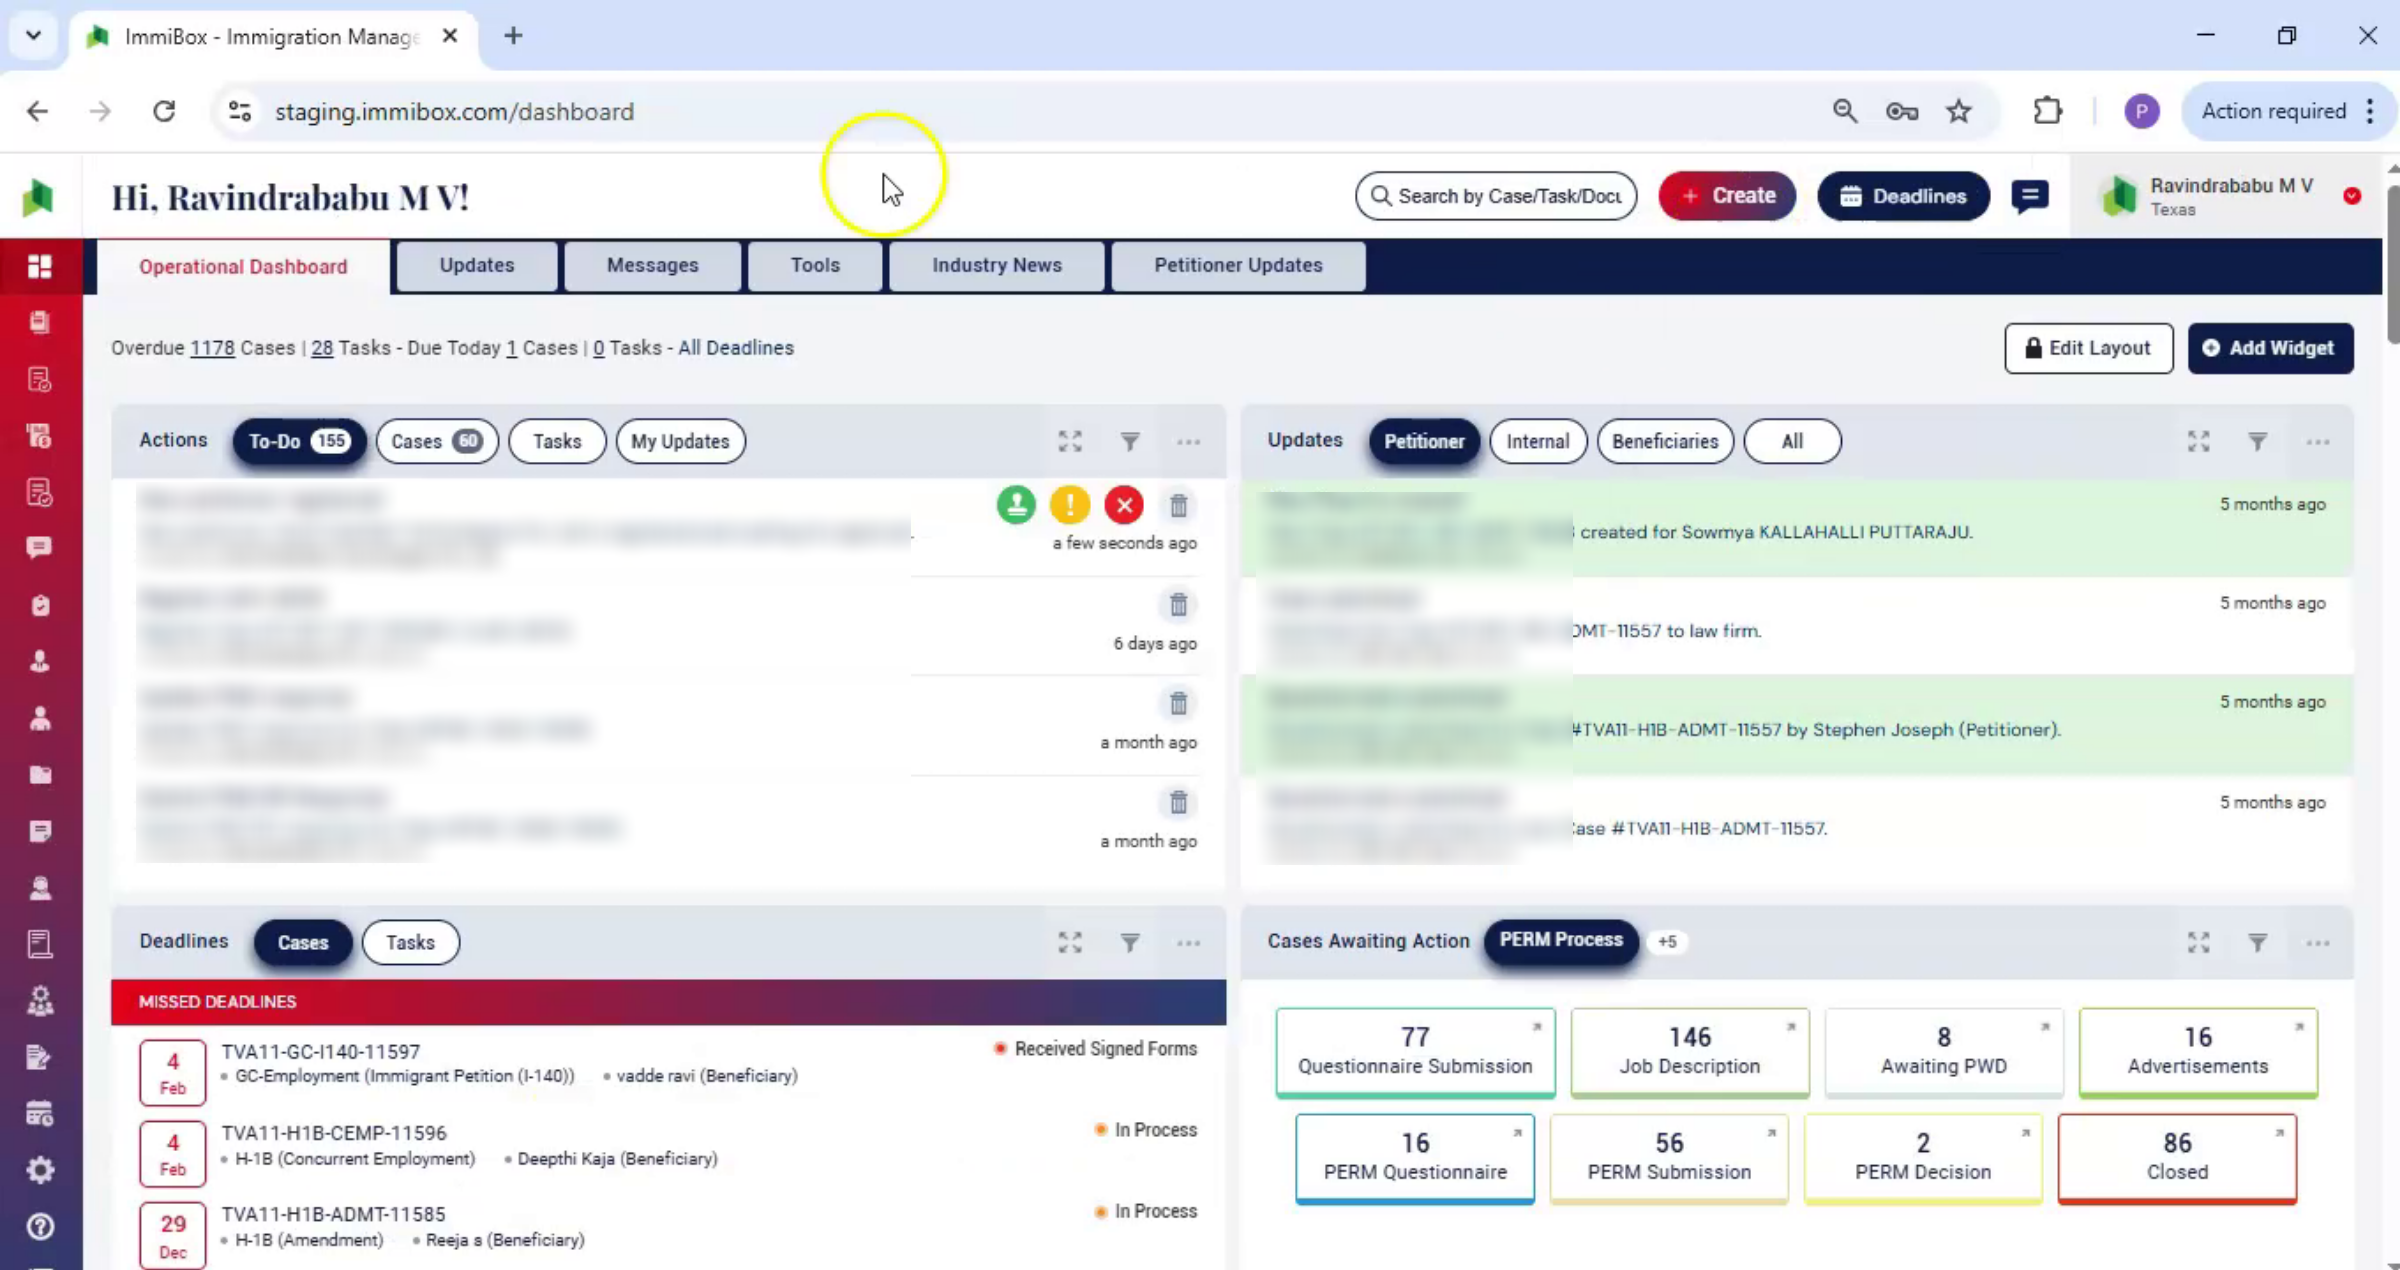
From the dashboard, click Create and select New Corporate.
11. Filling Invite Client Form
 * click the image to view enlarged
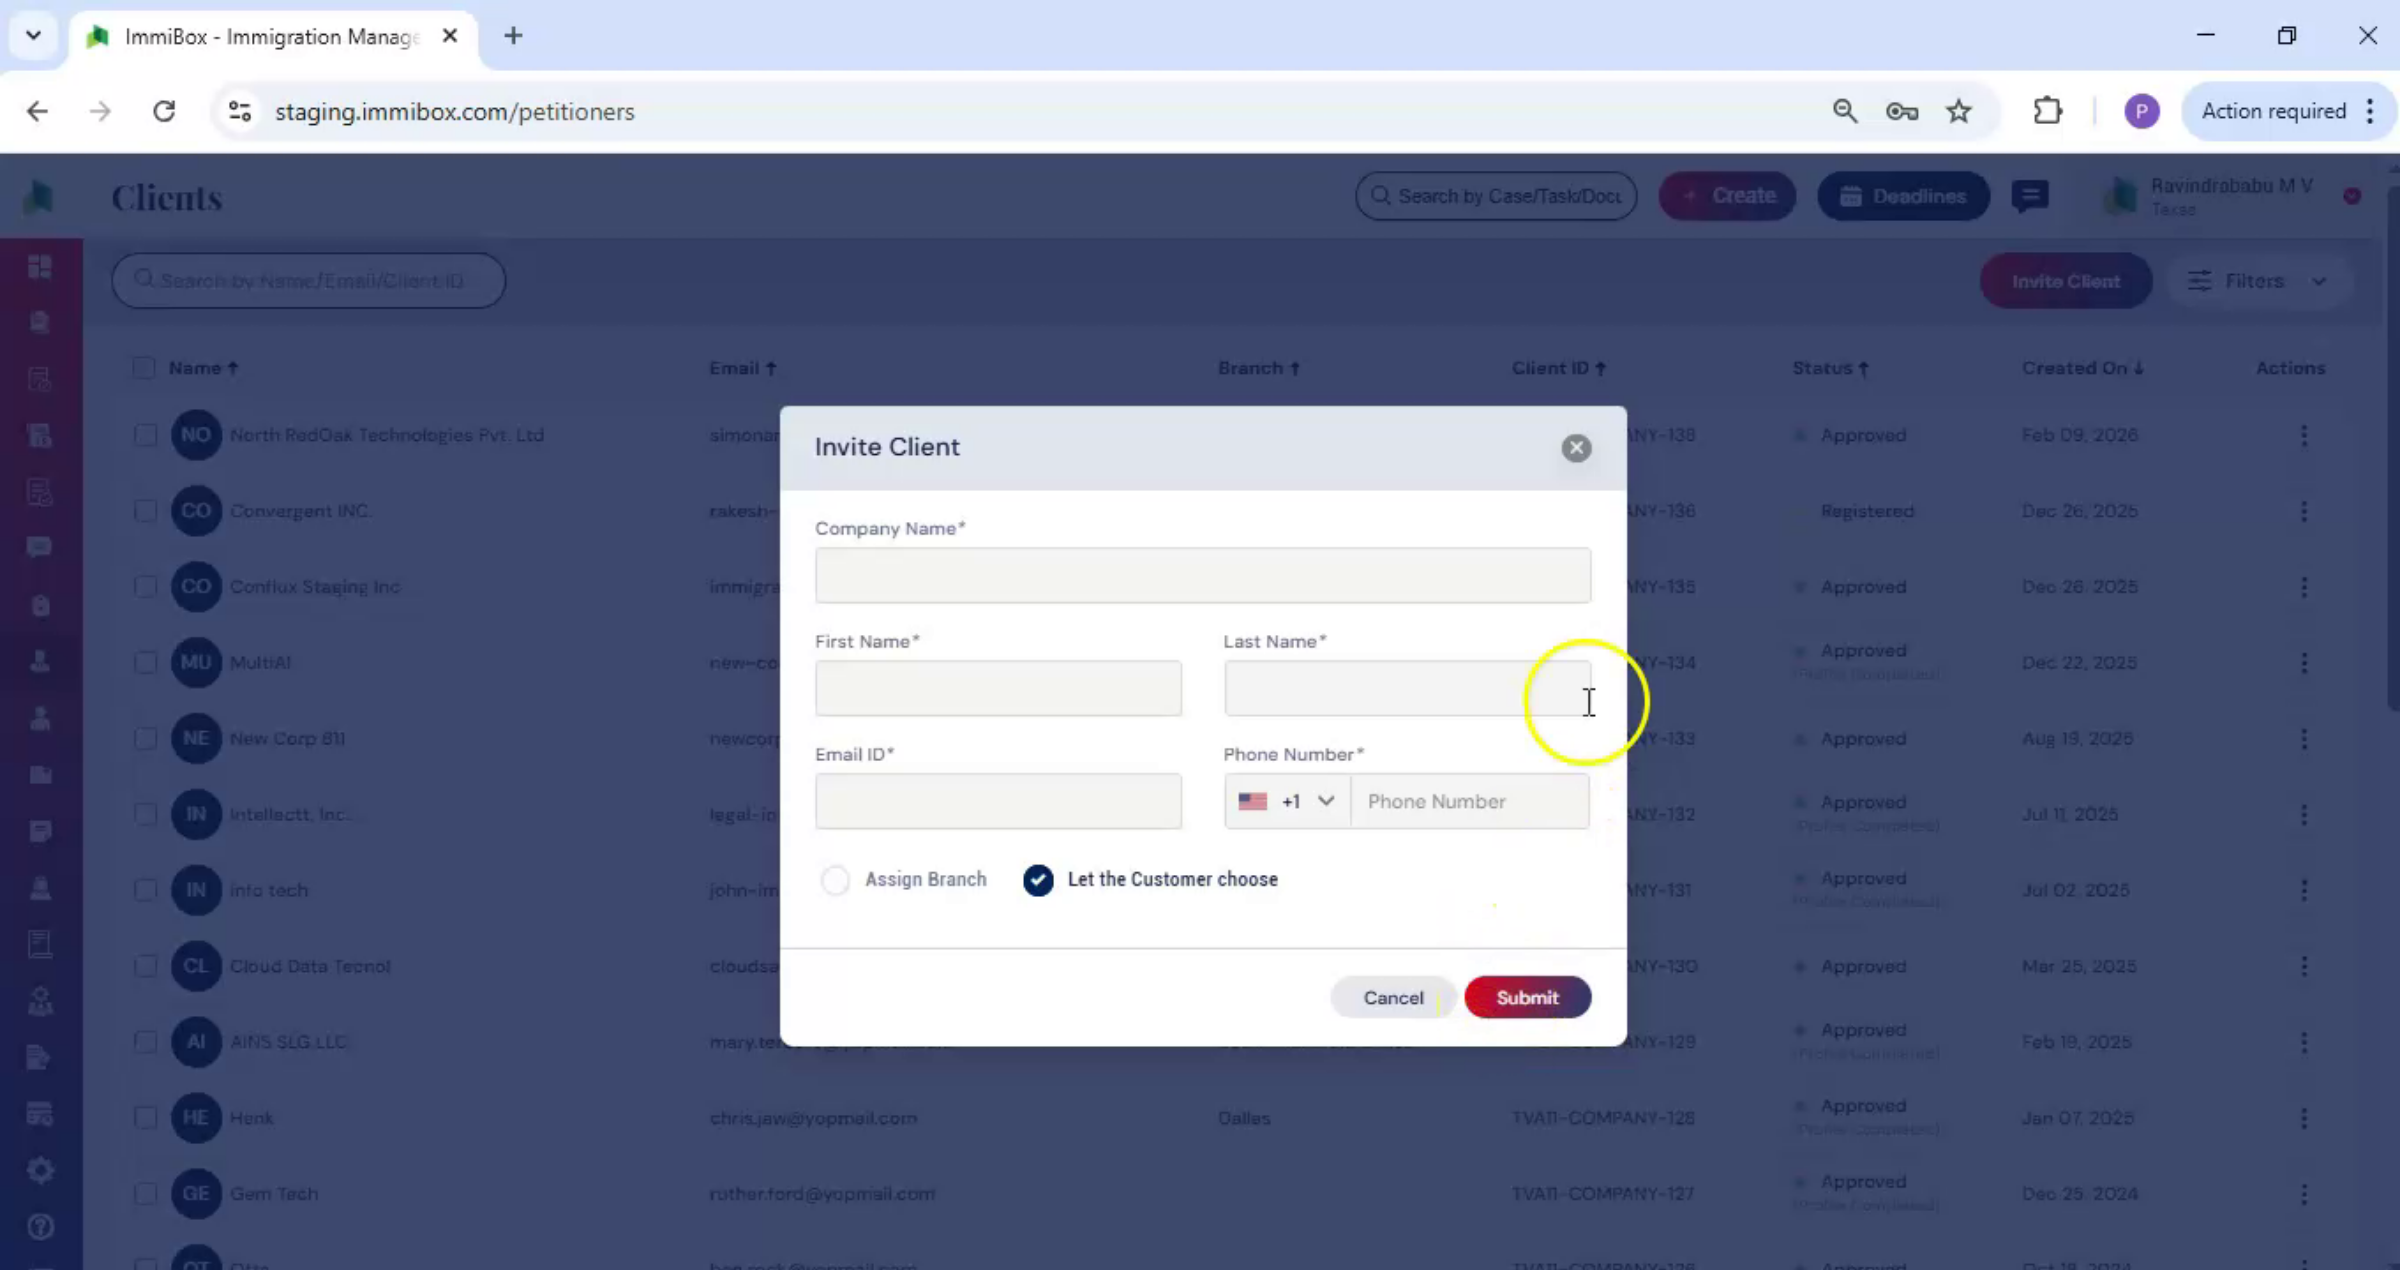
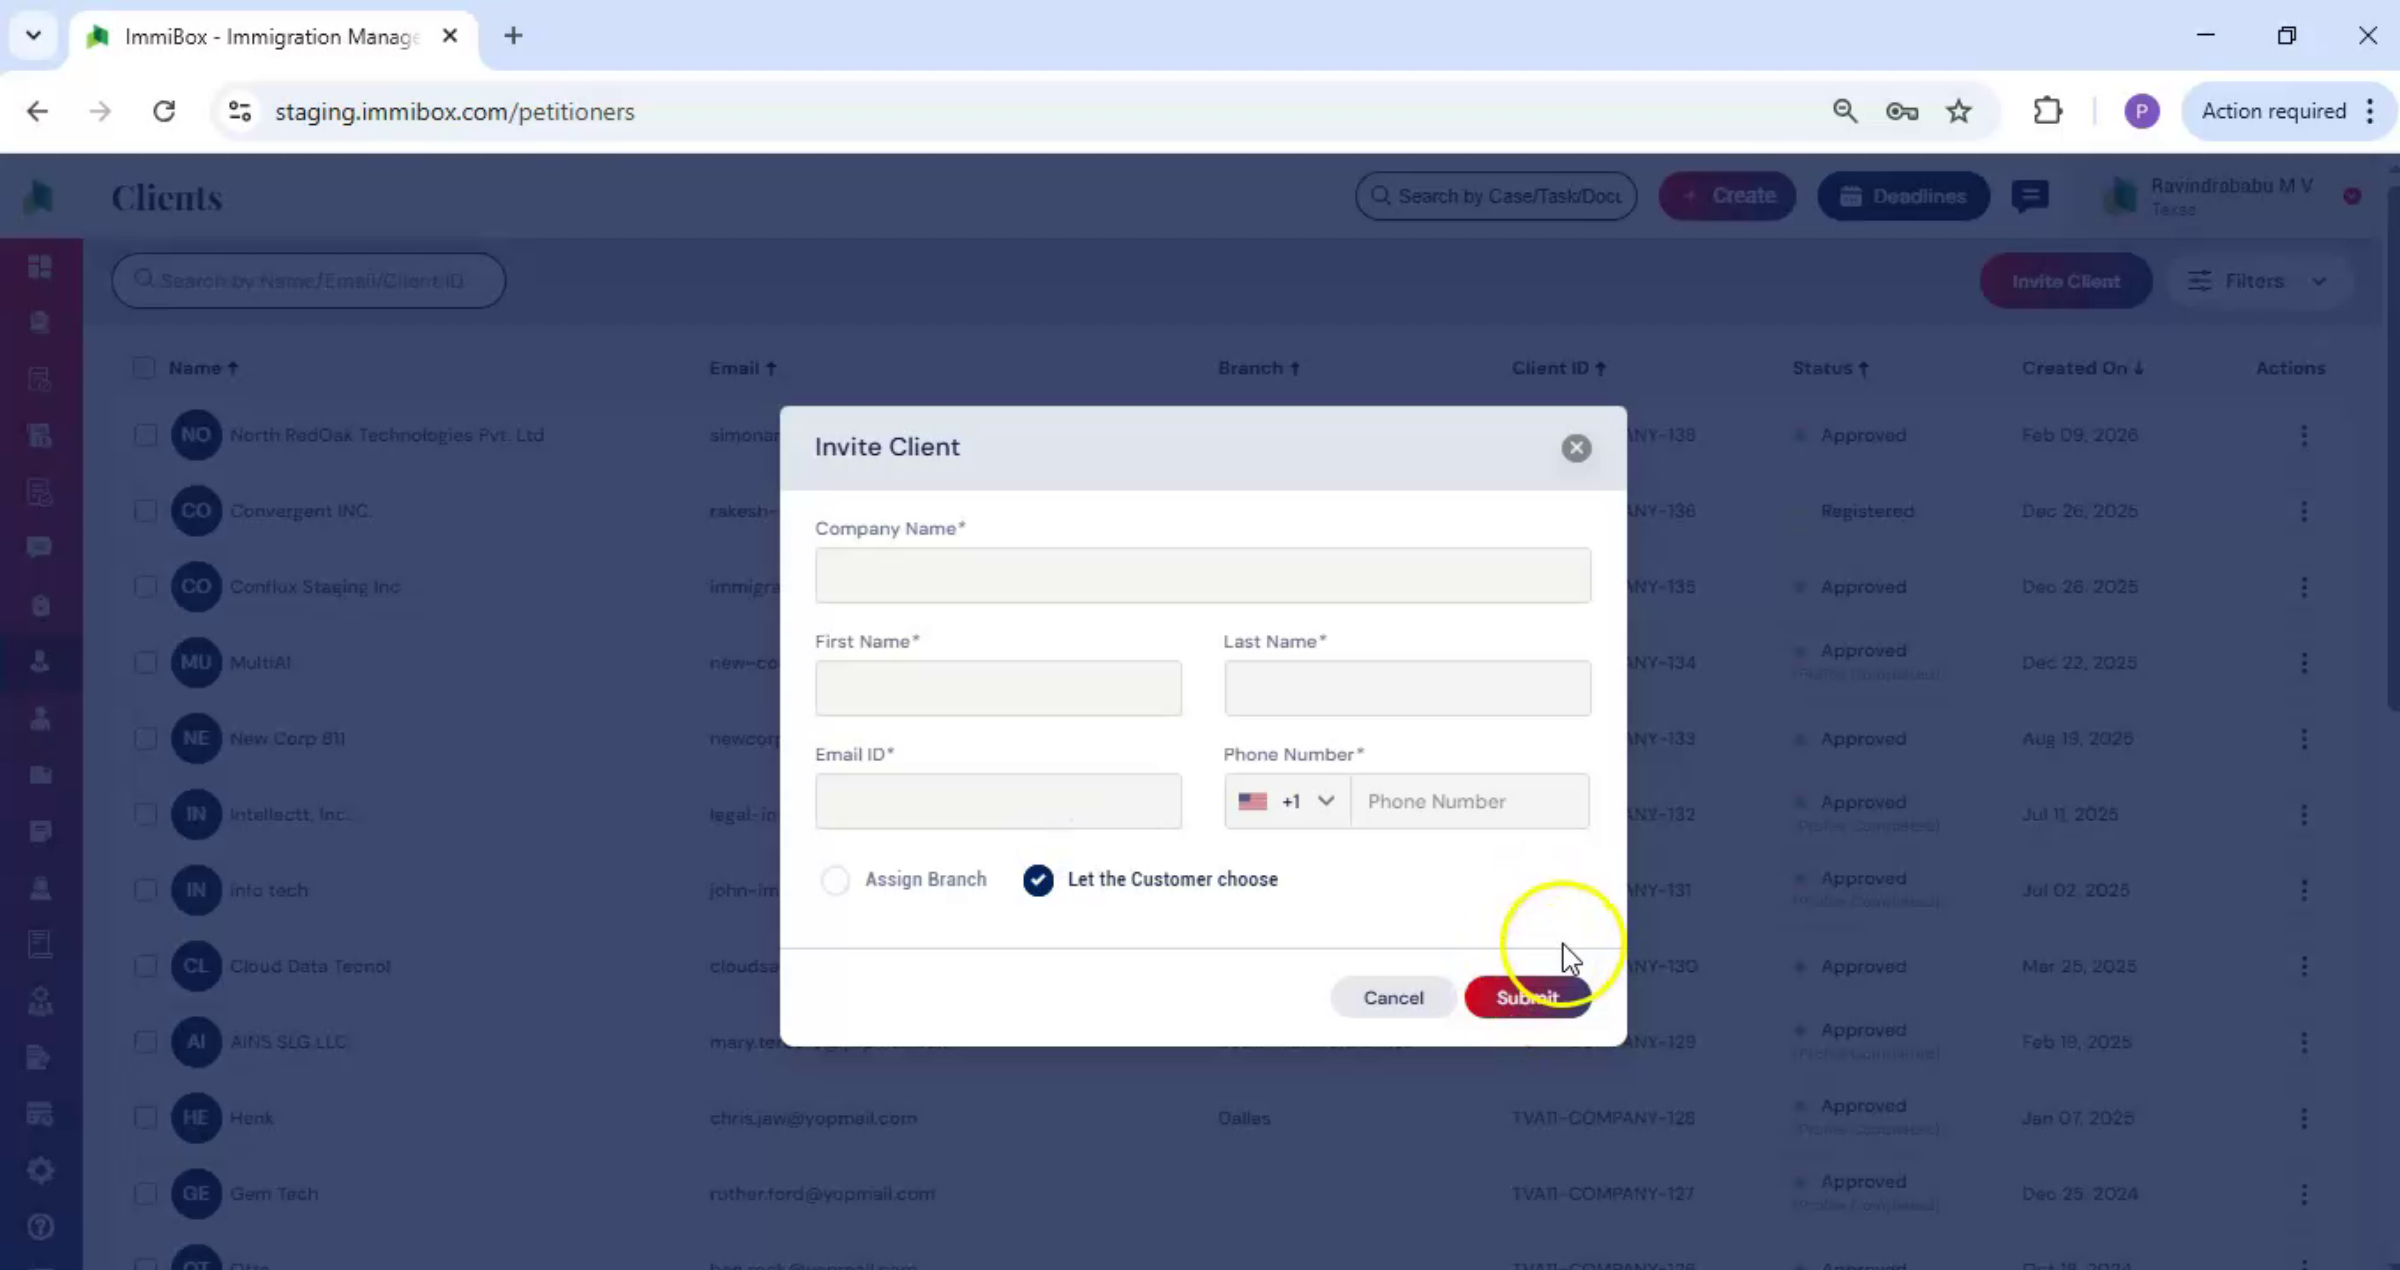
The Invite Client box appears. Fill in the details. At the bottom, choose Assign Branch to assign the branch to the petitioners, Or let the customer choose - means, the petitioner can select the branch. Then click Submit.
12. Third Method: Clients Panel Invitation
 * click the image to view enlarged
Third method is navigate to Clients from the left-hand panel, click on Corporations option, open the Invite Client box, fill in the form, and Submit.
13. Second Method: Dashboard New Corporate
 * click the image to view enlarged
Let's continue. Second, from the dashboard, click Create and select New Corporate.
14. Fourth Method: Case Creation Invitation
 * click the image to view enlarged
Fourth method i while creating a new case, if the petitioner isn't added yet, click Invite Petitioner, enter the details, and click Submit.
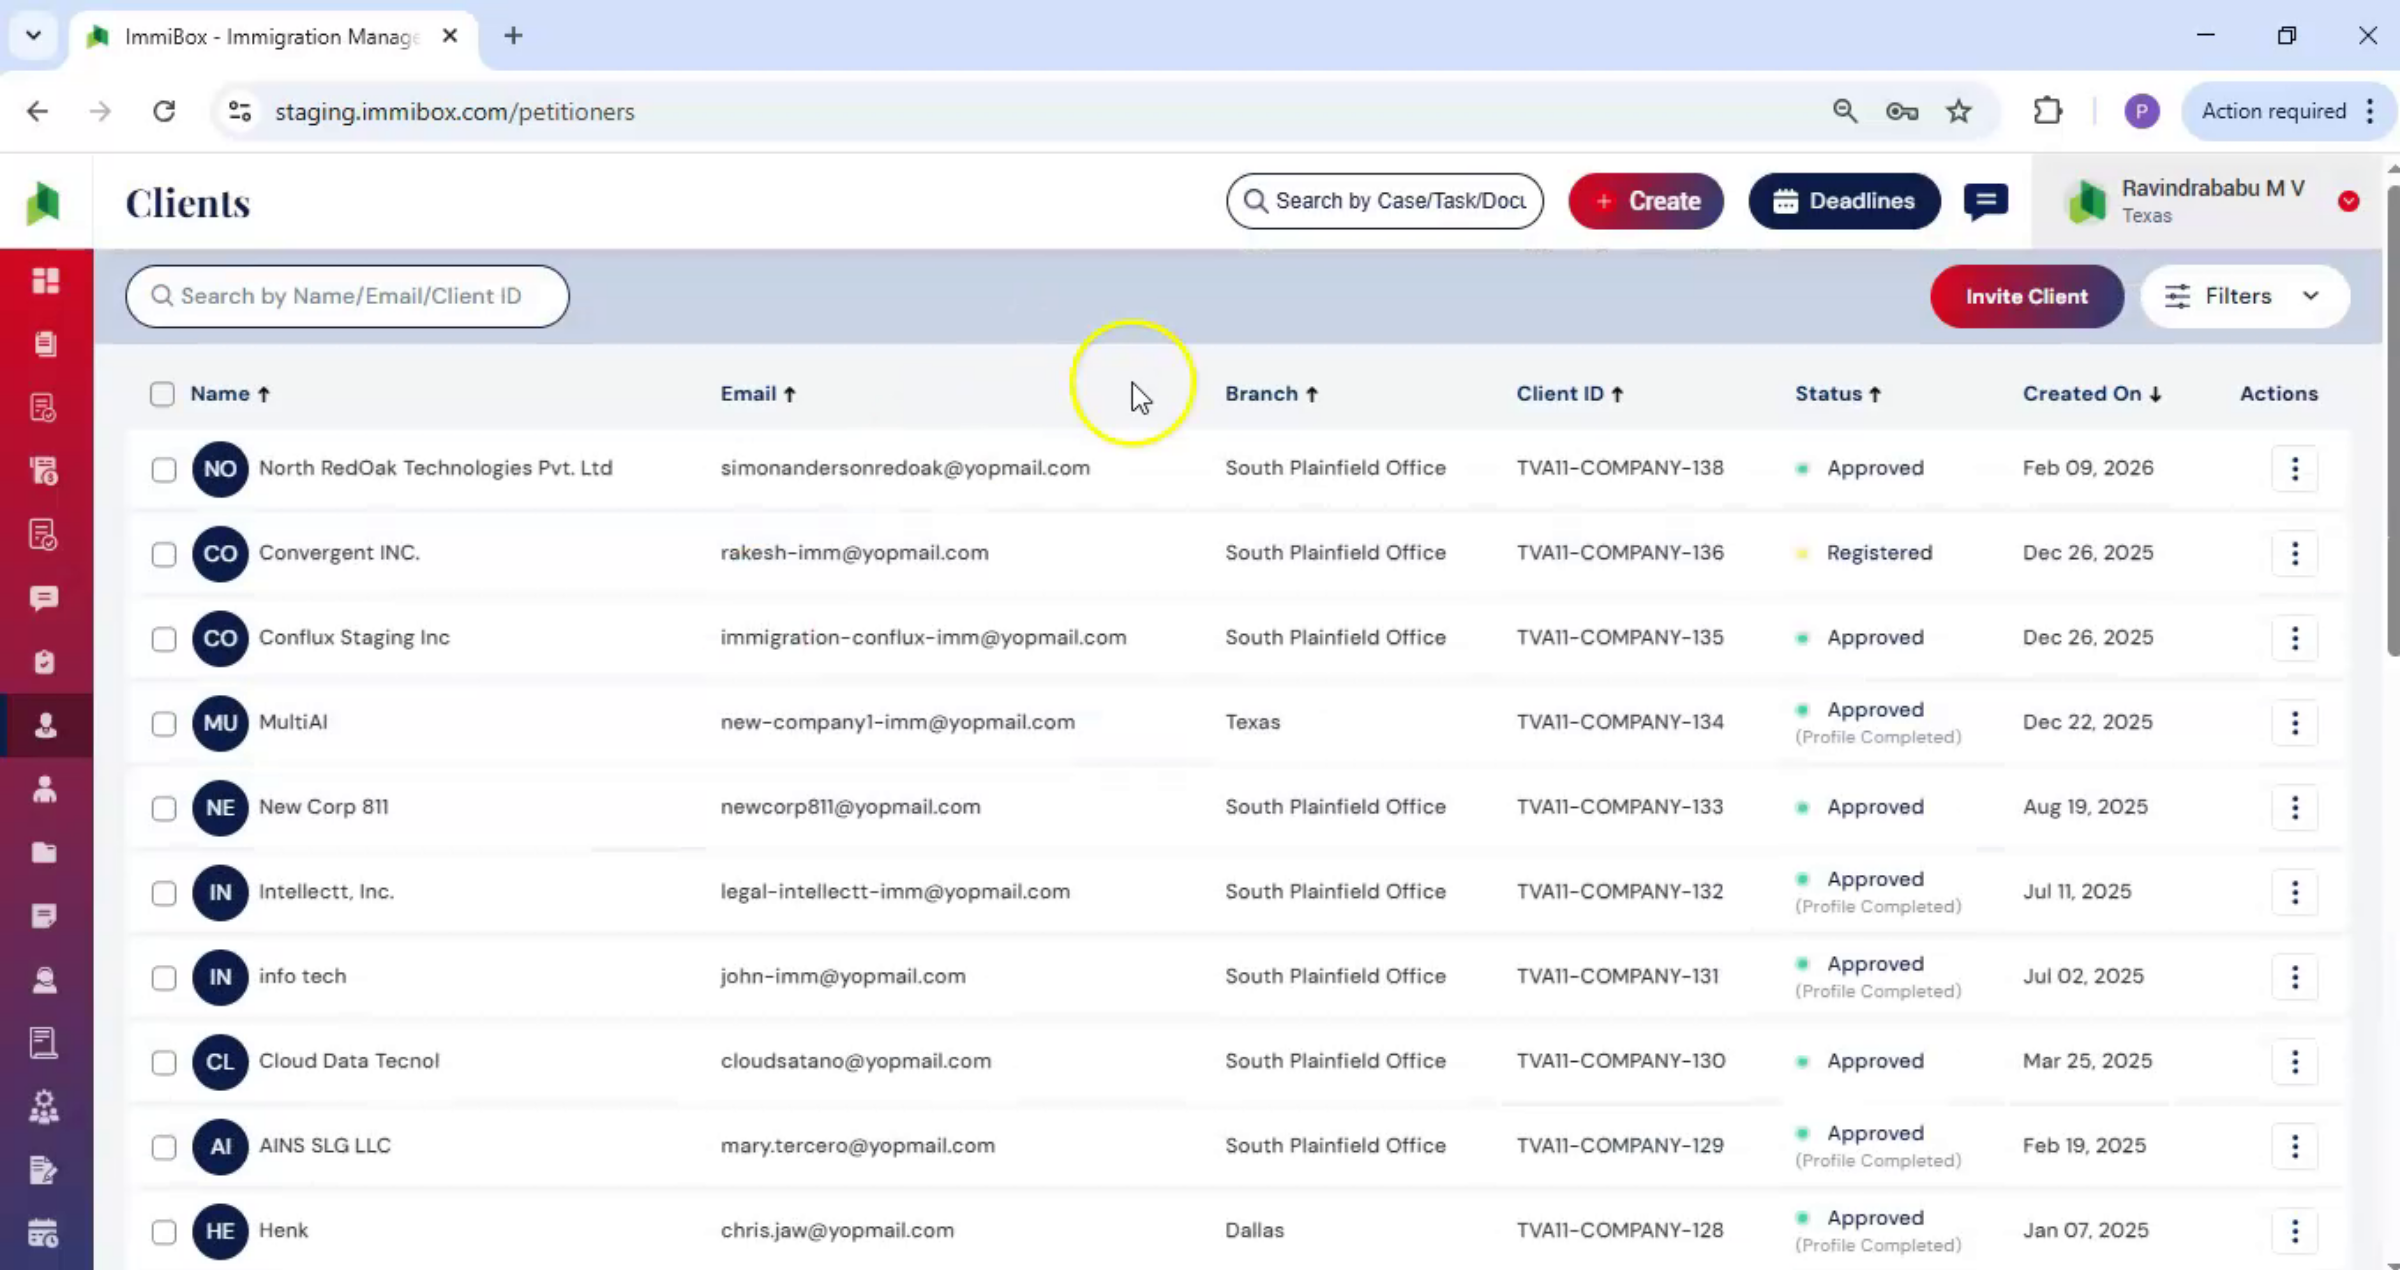
15. Viewing Newly Added Petitioners
 * click the image to view enlarged
View the newly added petitioner. Go to Clients, click on Corporate, and you'll see the new petitioner listed along with all previously added petitioners.
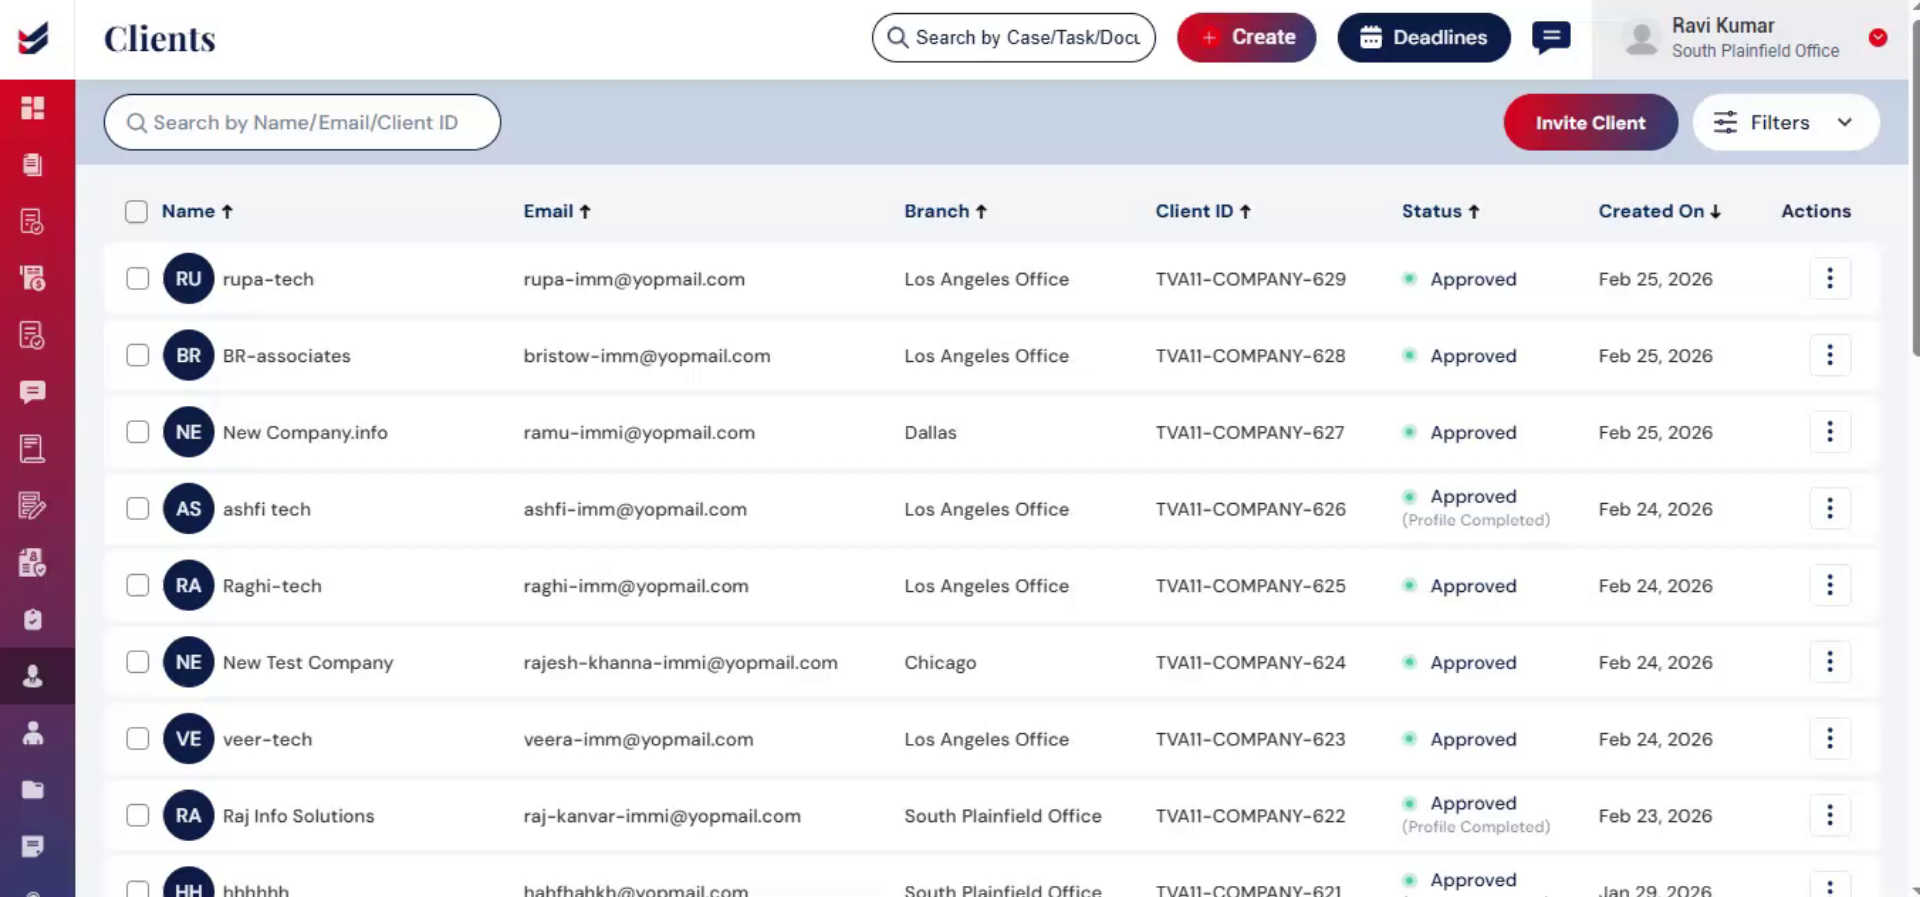
16. Clients Page Overview
 * click the image to view enlarged
On the Clients Details page, you will see a list of all added clients along with their key information, including Name, Email ID, Branch, Client ID, Status, and Created On.
Under the Actions tab for each client, you will find several options to manage their details. Click on Edit to update client information. Use Set Password to reset the client’s password. Select Details to navigate to the specific client’s detailed profile page. The Resend Activation Link option allows you to resend the activation email to the client. You can also choose Delete to remove the client from the system.
At the top of the page, there is a Search box that allows you to quickly find clients by entering their Name, Email, or Client ID. On the right-hand side, you will find a Filter option, which can be used to refine your search results using additional filtering criteria.
17. Benefits of Adding Petitioners
 * click the image to view enlarged
Adding petitioners in ImmiBox is simple, secure, and fully integrated, keeping your case management fast, organized, and efficient.

