


Notes Functionality in ImmiBox
Overview
Welcome!
In this video, you will learn how to create, manage, and update notes in ImmiBox.
1. Introduction
 * click the image to view enlarged
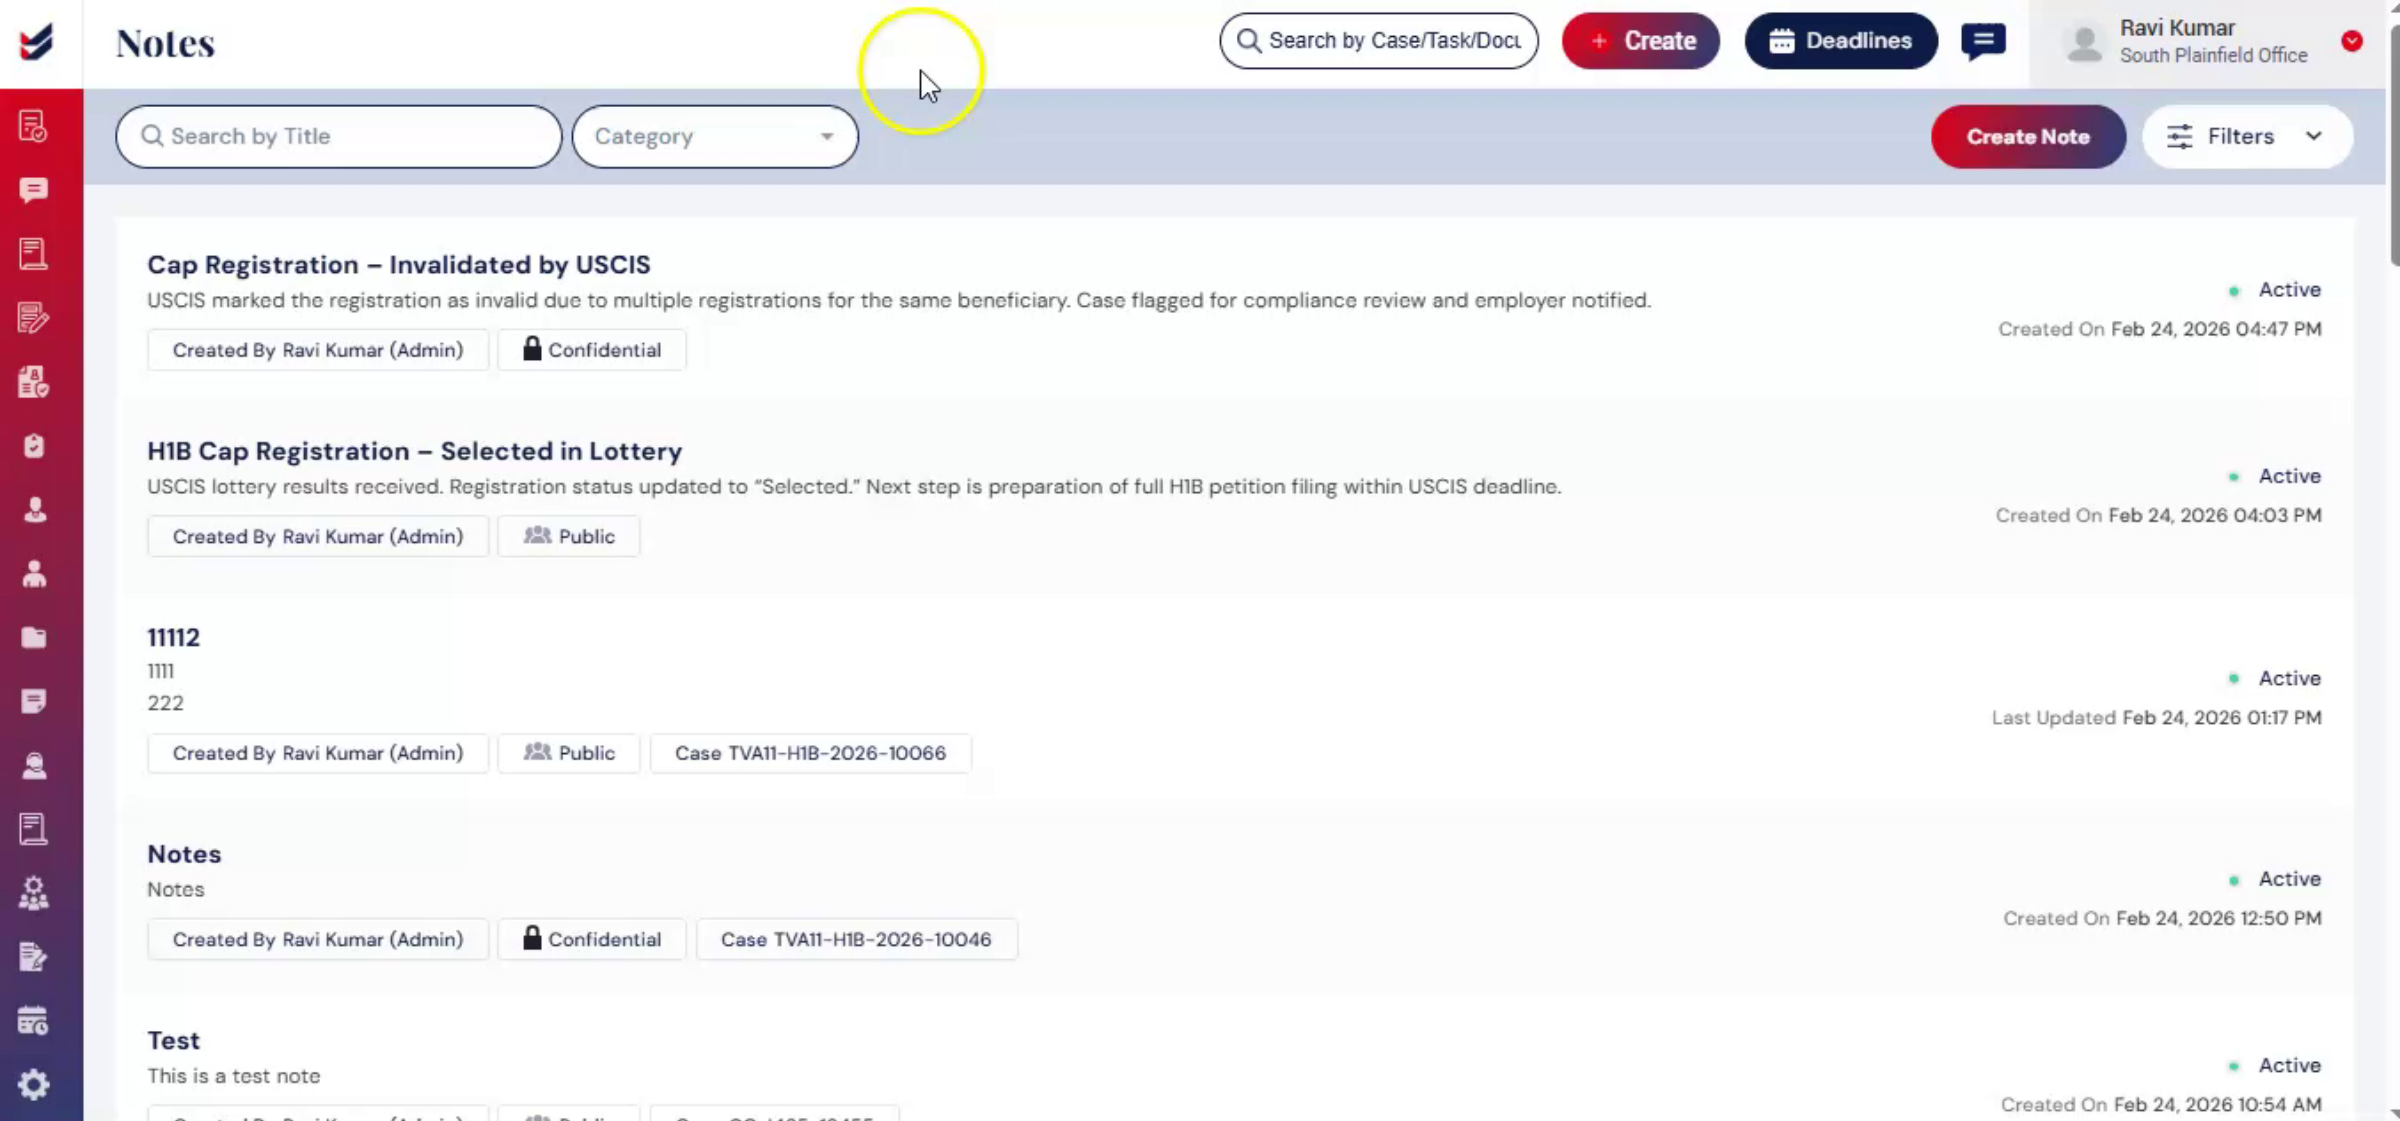
The Notes functionality allows users to record and reference important case-related information, team communication, tasks, and updates.
2. Accessing Notes
 * click the image to view enlarged
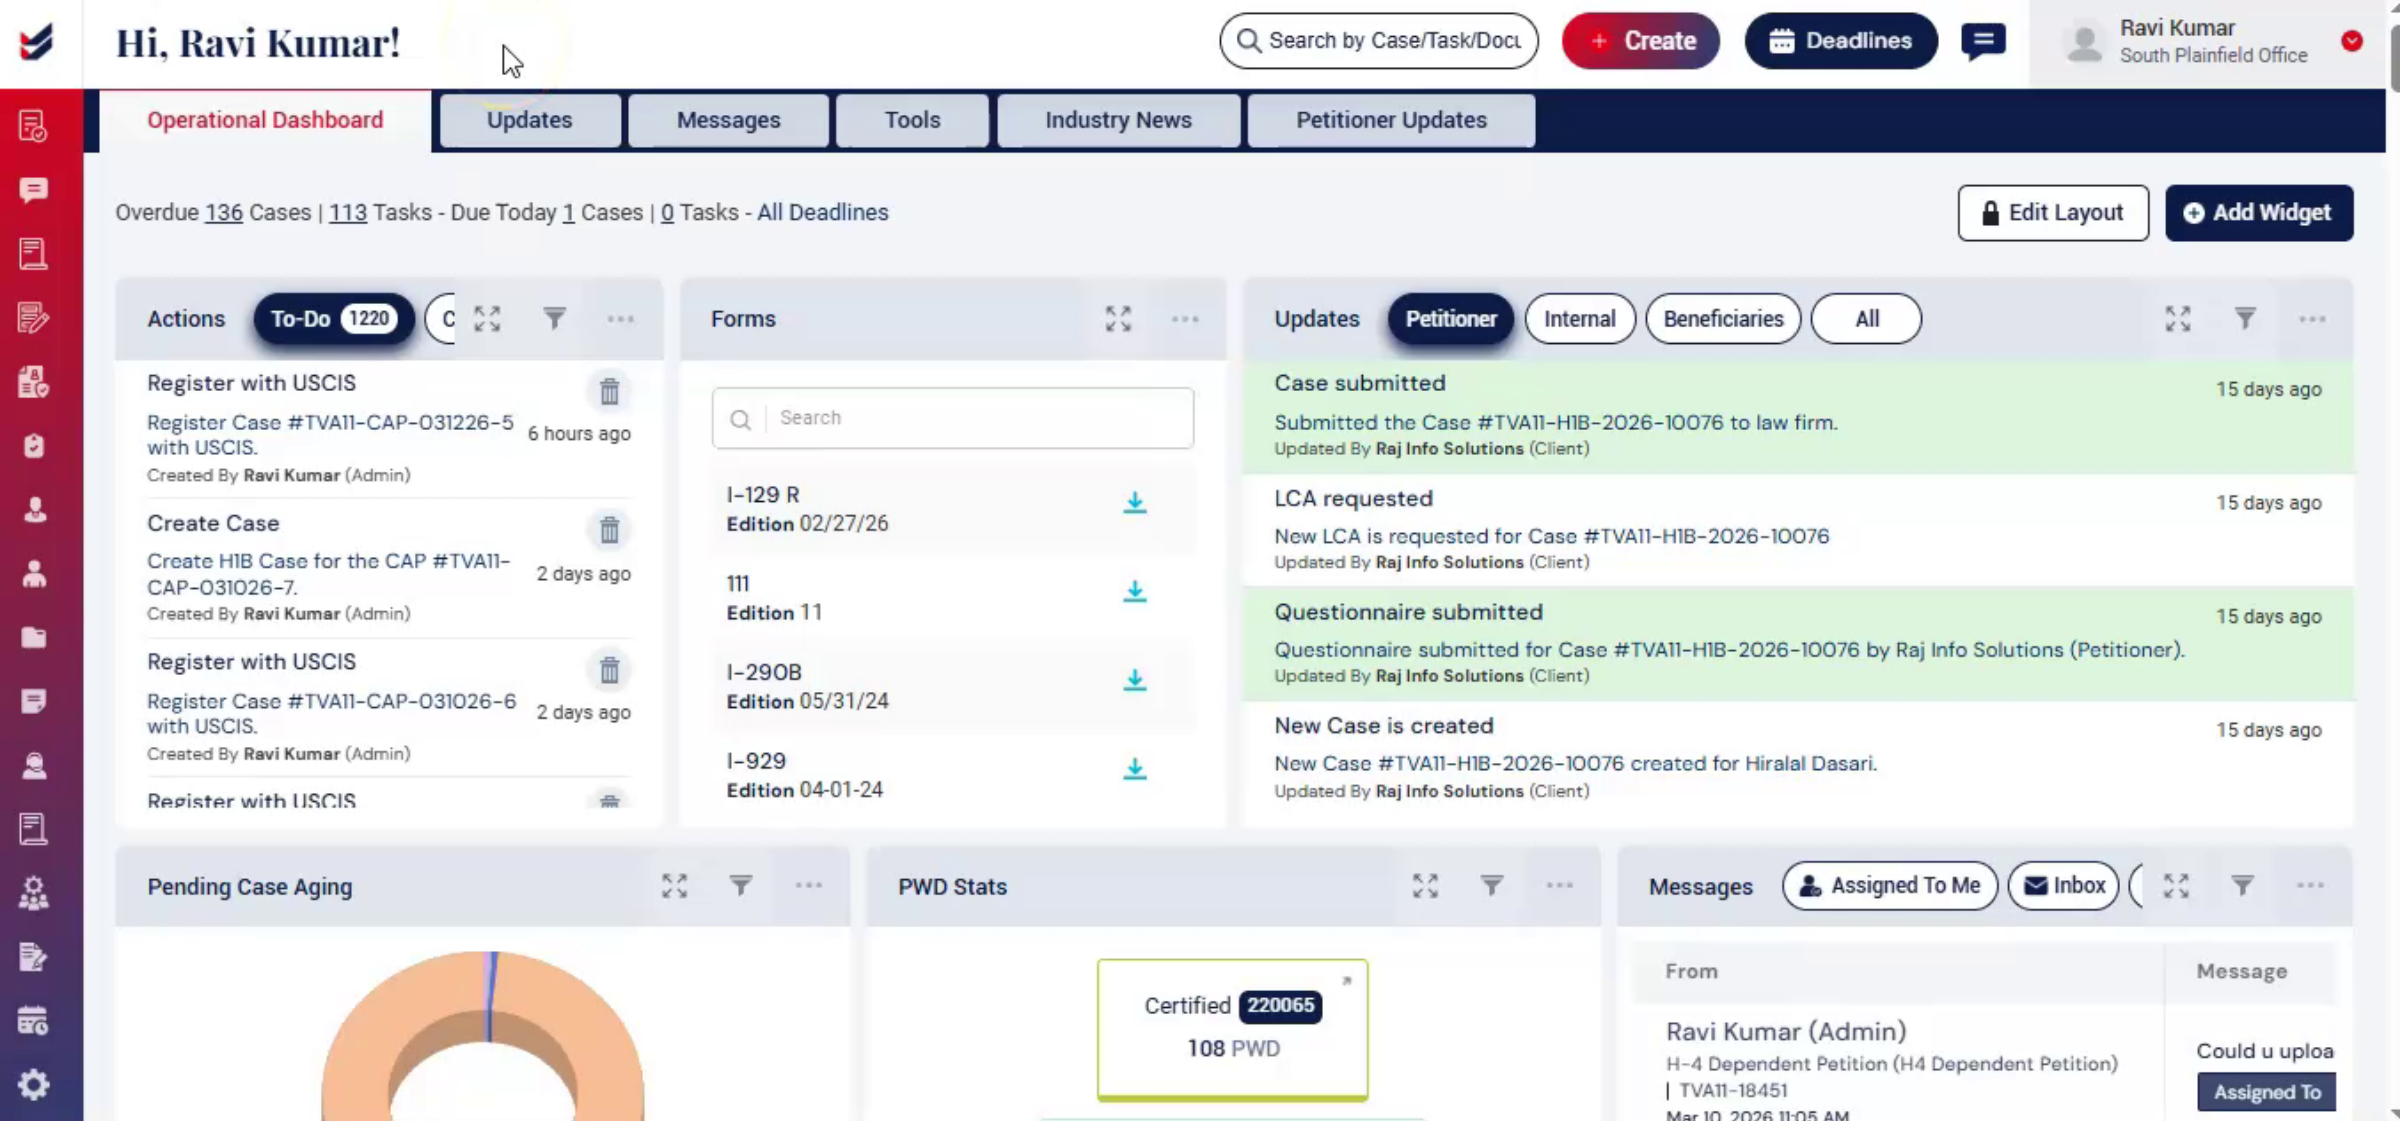
To access Notes, from the Dashboard, select Notes from the left navigation menu. You will be redirected to the Notes page. By default, users will see all the notes they have created, along with notes that have been shared with them. At the top of the page, you will see the options.
3. Create Notes
 * click the image to view enlarged
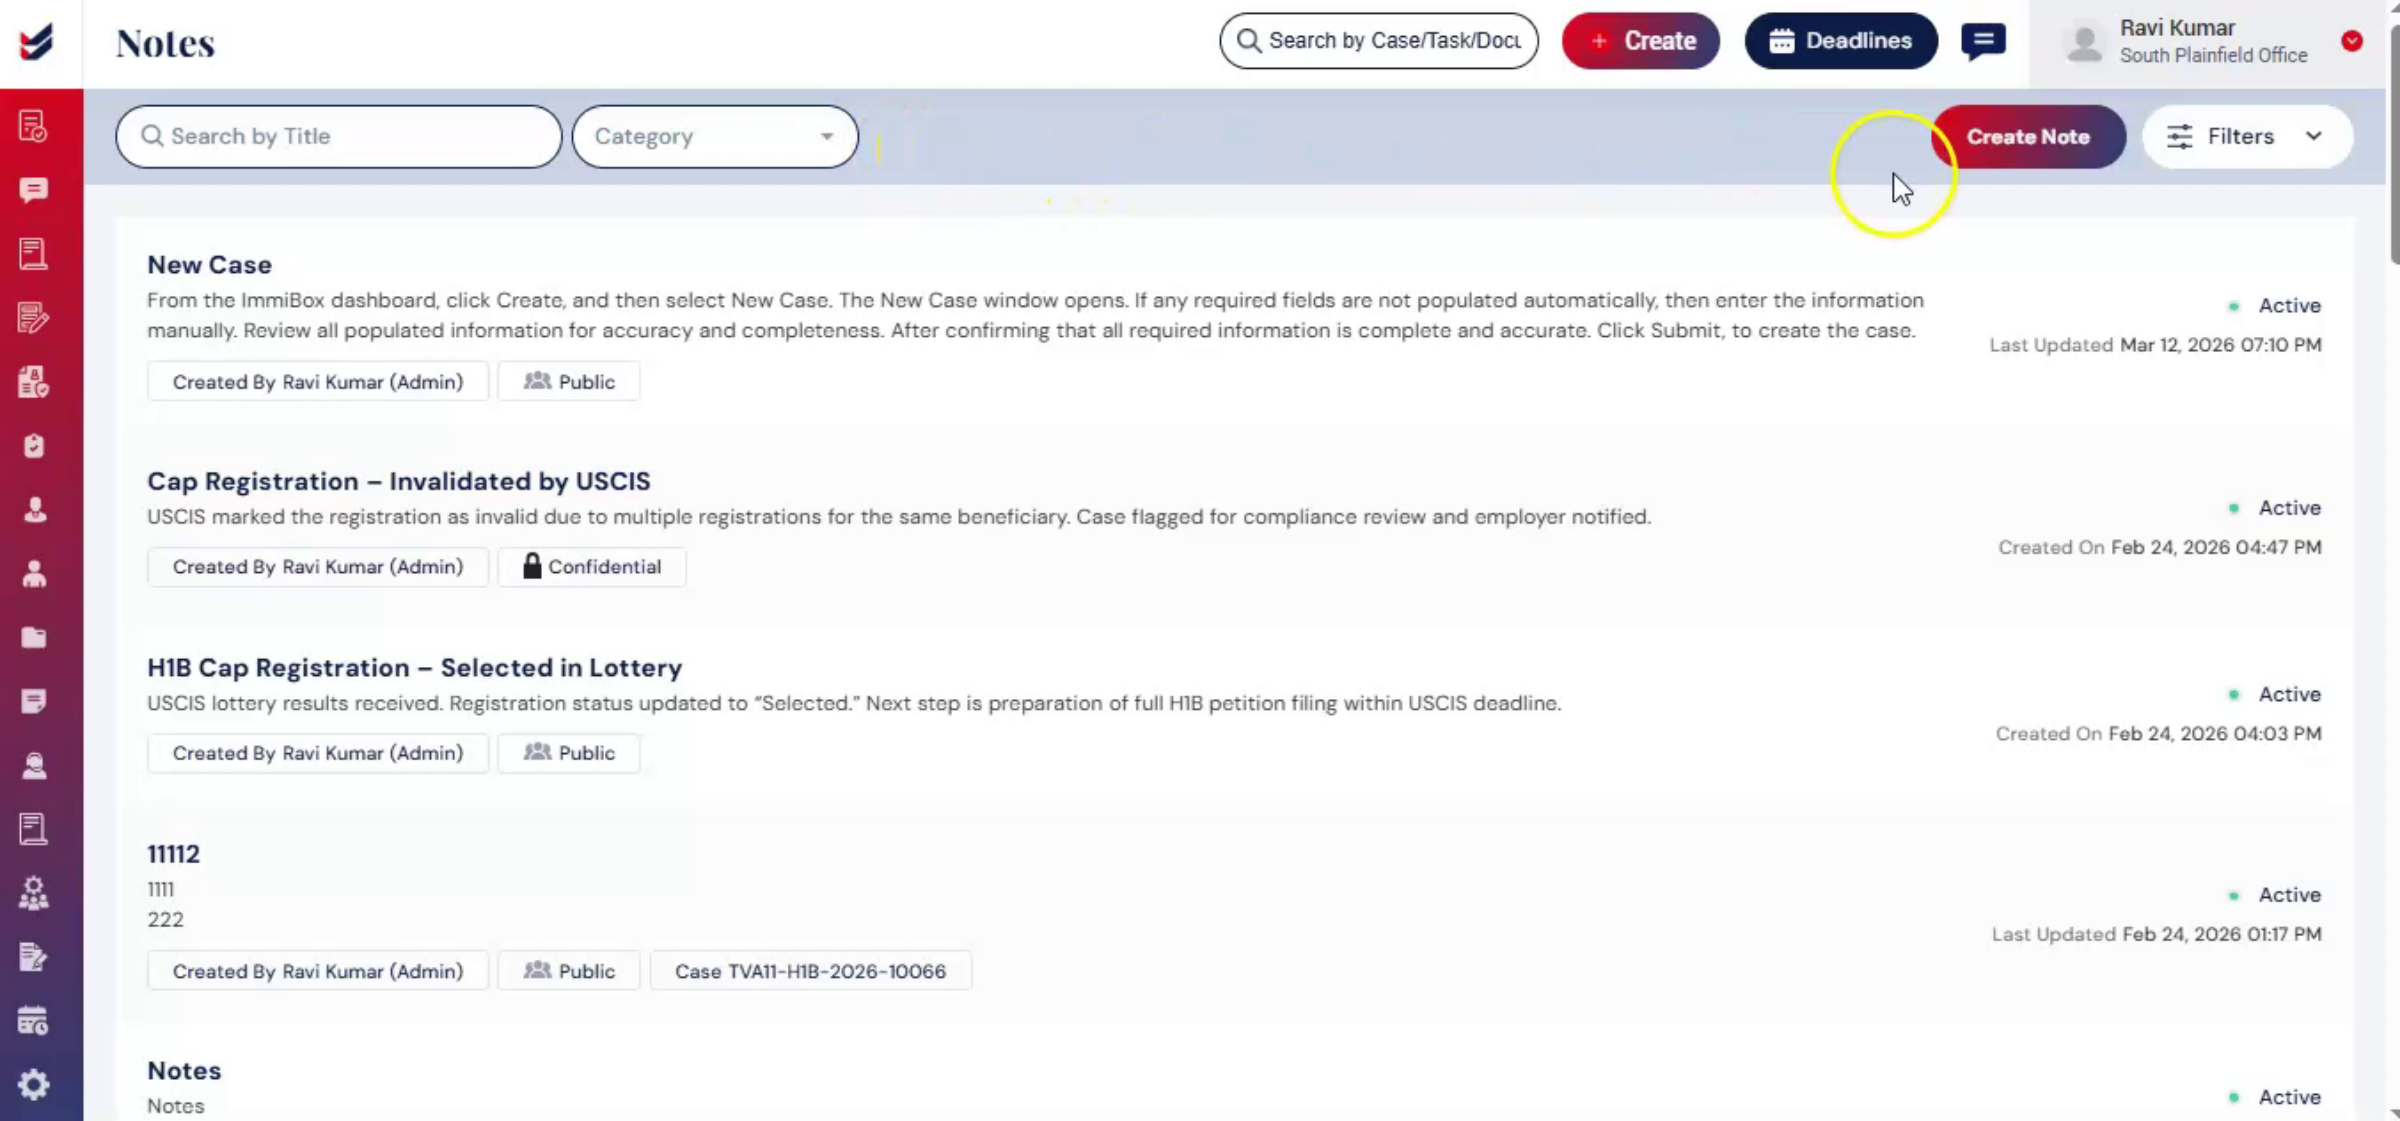
Users can also apply additional filters such as Title, Tagged, Status, Access Level, and Created Date to quickly locate specific notes.
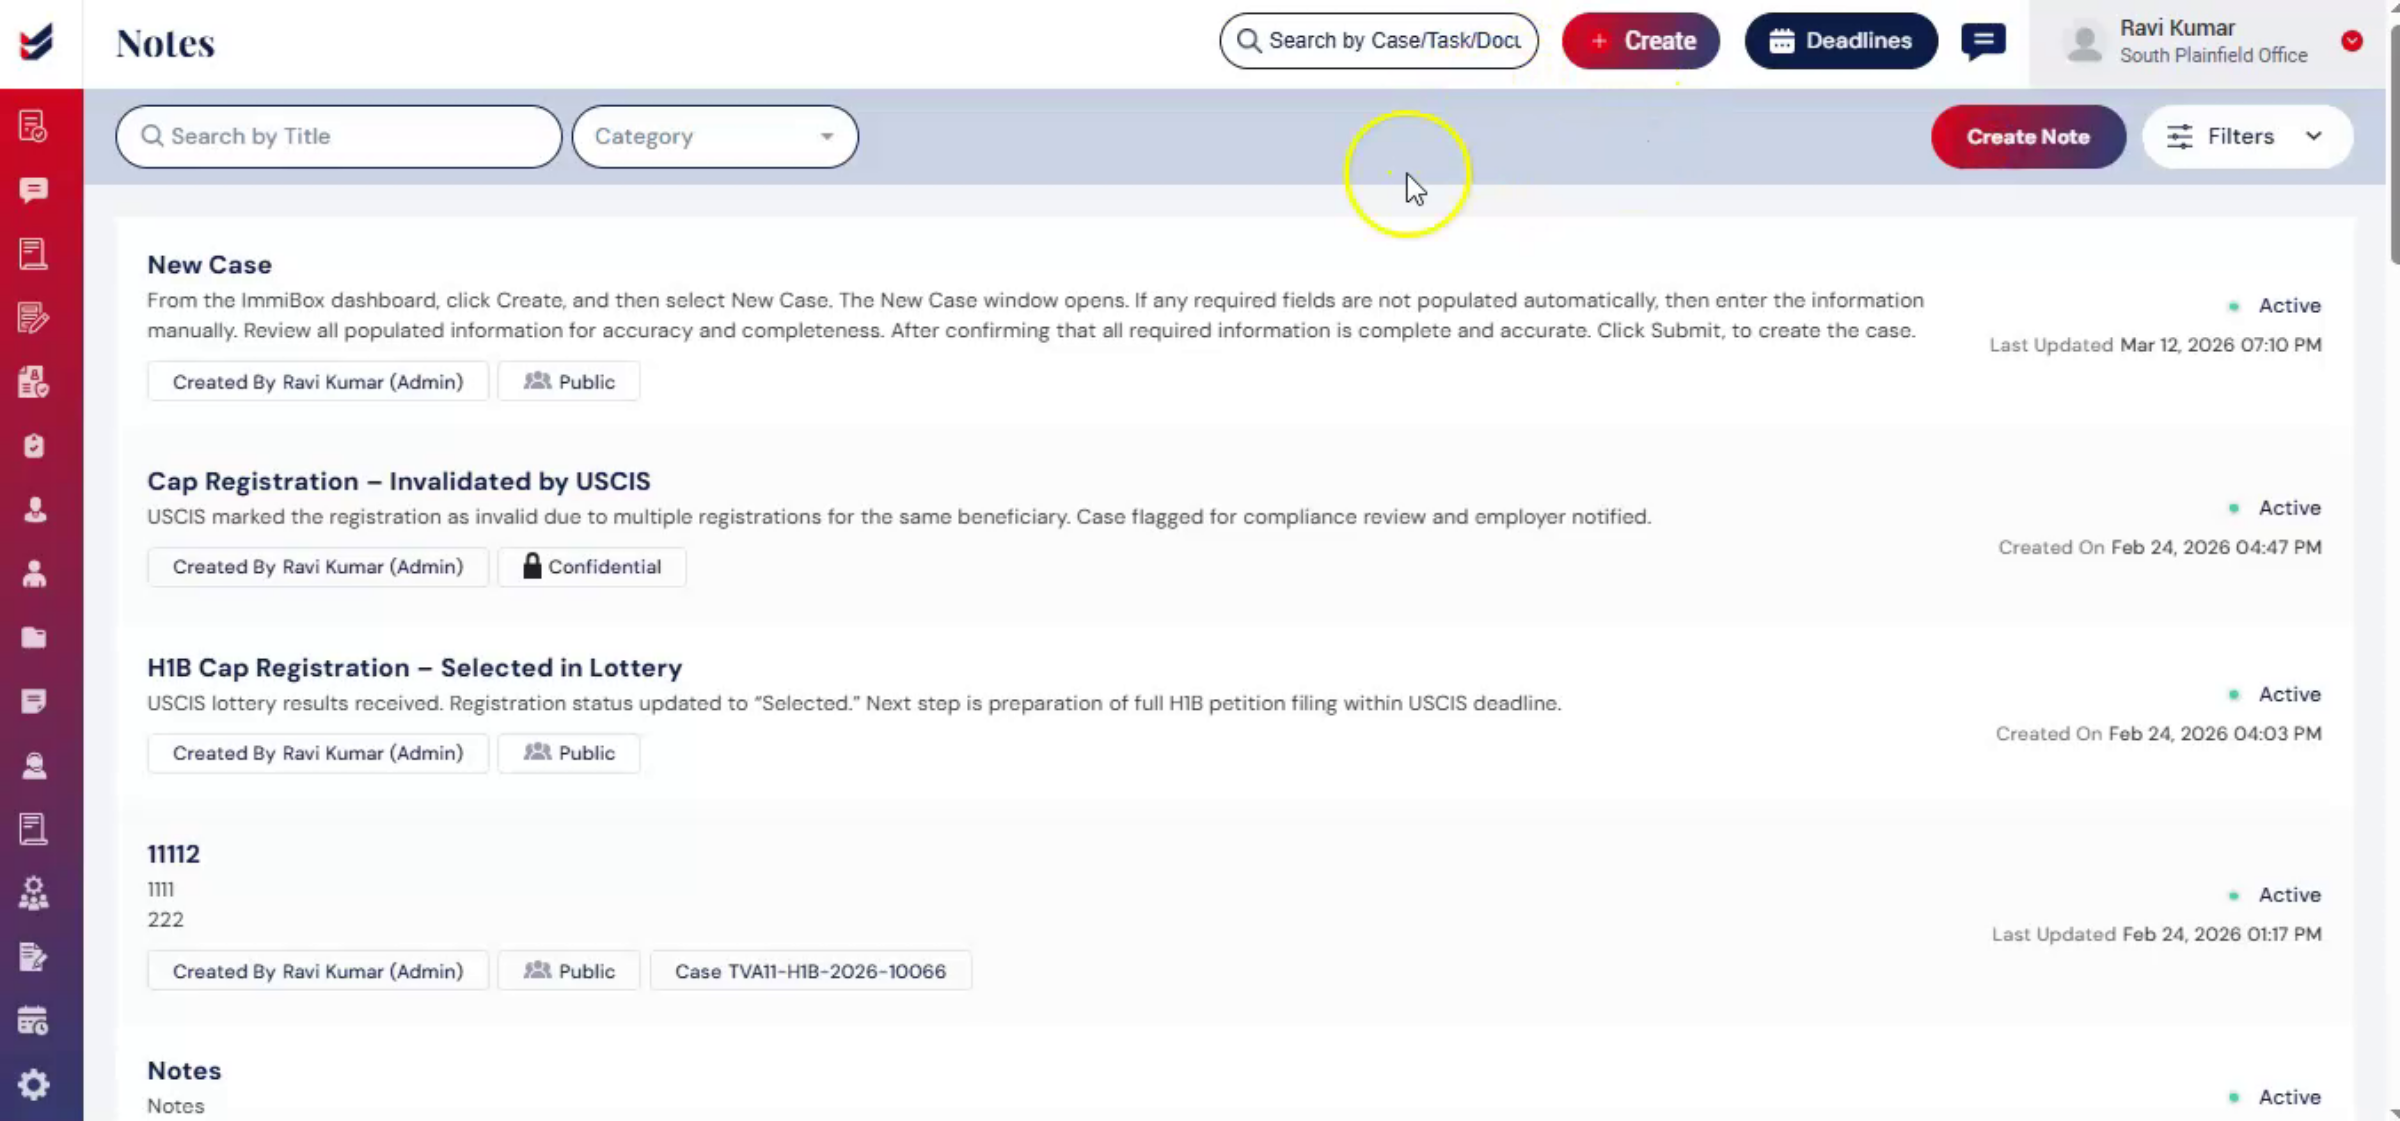
To create a new note, click Create Note.
4. Creating a Note
 * click the image to view enlarged
Alternatively, click on Create, then select Note from the dropdown menu. The Create Note dialog box will appear on the screen.
Enter the Note Title and provide a detailed description in the description field.
Next, select the appropriate Category from the following options:
General – For notes that are not linked to any specific case.
Case – For notes related to a specific case. When selected, an additional case field will appear where you must choose the relevant case.
External Case – For notes related to an external case. Selecting this option will display an additional case field to choose the related external case.
CAP – For notes related to CAP. When this option is selected, an additional case field will appear where you can select the relevant CAP record.
Next, choose the Permission Level for the note:
Confidential – Accessible only to the user who created the note.
Public – Accessible to all users.
Custom – Accessible only to selected users.
You can choose the specific users who will have access to the note.
If needed, users can also attach relevant documents to the note.
Then click Submit. You will be redirected to the Note Details page.
5. Viewing and Updating Note
 * click the image to view enlarged
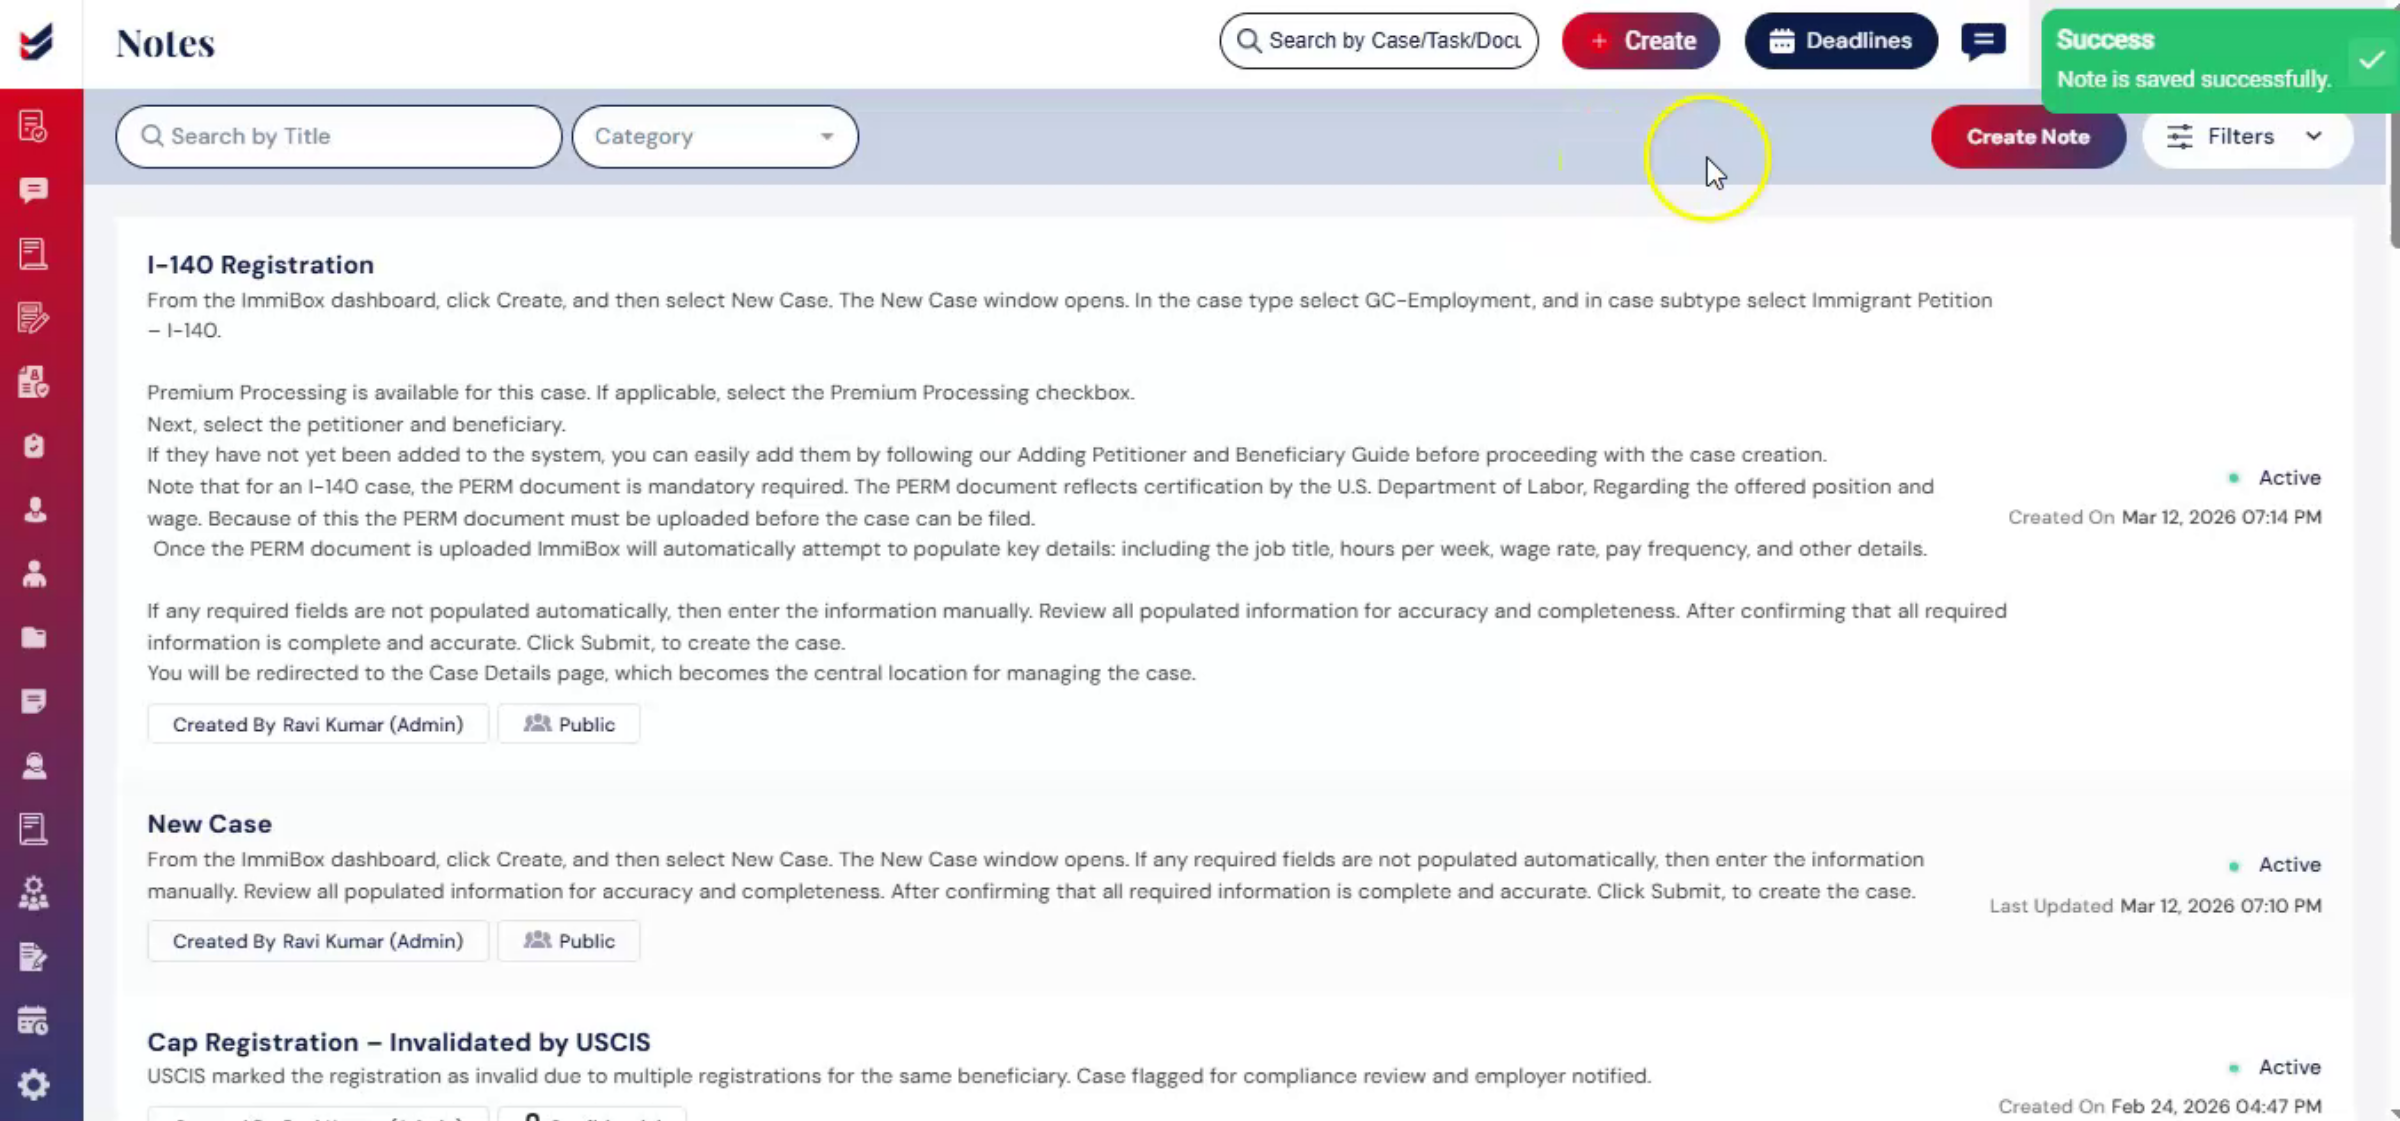
Beside each note, you can see the created date and its current status, such as active. At the bottom of each note, you can also see details such as created by and the permission level, which indicates whether the note is Public, Confidential, or Custom. When you click on a note, you will be redirected to the Note Details page for that particular note. At the top of the page, you can see Edit option – Only the user who created the note can edit it. Comments – Users who have access to the note can comments. Select Status – This allows users to change the status of the note to Active or Closed. If a note is marked as Closed, it will not appear in the default Notes list. However, closed notes can still be accessed by using the Filters option on the Notes page. Simply select the Status filter and choose Closed to view all closed notes.
6. Case Detail Page
 * click the image to view enlarged
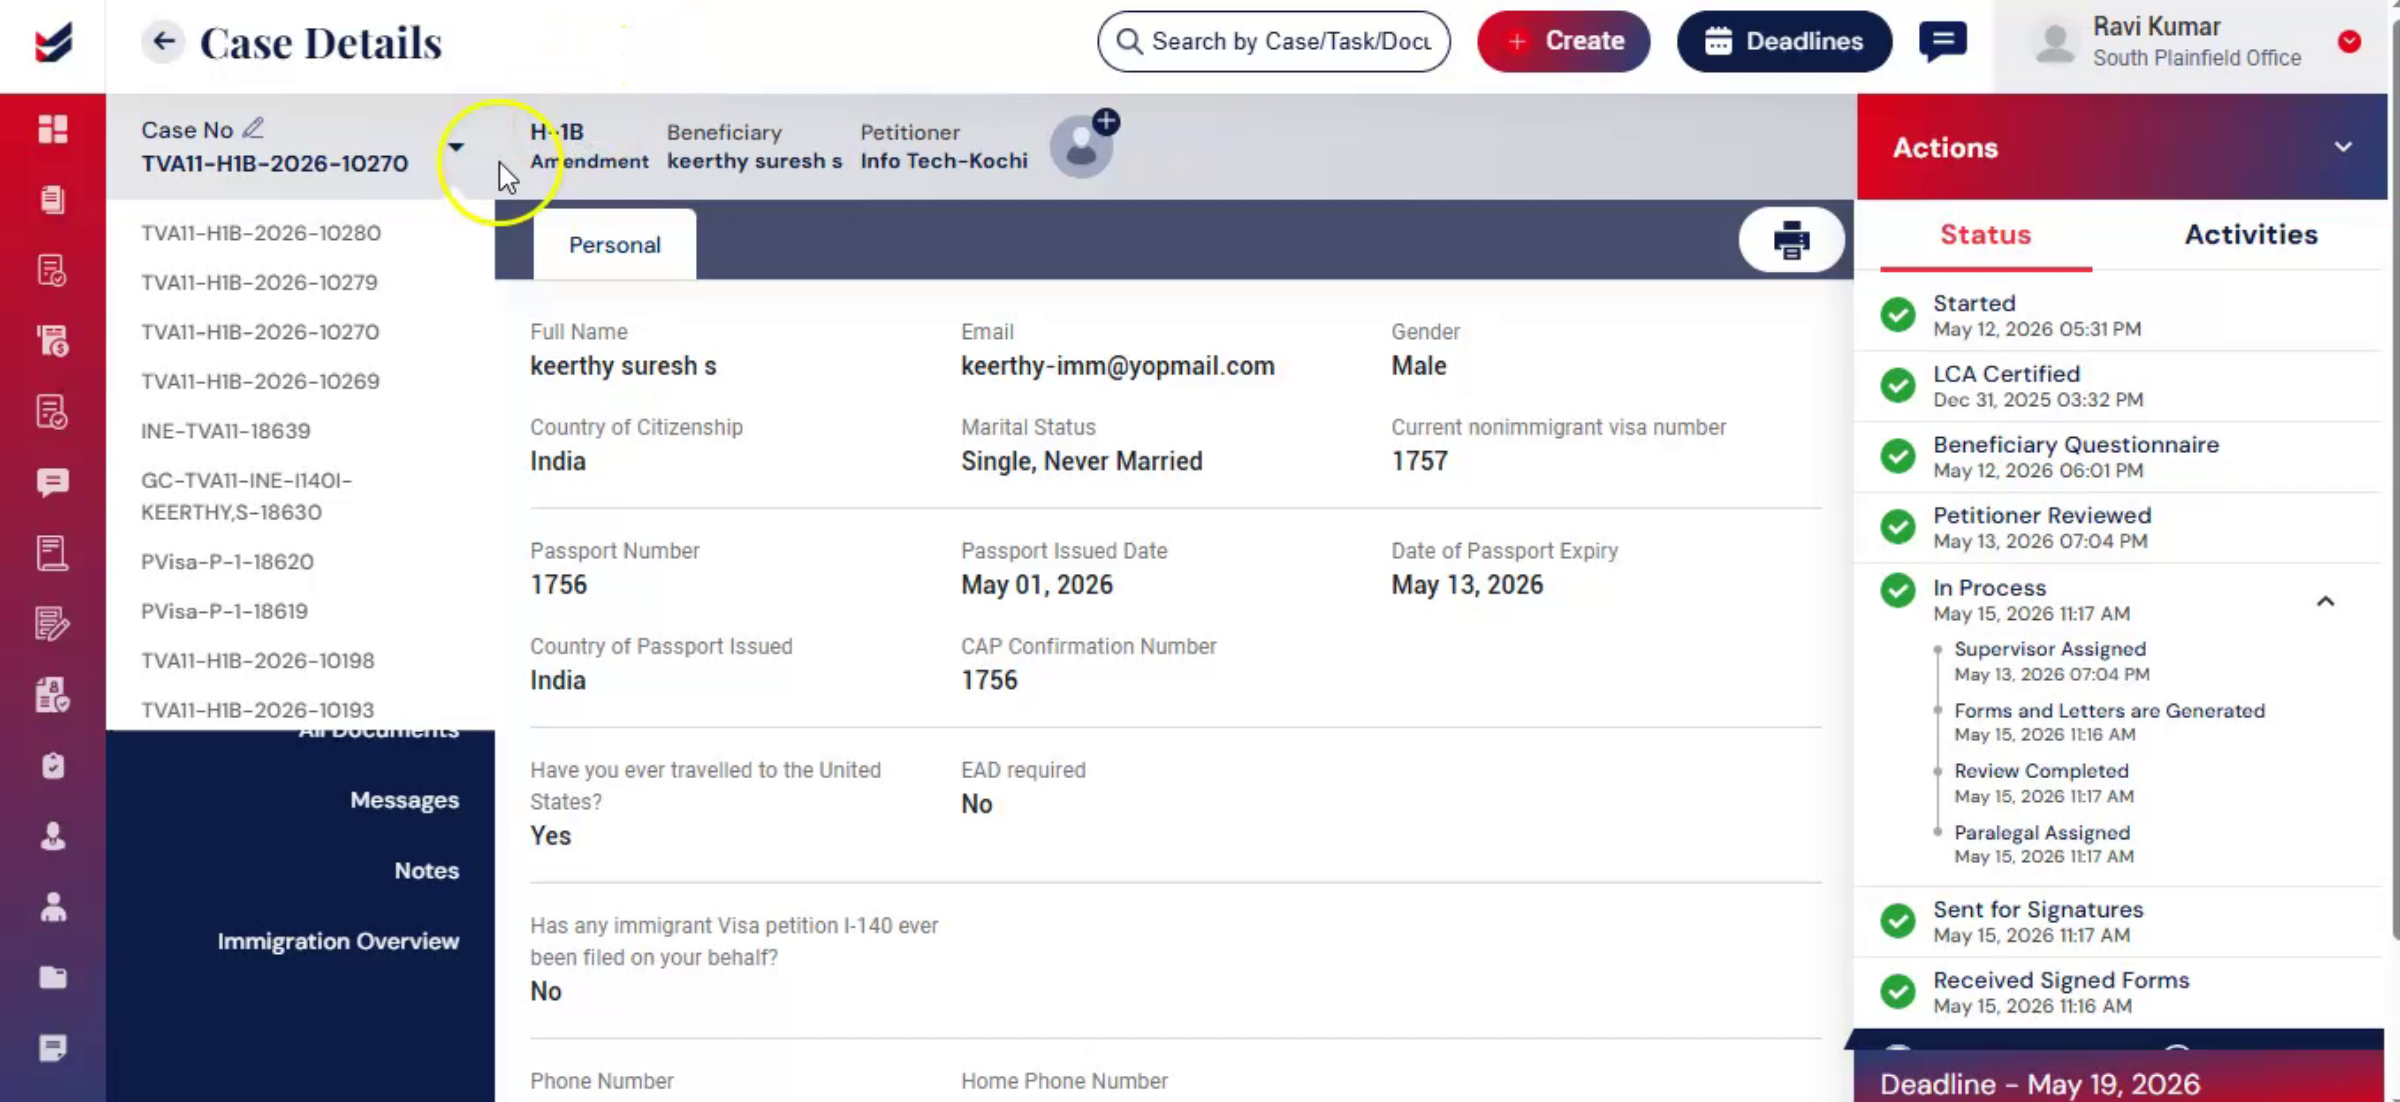
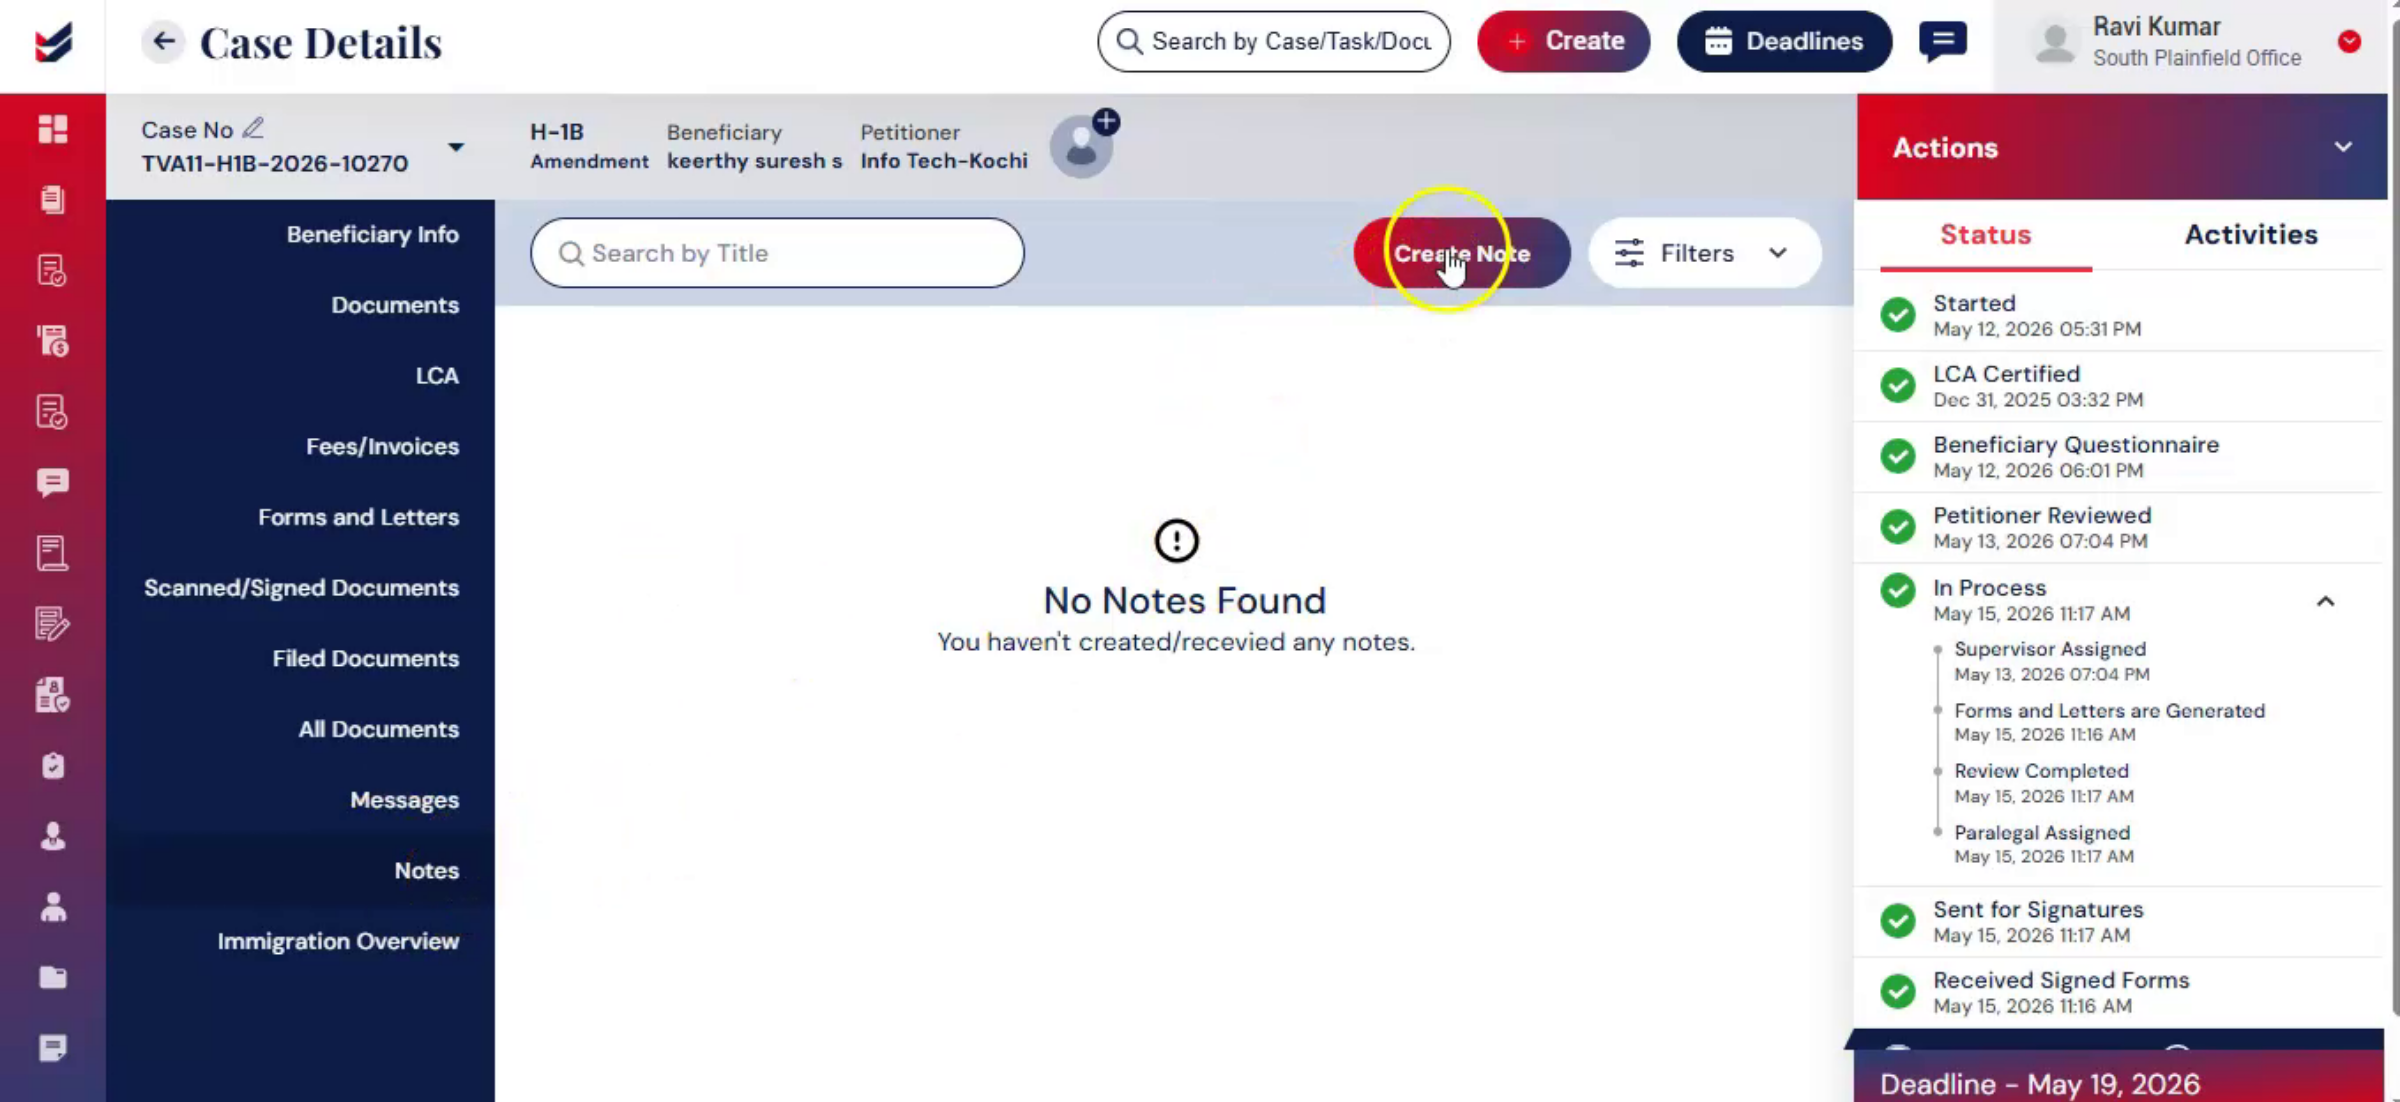
Also, users can create notes directly from the case details page. From the left side, click on notes, the notes section will appear. Click on create notes to open, the create note dialog box where you can add and save notes related to the case.
The notes section also includes a search bar to quickly find specific notes and filter options to organize and manage records more efficiently.
7. Case Detail Notes Access
 * click the image to view enlarged
For example, let’s create a note from the Case Details page.
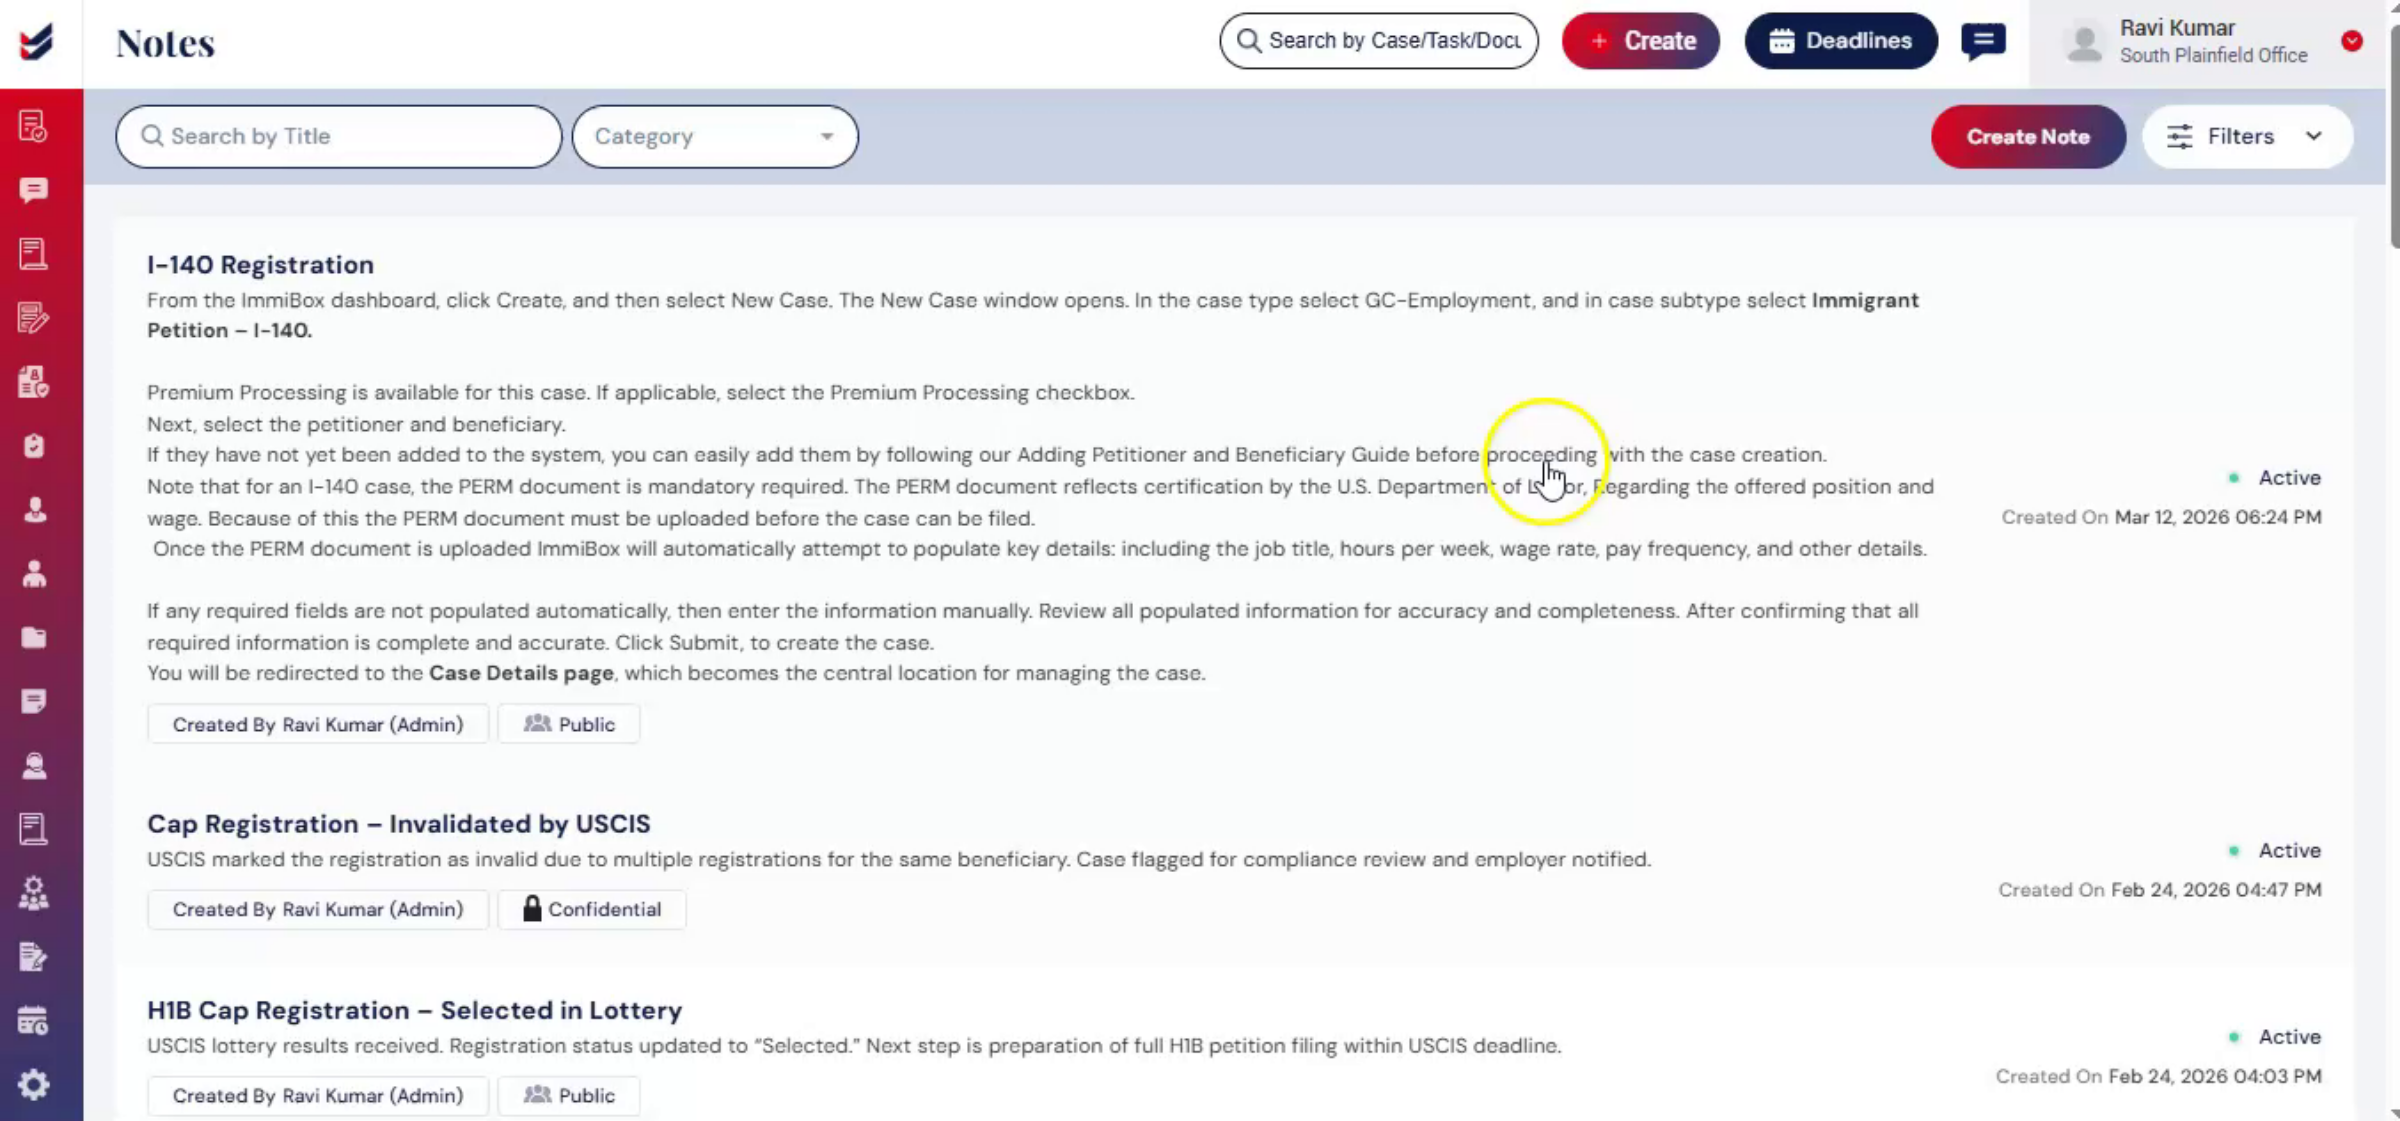
Once the note is created within a case, it can also be accessed through the global Notes functionality.
Similarly, notes created from the global notes section and linked to a specific case will automatically appear under the respective case details page.
Let’s see an example. Create a note from the global notes functionality and associate it with a case.
After the note is created, navigate back to the respective case details page.
Under the Notes section, you will see the newly associated note.
This ensures a seamless and synchronized notes experience across the application.
8. Conclusion
 * click the image to view enlarged
The Notes feature in ImmiBox ensure that important information remains organized, accessible, and securely shared within the system.