

Adding Beneficiaries and Individuals in ImmiBox
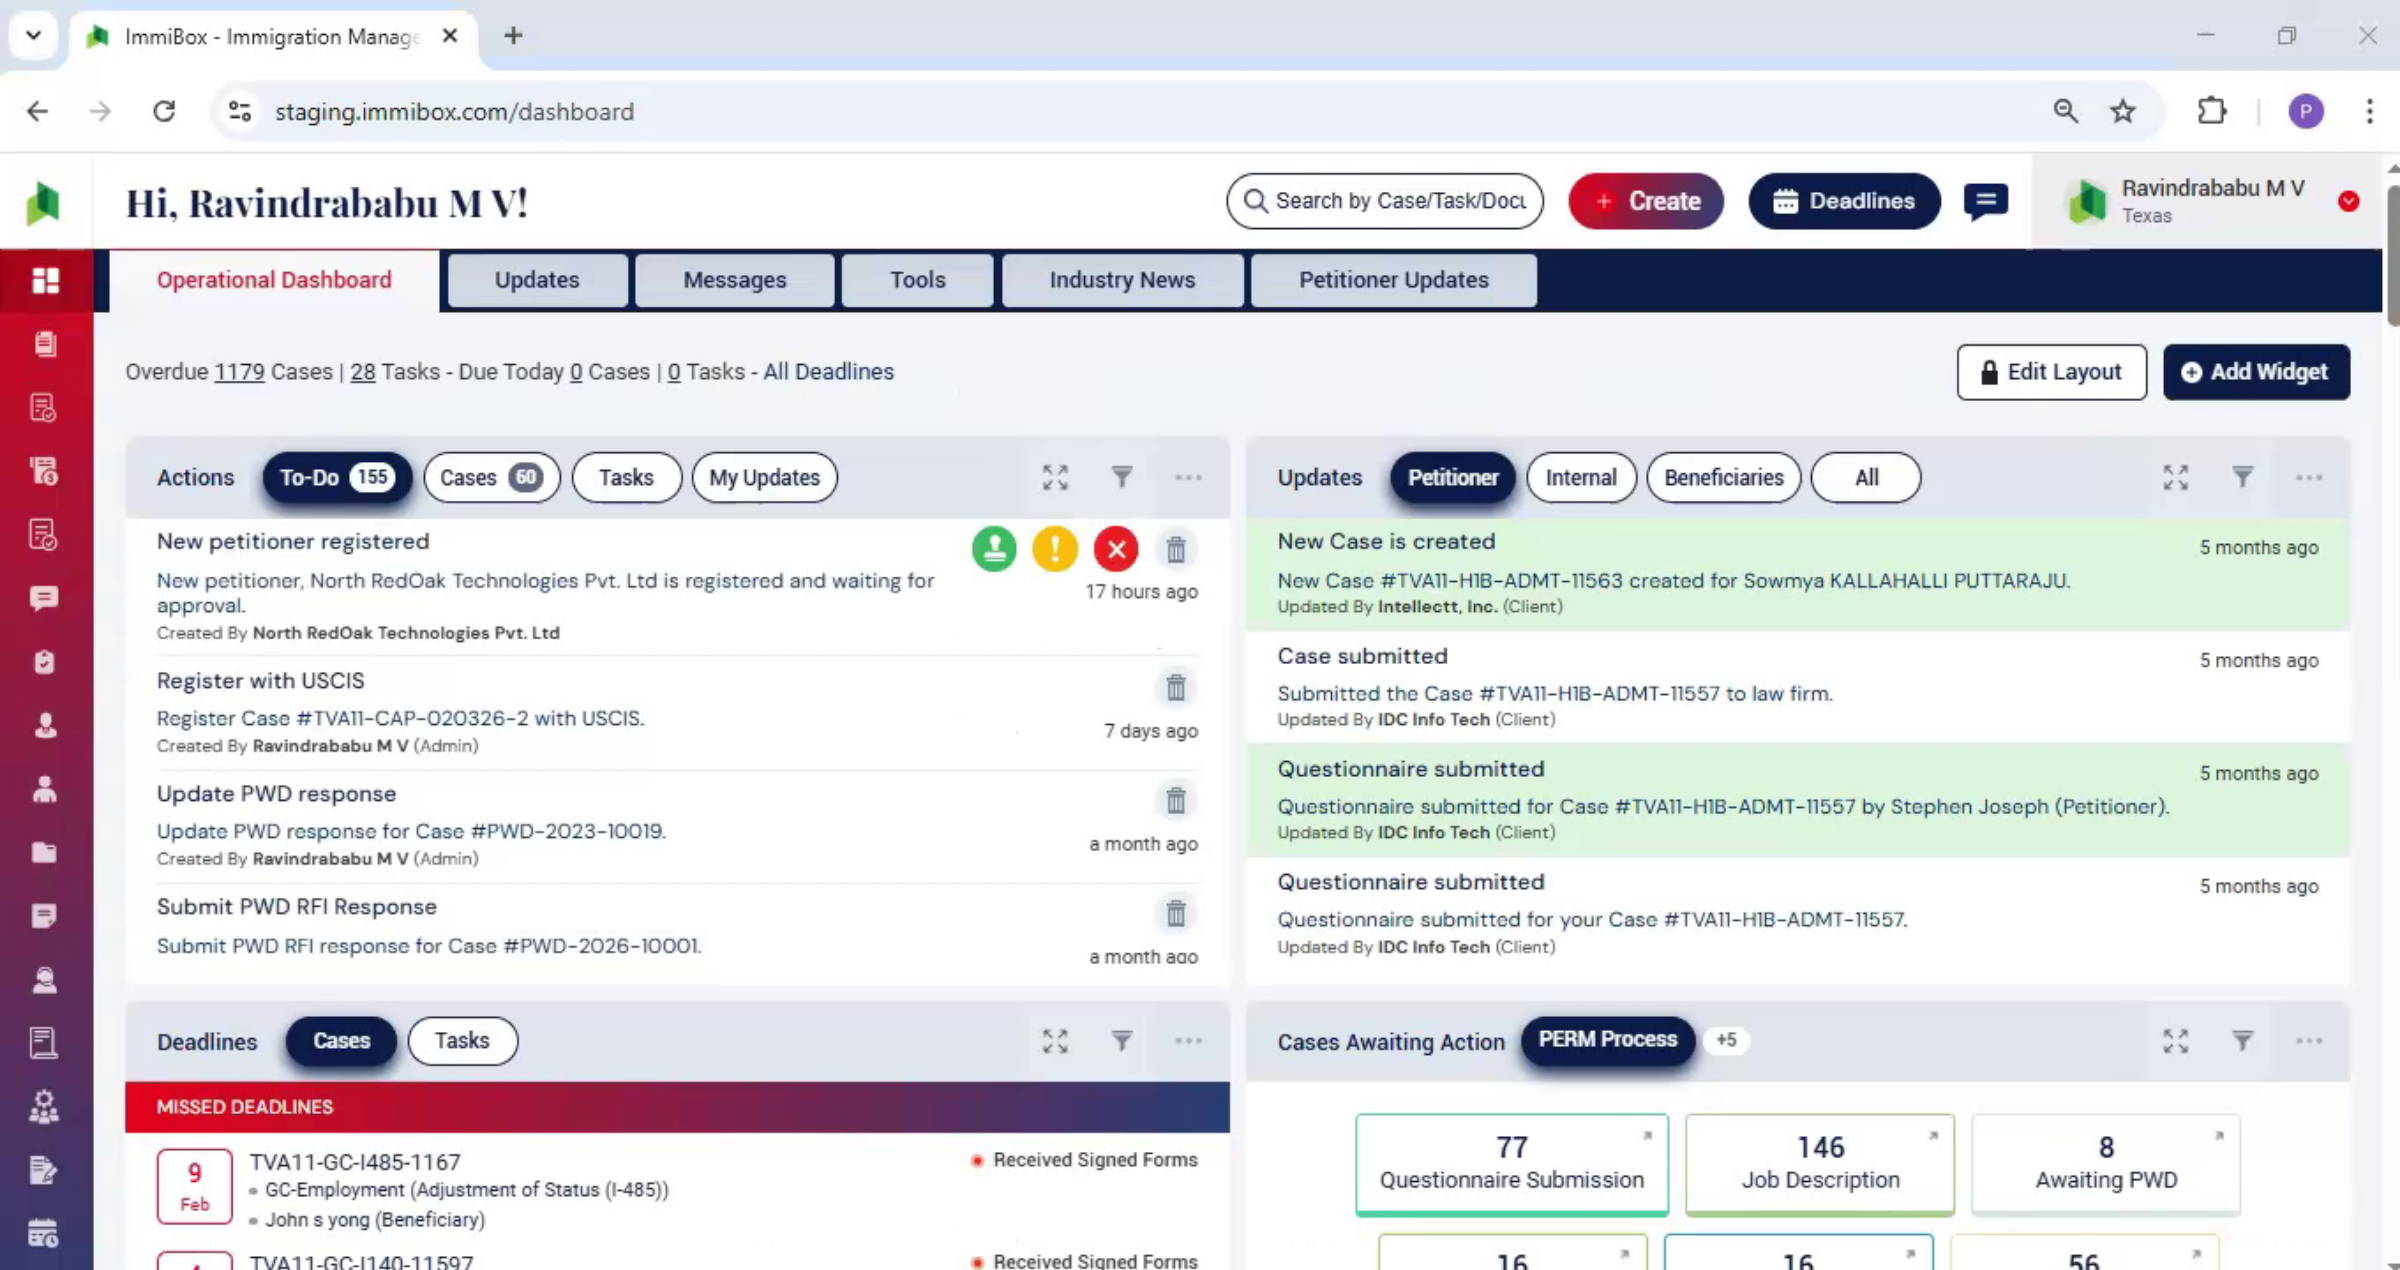
Overview
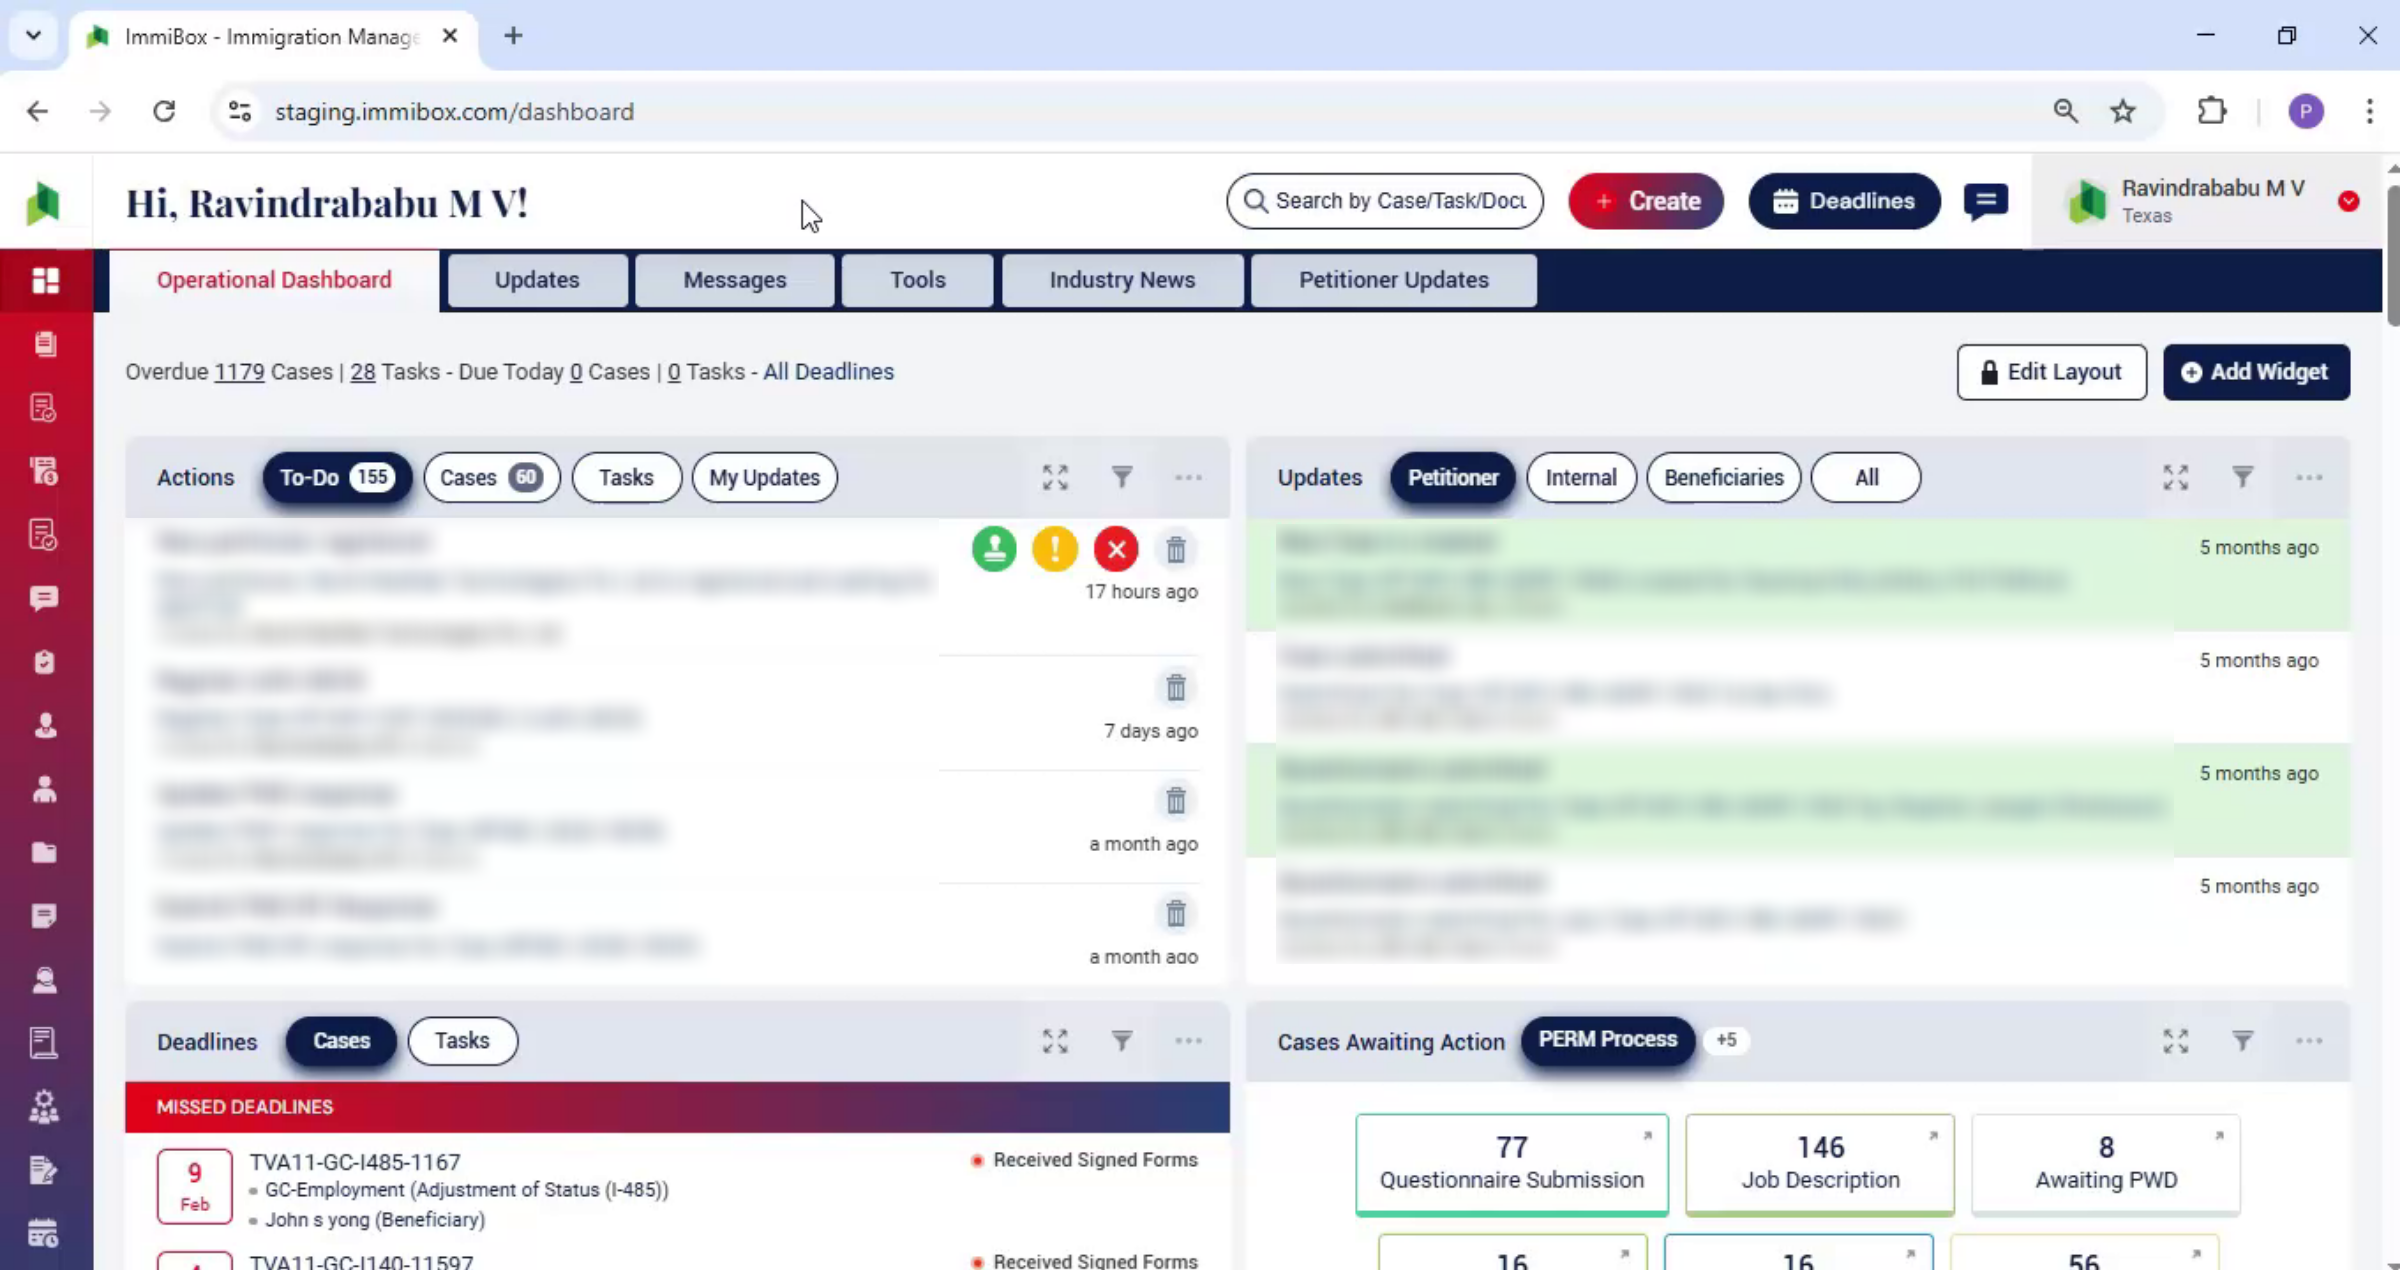
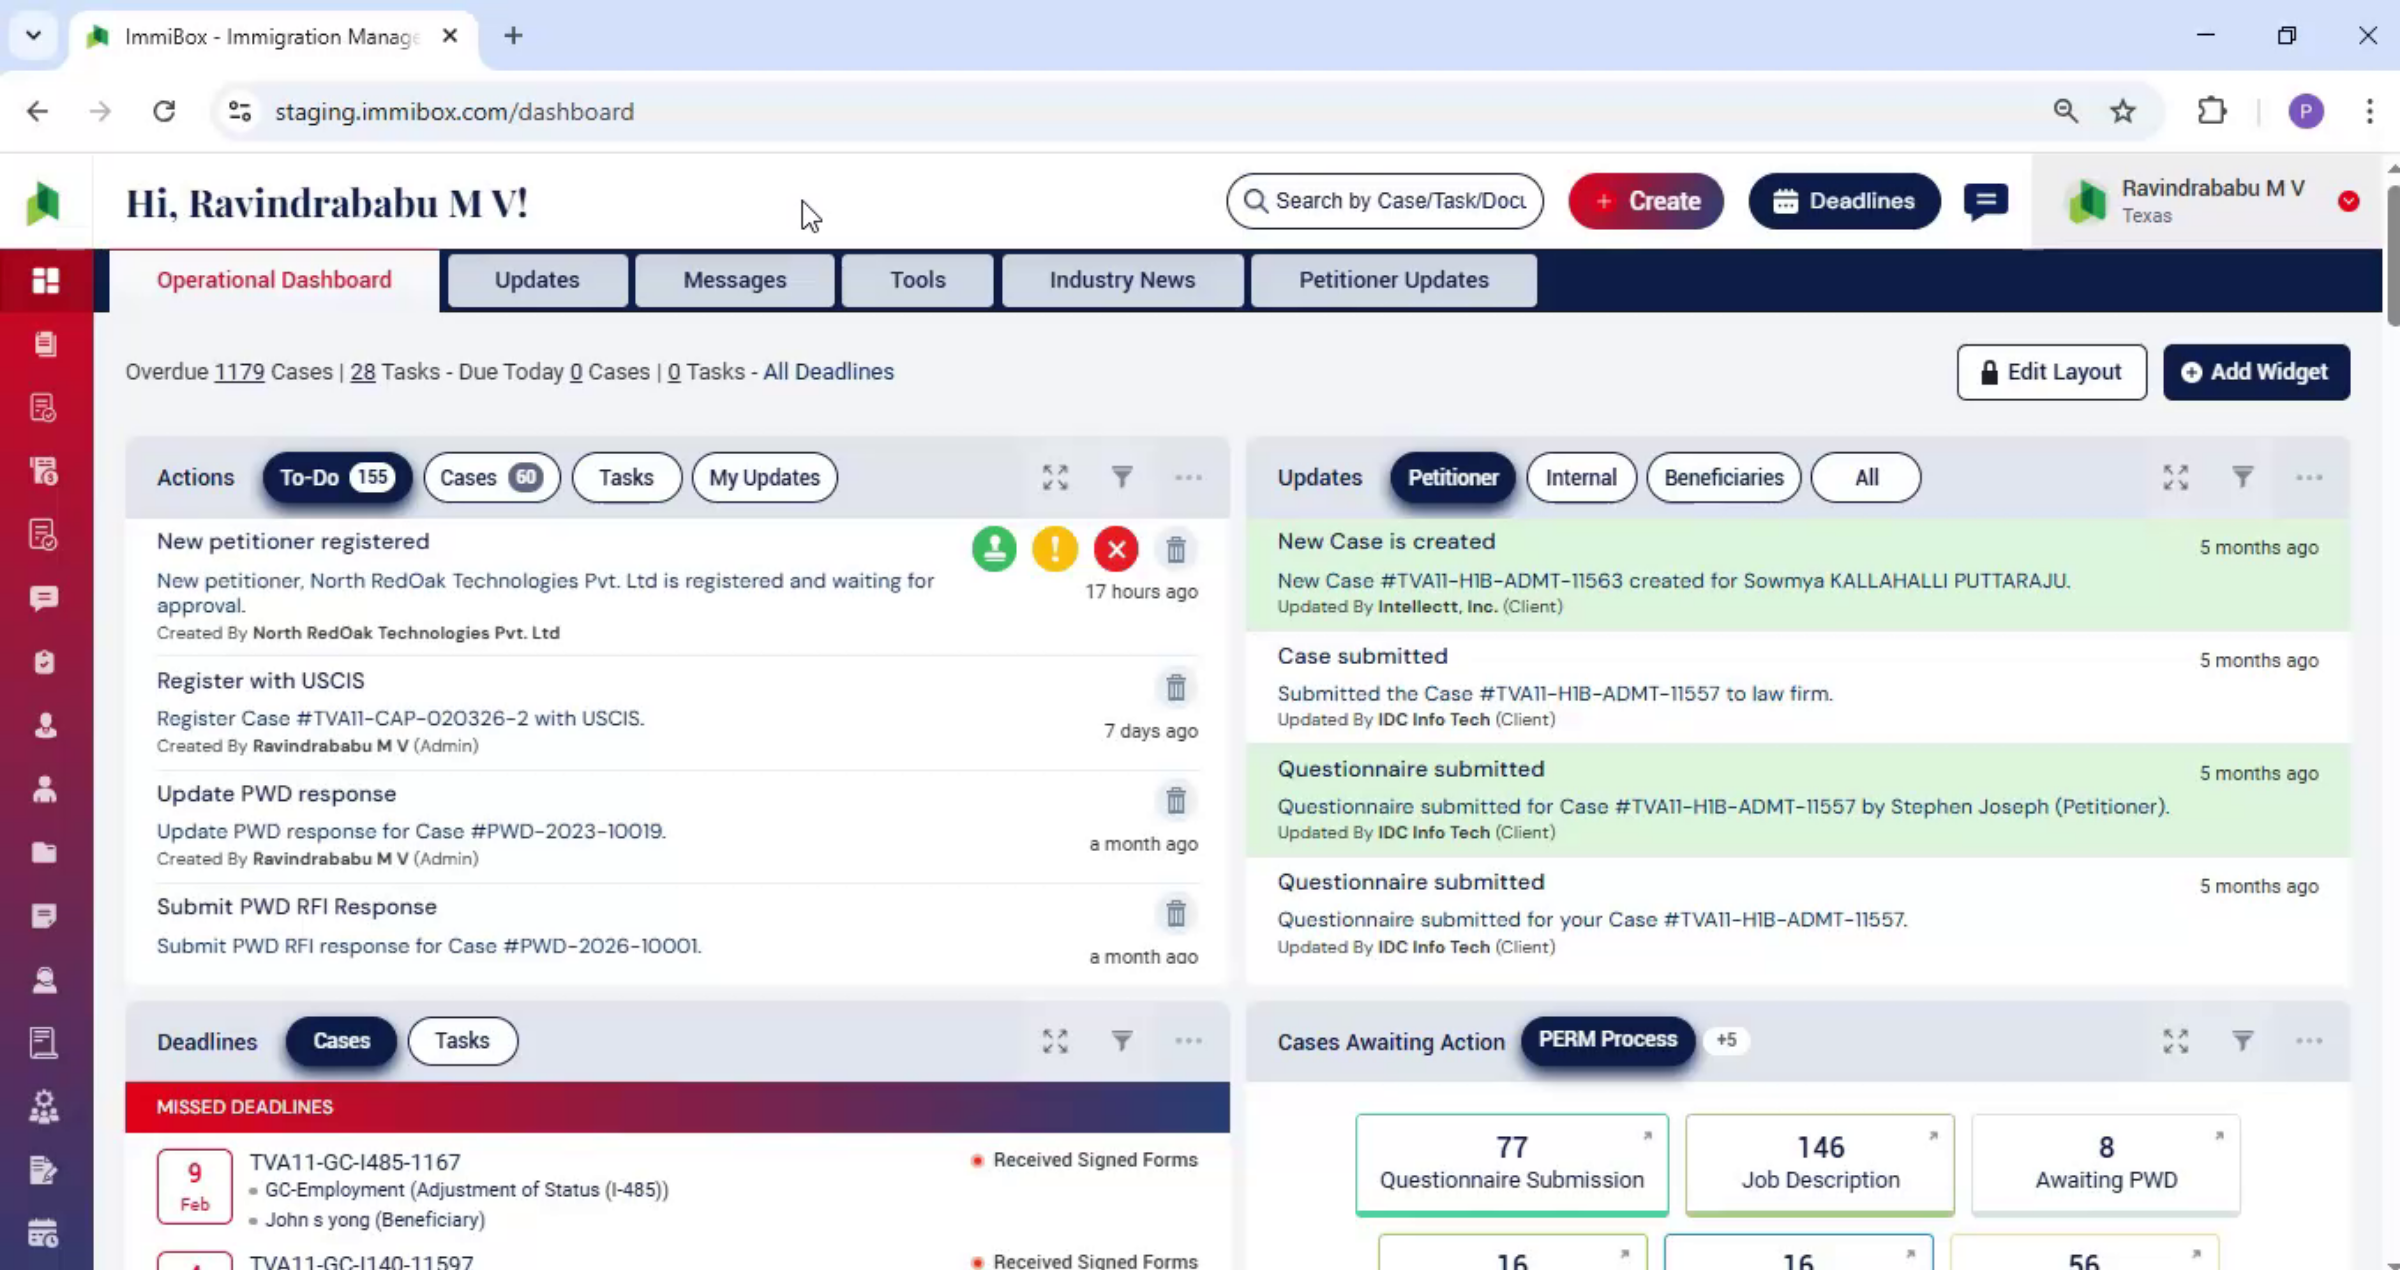
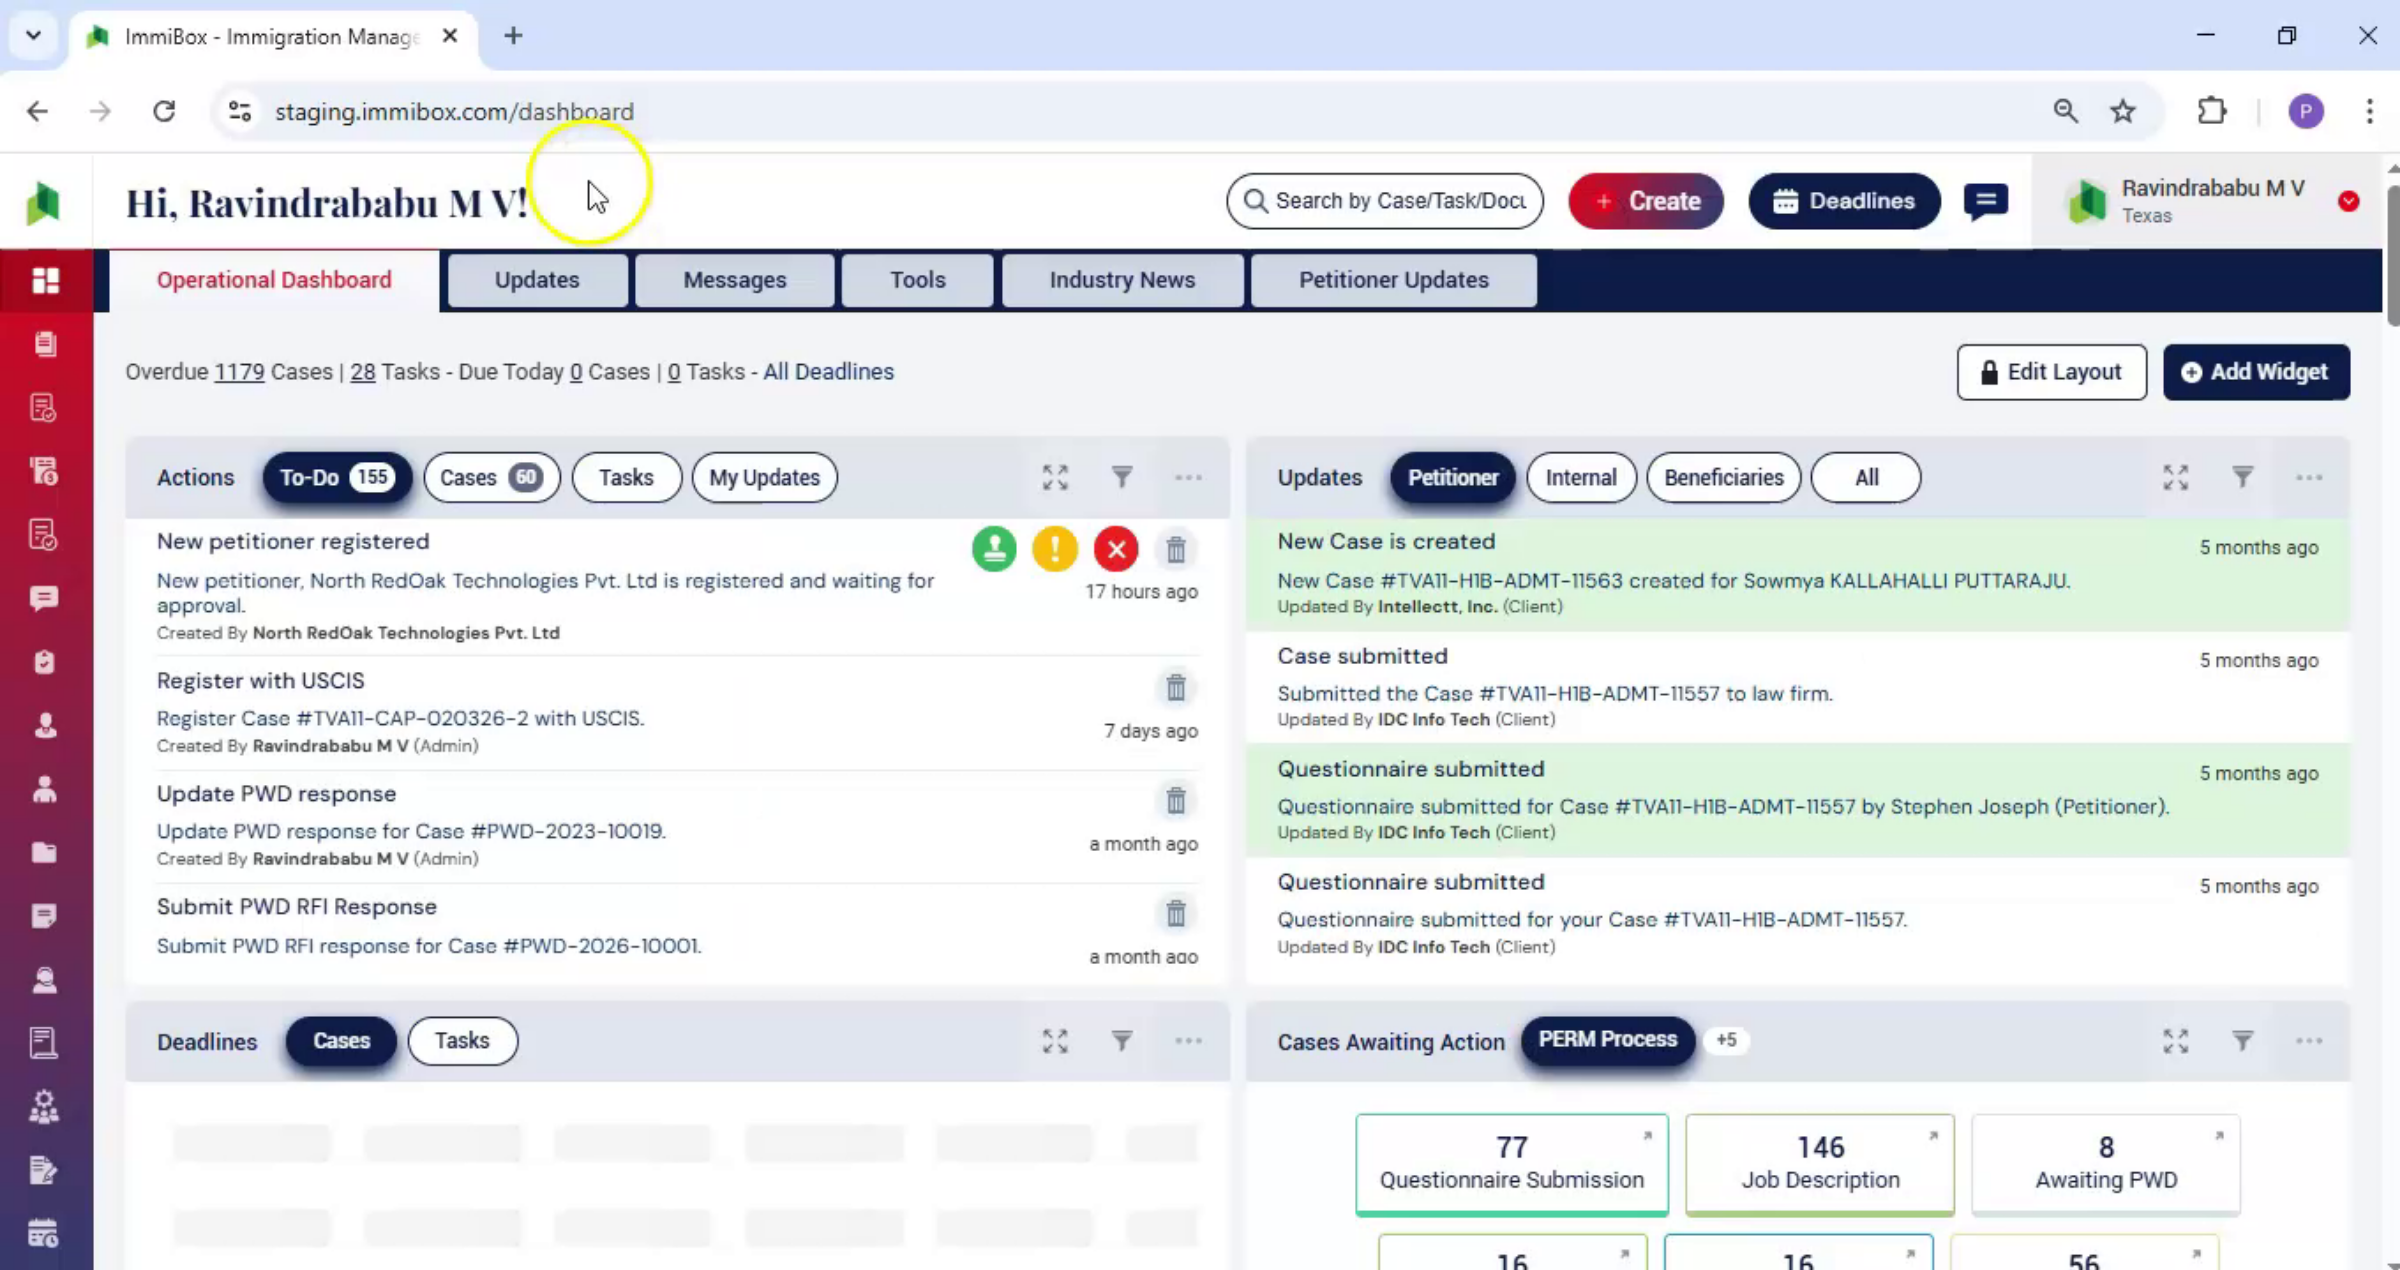
Welcome! This video demonstrates the different methods to add beneficiaries and individuals within ImmiBox.
1. Overview Adding Beneficiary
 * click the image to view enlarged
In this video, we'll walk through the different ways to add a beneficiary, step by step. There are two main ways to register or add a beneficiary under a petitioner.
2. First Method Introduction
 * click the image to view enlarged
Let's begin with the first one, first way.
3. New Case Beneficiary Tab
 * click the image to view enlarged
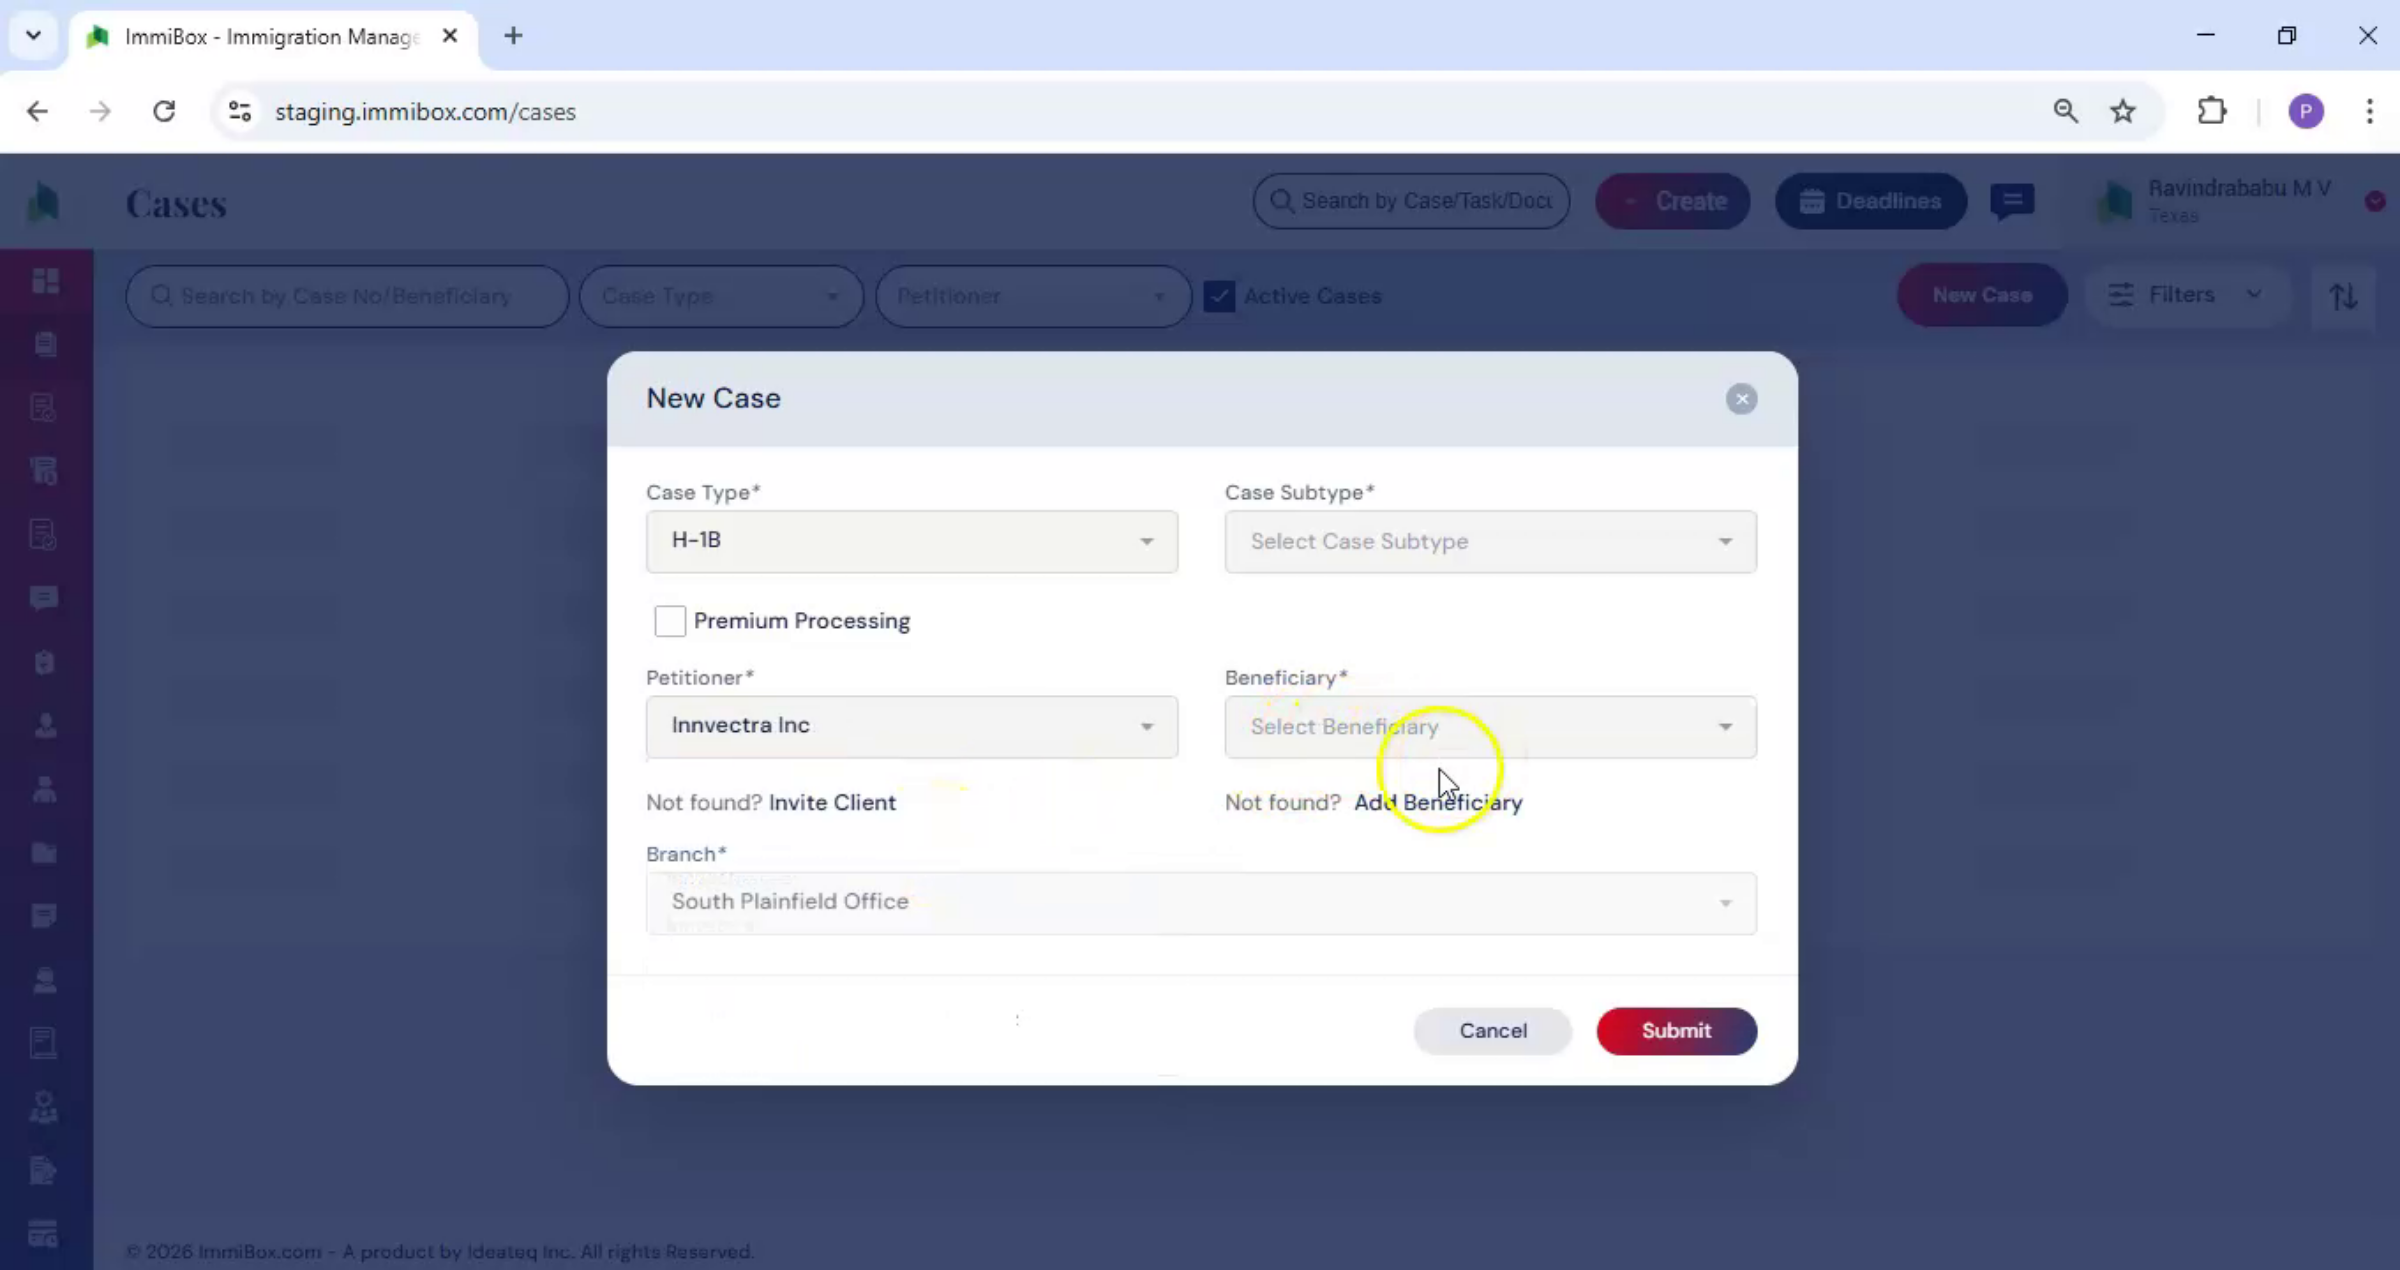
While creating a new case, when the new case dialog box opens, enter the petitioner or client details. Then move to the beneficiary tab.
4. Click Add Beneficiary Button
 * click the image to view enlarged
Here, click add beneficiary.
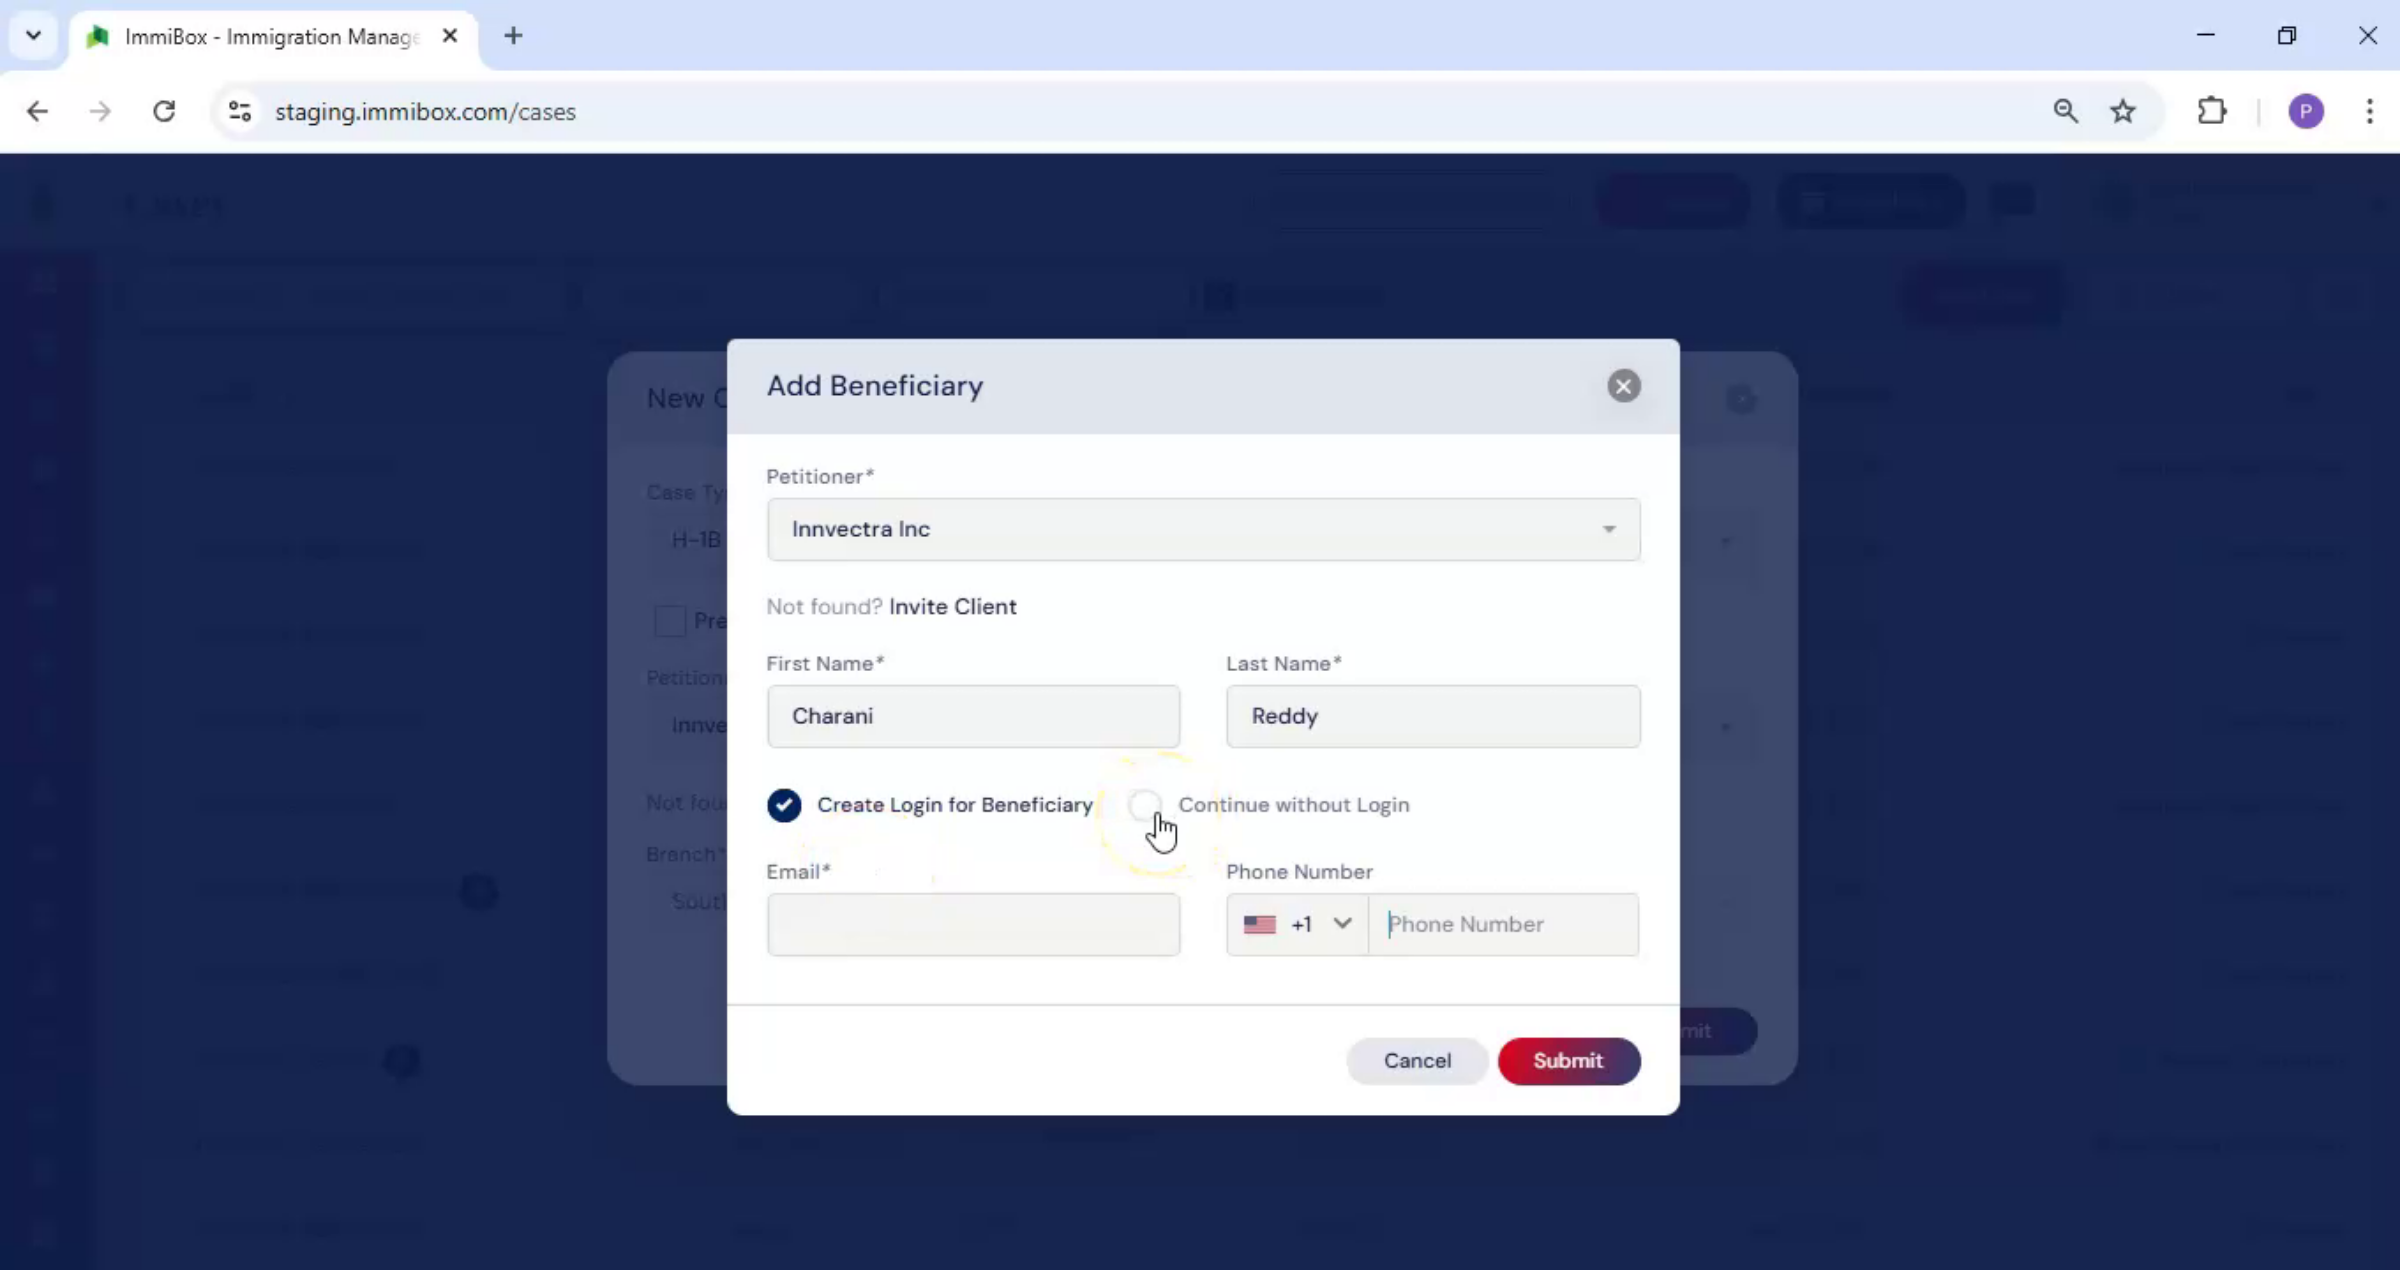
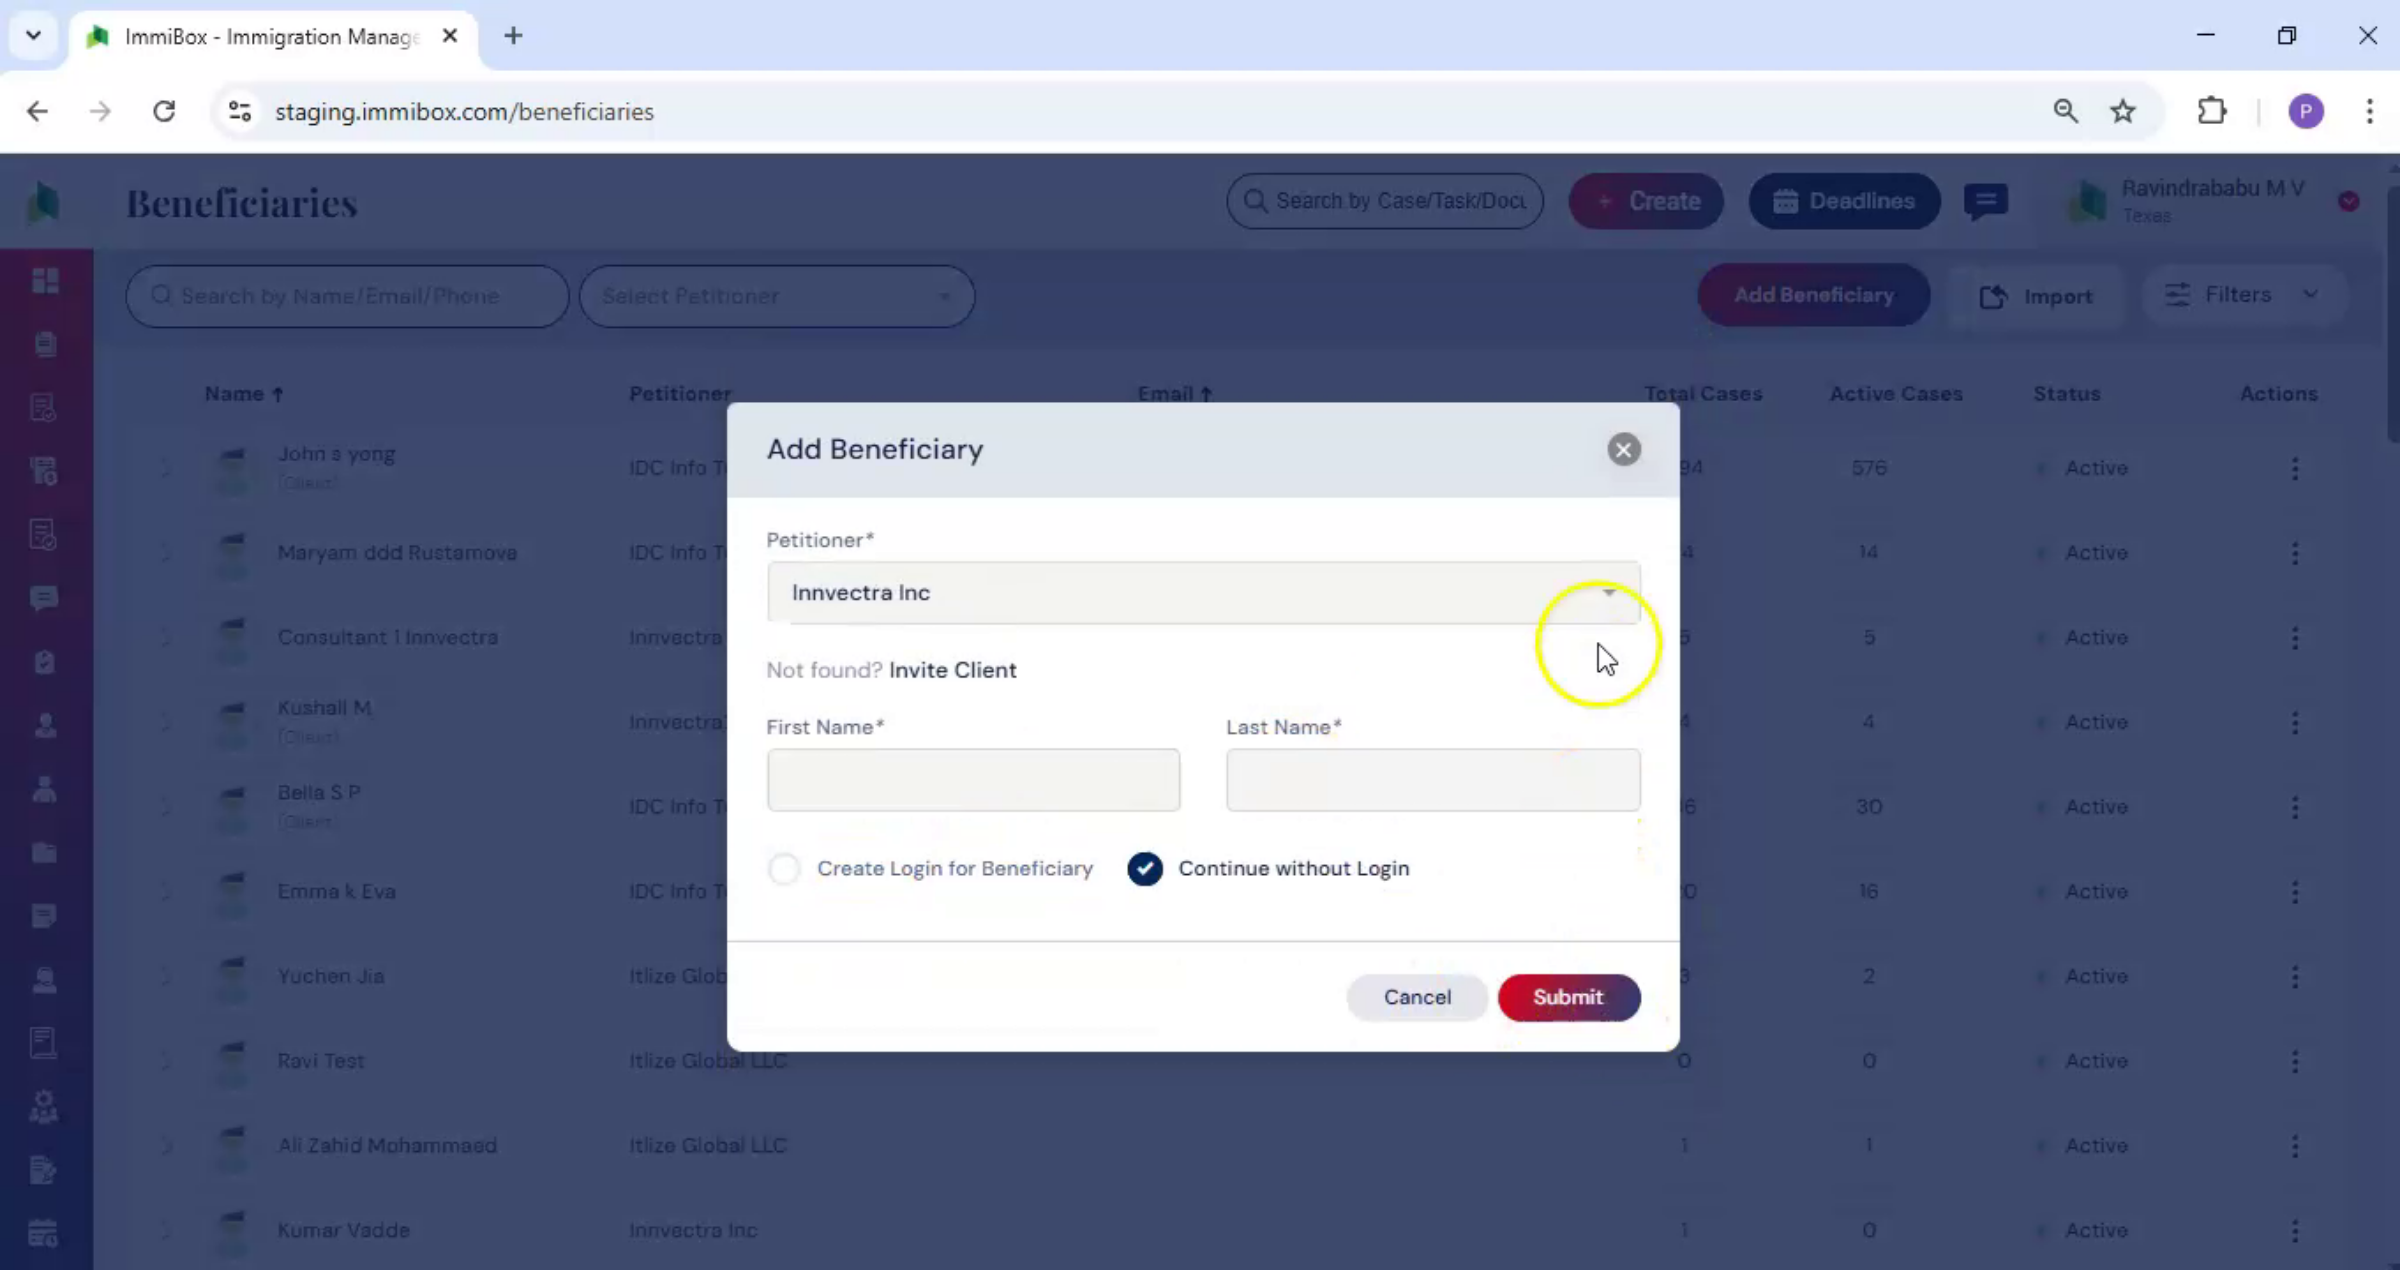
5. Enter Beneficiary Name
 * click the image to view enlarged
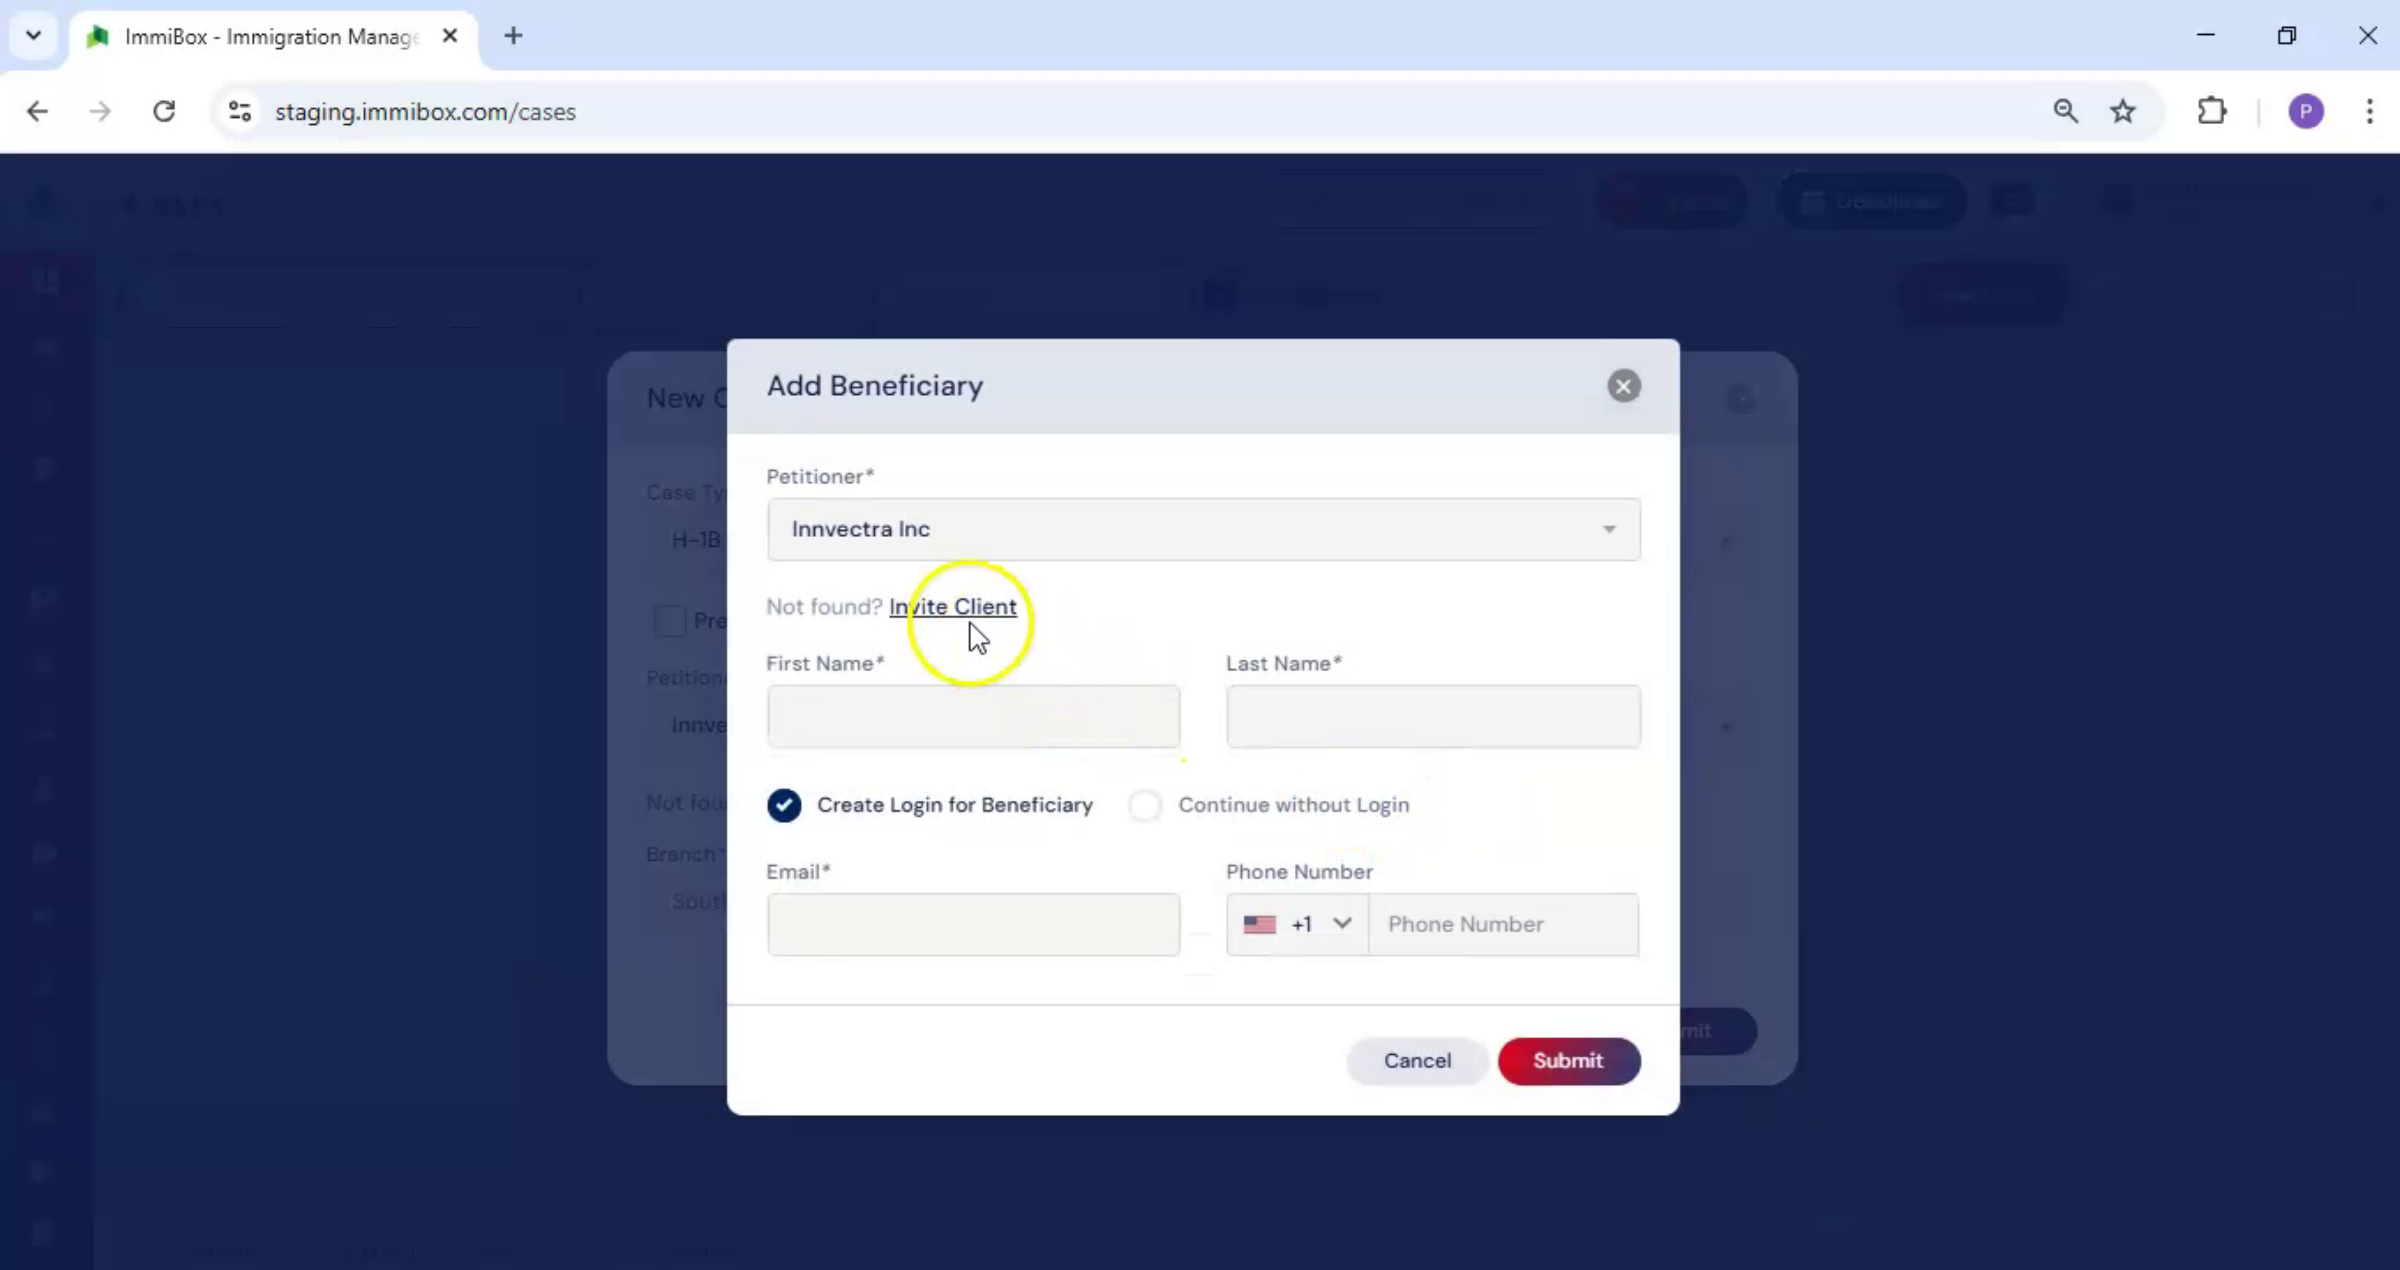
The add beneficiary dialog box appears, enter the beneficiary's first and last name.
6. Beneficiary Login Options
 * click the image to view enlarged
At the bottom, you'll see two options. Create login for beneficiary.
7. Enable Beneficiary Portal Access
 * click the image to view enlarged
This option gives the beneficiary access to the portal. To enable this, enter the beneficiary's email address and phone number.
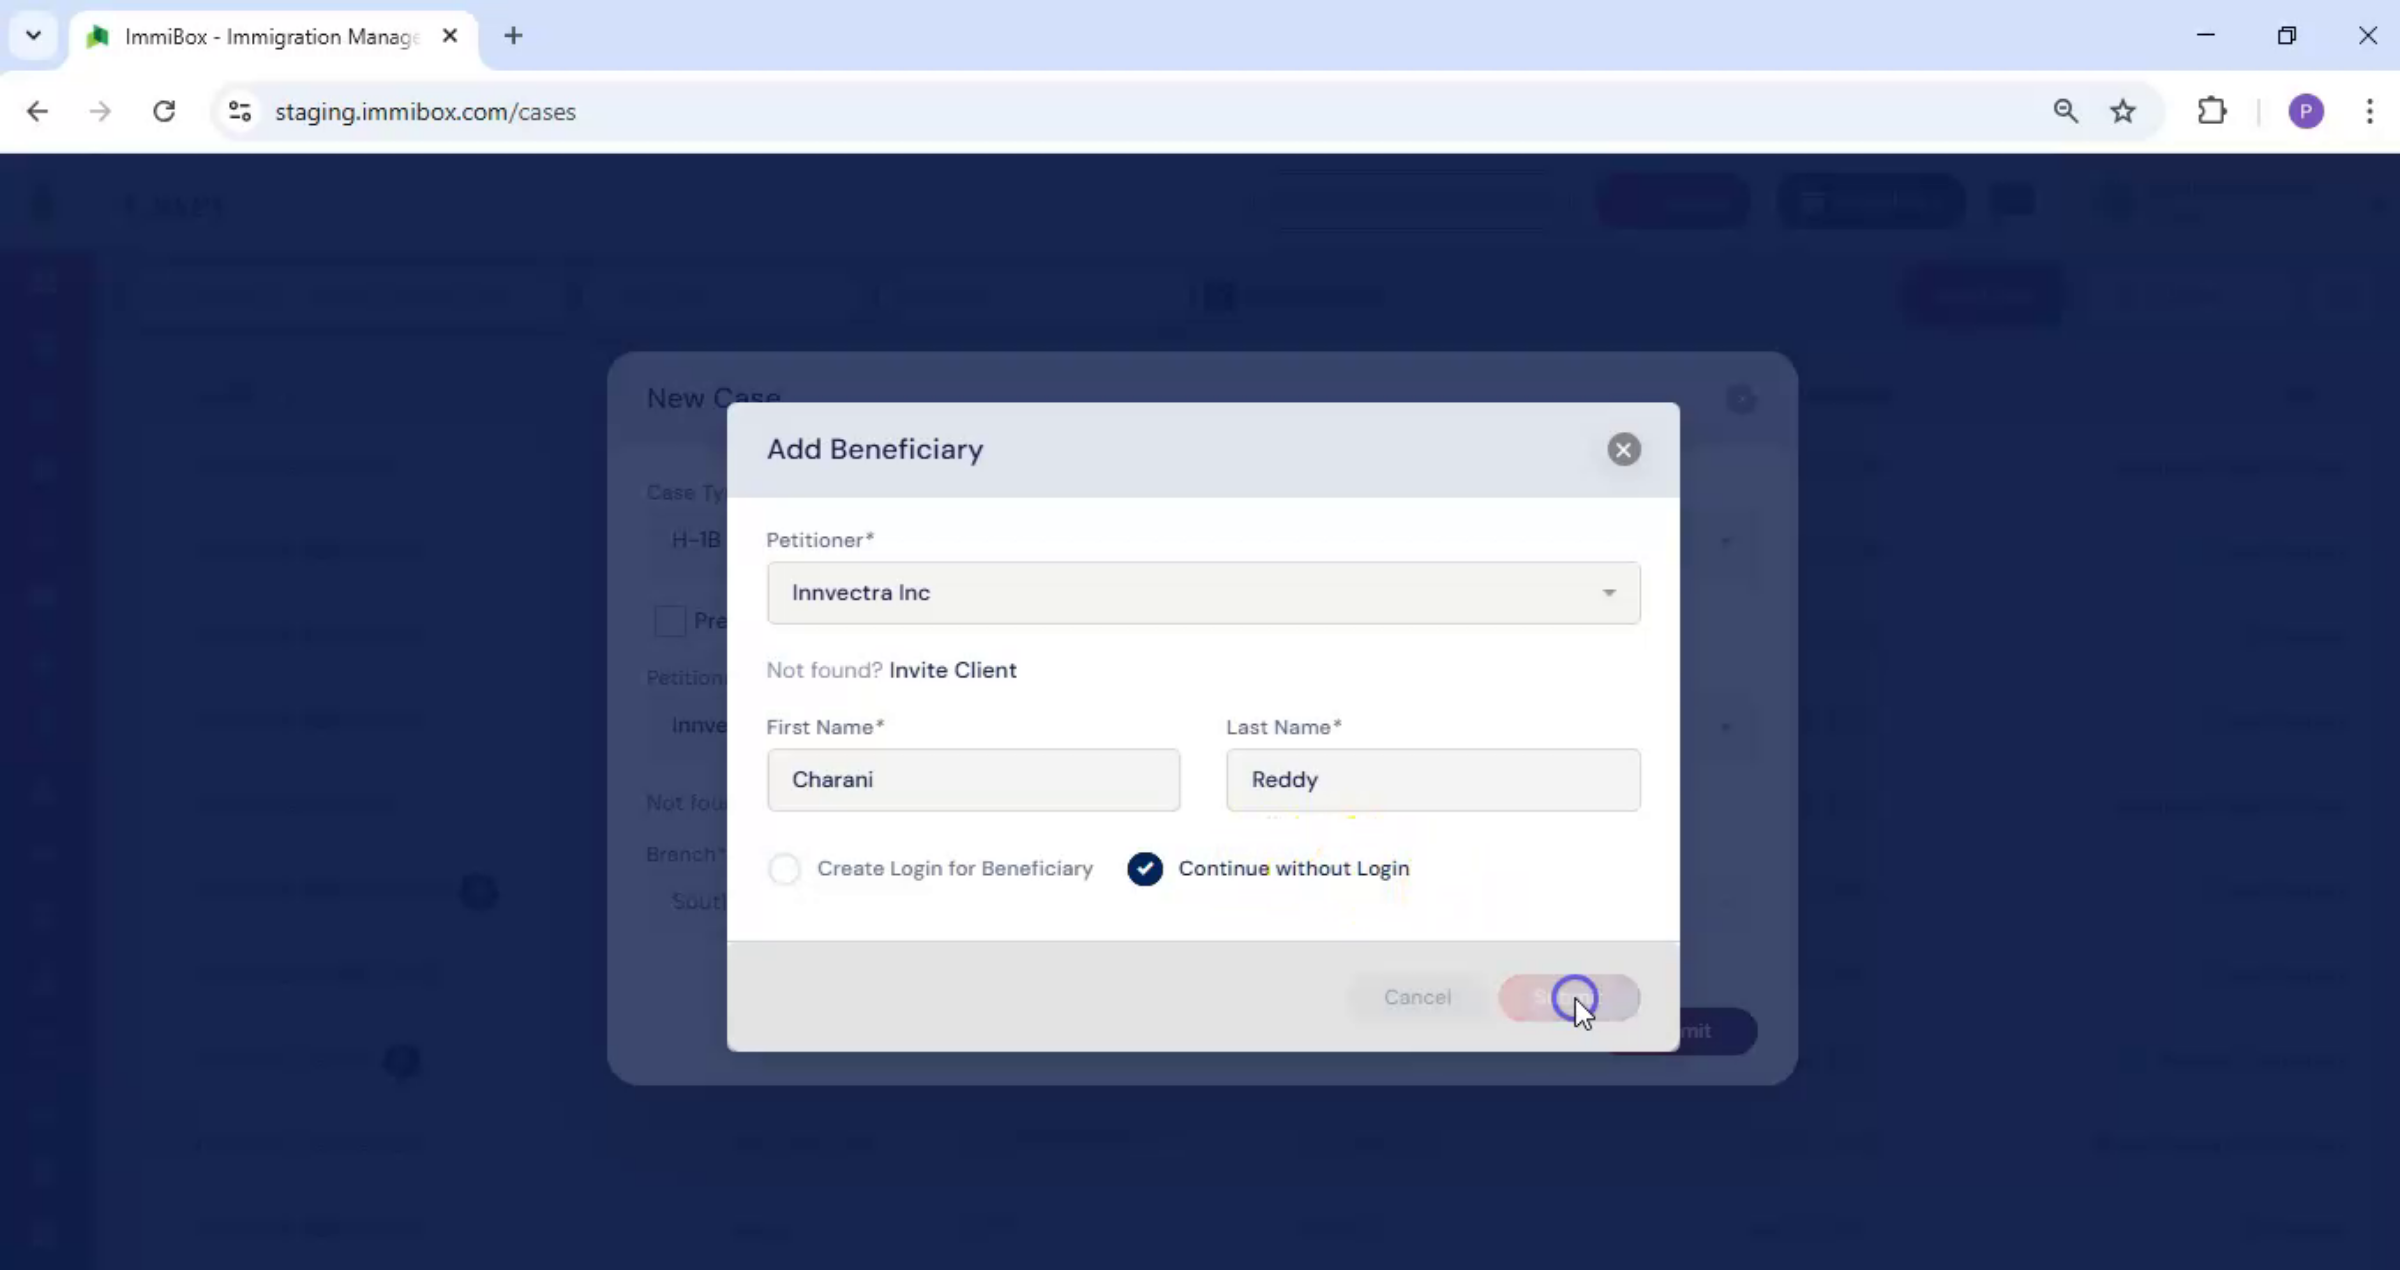
8. Continue Without Login Option
 * click the image to view enlarged
Or select continue without login. In this case, only the first and last name are required.
9. Submit Beneficiary Details
 * click the image to view enlarged
Click Submit to add the beneficiary.
10. Second Method Introduction
 * click the image to view enlarged
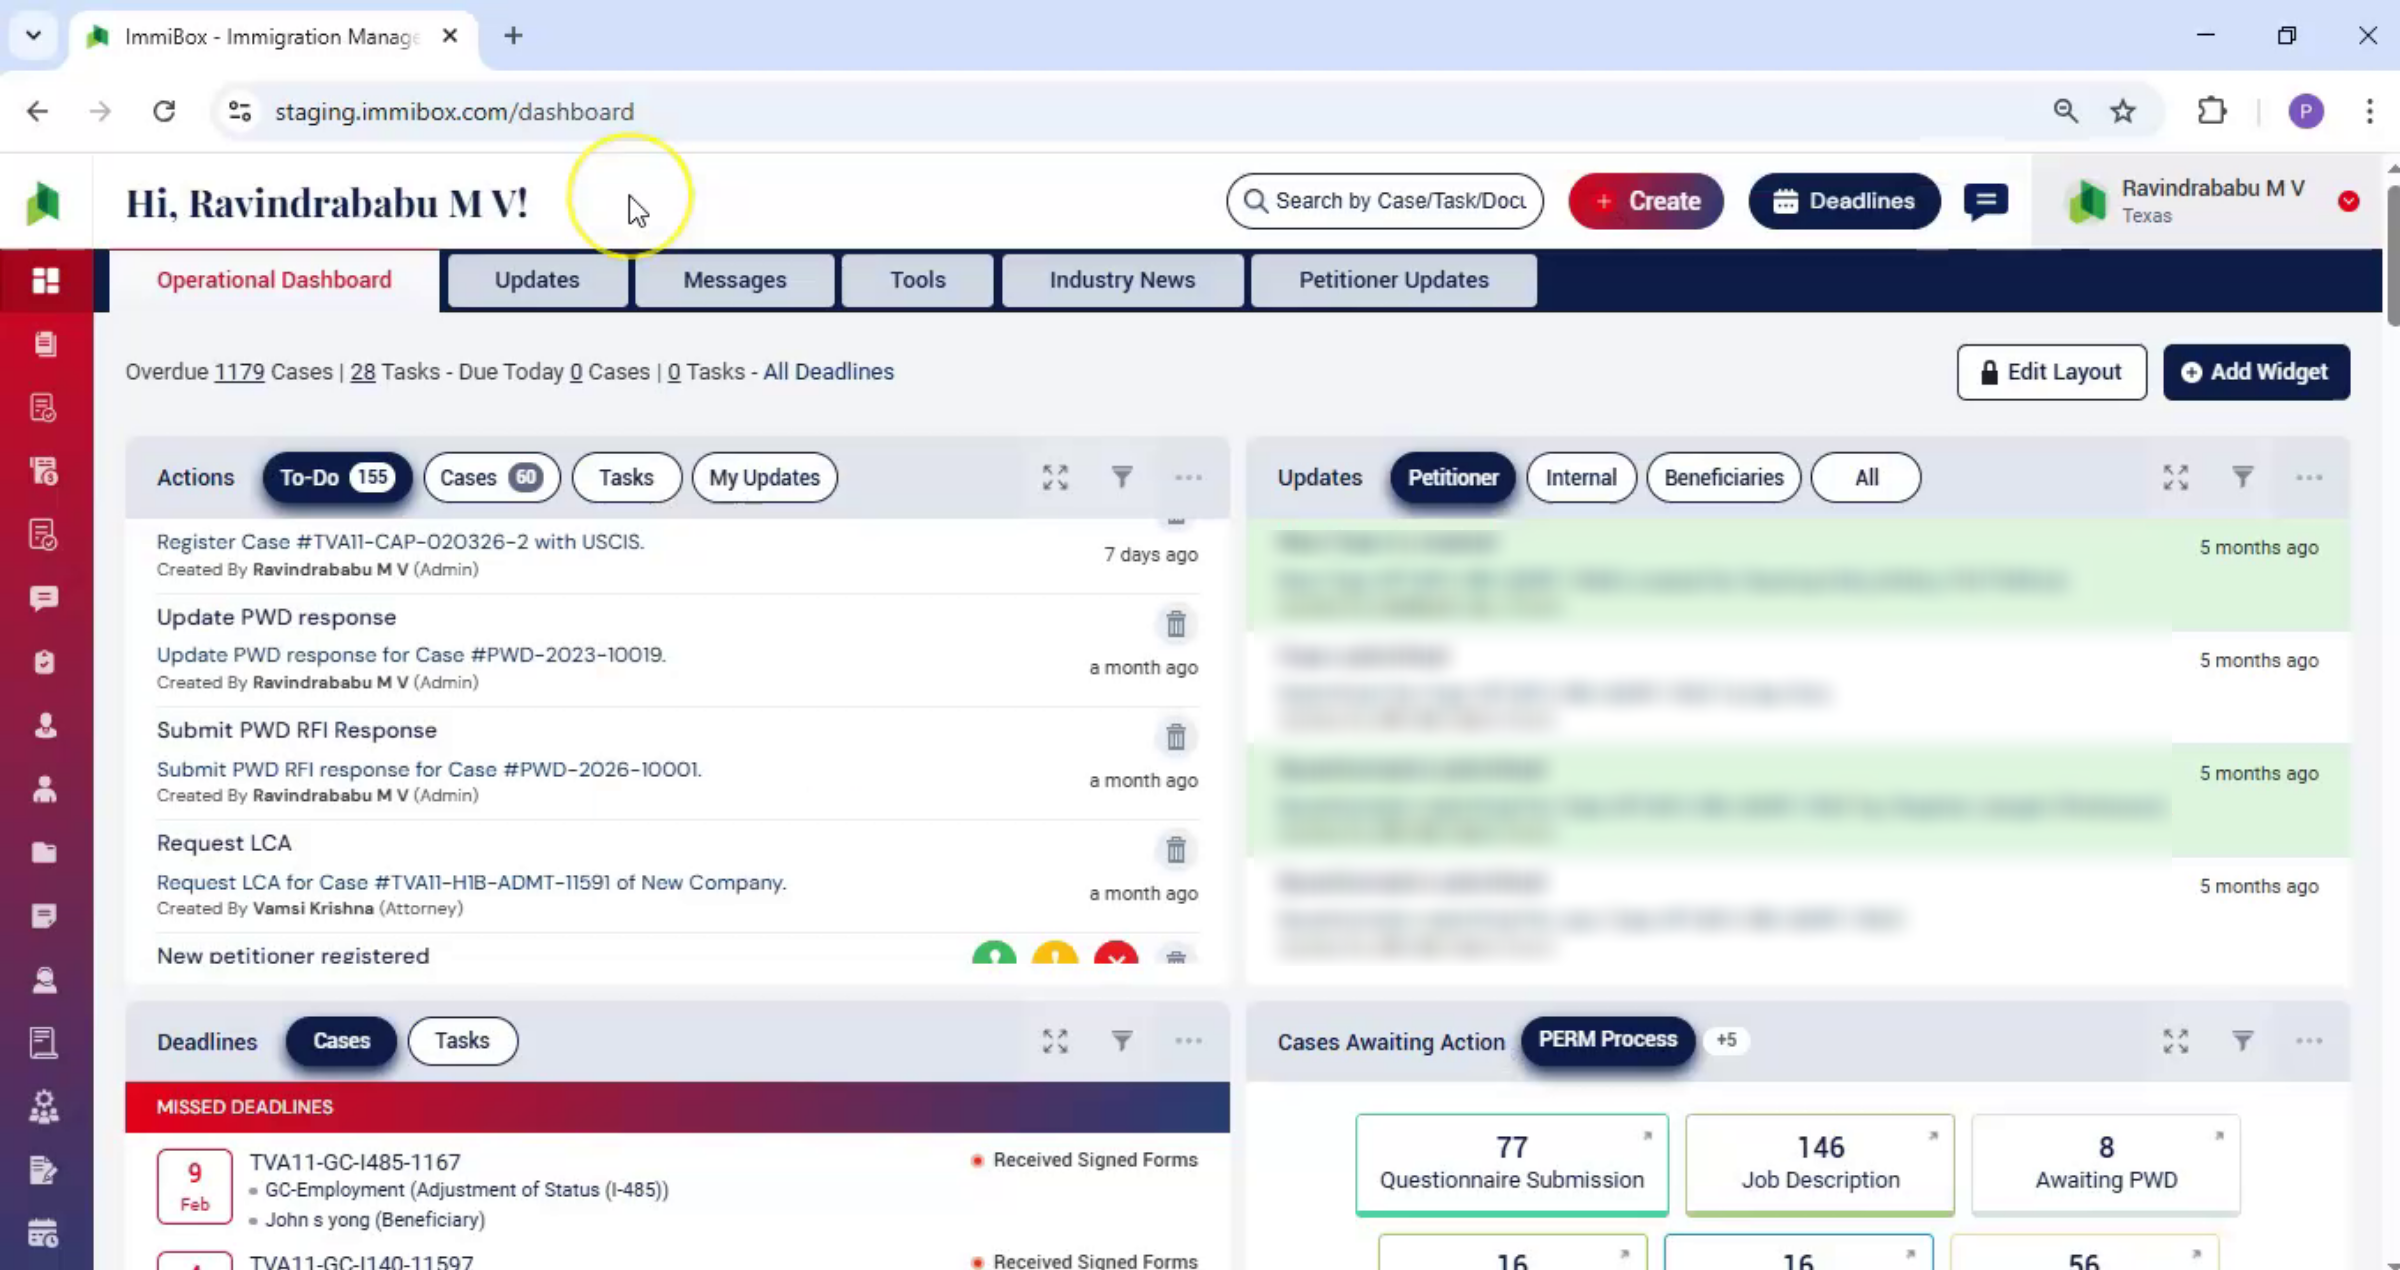
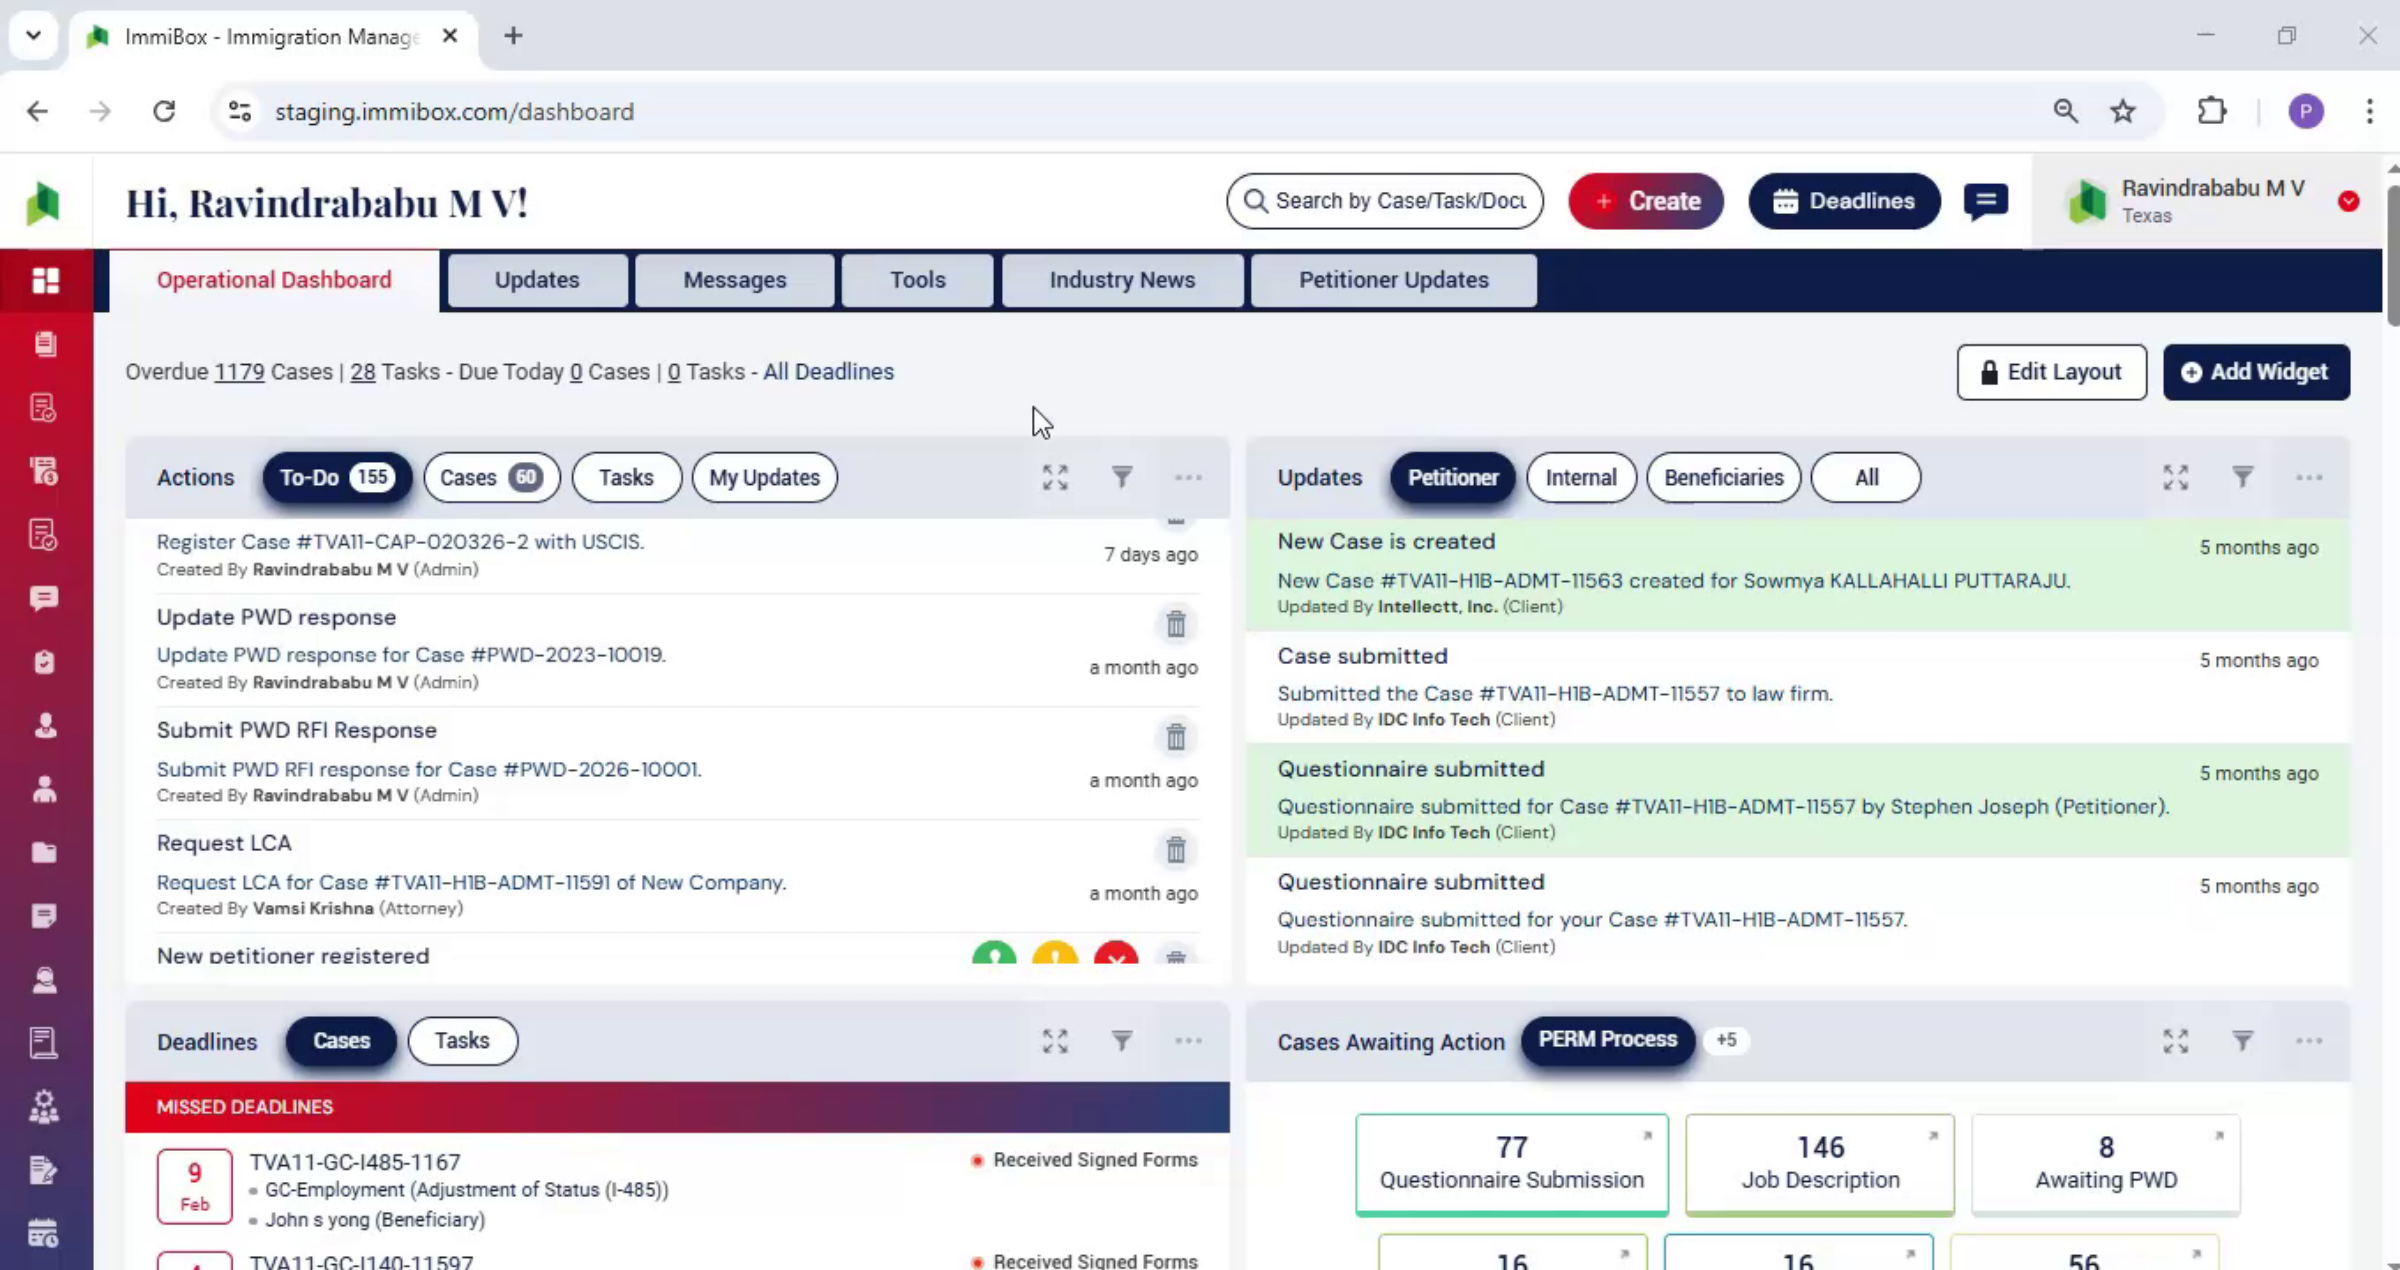
Second way, from the dashboard, navigate to the beneficiaries option.
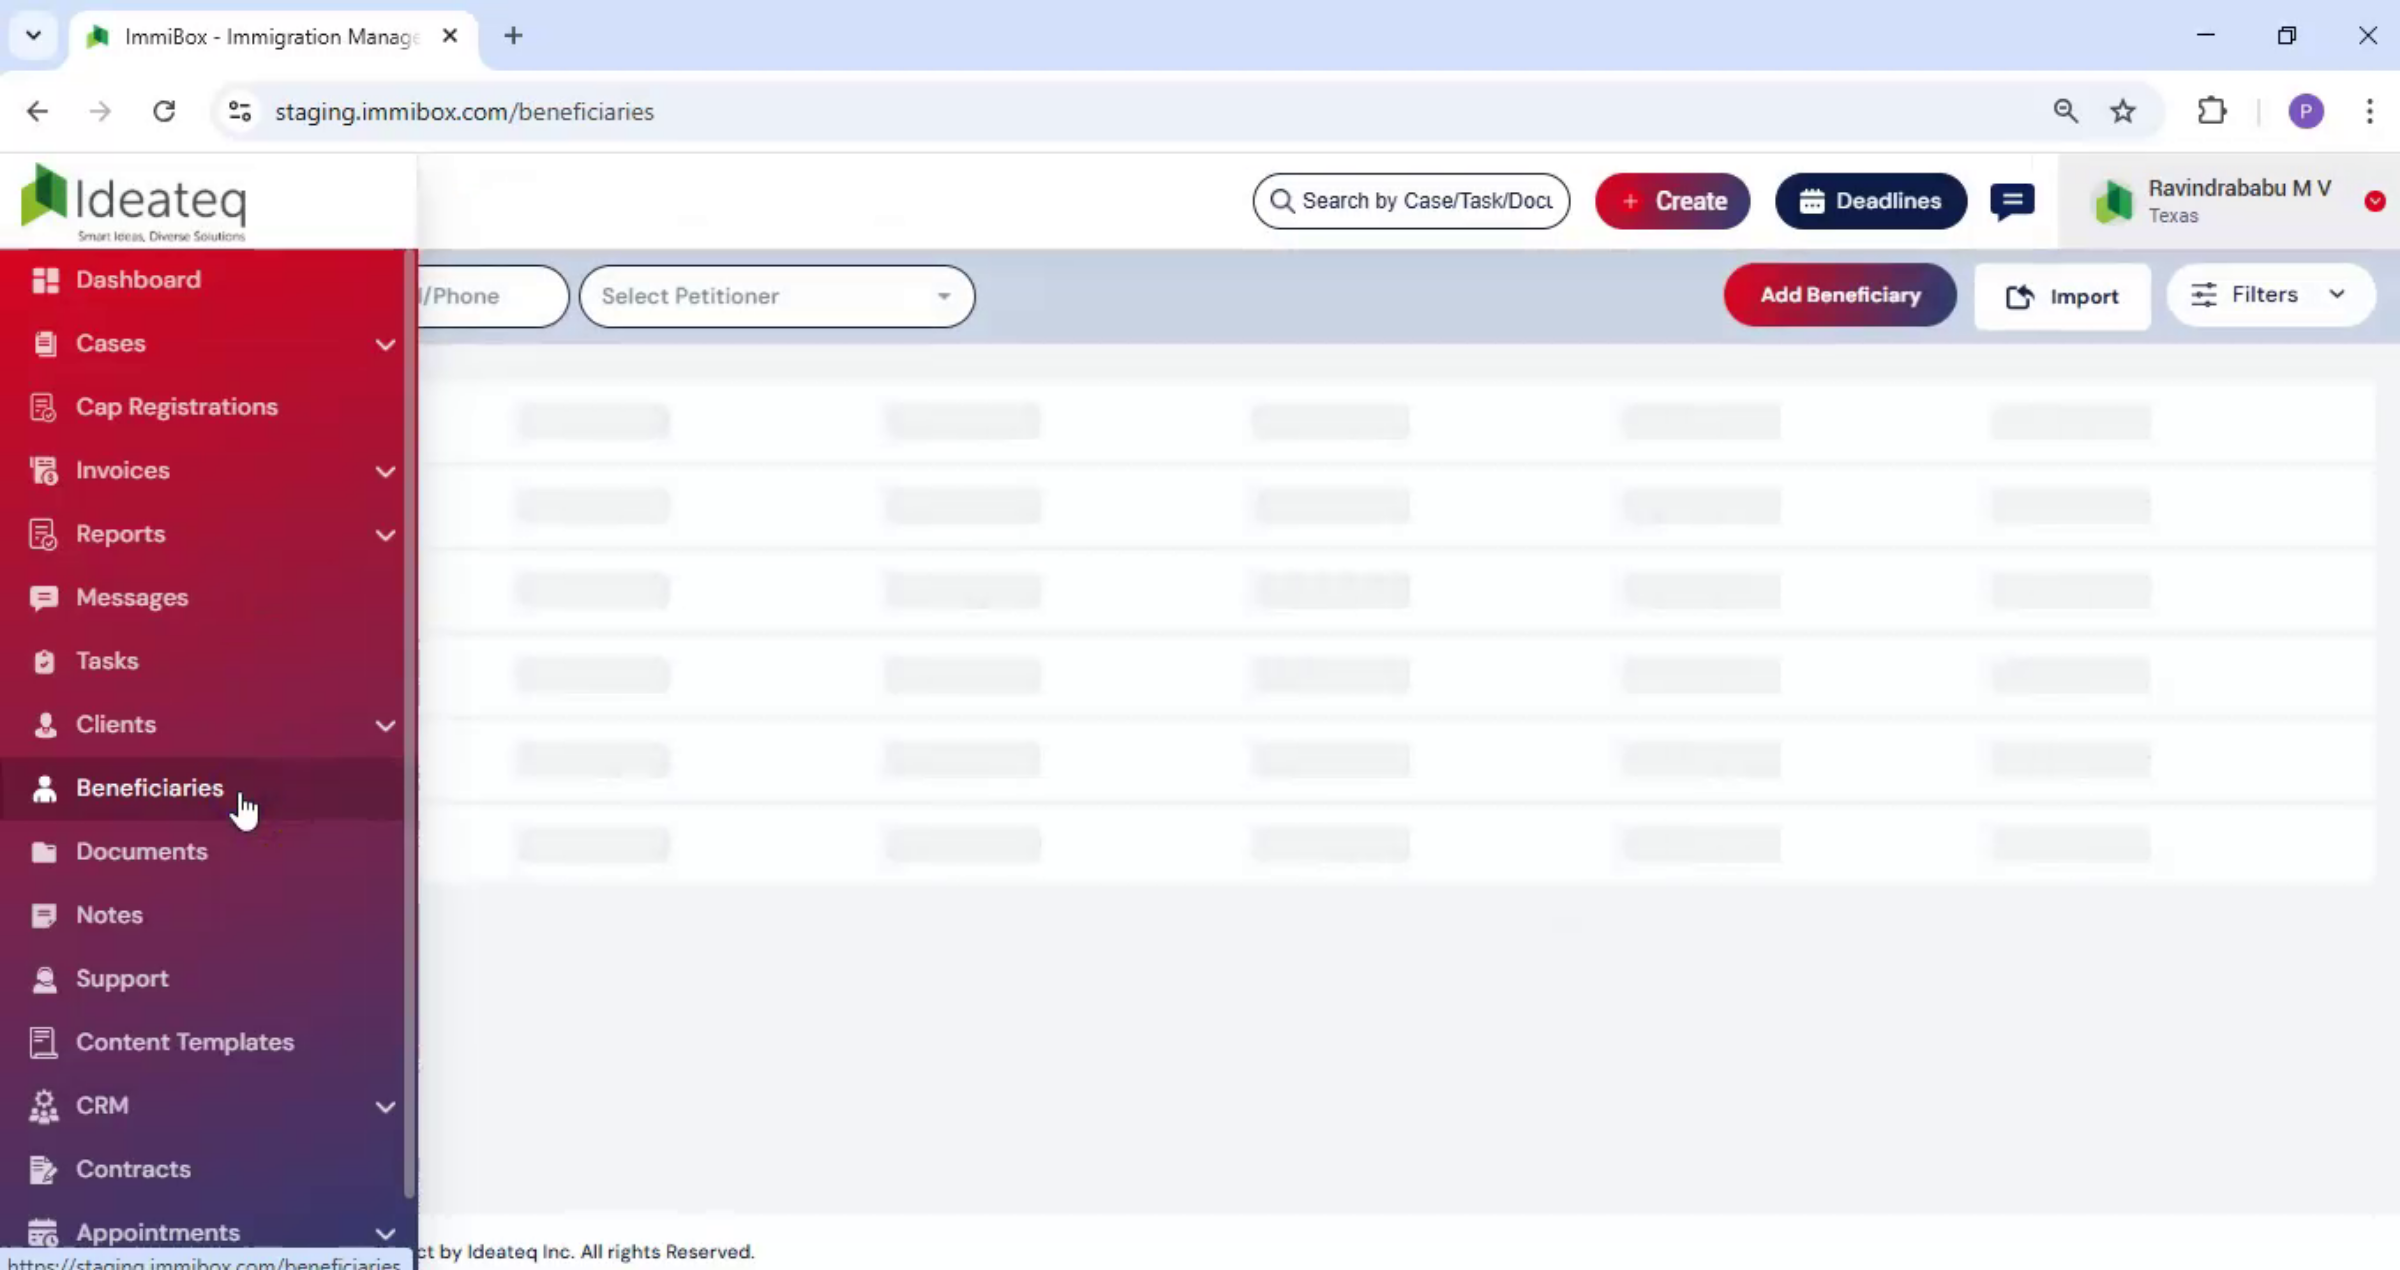
11. Add Beneficiary from Dashboard
 * click the image to view enlarged
The beneficiary list opens on the right-hand side. Click Add Beneficiary, enter the required details, and click Submit.
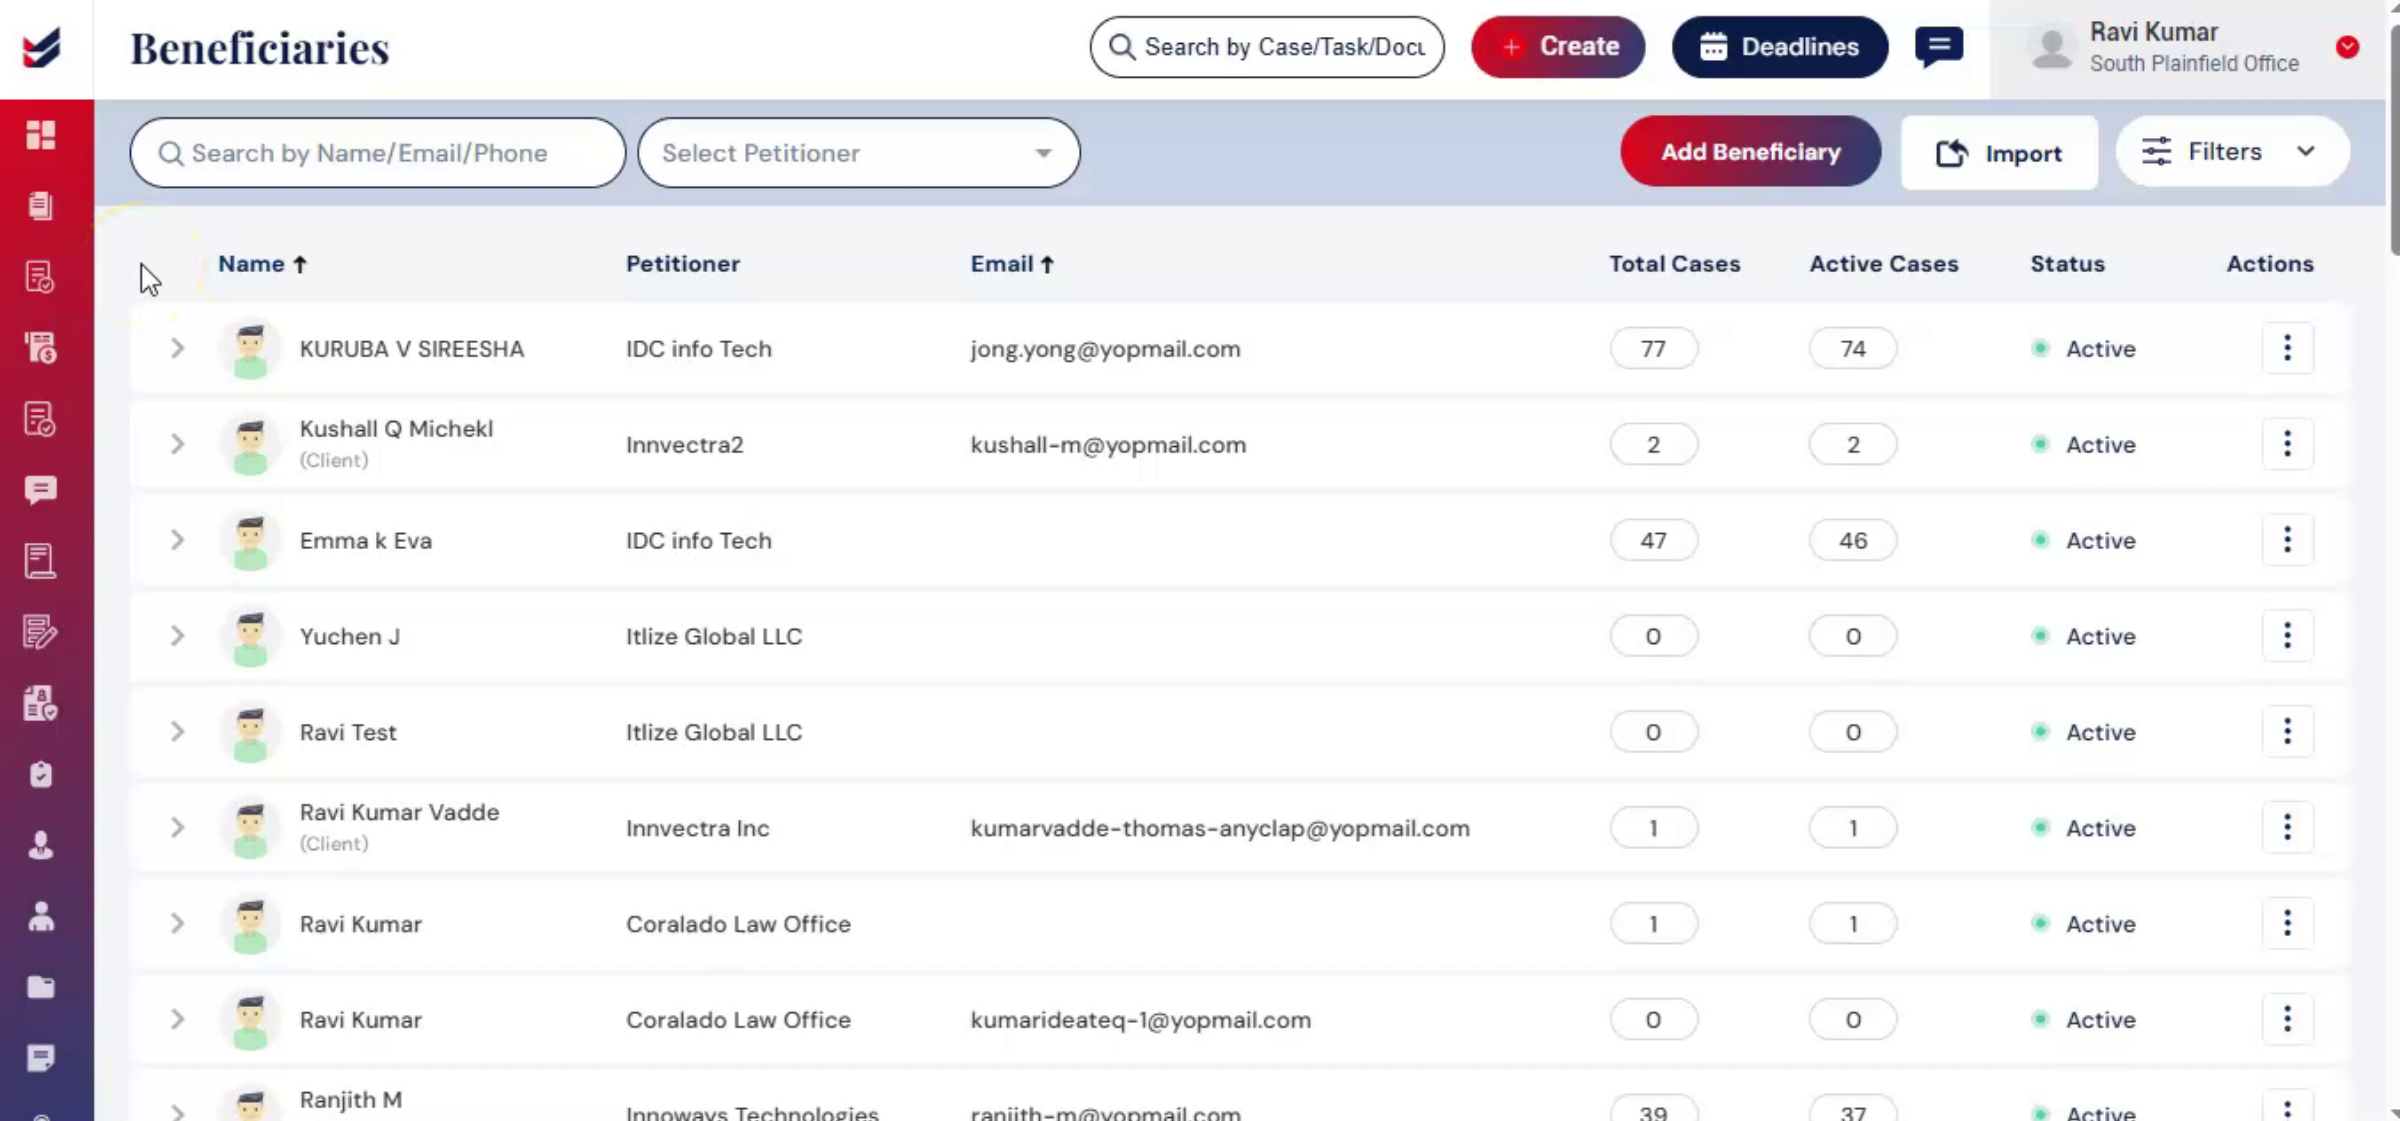
12. Beneficiary Page Overview
 * click the image to view enlarged
On Beneficiary Details page, you can view a complete list of all beneficiaries along with their key information such as Name, Petitioner, Email ID, Total Cases, Active Cases, and their current Status, which can be Active, Inactive, or Deleted.
In the same view, under the Actions column, you can manage each beneficiary using multiple options.
You can click Edit to update beneficiary information, or select Details to access the full beneficiary profile page.
To create a new case, click on New Case, which opens a dialog box for case creation.
If required, you can use Set Password to set or reset the beneficiary’s login credentials.
Additionally, you have the option to Convert as Client, which converts the beneficiary into a client.
You can also mark a beneficiary as Inactive to restrict access, or choose Delete to remove the beneficiary from the system.
13. Filter & Import Options
 * click the image to view enlarged
At the top of the page, you will find a Search Bar, which allows you to quickly locate beneficiaries by entering their Name, Email, or Phone number.
Next to it, you will see the Select Petitioner search box, where you can choose a petitioner from the dropdown to refine your results.
On the right-hand side, there is a Filter option, which can be used to apply additional filters and narrow down the beneficiary list based on specific criteria.
You will also find an Import option, which allows you to upload beneficiary details in bulk.
To import beneficiaries, click on the Import button, after which the Upload Files dialog box will appear.
Within this dialog, you will see a “Download Sample Excel – Click Here” option.
Click on it to download the sample file and understand the required format.
Once you have prepared your file accordingly, upload it and click Submit.
After submission, all the newly added beneficiary details will be displayed in the list.
14. Transition to Individuals Topic
 * click the image to view enlarged
Now, let's talk about individuals.
15. Cases Without Petitioner Requirement
 * click the image to view enlarged
In some case types, a petitioner is not required, such as H-4, citizenship,
16. Examples of Individual Cases
 * click the image to view enlarged
extension of stay, work authorization, and others.
17. Law Firm and Beneficiary Roles
 * click the image to view enlarged
In these cases, only the law firm and the beneficiary are involved. These beneficiaries are added as individuals.
18. Four Ways to Add Individual
 * click the image to view enlarged
There are four ways to add an individual.
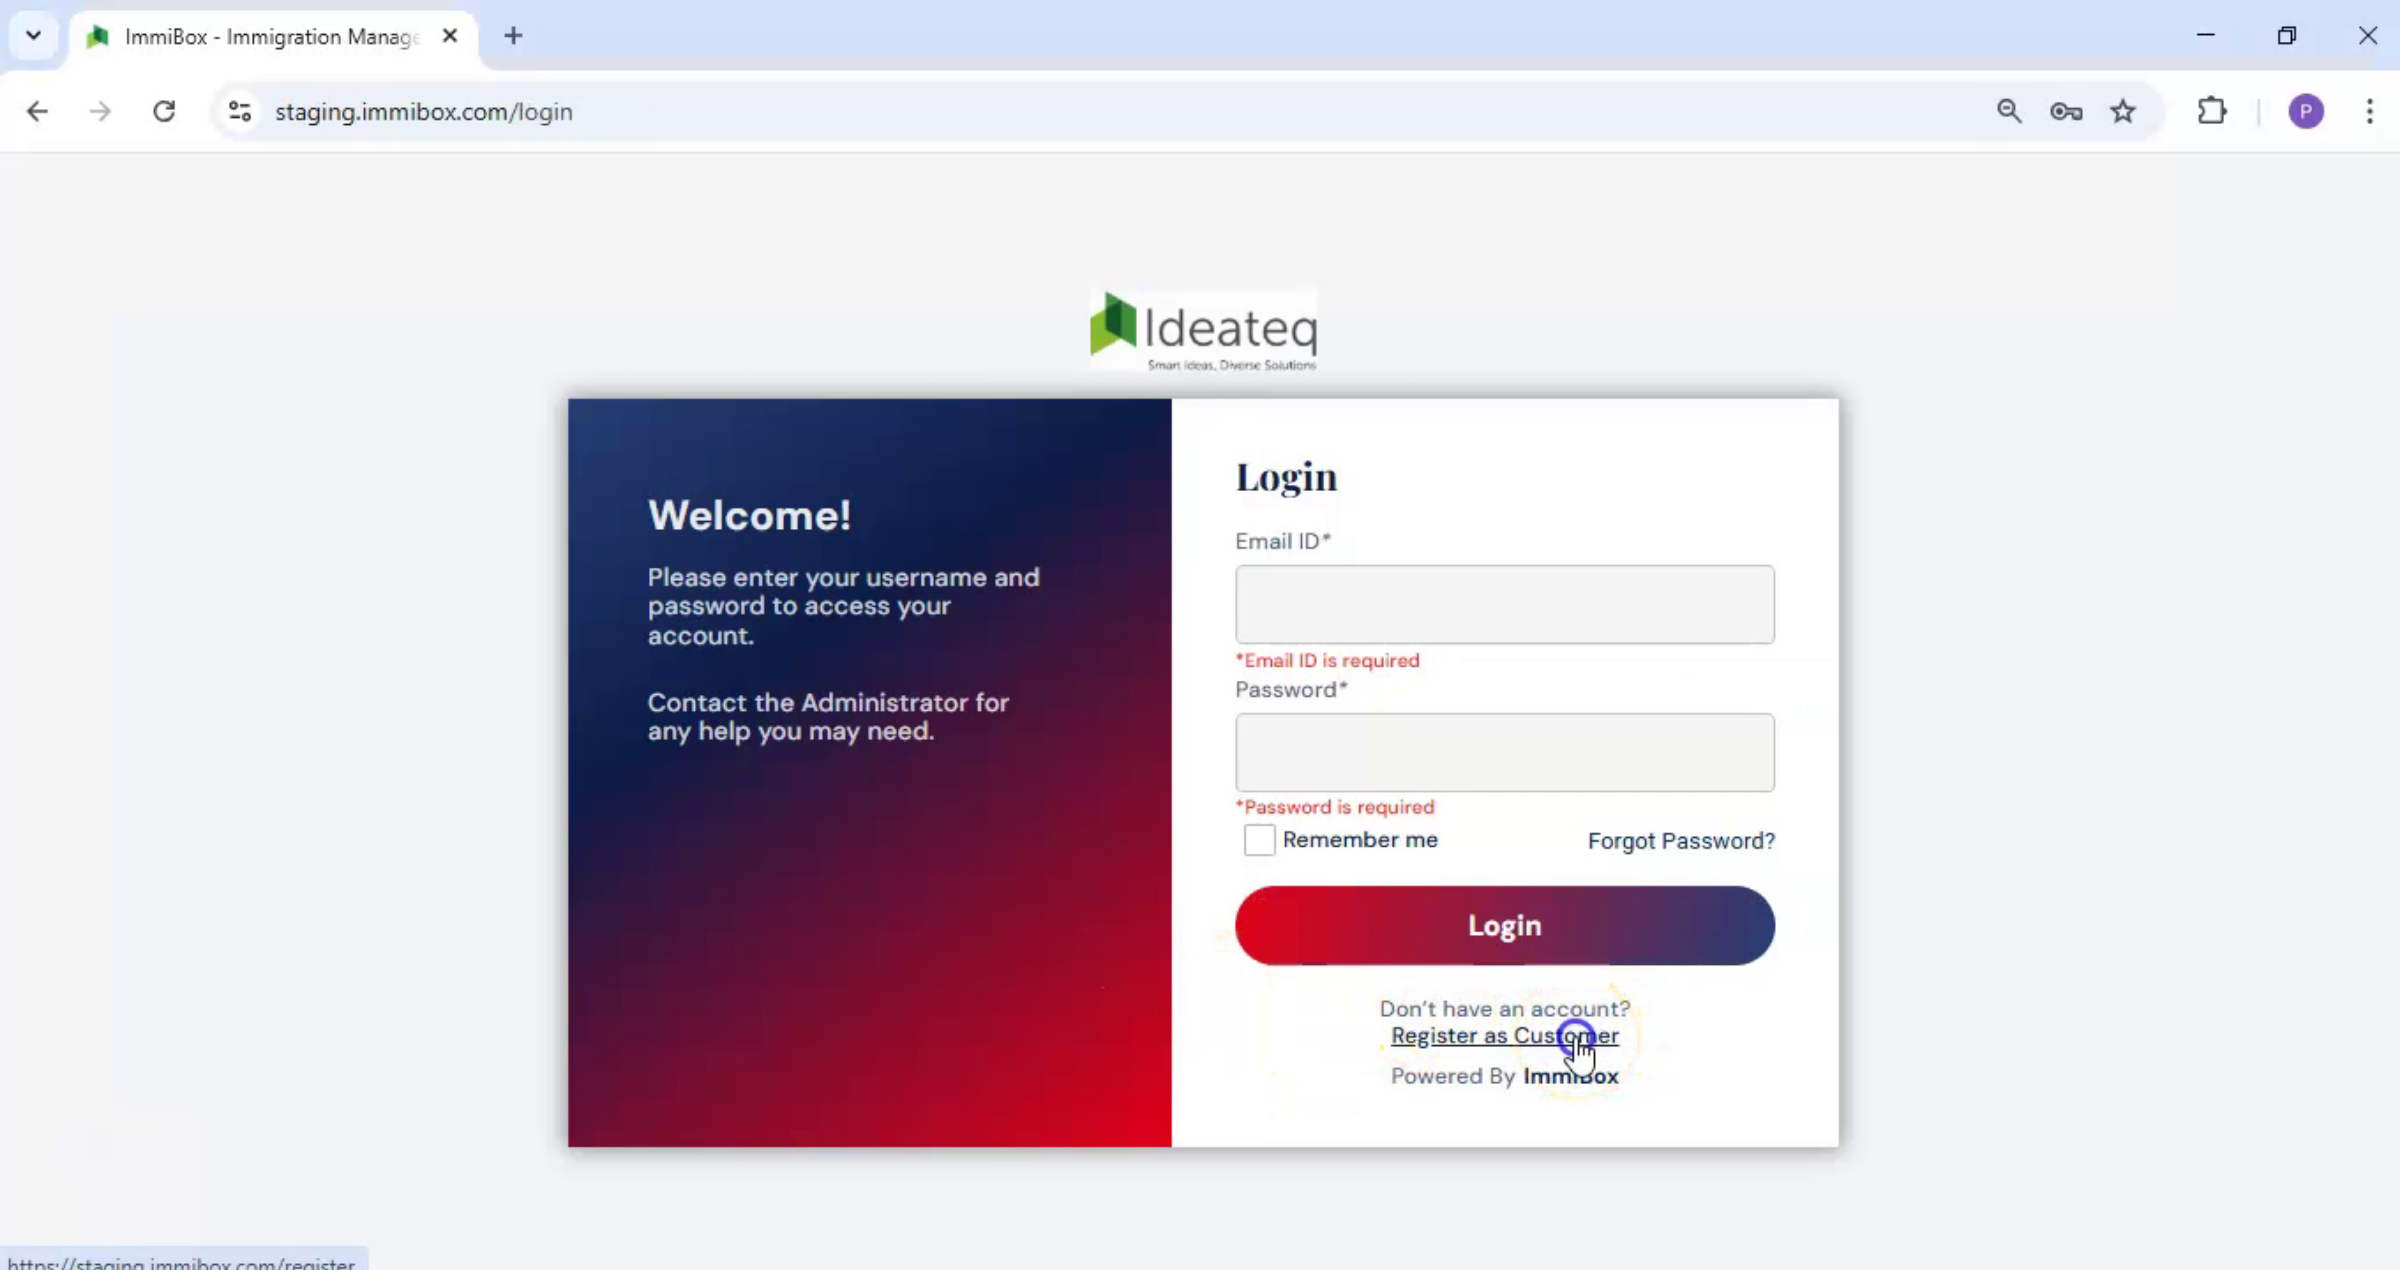
19. Register from Login Page
 * click the image to view enlarged
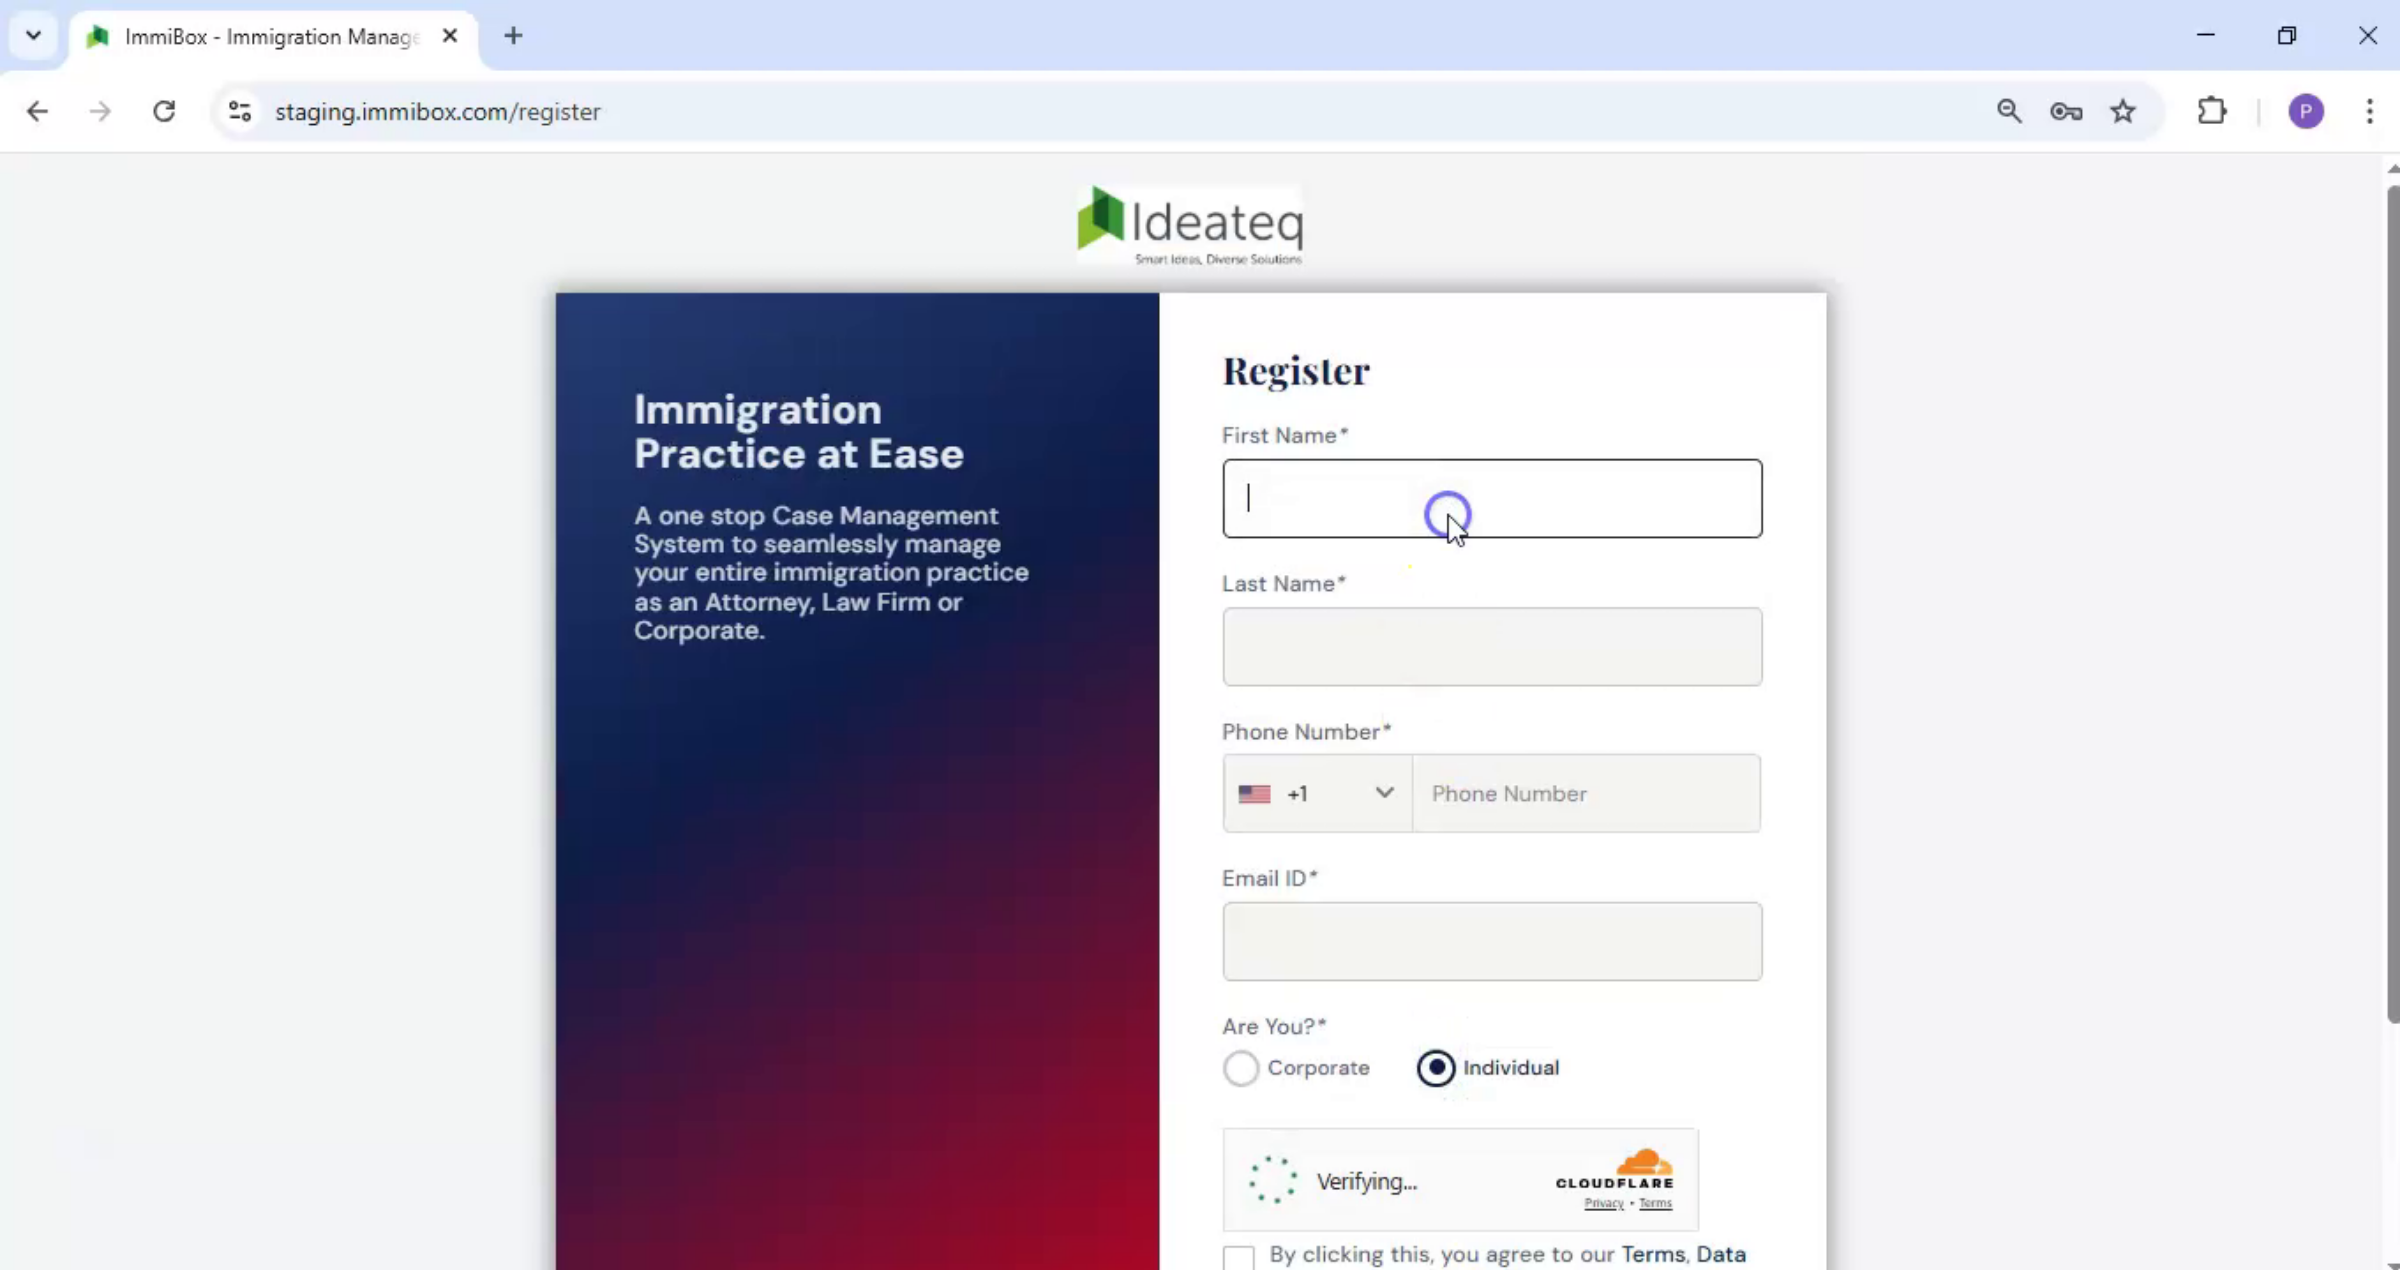
First, from the login page. Click Register as a Customer below the Login button.
20. Individual Registration Form
 * click the image to view enlarged
A registration form opens. At the bottom of the form, select Individual.
21. Enter Individual Details
 * click the image to view enlarged
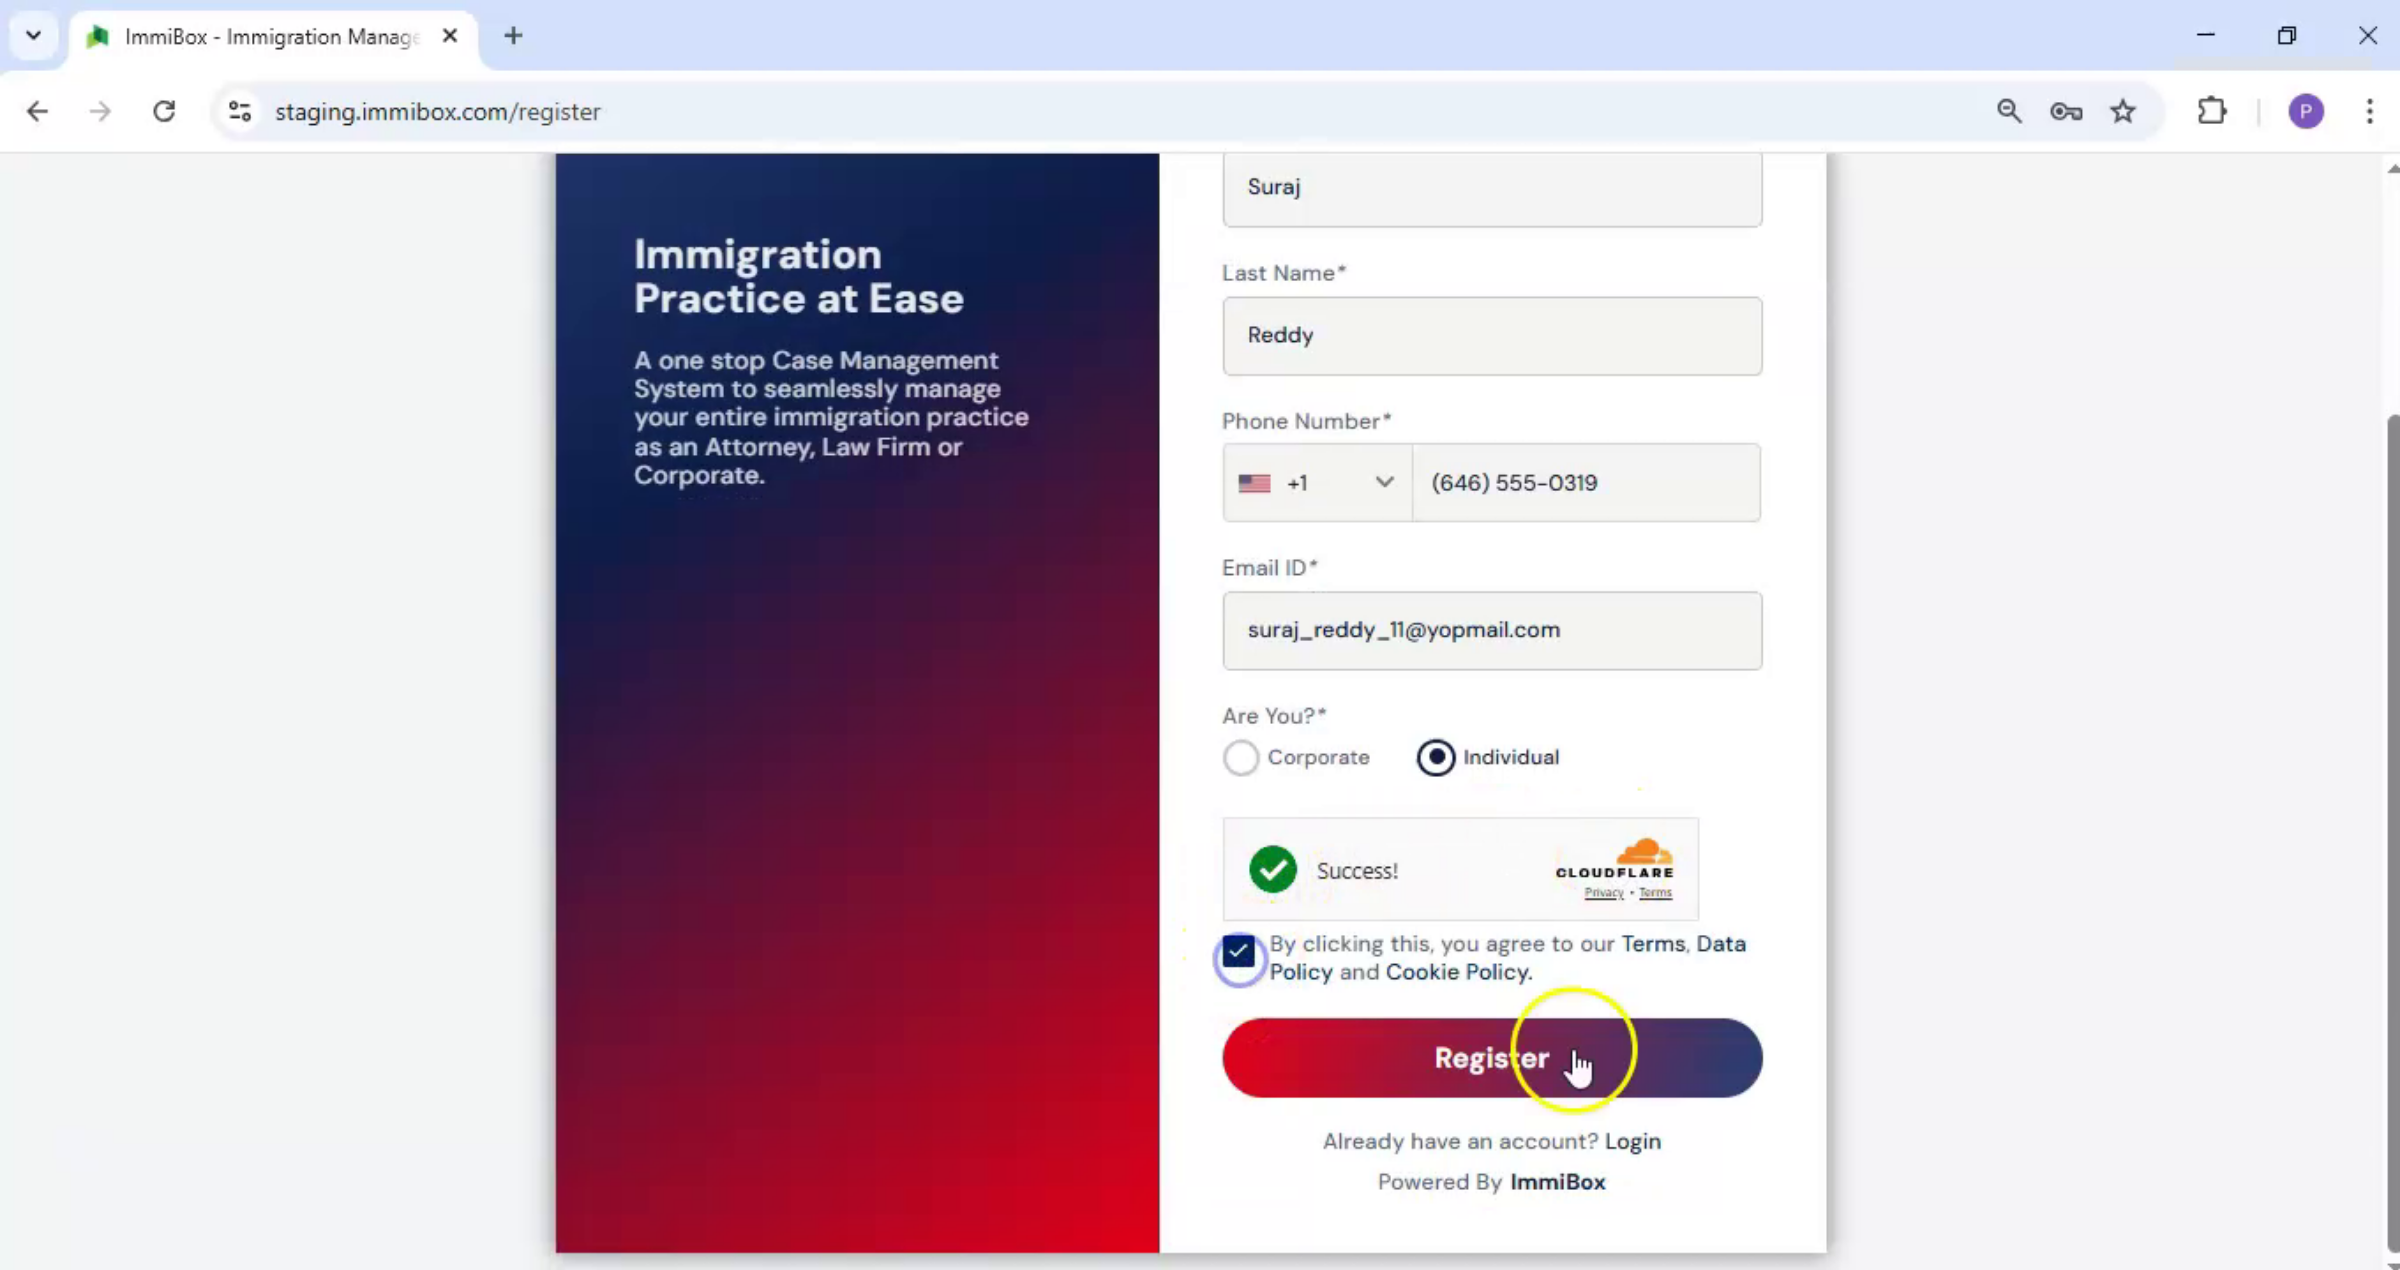
Enter the first name, last name, phone number, and email address. Then click Register.
22. Email for Password Setup
 * click the image to view enlarged
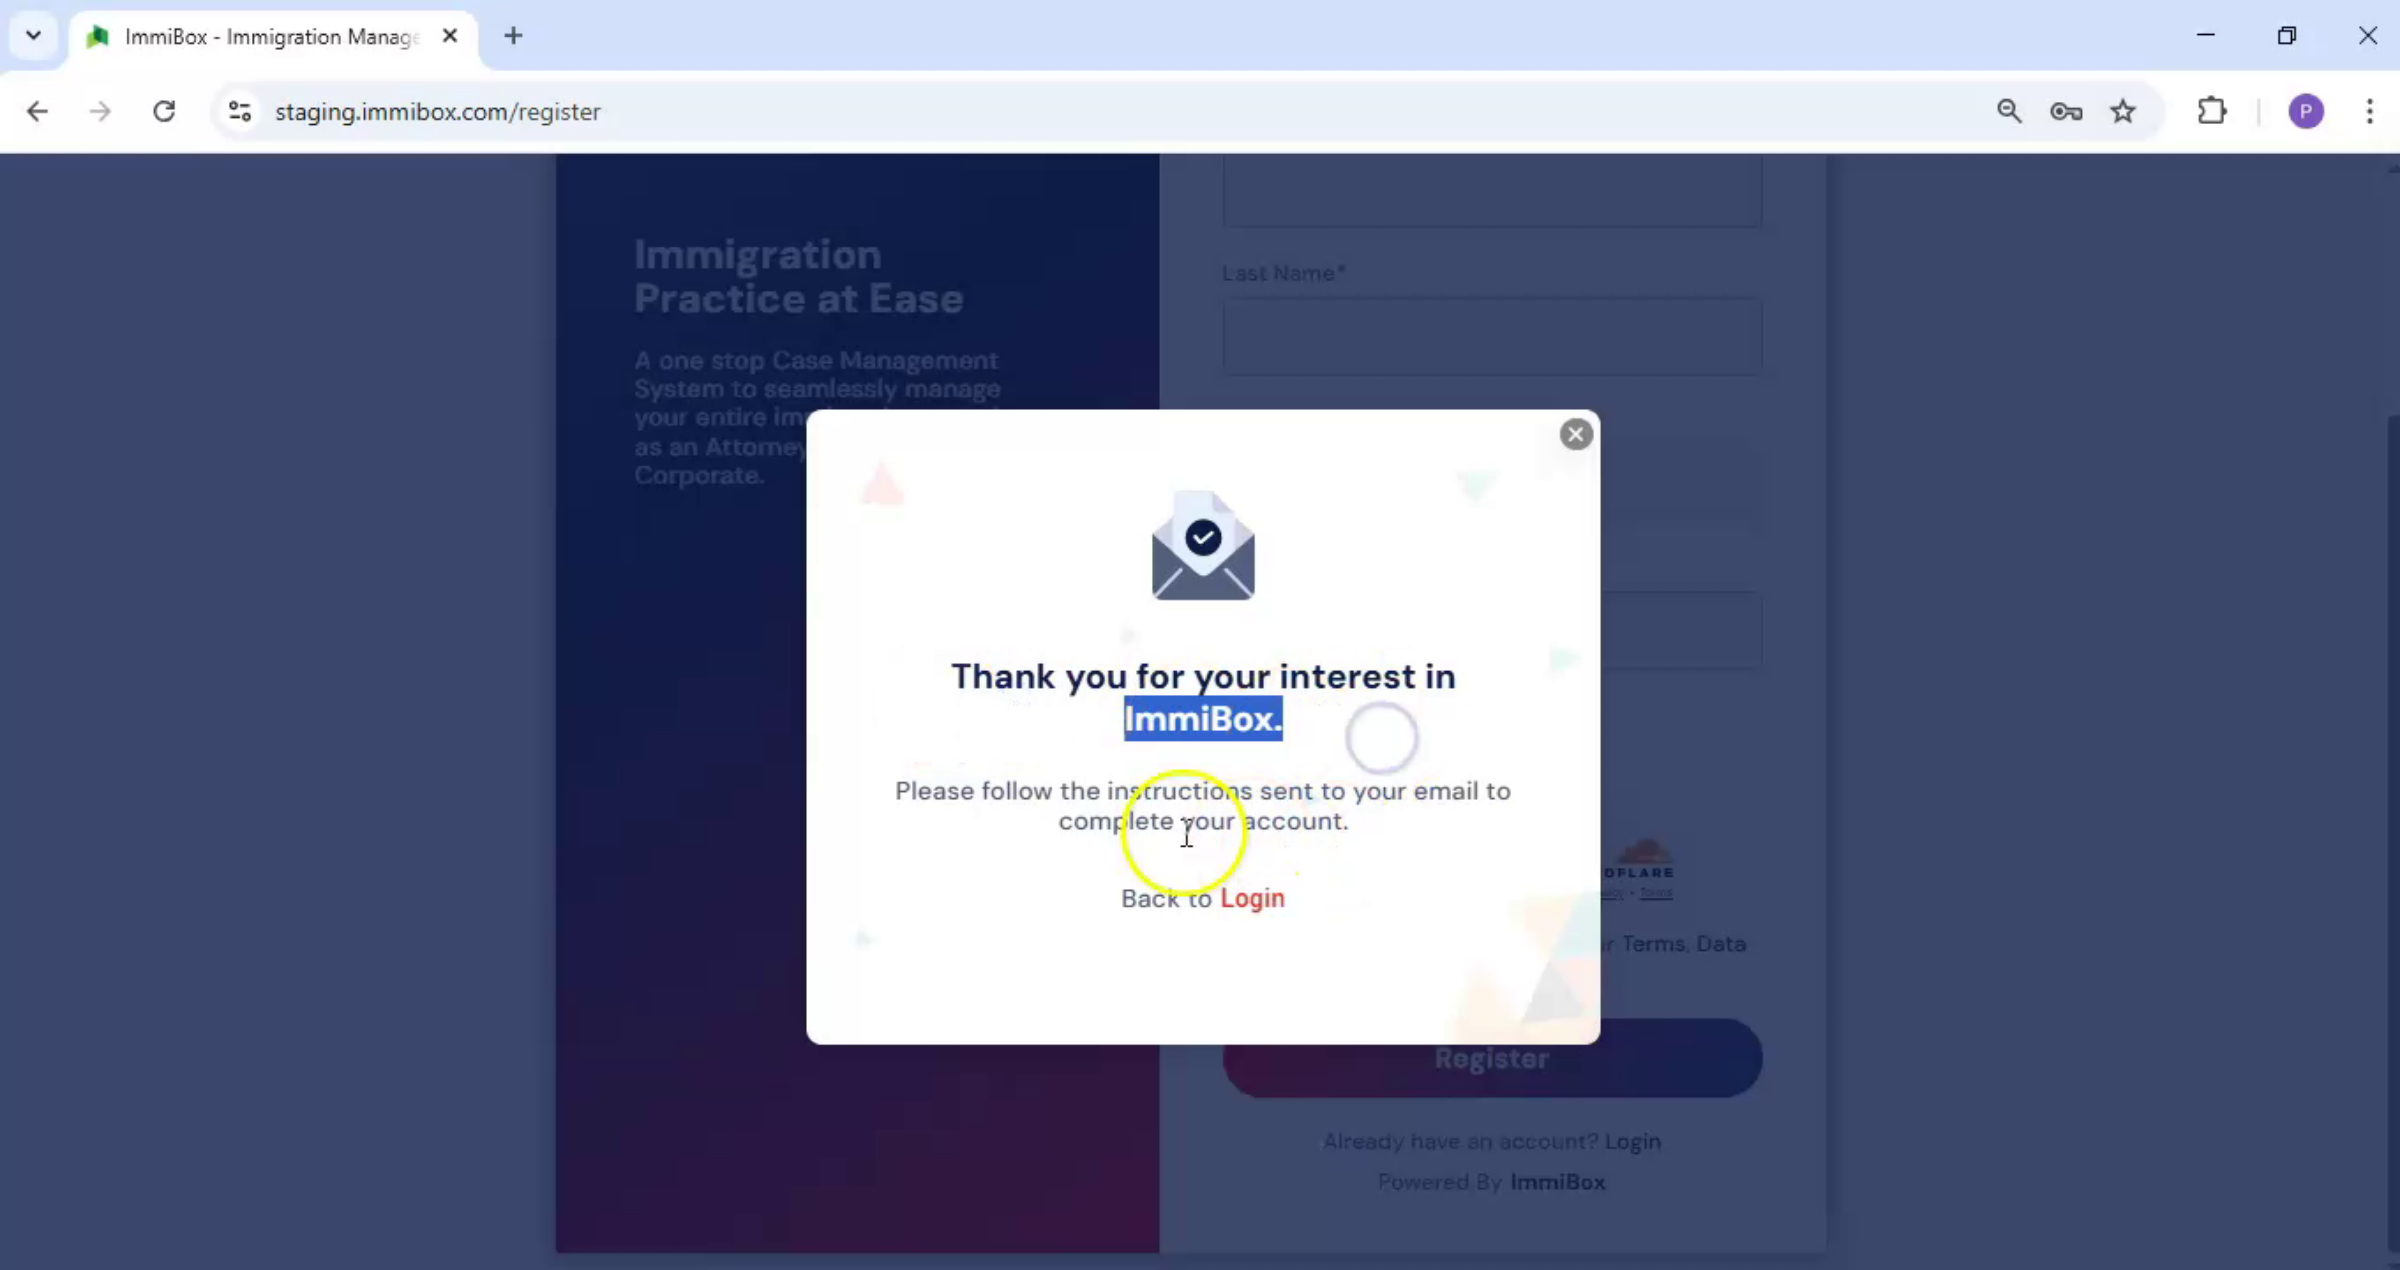
The individual receives an email to set their password.
23. Other Invitation Methods
 * click the image to view enlarged
In addition to registering from the login page, you can invite an individual in three other ways.
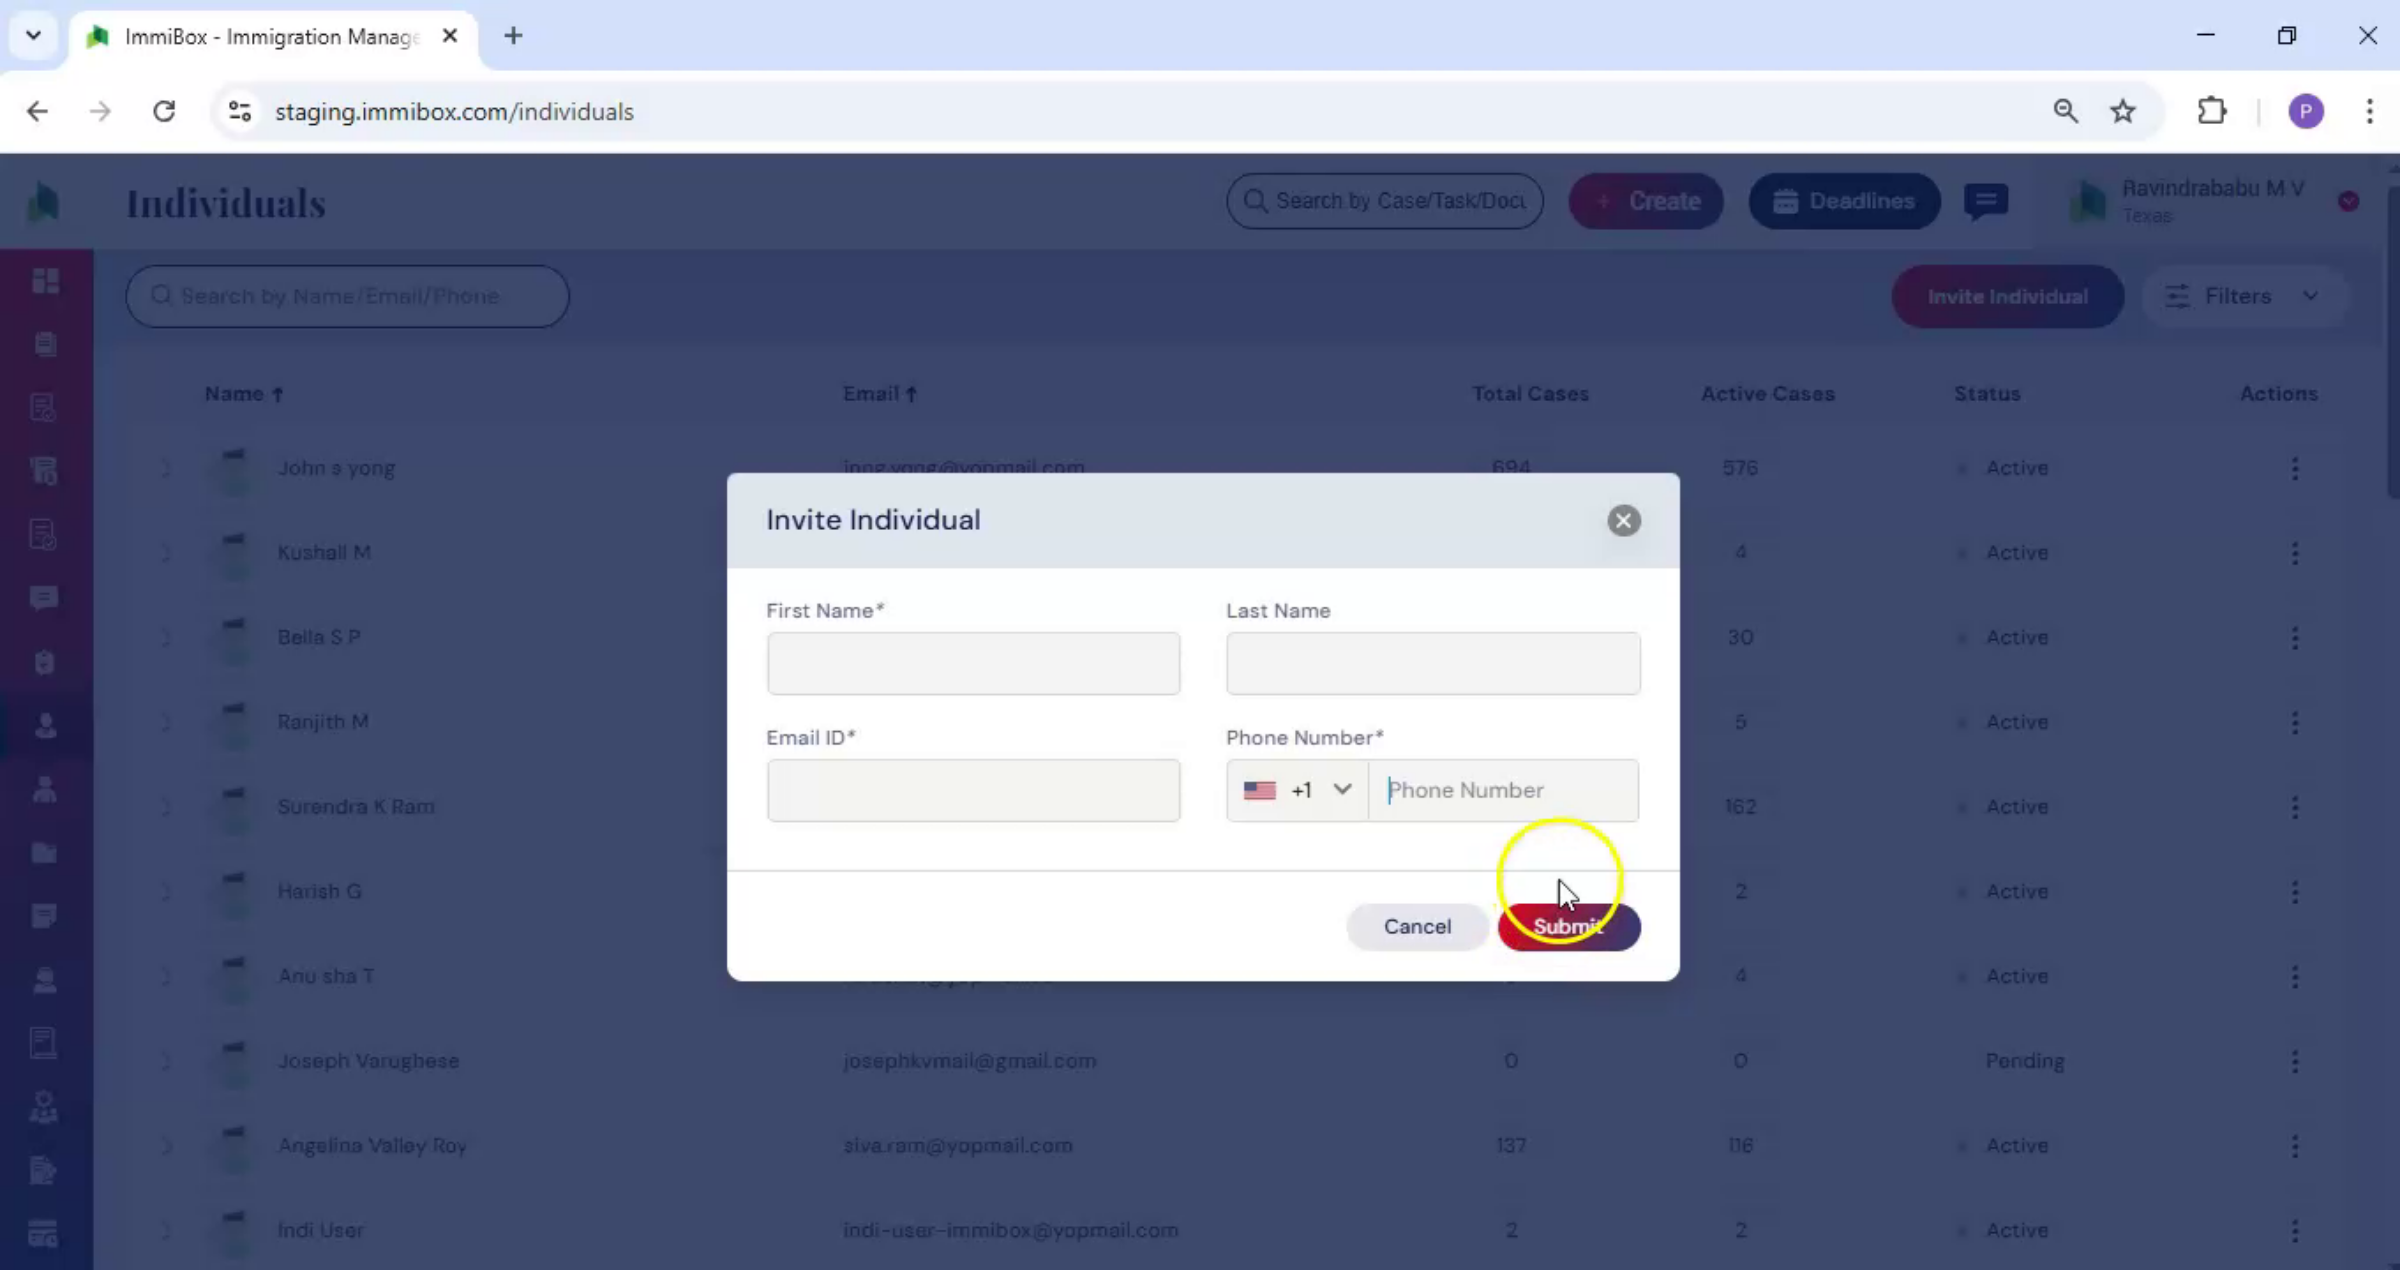
24. Invite Individual from Dashboard
 * click the image to view enlarged
Second, from the dashboard, click Create and select New Individual. The Invite Individual dialog box appears. Fill in the details and click Submit.
25. Invite Individual via Clients Menu
 * click the image to view enlarged
Third, navigate to Clients from the left-hand. Click on Individuals on the right hand side. Click Invite Individual. The Invite Individual dialog box opens, fill in the form, and click Submit.
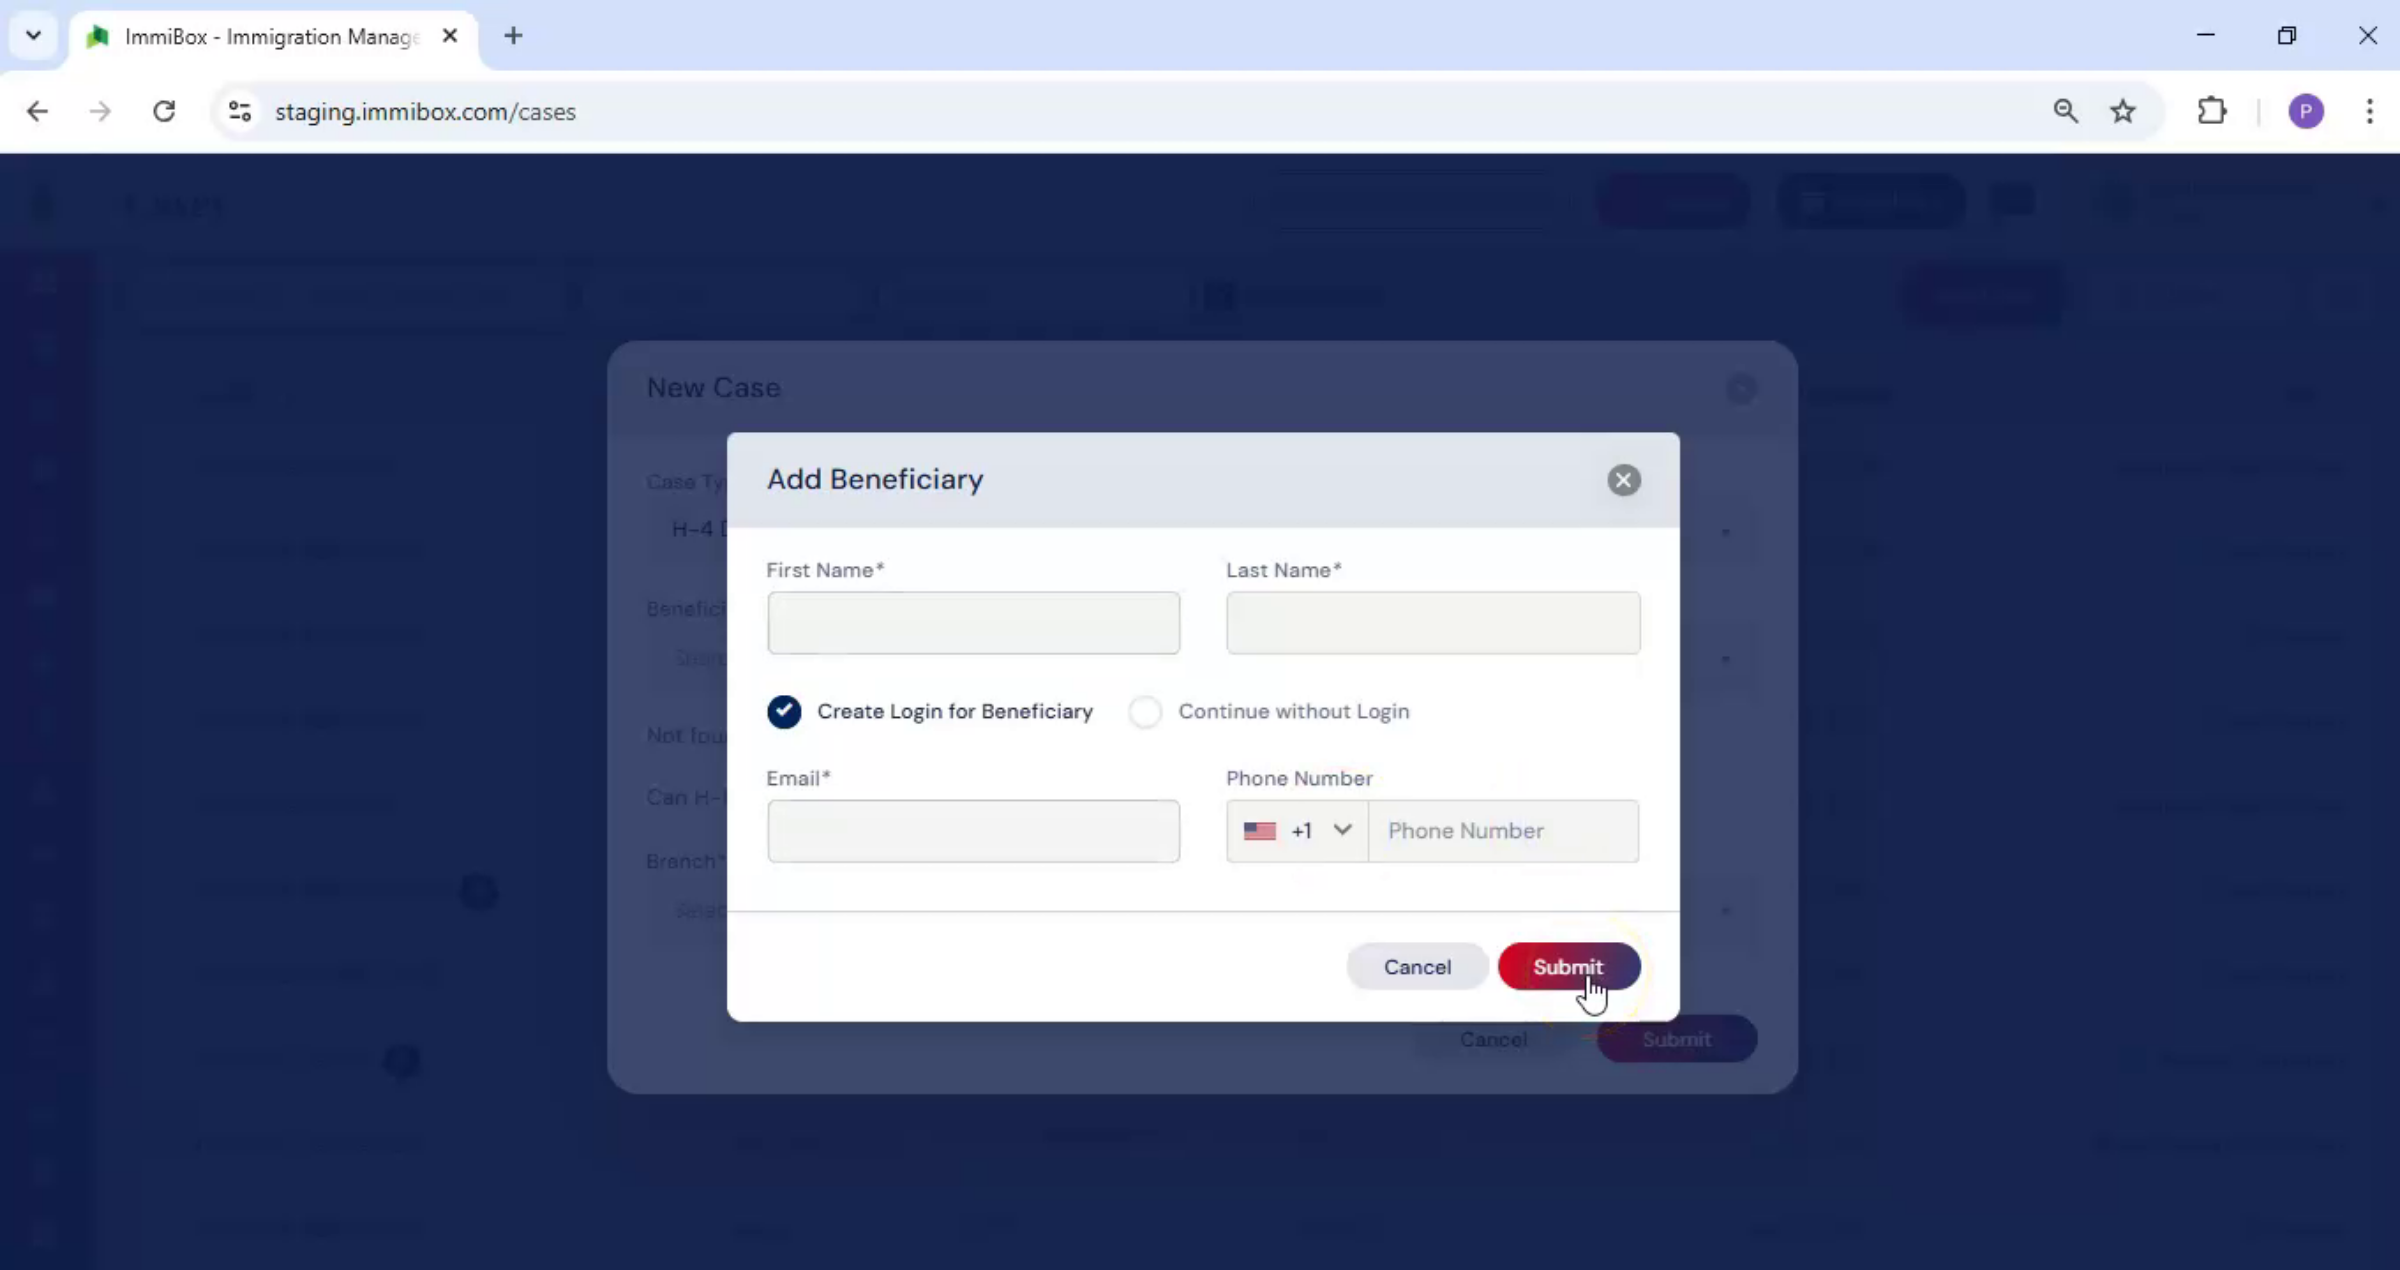
26. Add Individual While Creating Case
 * click the image to view enlarged
Fourth, while creating a new case, click Add Beneficiary, enter the details, and click Submit.
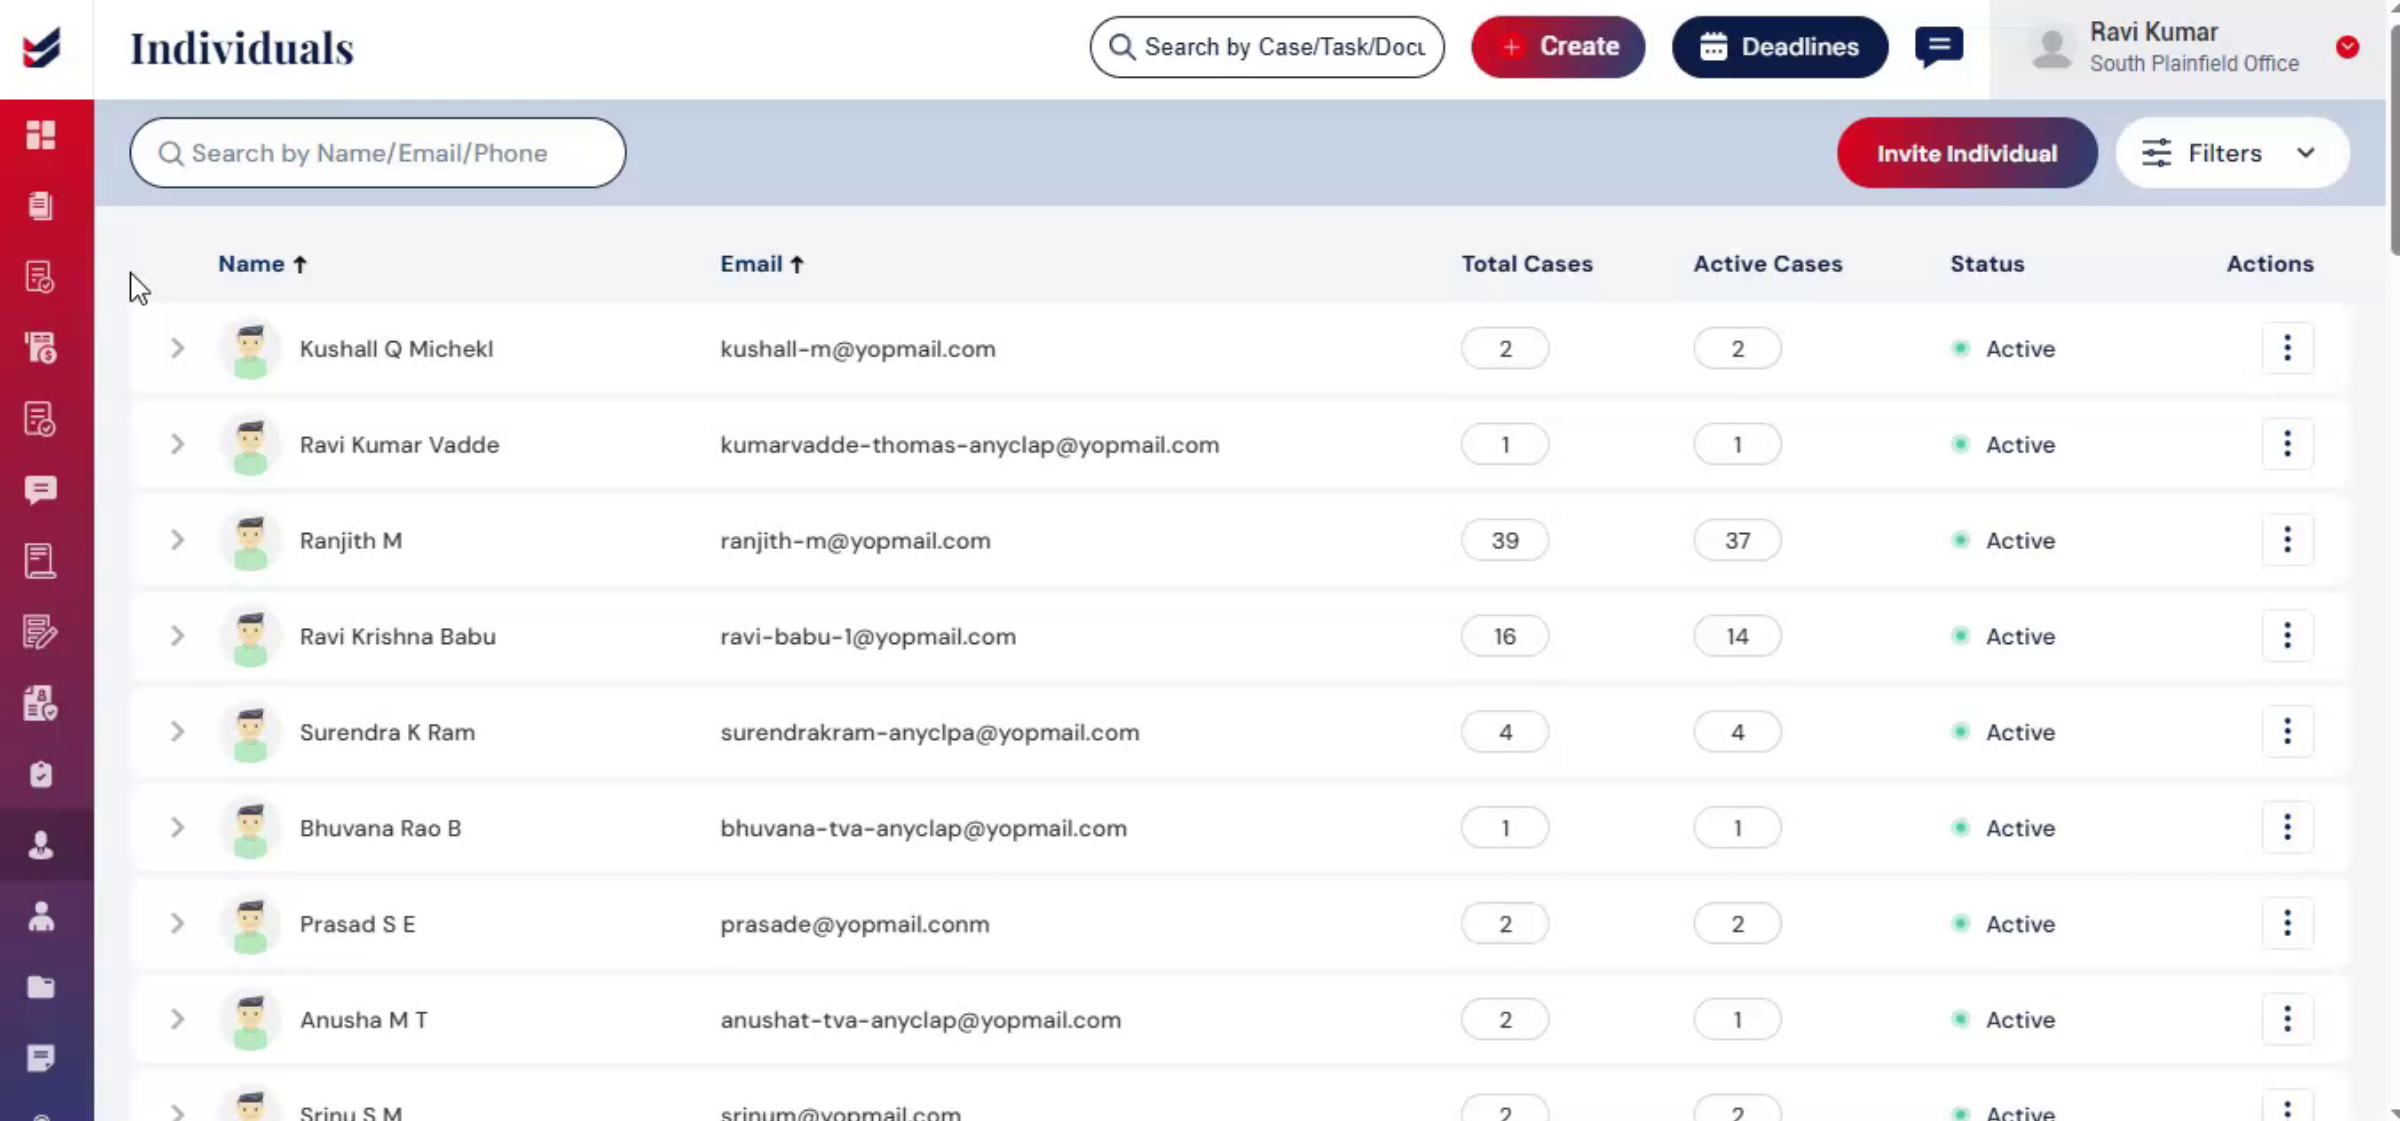
27. Individuals Page Overview
 * click the image to view enlarged
On the Individuals page, you will see a list of all added individuals along with their key information, including Name, Email ID, Total Cases, Active Cases, and their current Status.
Under the Actions tab for each individual, you will find several options to manage their details. Click on Details to navigate to the specific individual’s detailed profile page. Use Set Password to reset the individual’s password. You can select Inactive to mark the individual as inactive, or choose Delete to remove the individual from the system.
At the top of the page, there is a Search box that allows you to quickly find individuals by entering their Name, Email, or Phone number. On the right-hand side, you will find a Filter option, which can be used to refine your search results using additional filtering criteria.
28. Summary Adding Beneficiaries
 * click the image to view enlarged
And that's how easy it is to add beneficiaries and individuals.
29. ImmiBox Data Storage Benefits
 * click the image to view enlarged
ImmiBox keeps both beneficiary and individual information securely stored in one central location, making it easy to reuse across cases, reducing manual effort, and ensuring consistency throughout the process.

