

Configuring Letter Templates in ImmiBox
Overview
Welcome! In this video, you will learn how to configure letter templates in ImmiBox.
1. Introduction
 * click the image to view enlarged
The Letter Templates feature allows administrators to create and manage standardized templates for different letter formats in the system.
These templates help automate document generation by using predefined content and dynamic variables to populate case information.
Access to Letter Templates is restricted to Administrators only.
2. Accessing Letter Templates
 * click the image to view enlarged
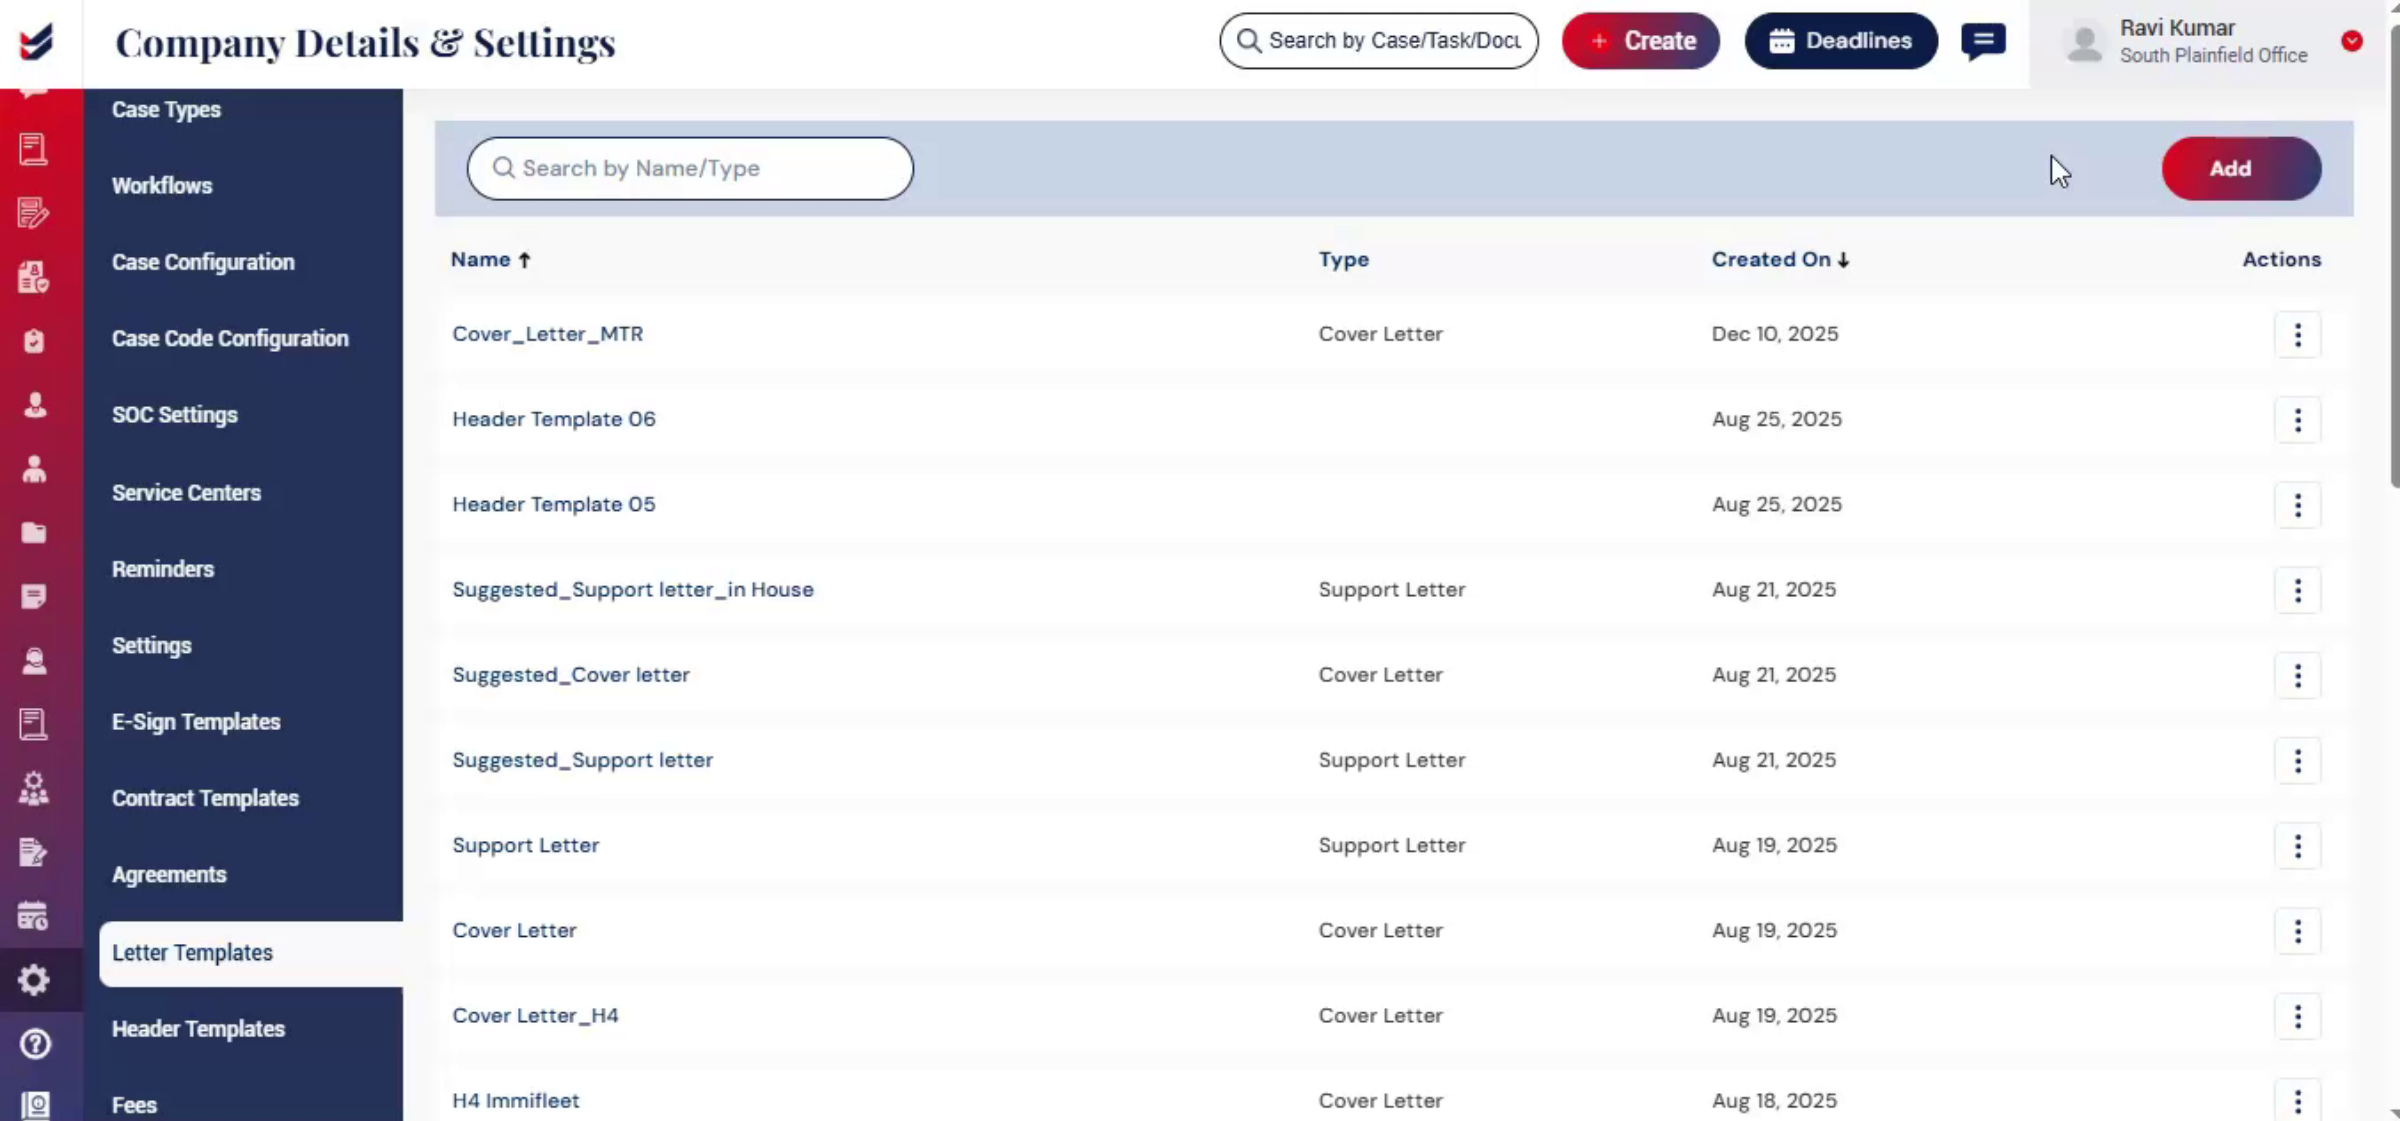
To configure a new letter template, from the dashboard navigate to the Administration section, select Settings, and then choose Letter Templates from the list.
This page displays all the letter templates created in the system.
Letter templates can be categorized as Cover Letters or Support Letters.
At the top of the page, you will see a search bar that allows you to search for templates by name or type.
For each template listed, you can view details such as the Name, Type, Created Date, and Actions.
Under the Actions, you will find 4 options:
Edit – Enables modification of the template.
View – Allows administrators to view the template content.
Download – Allows the template to be downloaded.
Delete – Removes the template from the system.
Administrators can manage and maintain letter templates through these options.
3. Creating a Letter Template
 * click the image to view enlarged
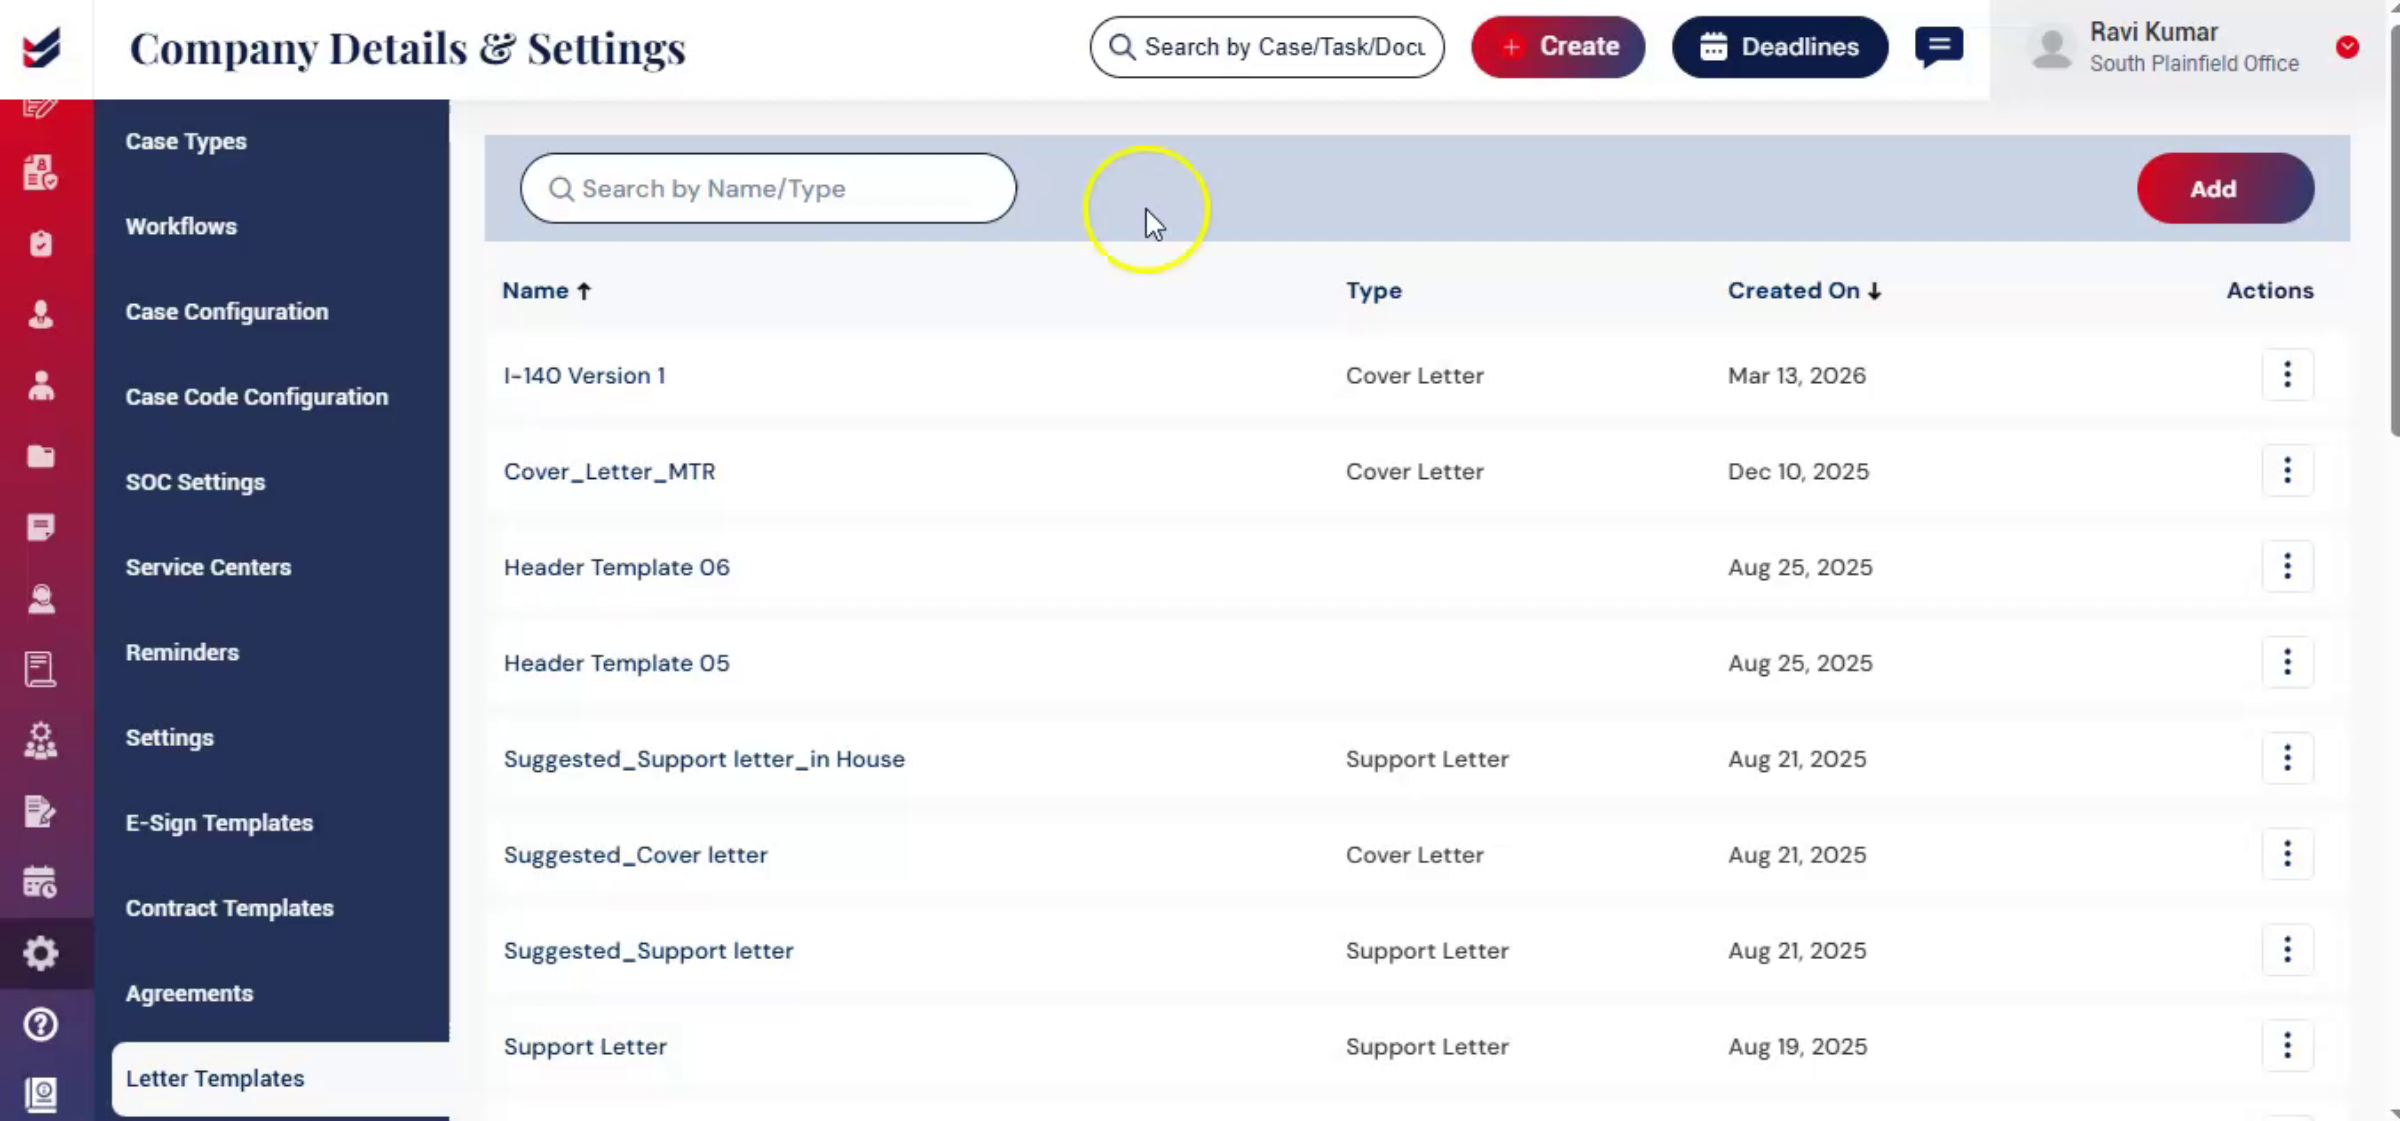
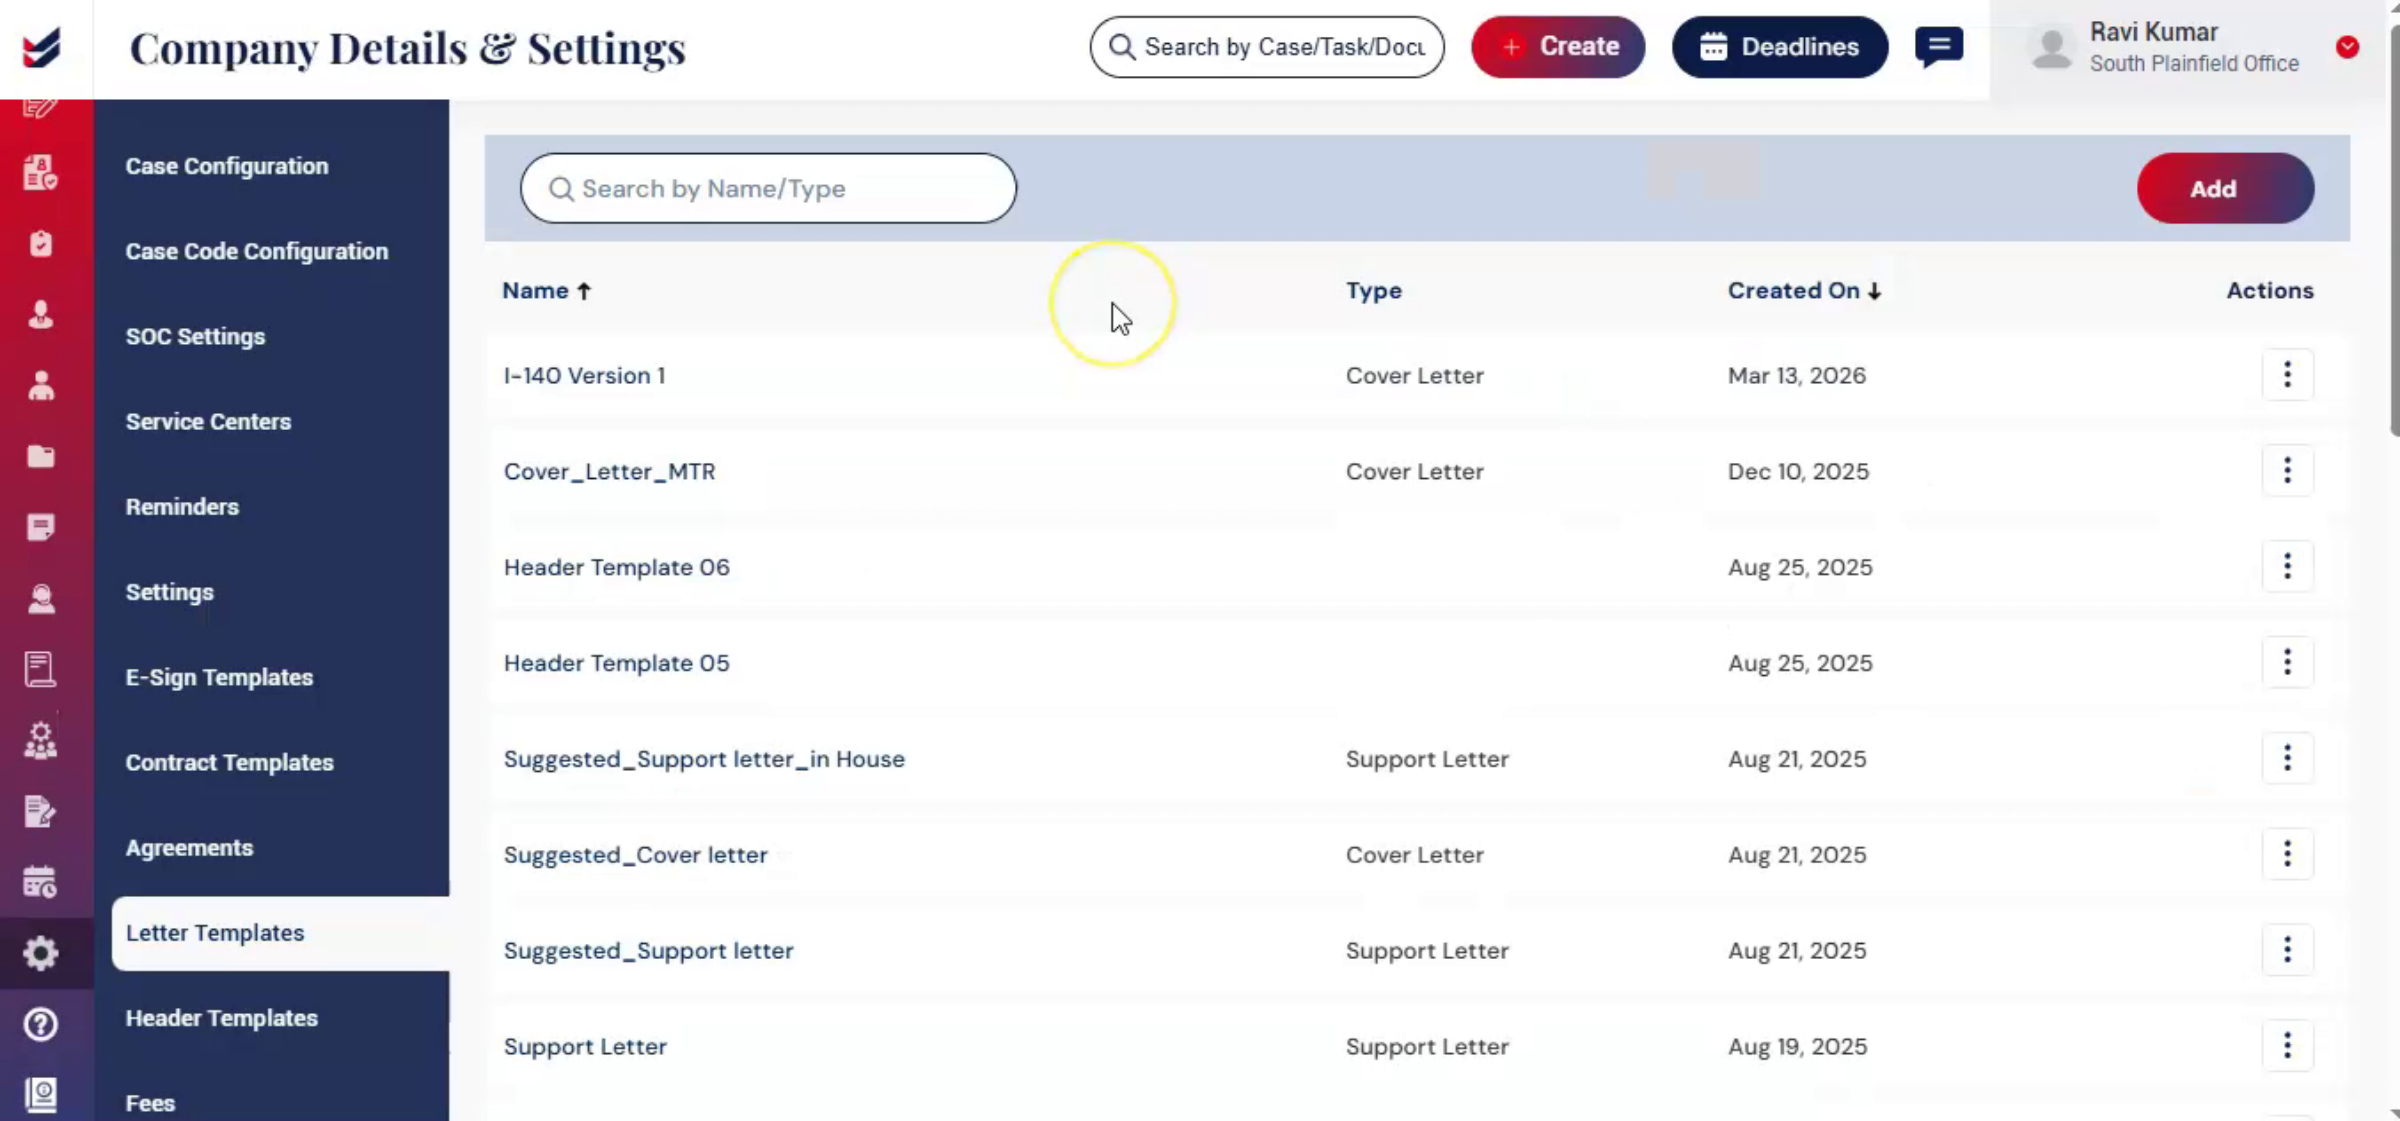
To create a new letter template, click the Add button.
An Add Letter dialog box will appear.
Enter a name for the letter template.
Next, select the Type of Letter, which may include:
Cover Letter
Support Letter
After selecting the type, click Letter to open a popup window where the template content can be configured.
In this popup window, administrators can enter the content required for the letter template.
On the right side of the window, a predefined set of dynamic variables is available. These variables can be inserted into the template to automatically populate relevant case information when the letter is generated.
Once the template content and variables are configured, click Save to add the letter template to the list.
The newly created template will appear in the Letter Templates section and will also be available in Case Configuration under Forms and Letters, where it can be mapped to the appropriate Case Type and Subtype.
4. Configuring Letters for Case Types
 * click the image to view enlarged
To configure the newly created template for a specific Case Type or Subtype, navigate to Case Configuration.
Under Forms and Letters, locate the newly added letter template.
Select the template and click Update.
Administrators can then link the letter template to the appropriate Case Type and Subtype.
Once configured, the letter will be available for use when generating documents for the selected case types.
5. Generating Letters from a Case
 * click the image to view enlarged
After adding the template to Forms and Letters, create a case using the configured Case Type and Subtype.
From the Case Details page, navigate to the Forms and Letters step.
Click Generate Forms and Letters.
Here, the newly configured letter template will be visible in the list.
When the letter is generated, the template will automatically populate with relevant information based on the data provided during the case creation process, such as: Questionnaire details, Petitioner information, Beneficiary details, Uploaded documents.
This helps reduce manual work and ensures accuracy in the generated letter.
6. Conclusion
 * click the image to view enlarged
By using configurable templates and dynamic variables, administrators can streamline document preparation, ensure consistency, and reduce manual effort when generating letters.

