

Task Management in ImmiBox
Overview
Welcome! In this video, we will learn how to create, assign, and manage tasks in ImmiBox.
1. Introduction
 * click the image to view enlarged
The Tasks module helps teams organize work, assign responsibilities, and track progress efficiently in one centralized location.
2. Access the Tasks Module
 * click the image to view enlarged
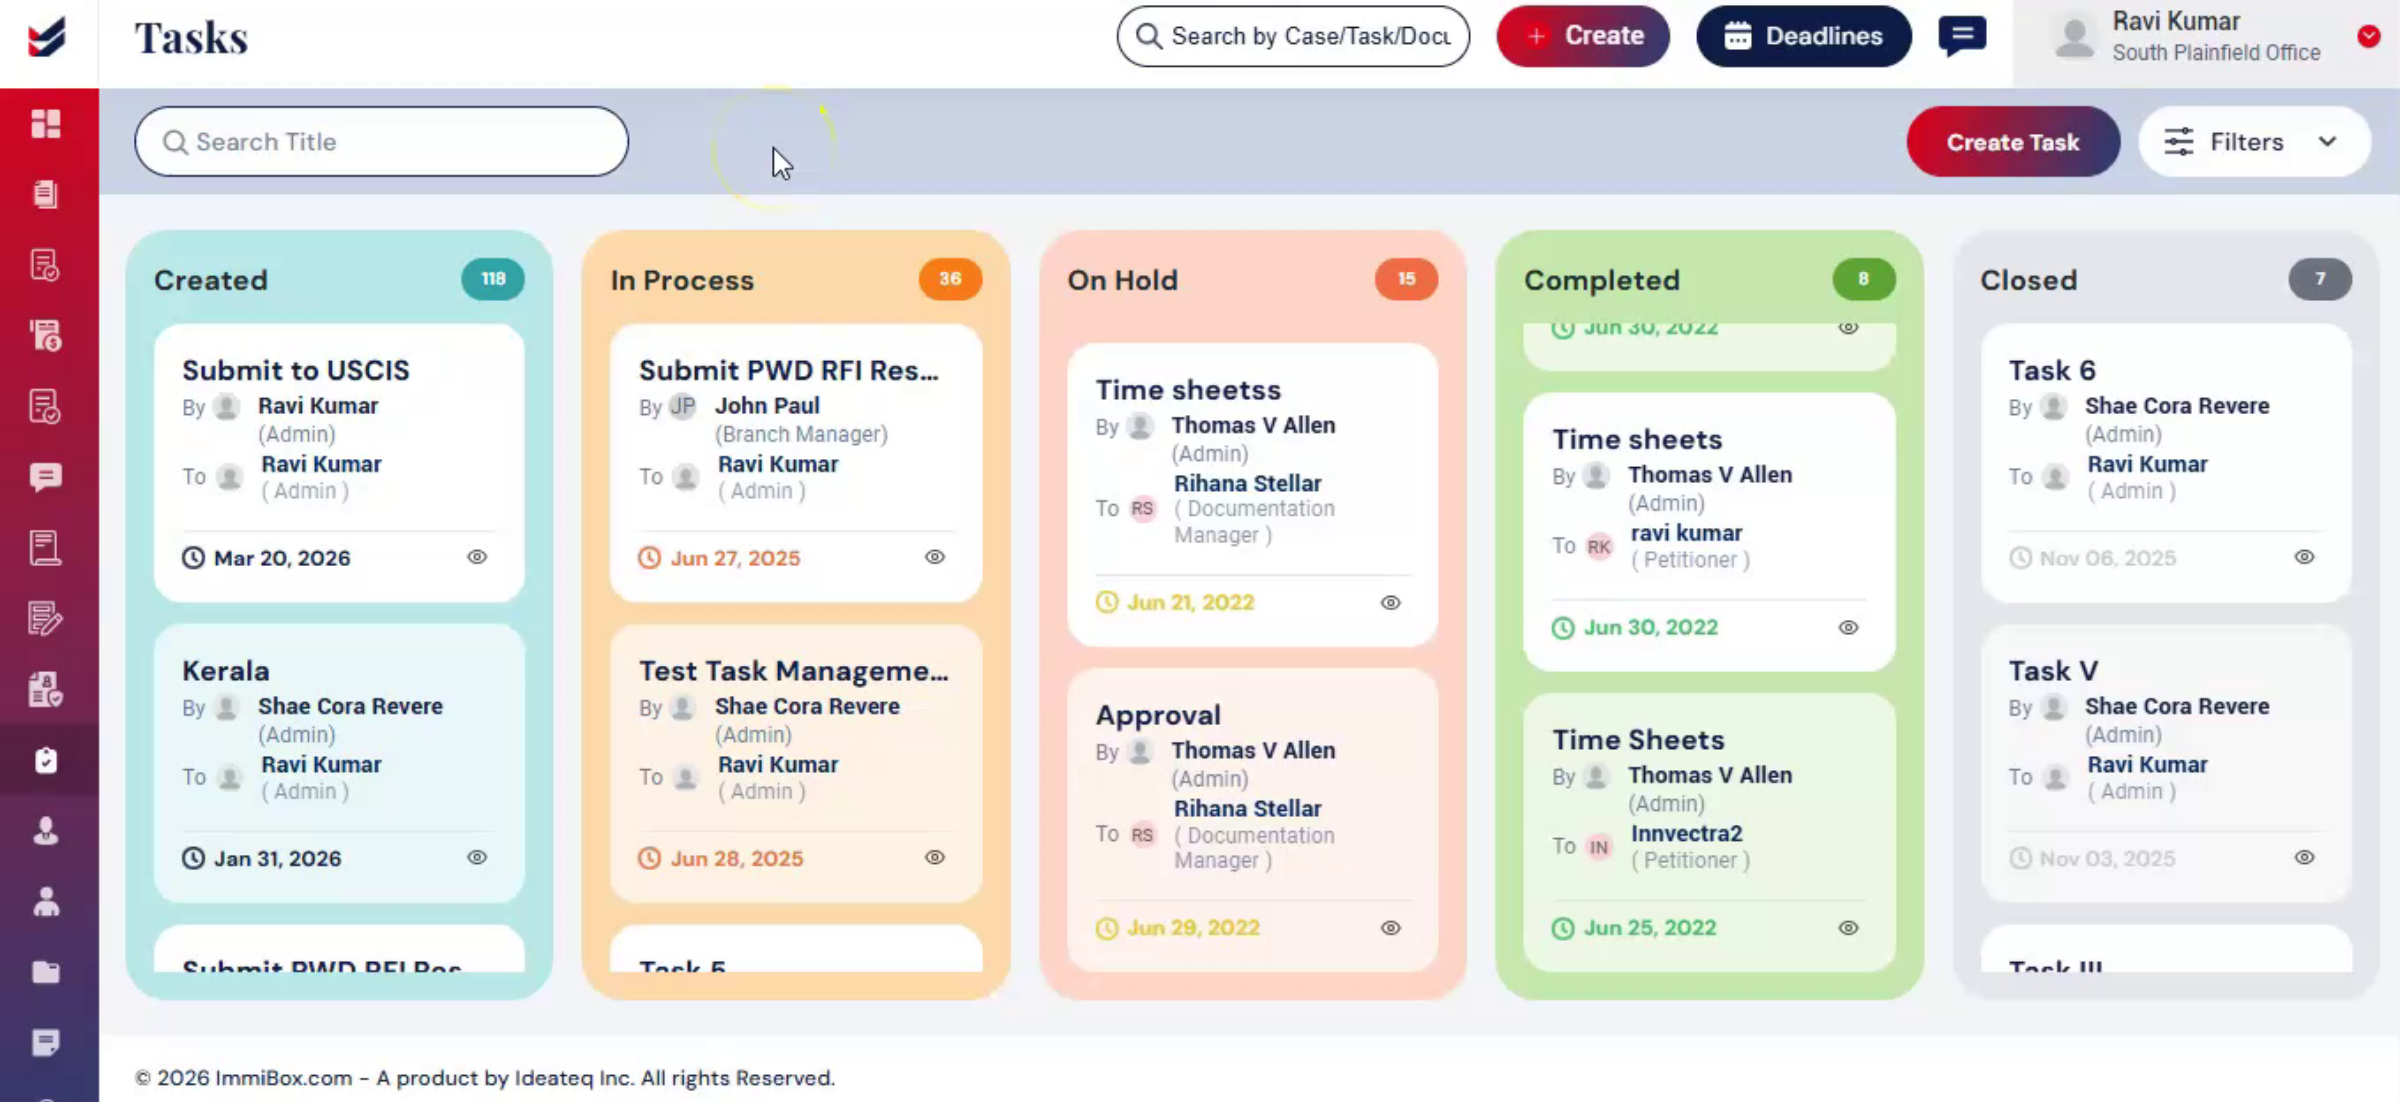
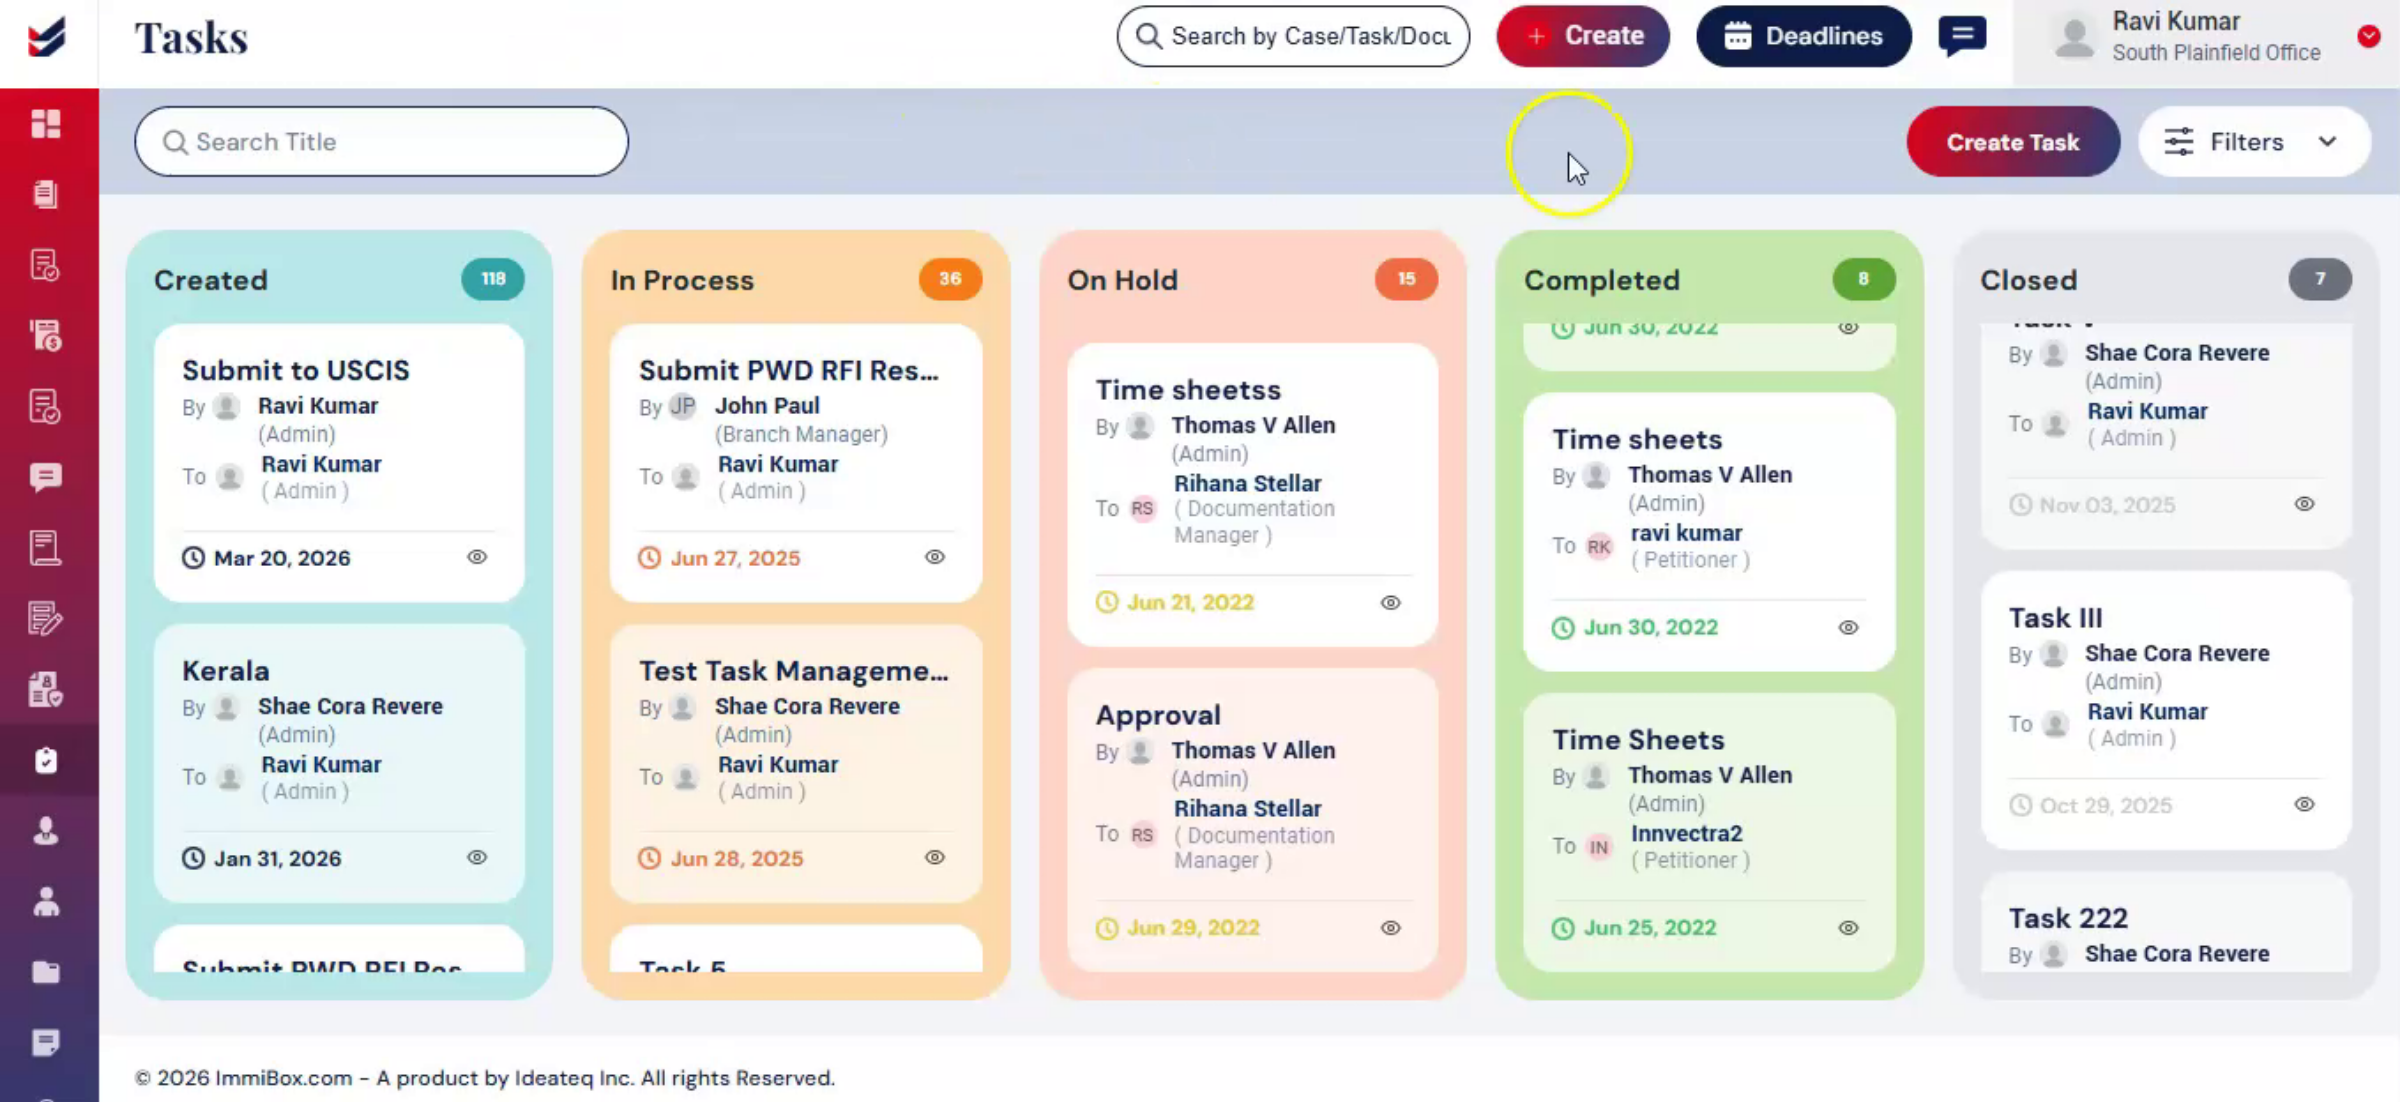
From the Dashboard, navigate to the left menu and select Tasks.
All tasks are displayed and categorized by status, with statuses visually distinguished using colors.
Selecting any task from the list will open the Task Details page for further review or updates.
3. Create and Assign a Task
 * click the image to view enlarged
To create a new task, click Create Task.
Alternatively, select Create and choose New Task.
Enter the Task Name and Task Details.
Select Assignee and add multiple Observers if required.
If the Add to Calendar option is selected, the task will appear in the Calendar and Deadlines section.
Once all details are entered, click Create.
In addition, tasks can be configured to either be auto-assigned or assigned only after acceptance.
By default, tasks are automatically assigned to the selected users.
4. Update a Task
 * click the image to view enlarged
When a task is assigned, the user receives a notification, and the task appears in their task list.
To update a task, open it from the list to access the Task Details page.
Users can edit task details, add comments, and upload files.
To update the status, Select Status and choose the appropriate stage.
Click Submit to save the changes.
All updates and comments are recorded within the task for tracking.
Each task also displays key details such as Due Date Created On, Created By, Assigned To, and other relevant information.
5. Conclusion
 * click the image to view enlarged
This ensures better visibility, accountability, and timely completion of tasks across the team.

