

Completing CAP Registration Efficiently Using ImmiBox
Overview
Welcome!This video demonstrates the complete process of Cap registration using ImmiBox, highlighting key features and compliance requirements. It guides users through data collection, wage validation, and submitting registrations to USCIS for successful case management.
1. Cover
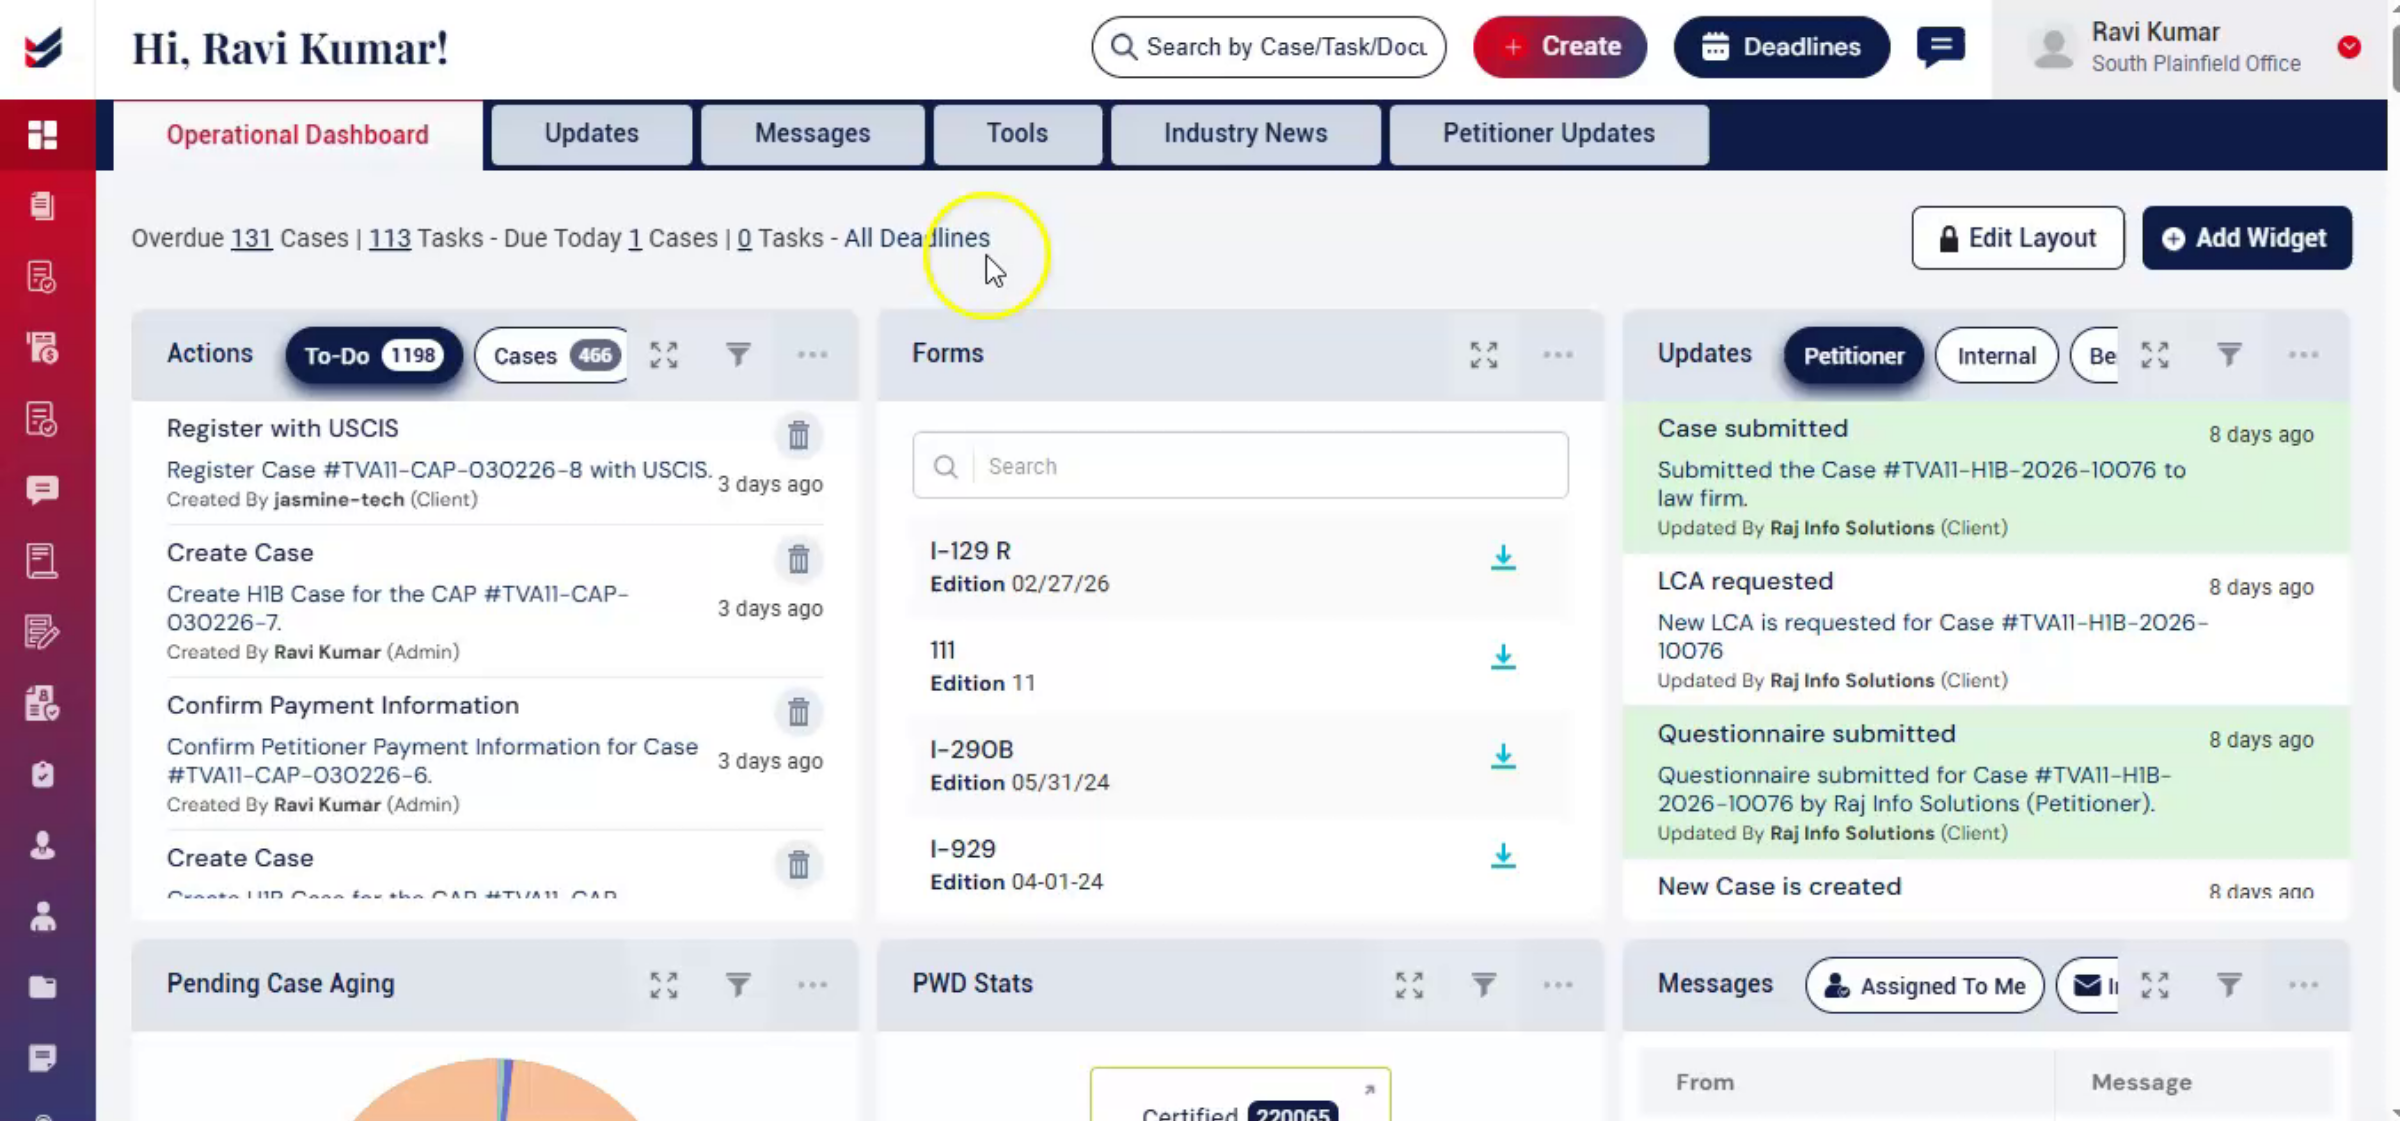
2. Introduction To CAP Registration
In this video, we'll walk you through how to complete CAP registration using ImmiBox. CAP registration is a structured, time-sensitive process.
 * click the image to view enlarged
3. CAP Registration Requirements Overview
 * click the image to view enlarged
4. ImmiBox Features Overview
 * click the image to view enlarged
5. CAP Registration Options
 * click the image to view enlarged
6. Navigating To CAP Registration Tab
 * click the image to view enlarged
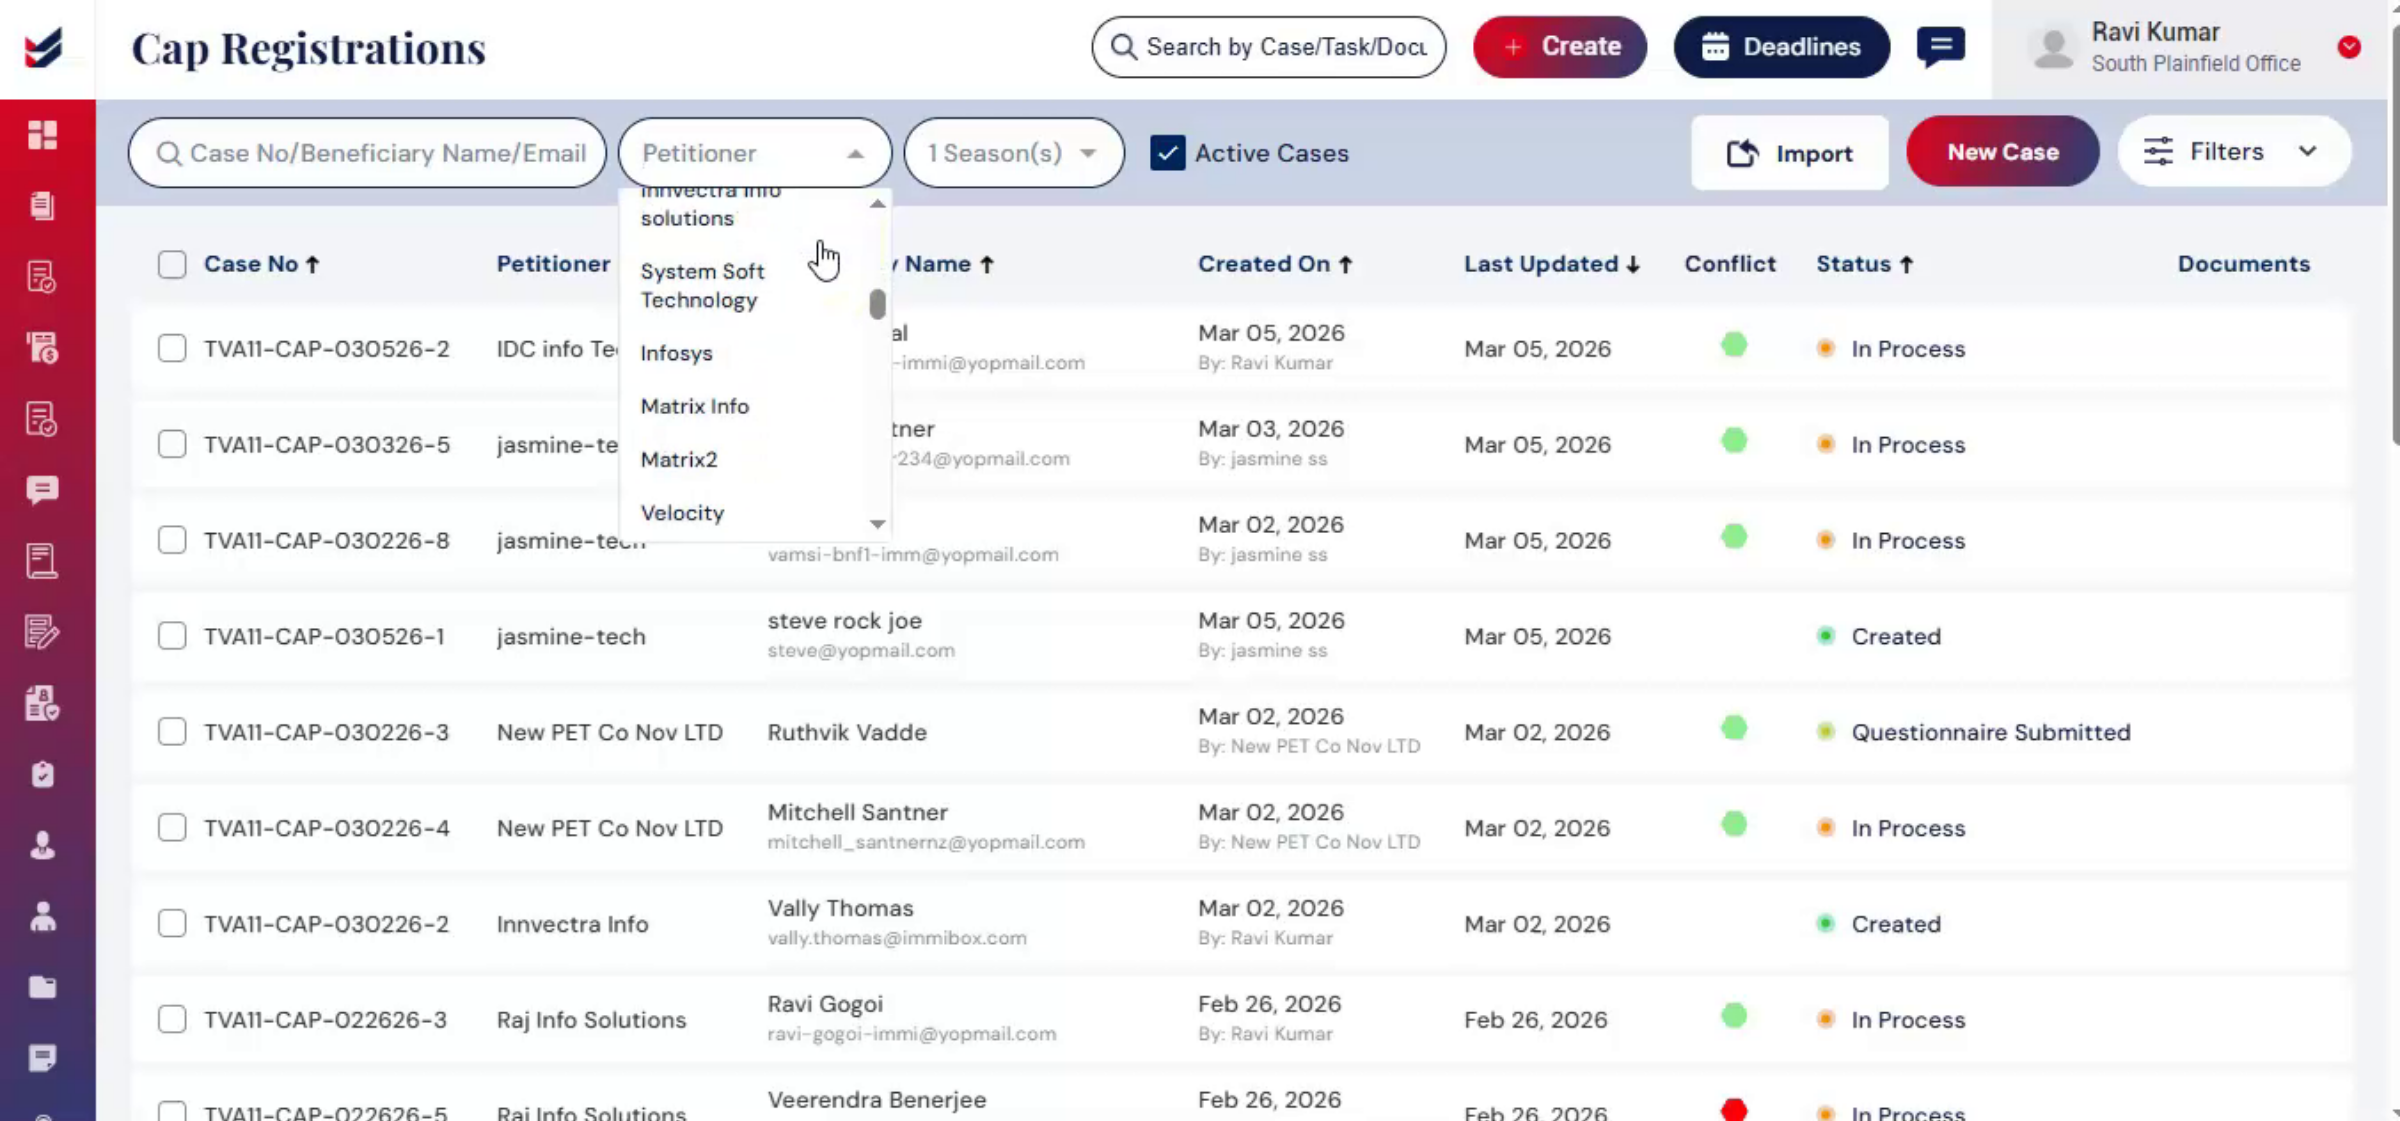
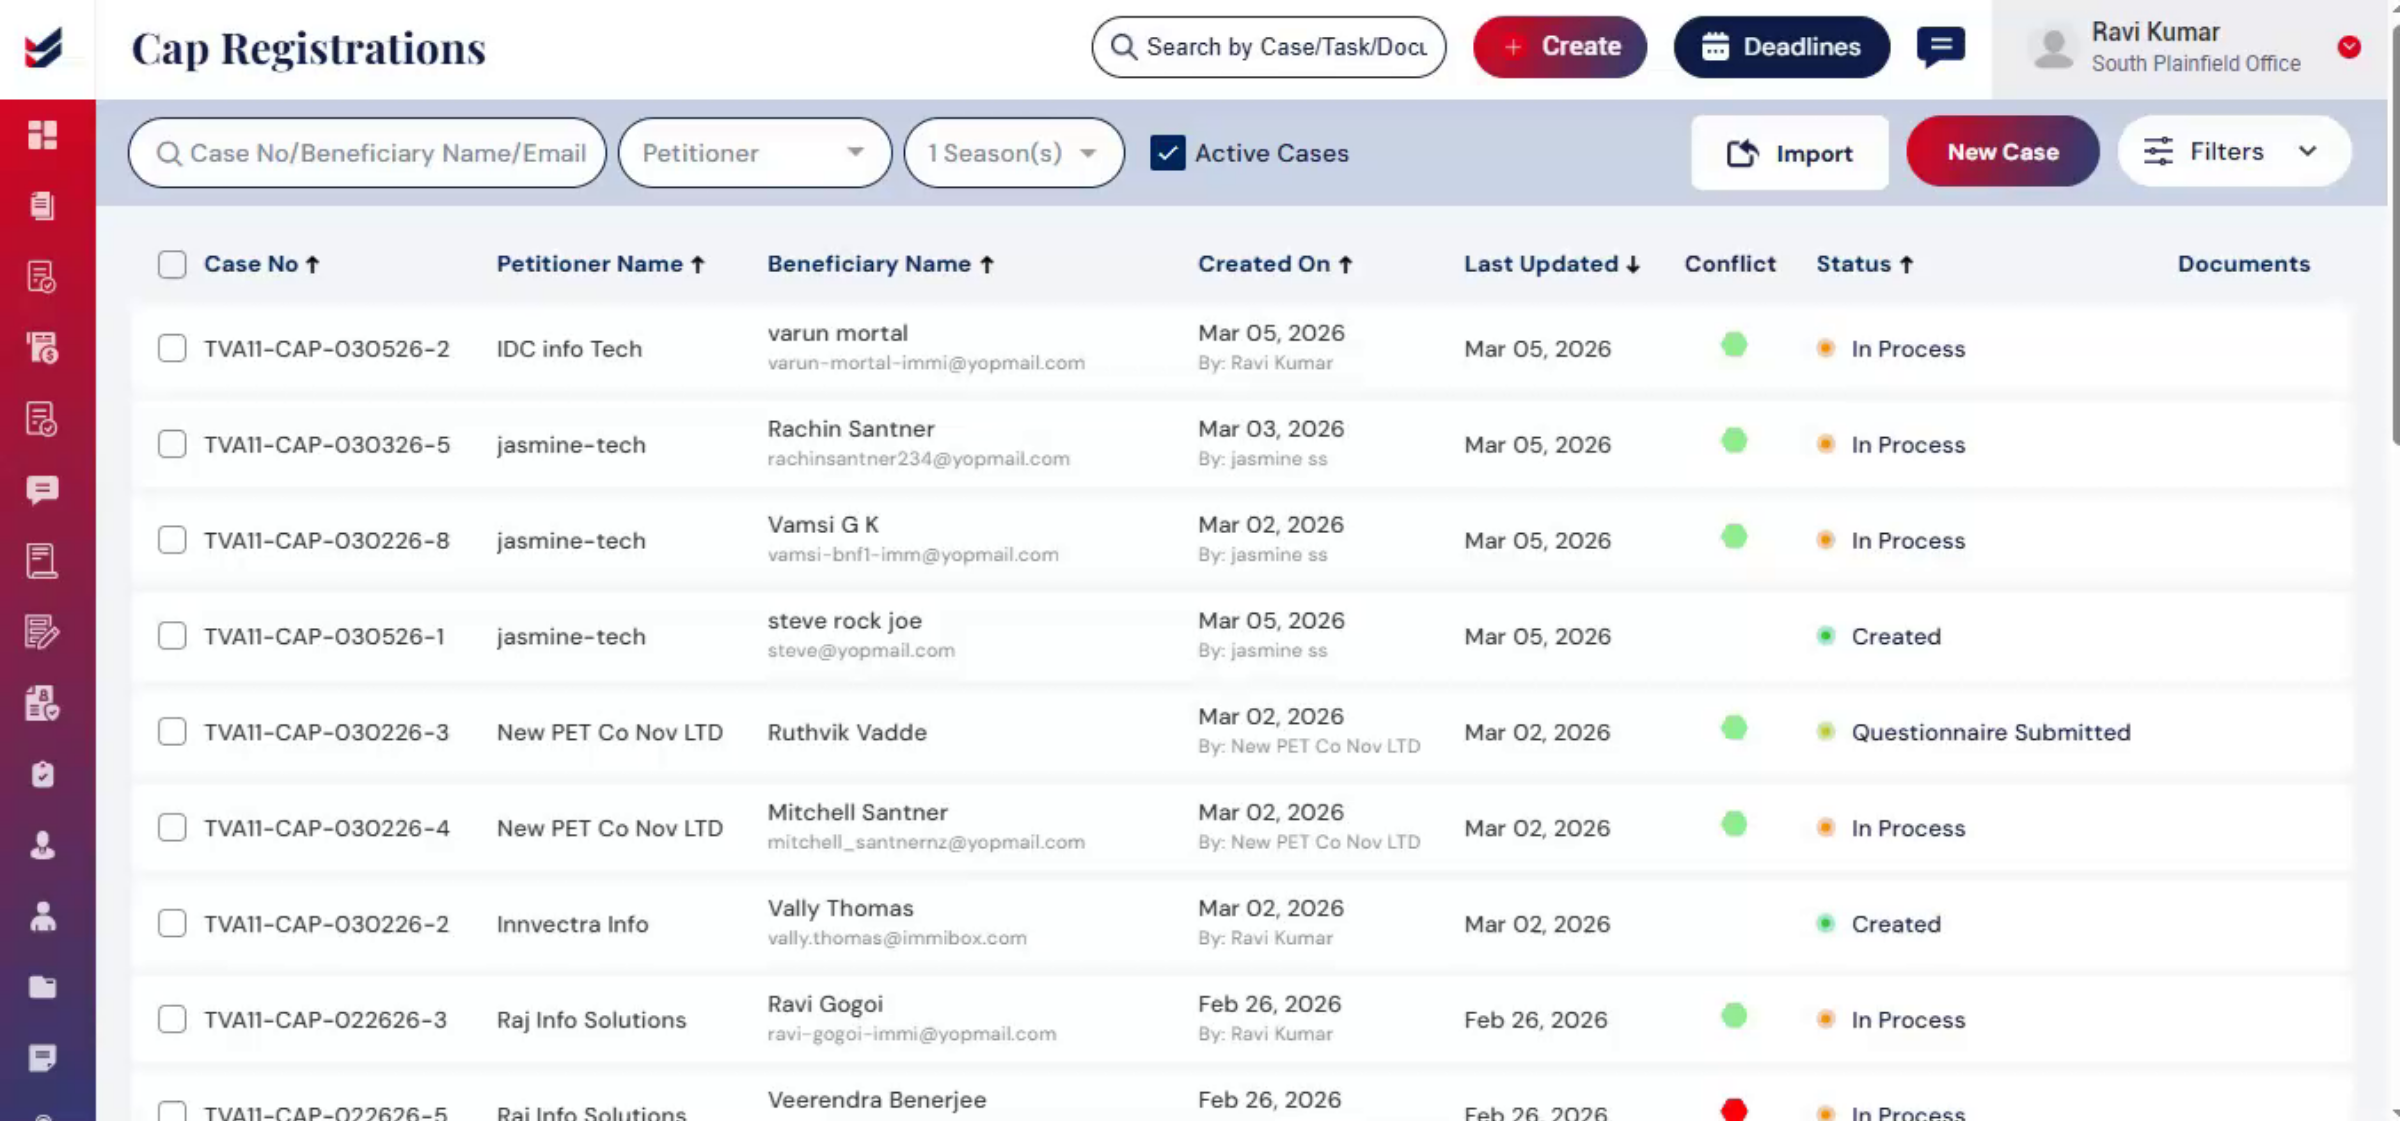
7. Managing Cases Filters
 * click the image to view enlarged
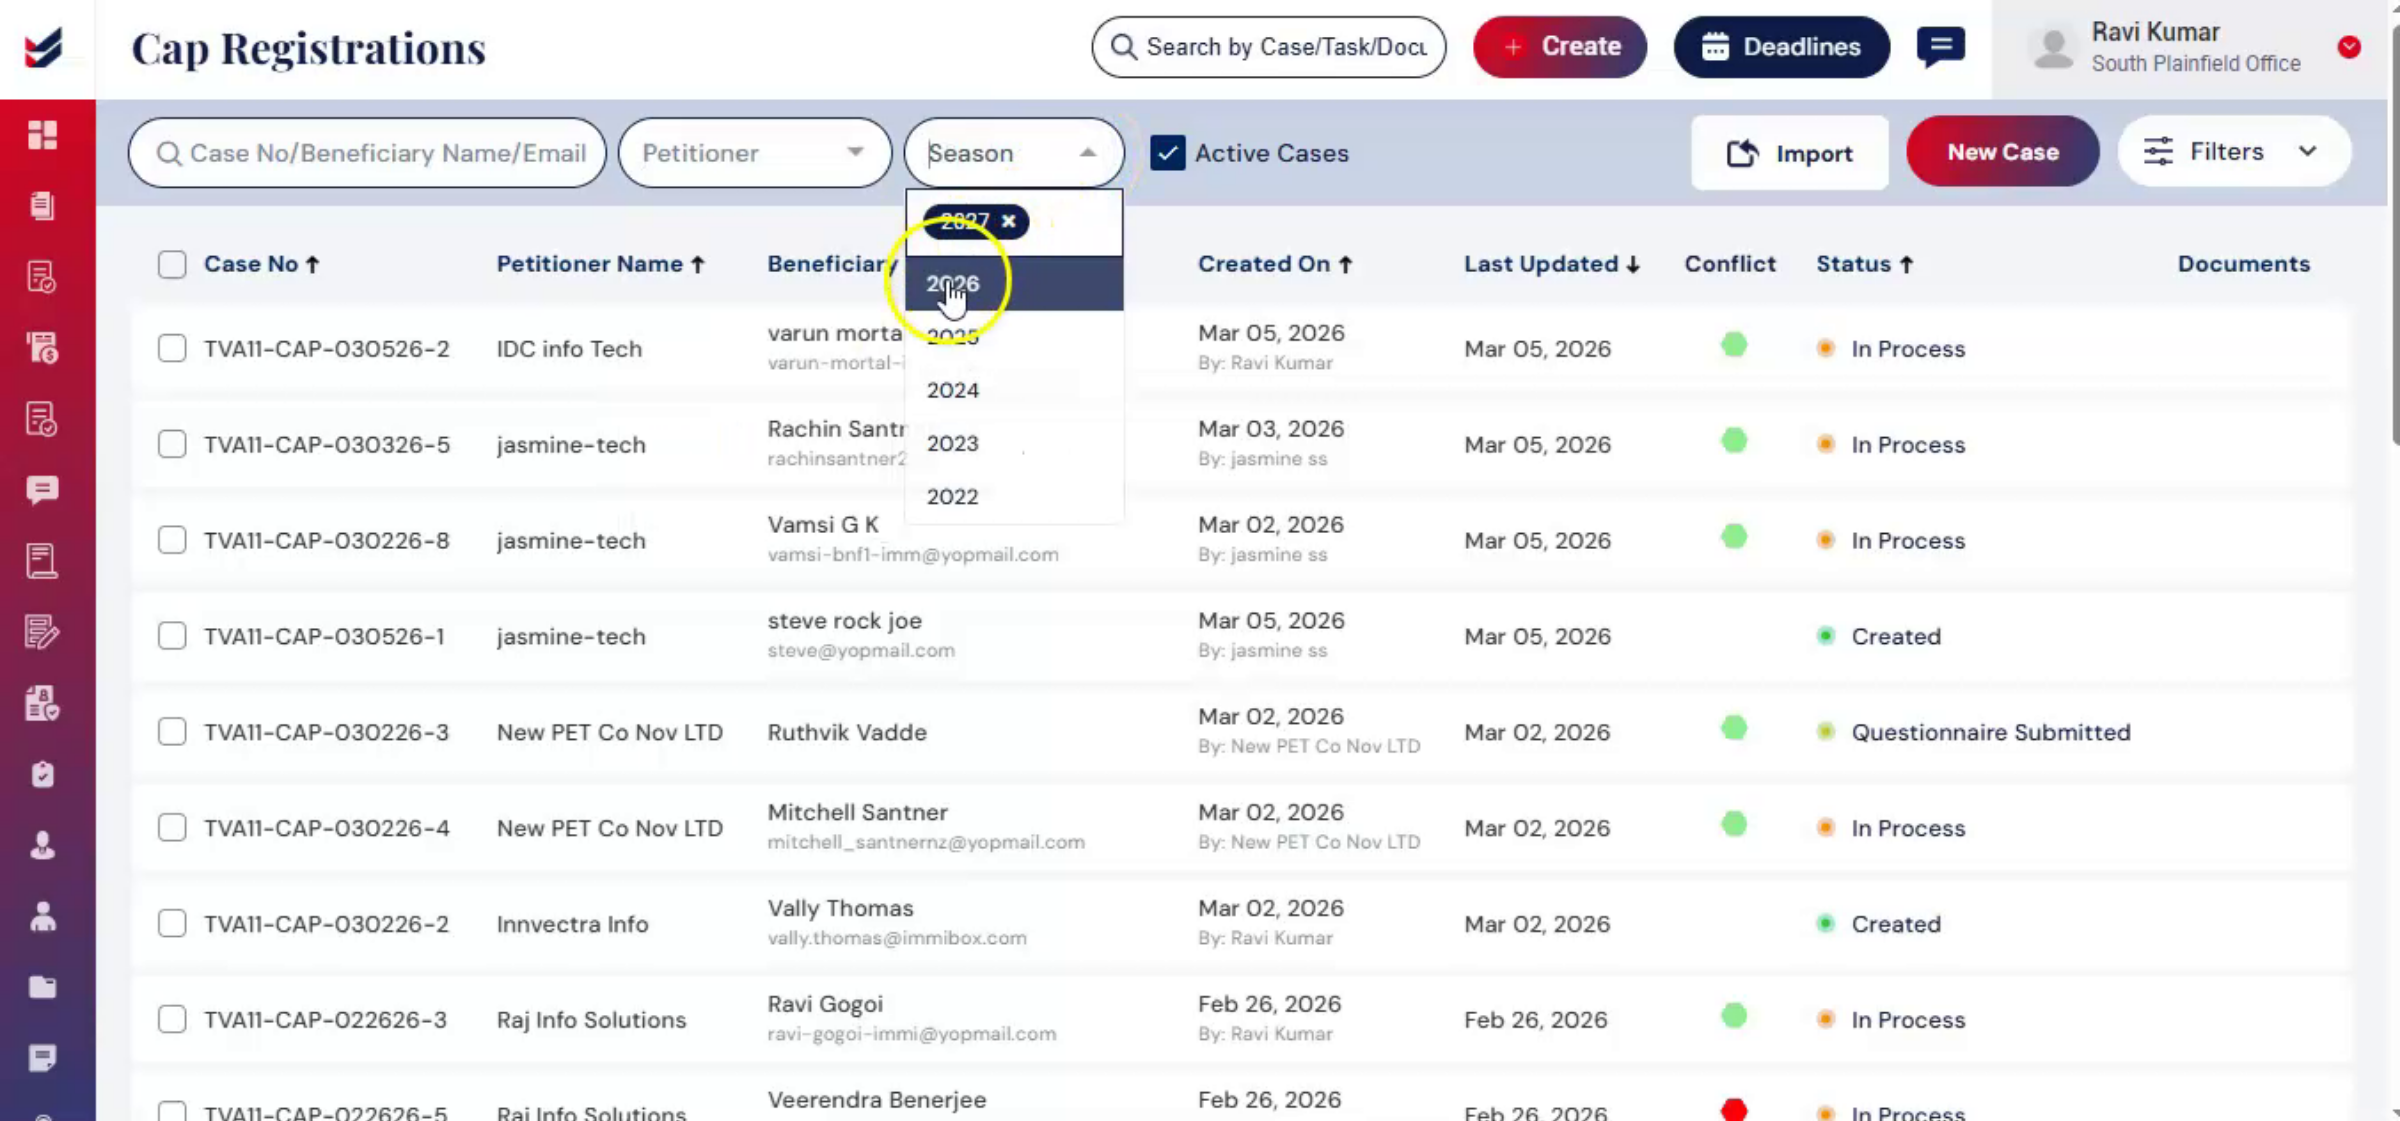
8. Season Filter Usage
 * click the image to view enlarged
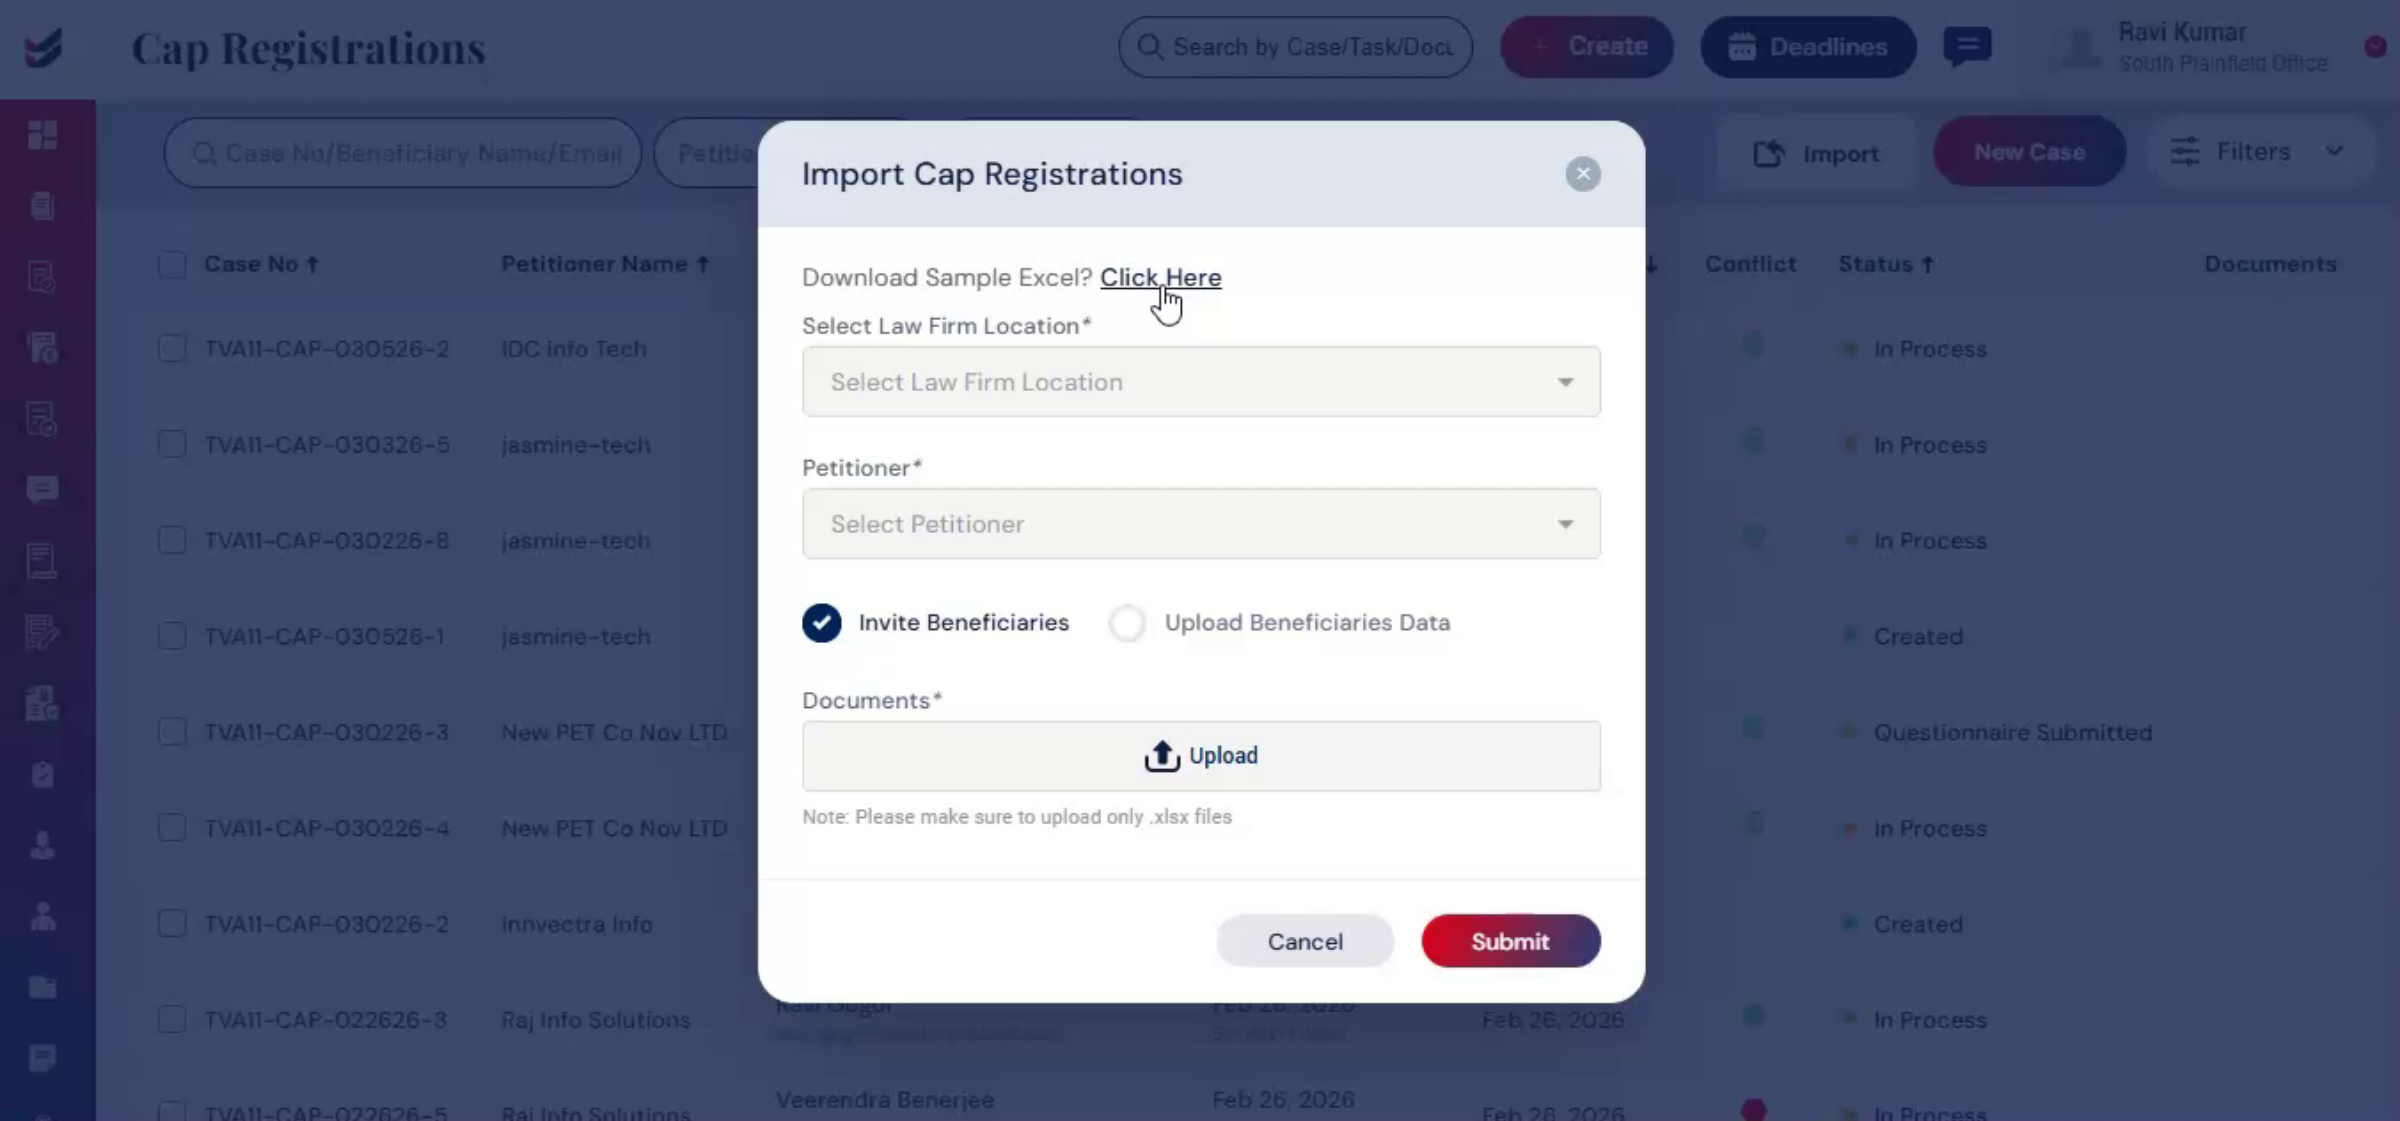
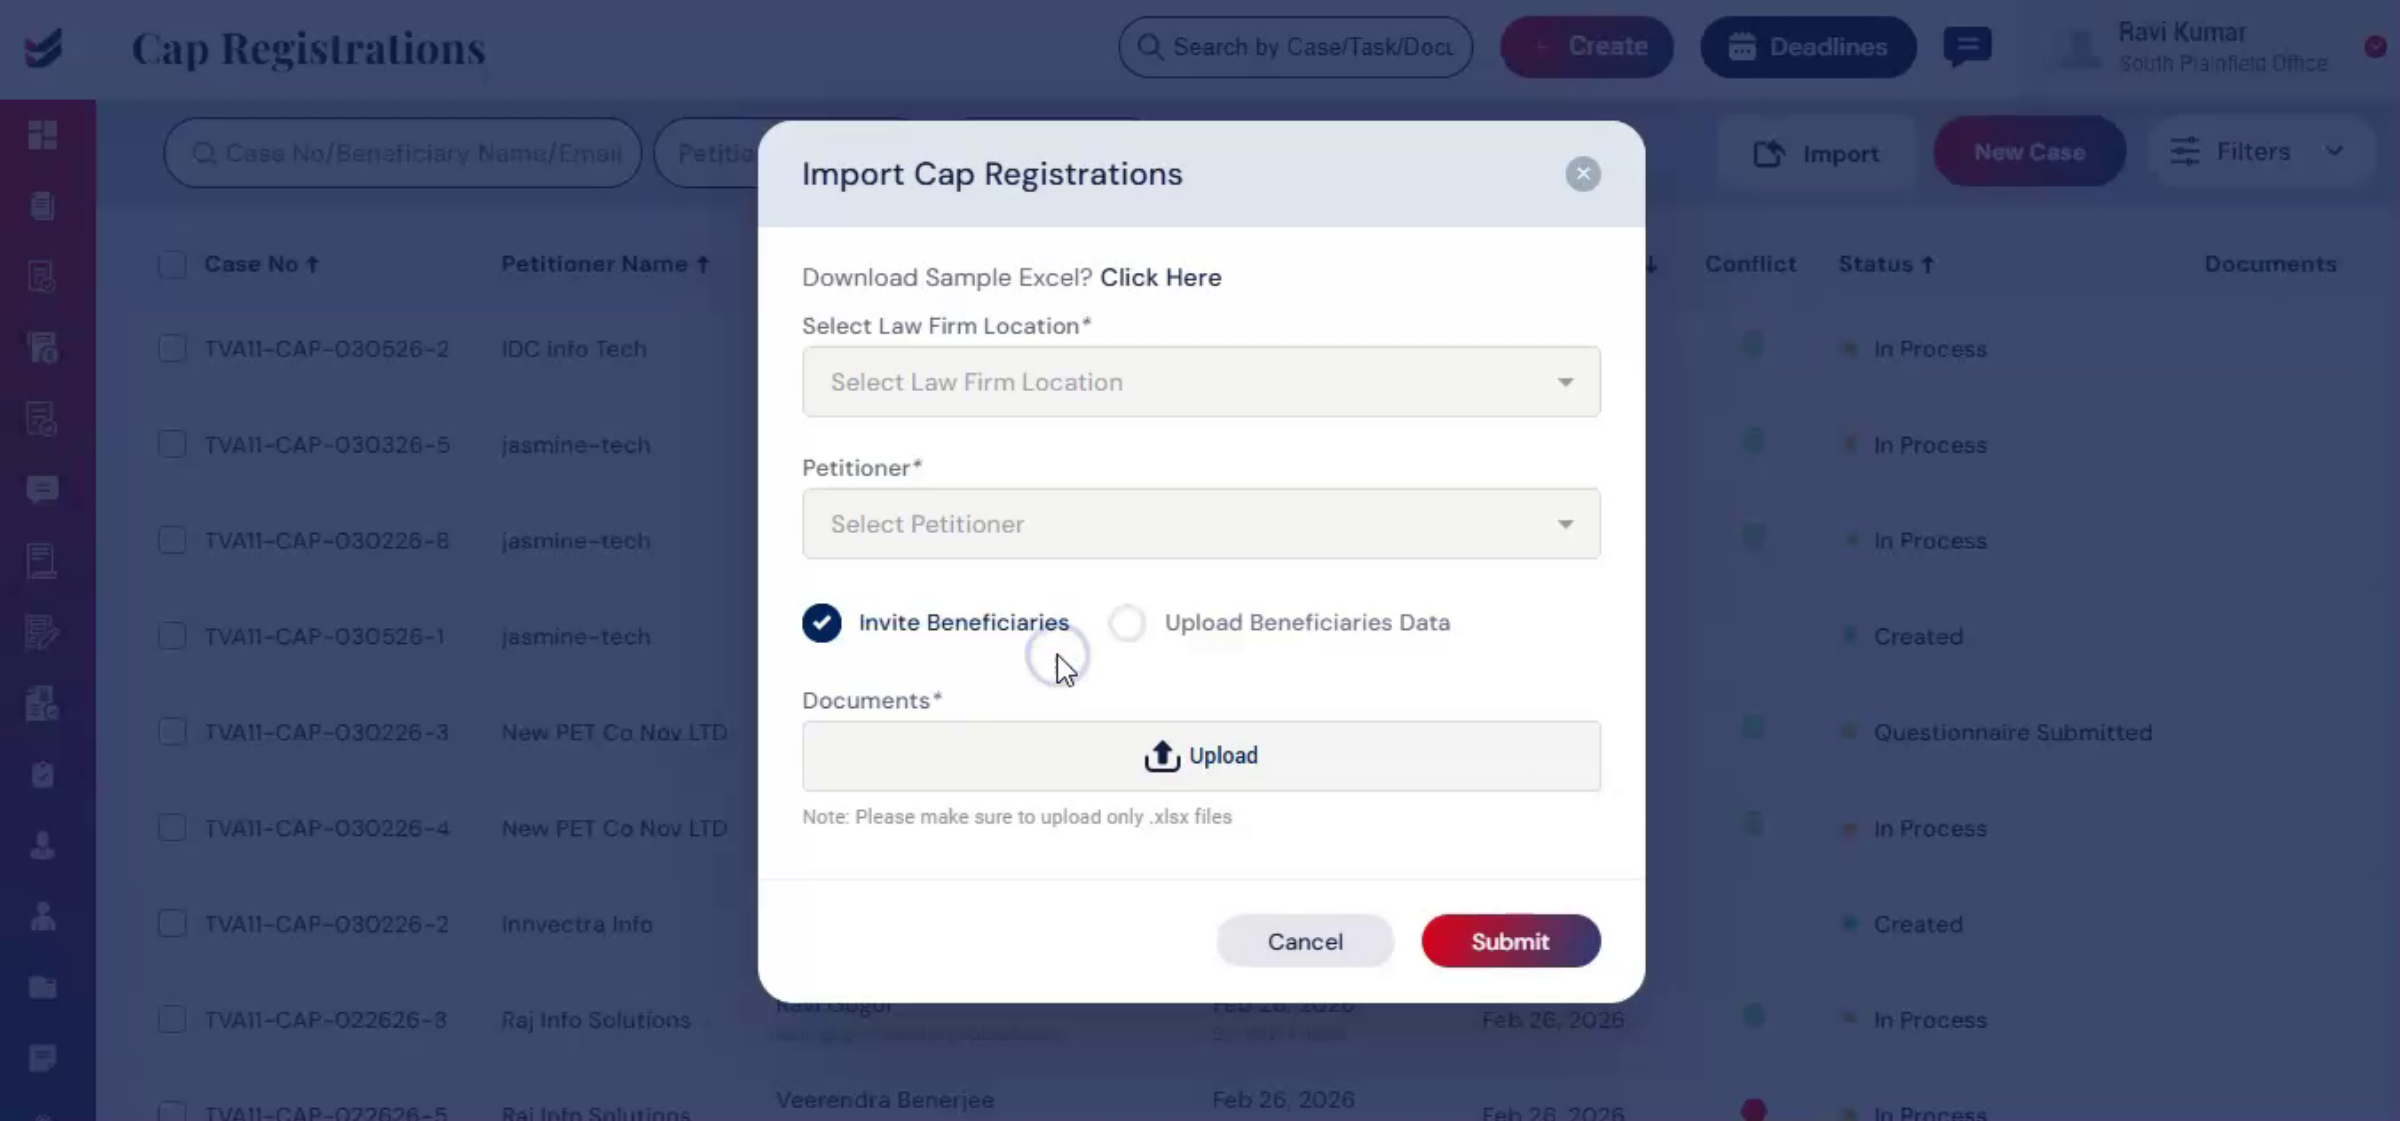
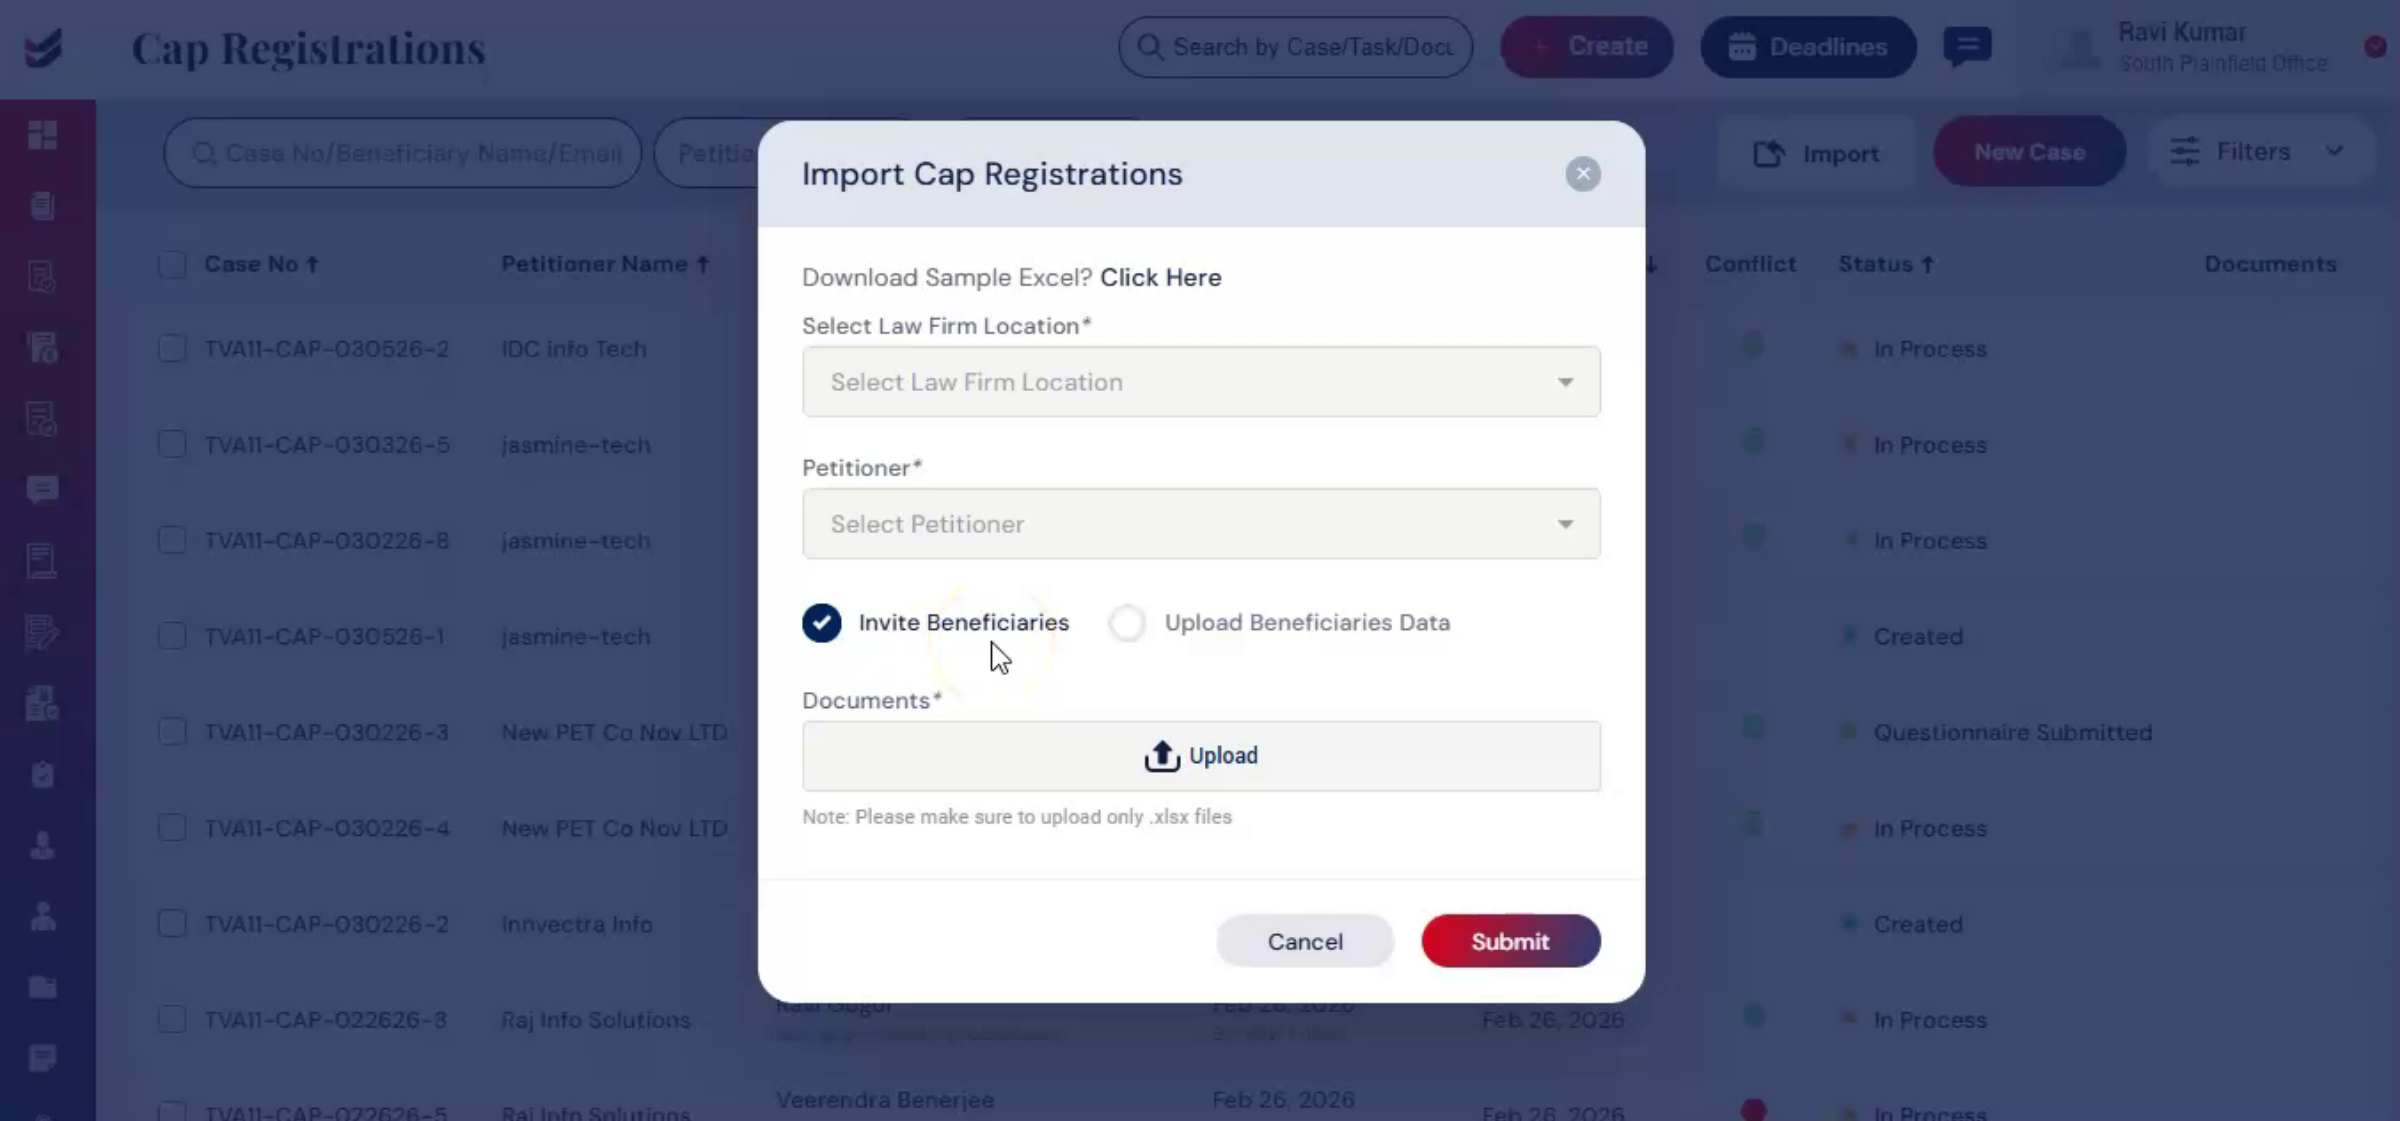
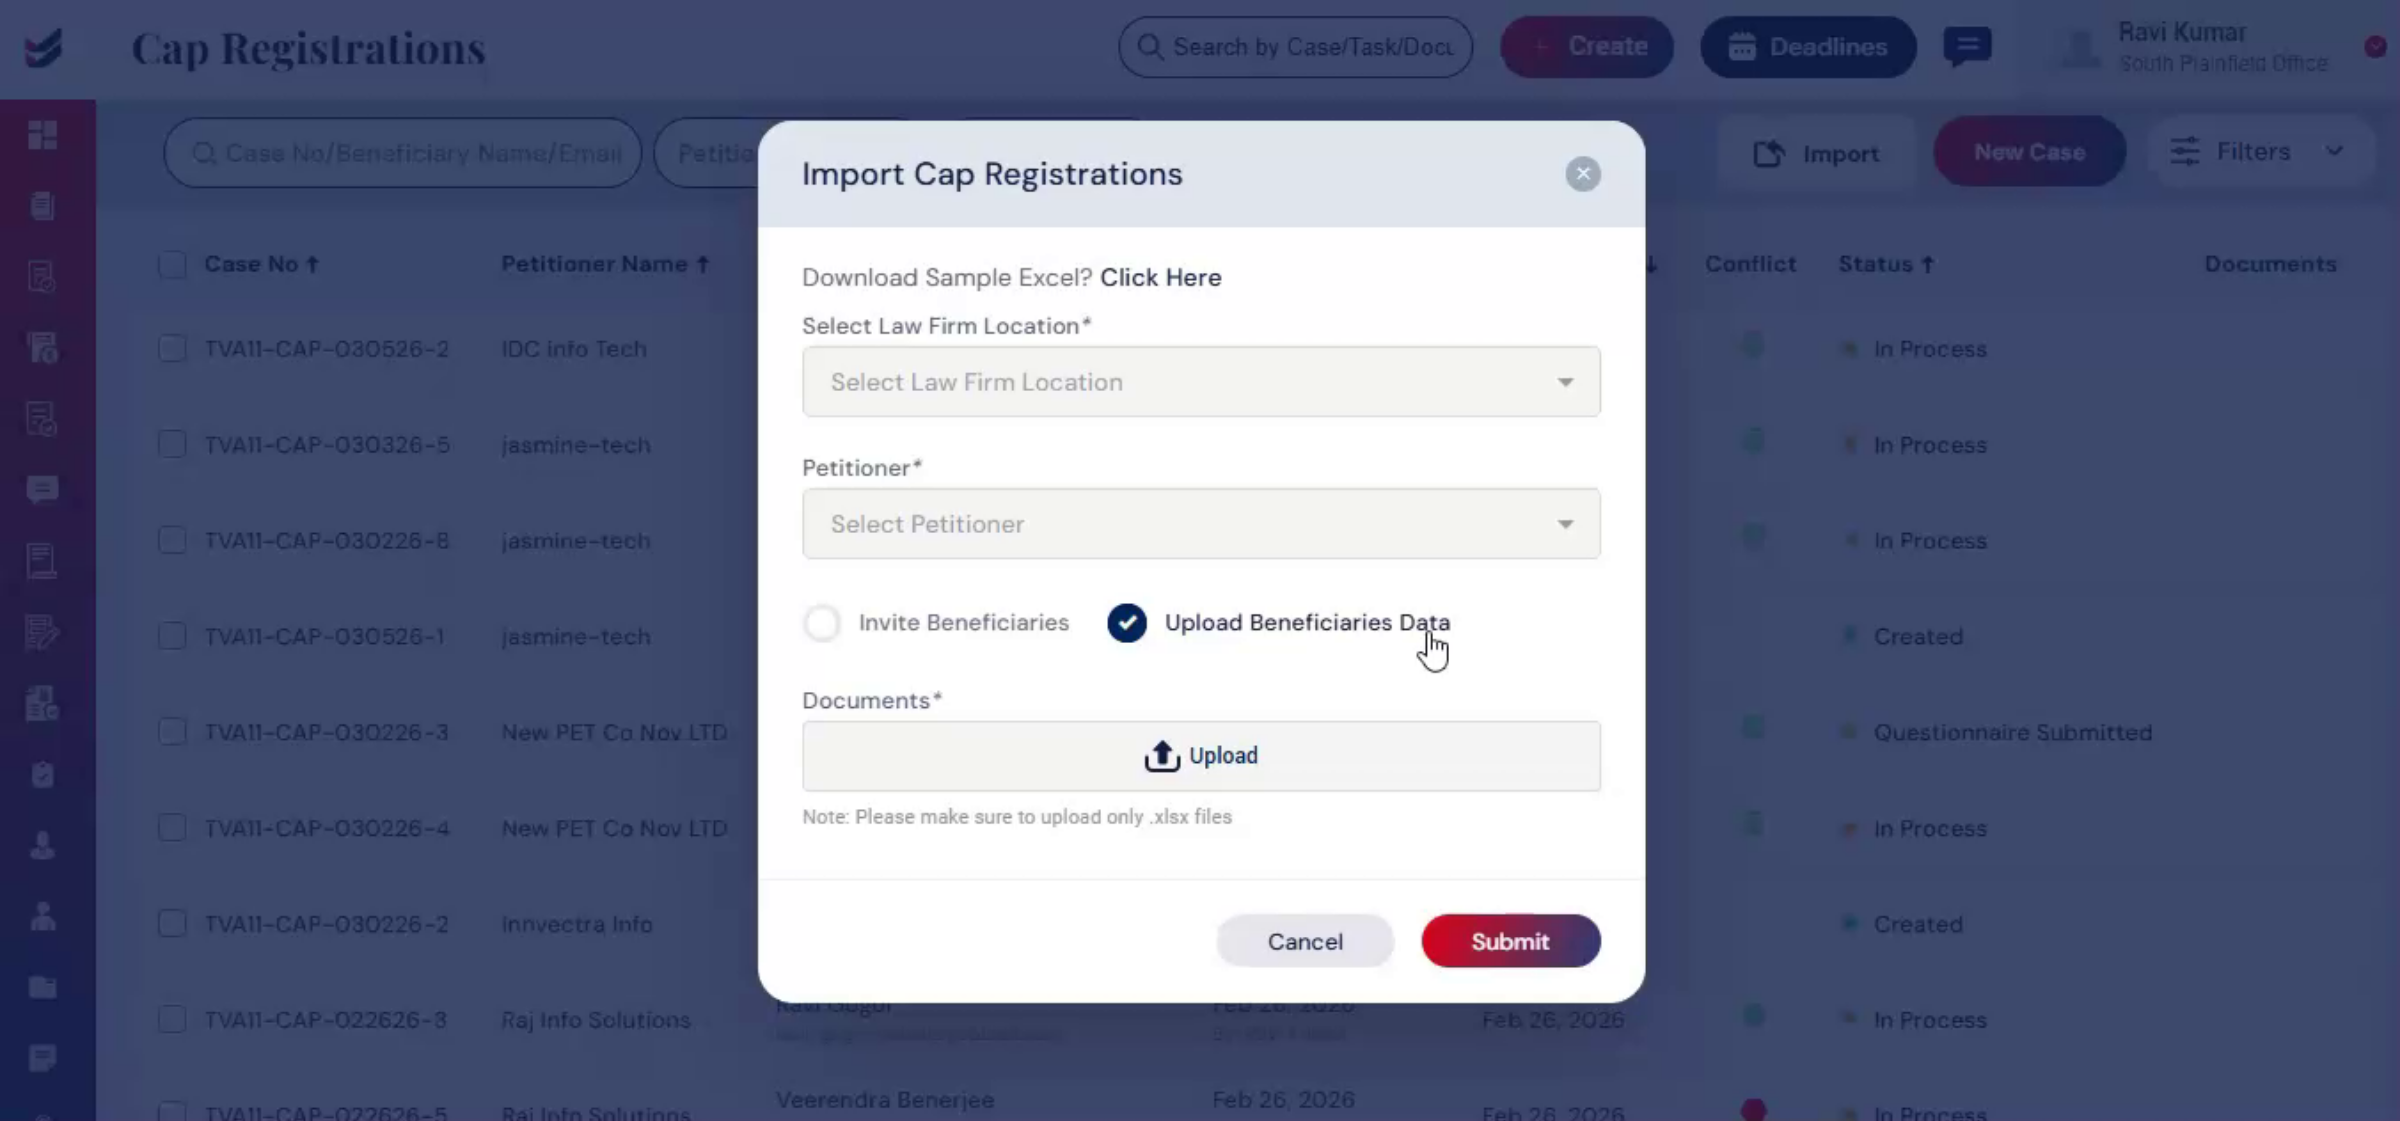
9. Importing Beneficiary Information
The import option allows you to upload a bulk of beneficiary information using a properly formatted Excel file. To view the required format, click on Download Sample.
 * click the image to view enlarged
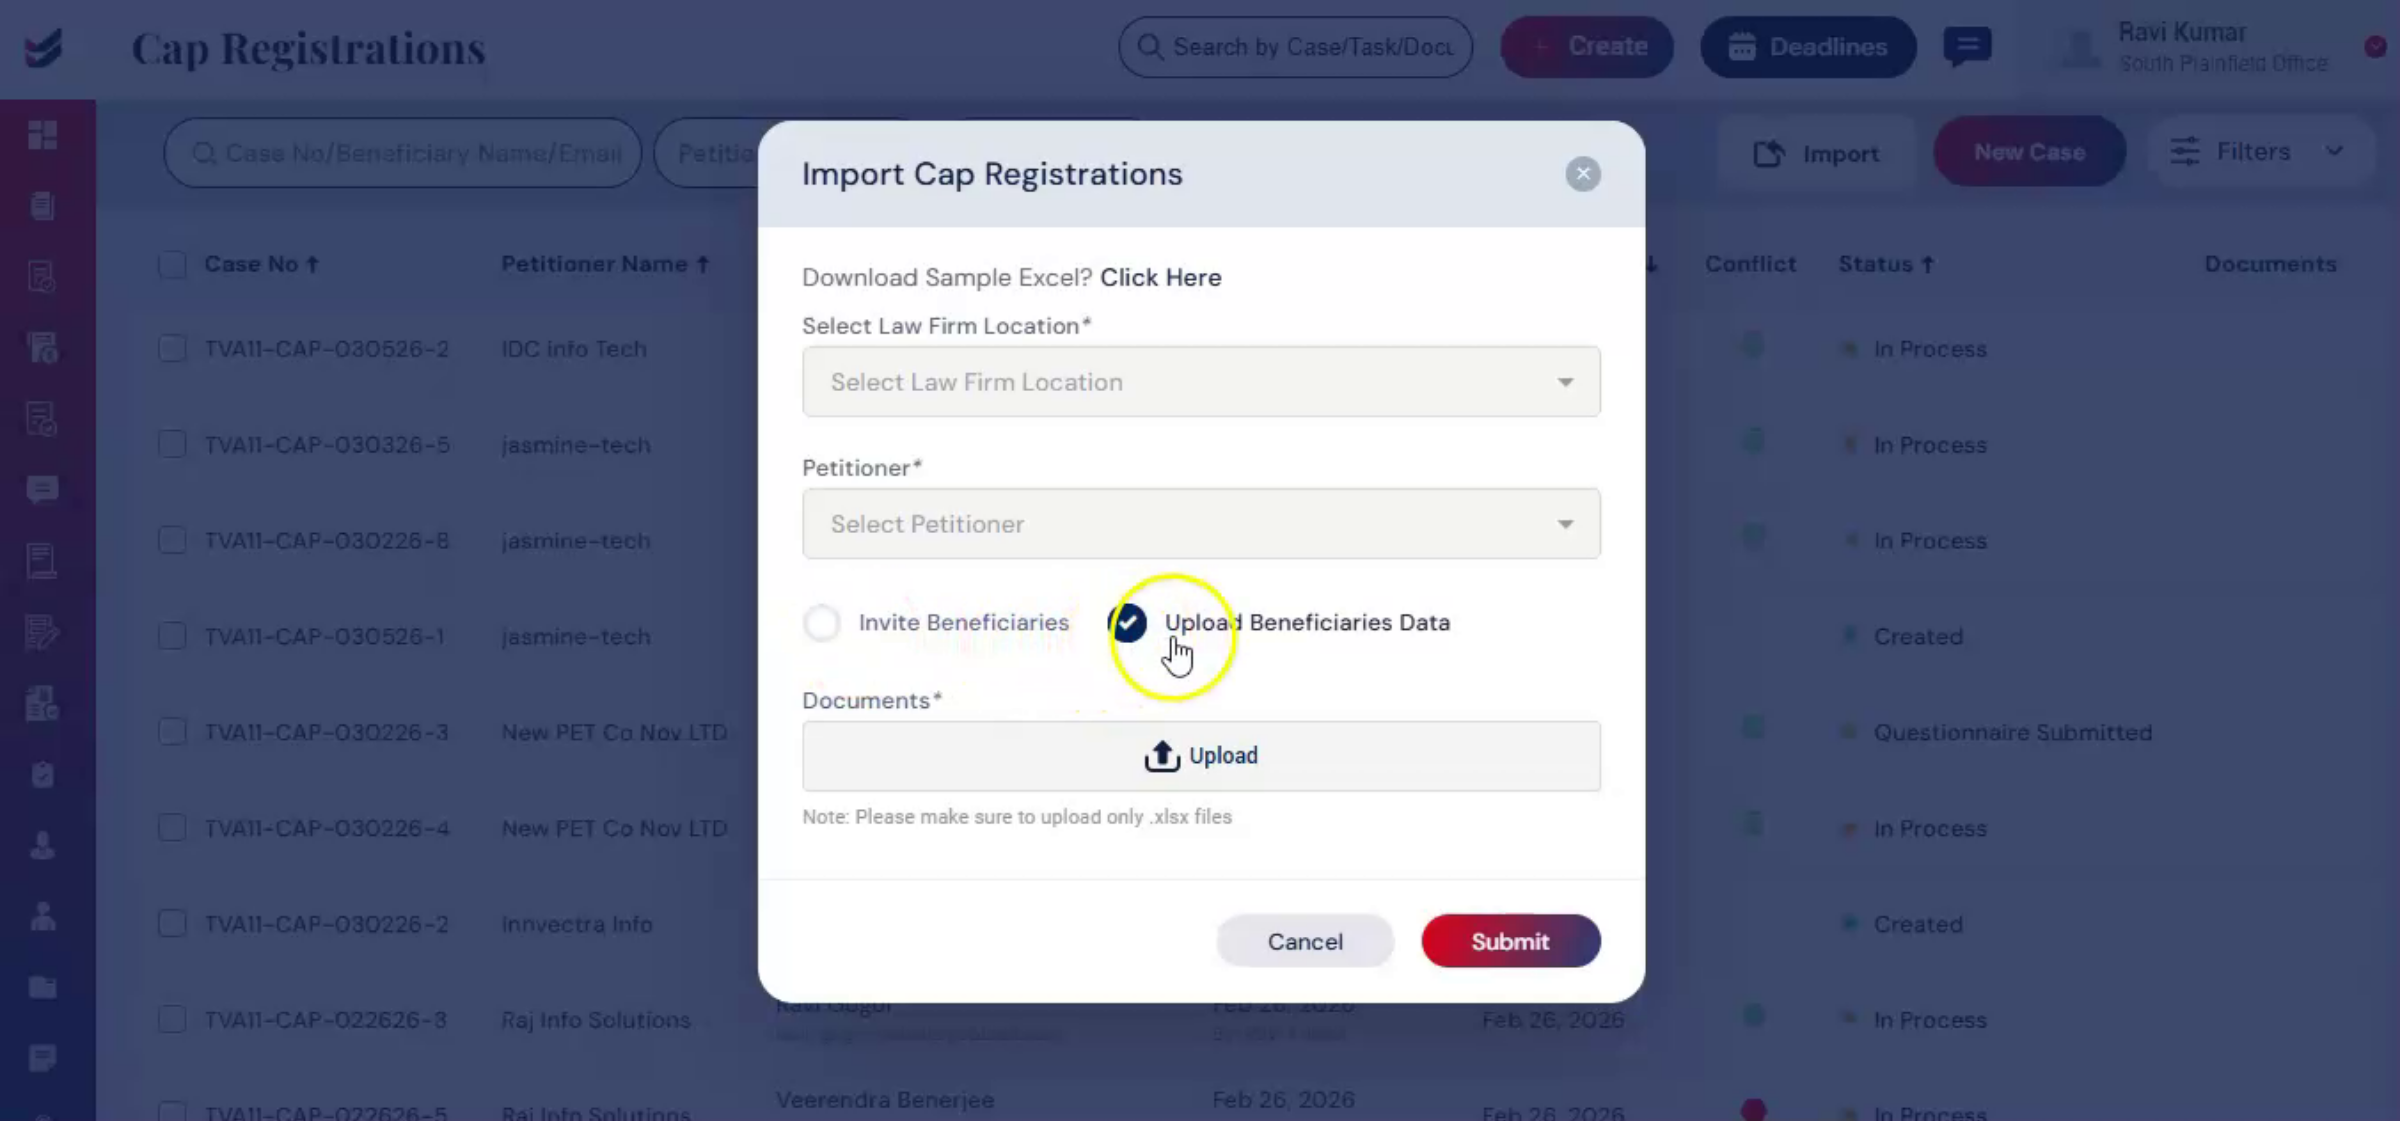
10. Beneficiary Data Upload Options
There are two options with different formats: invite beneficiaries or upload beneficiaries' data.
 * click the image to view enlarged
11. Invite Beneficiaries Via Excel
 * click the image to view enlarged
12. Automatic Questionnaire Email
 * click the image to view enlarged
13. Uploading Detailed Beneficiary Data
 * click the image to view enlarged
14. ImmiBox Data Extraction And Submission
 * click the image to view enlarged
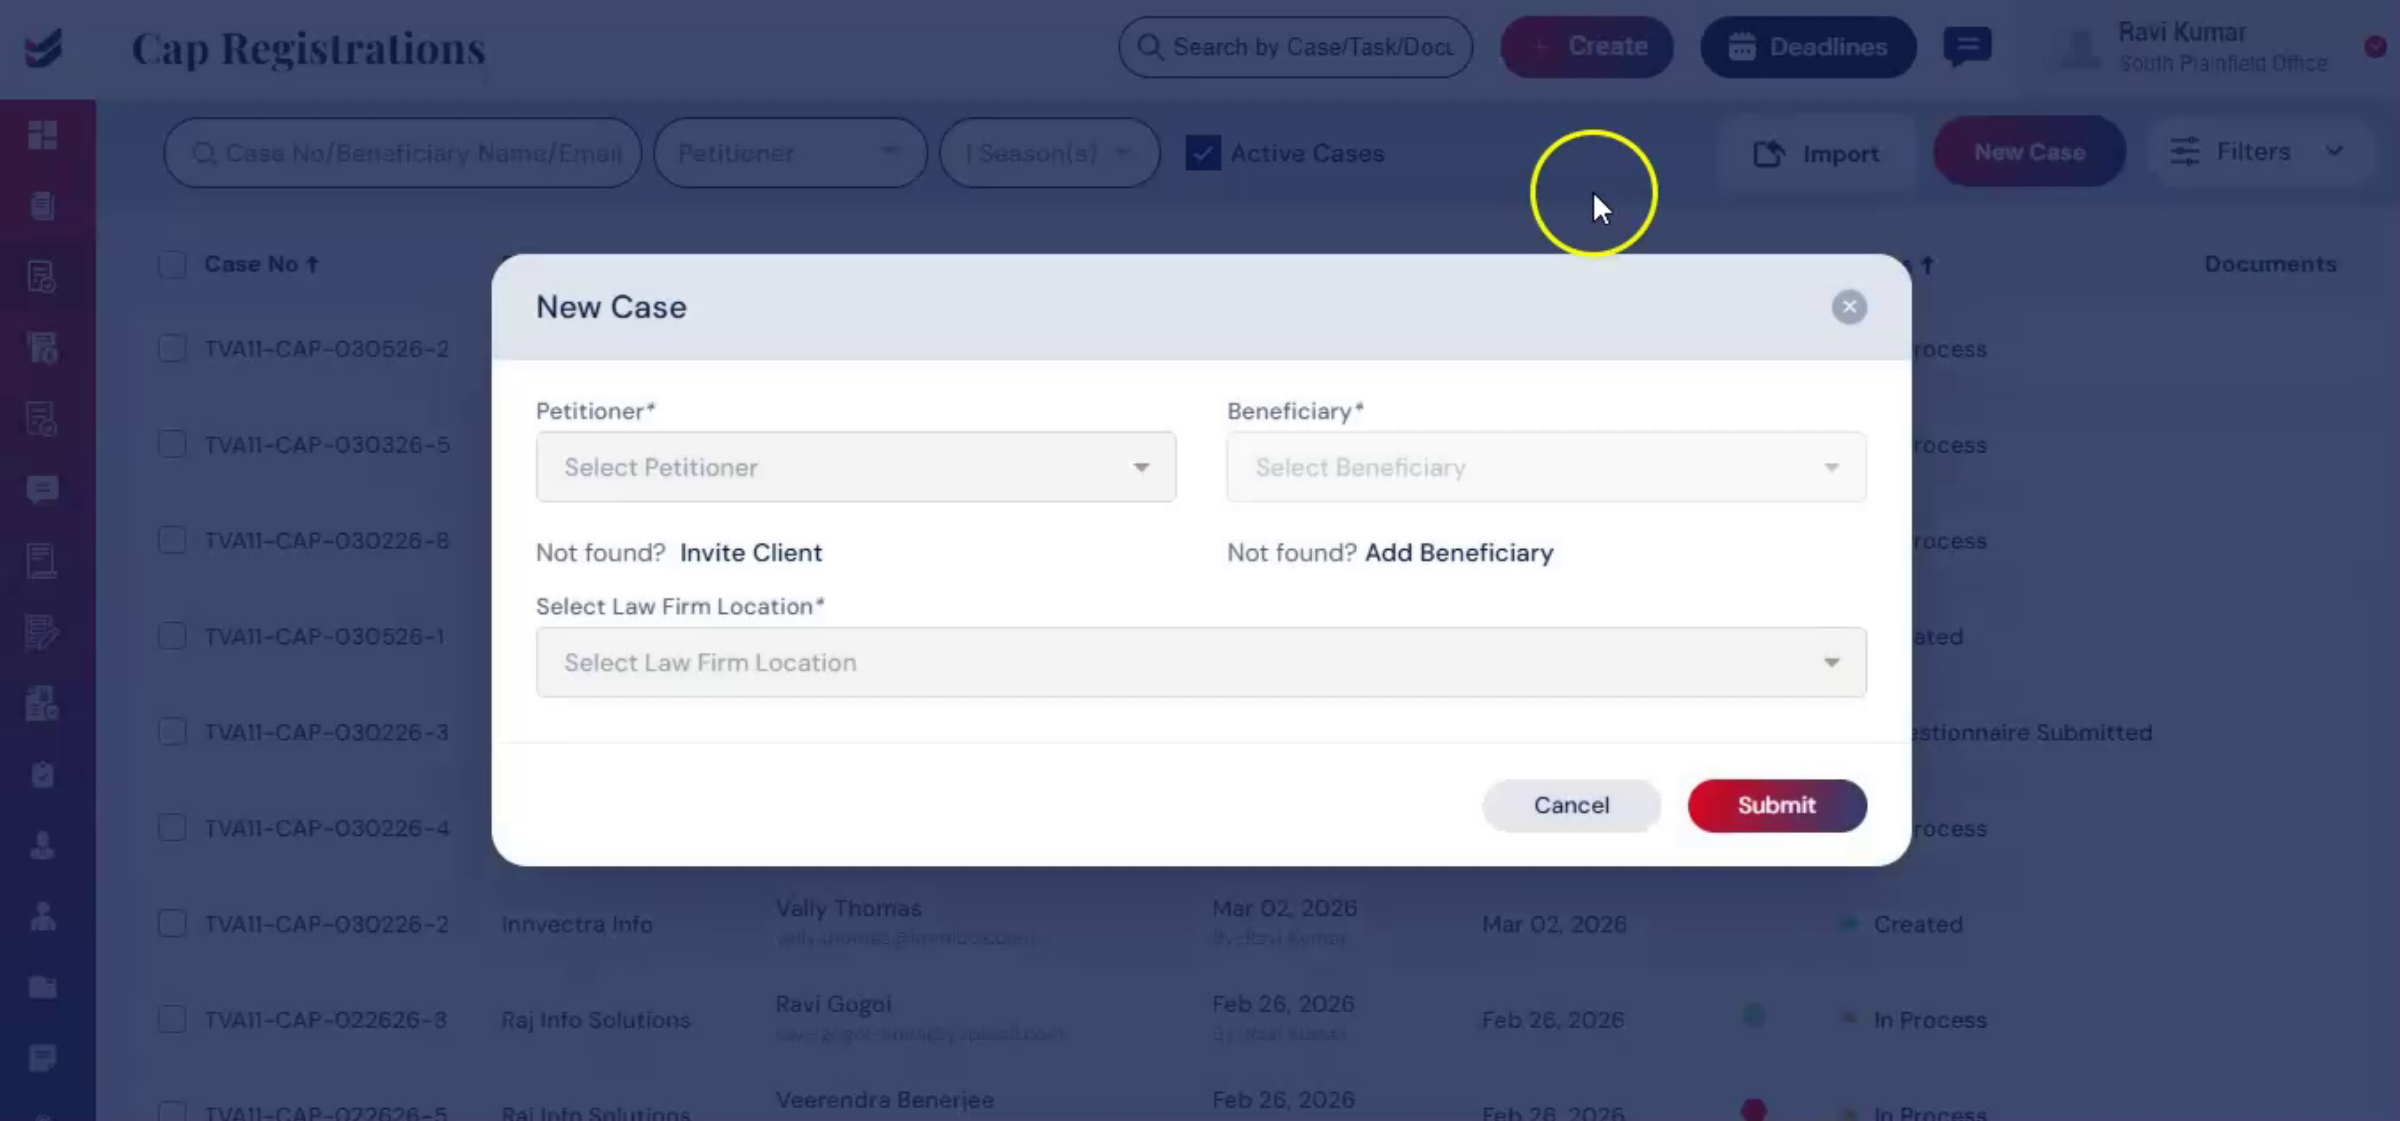
15. Creating New CAP Registration Case
 * click the image to view enlarged
16. CAP Registration Dialog And Petitioner Selection
 * click the image to view enlarged
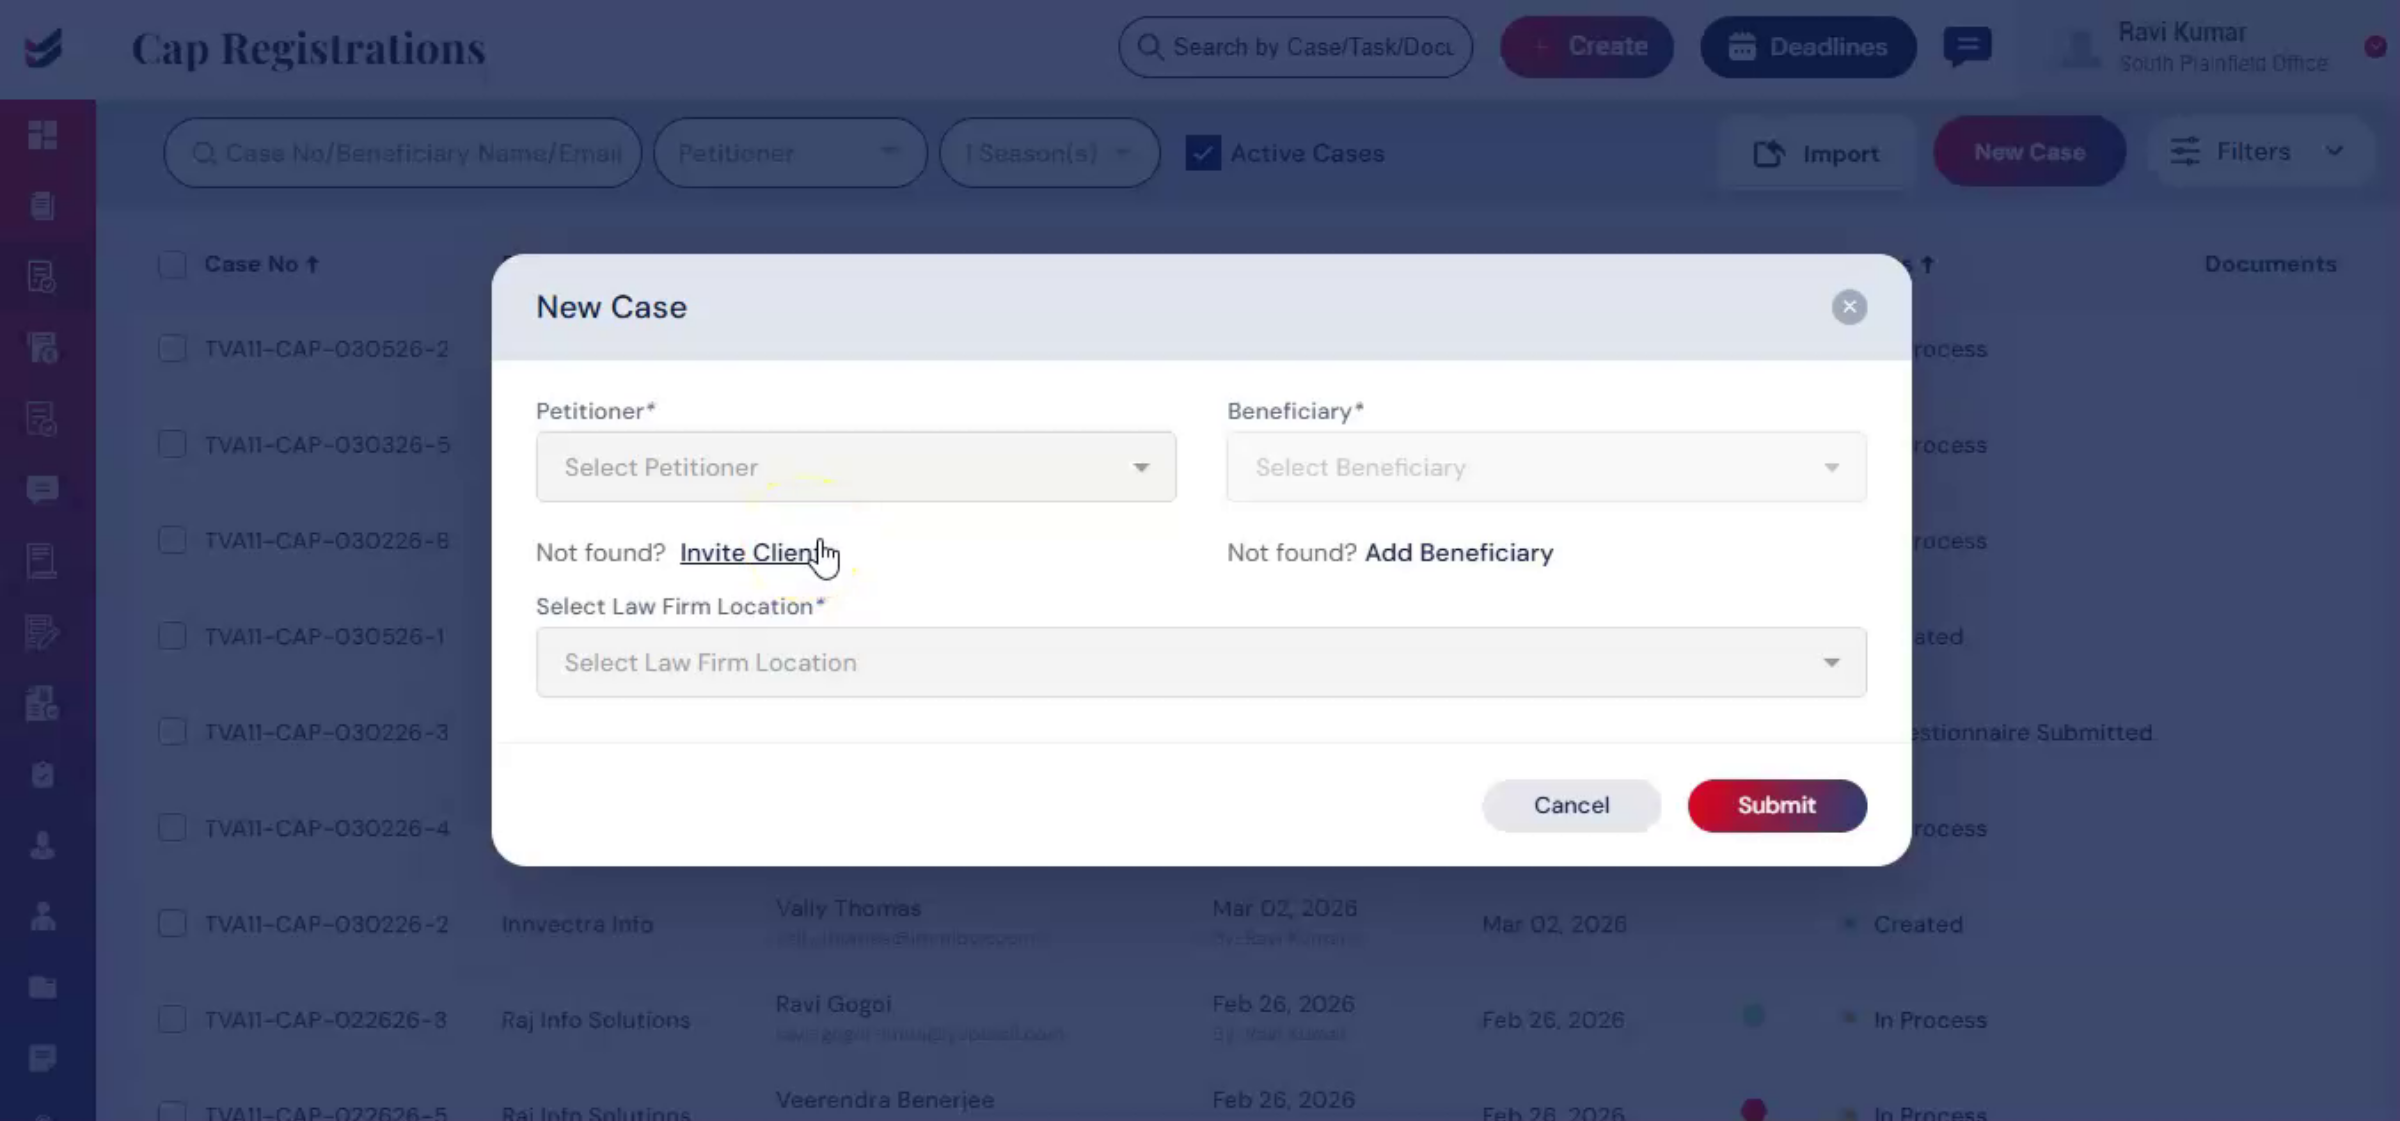
17. Adding Beneficiary And Petitioner Guides
 * click the image to view enlarged
18. Submitting CAP Registration Case
 * click the image to view enlarged
19. Importance Of Accurate Data Collection
 * click the image to view enlarged
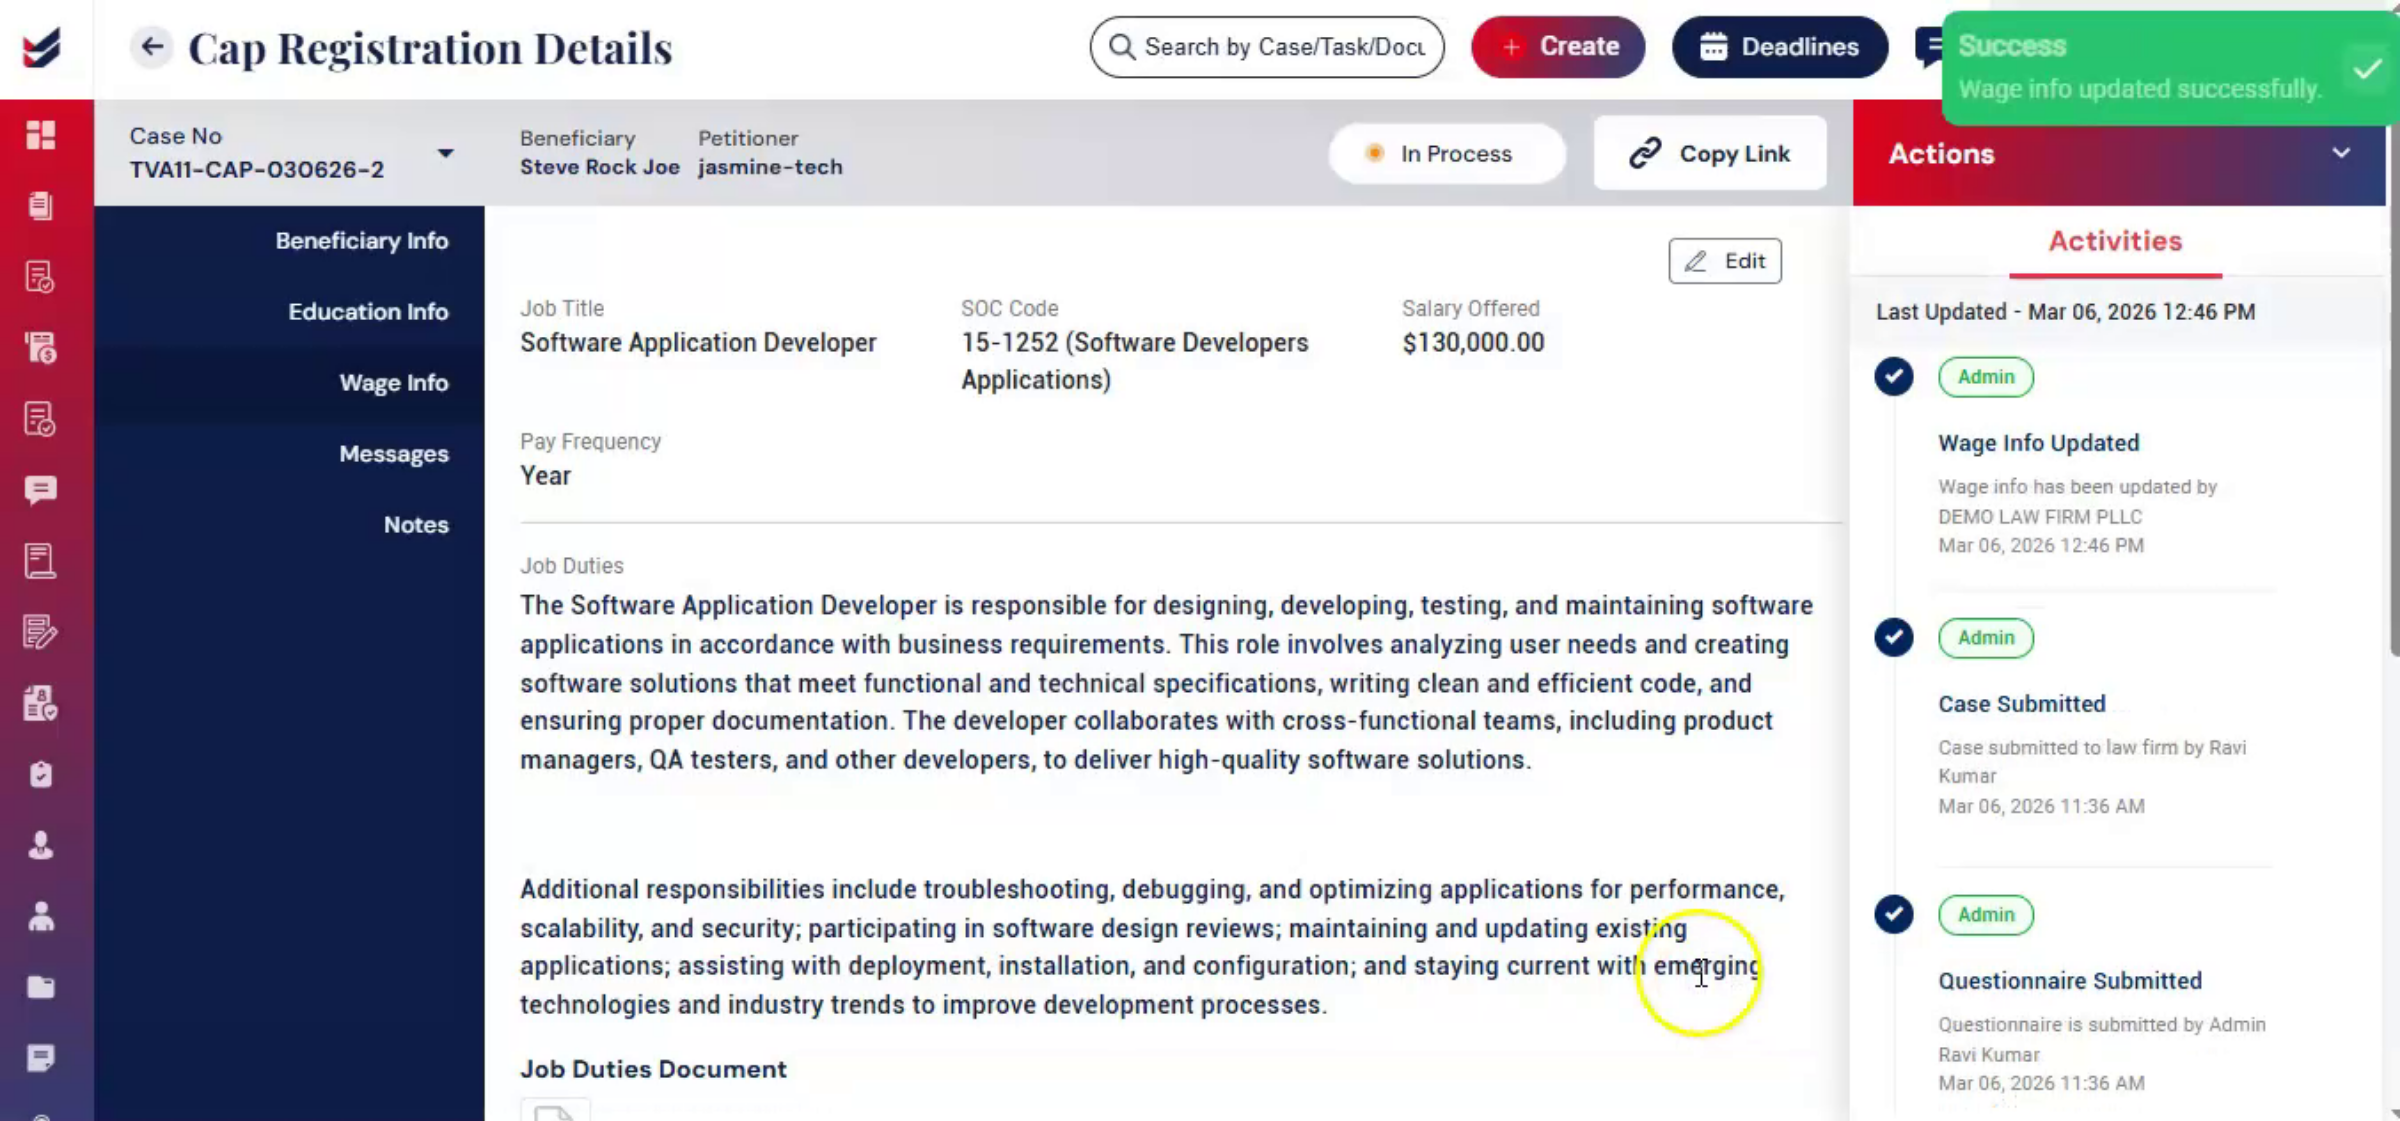
20. Wage Information Responsibilities
 * click the image to view enlarged
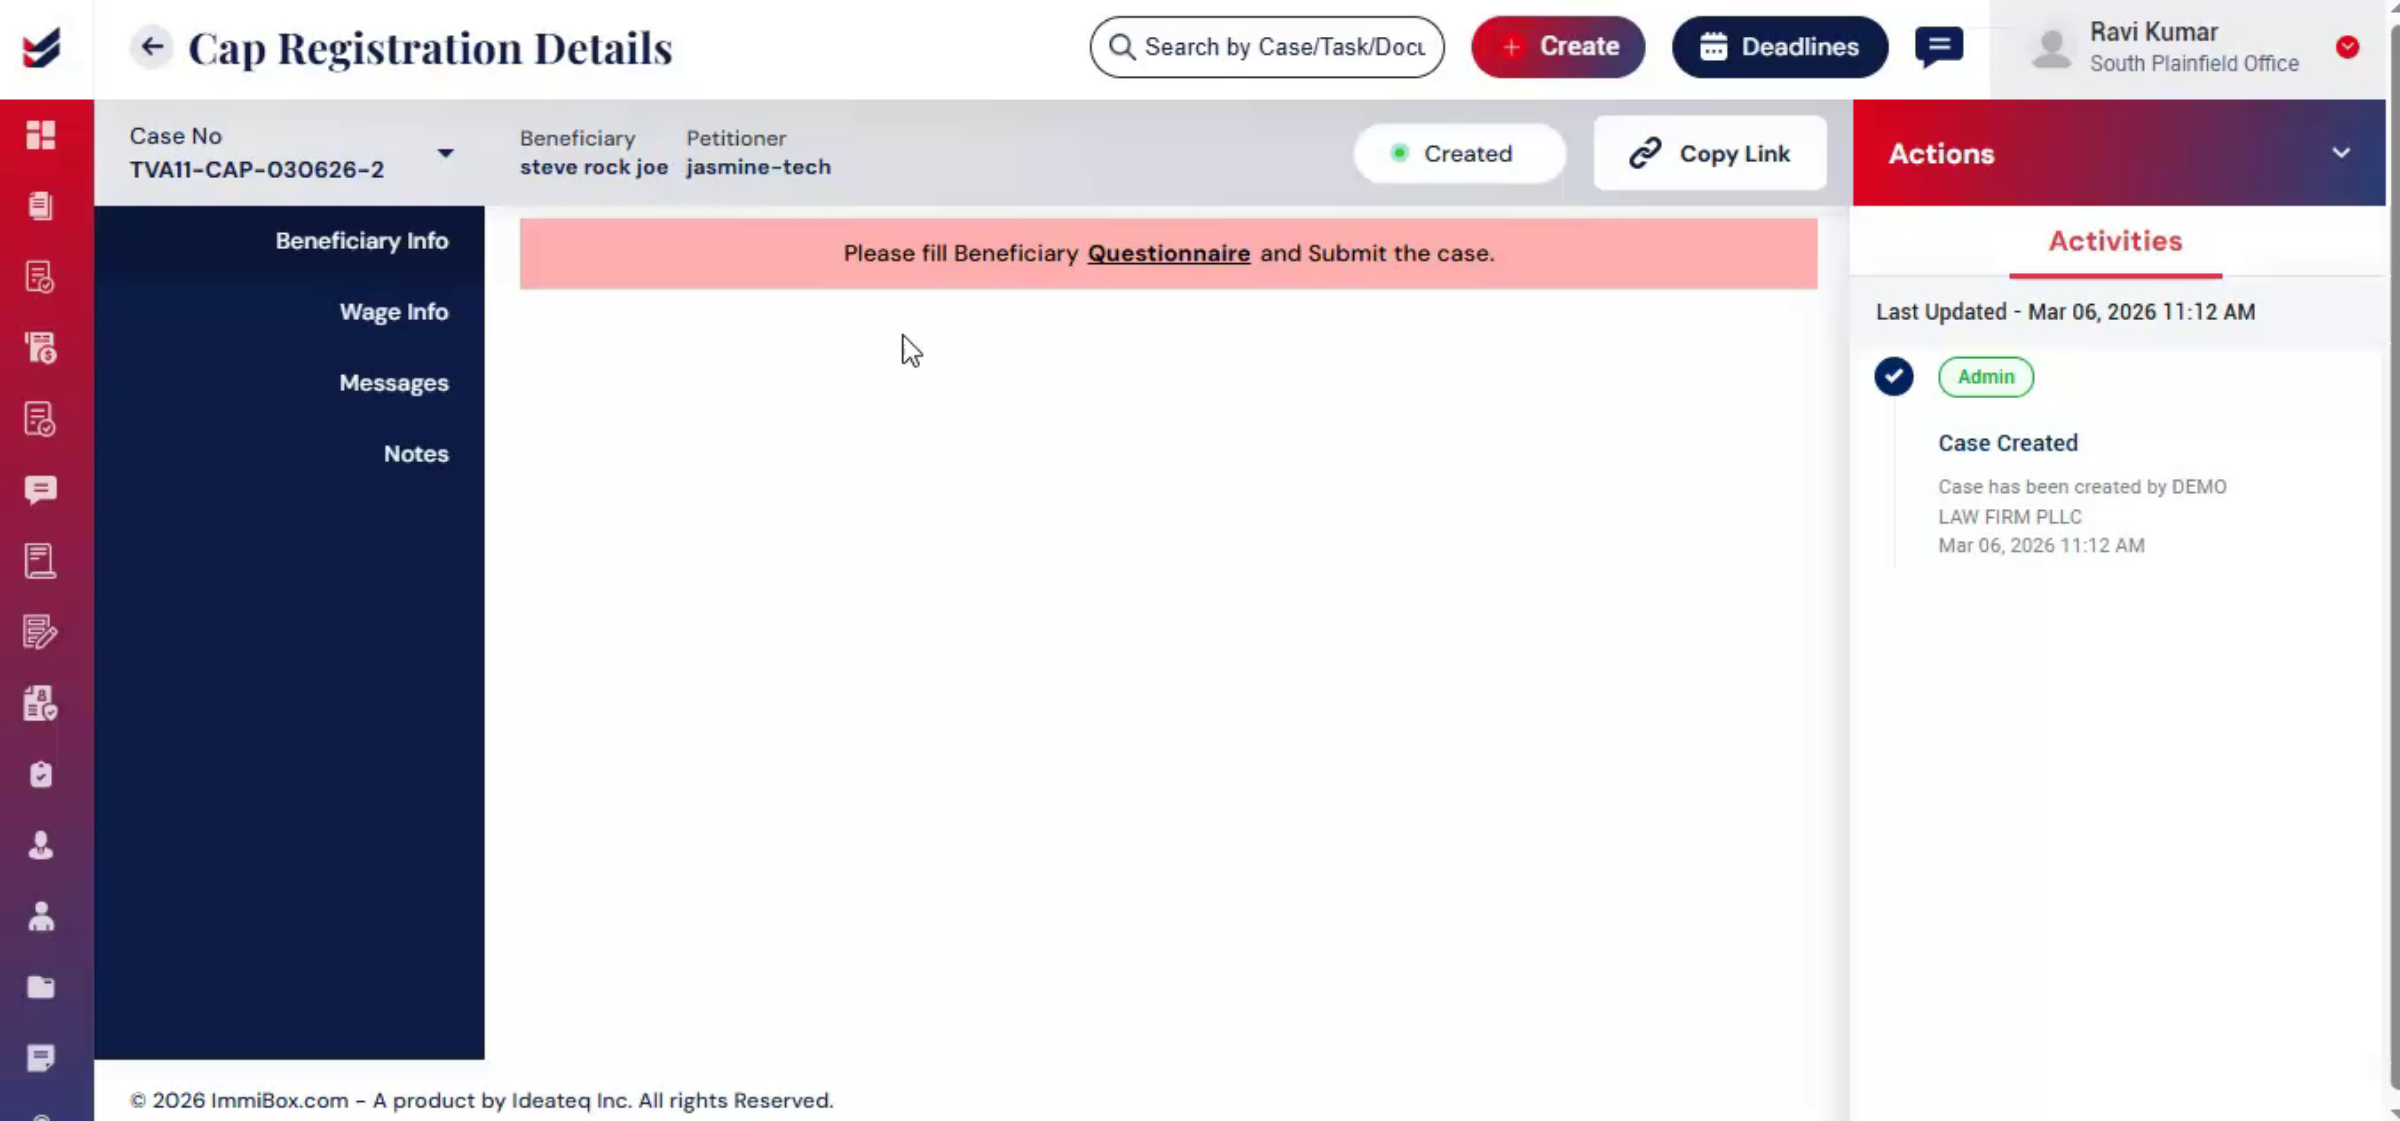
21. Accessing Beneficiary Questionnaire
To access the questionnaire, go to Actions, click Edit Questionnaire, or under Beneficiary Info.
 * click the image to view enlarged
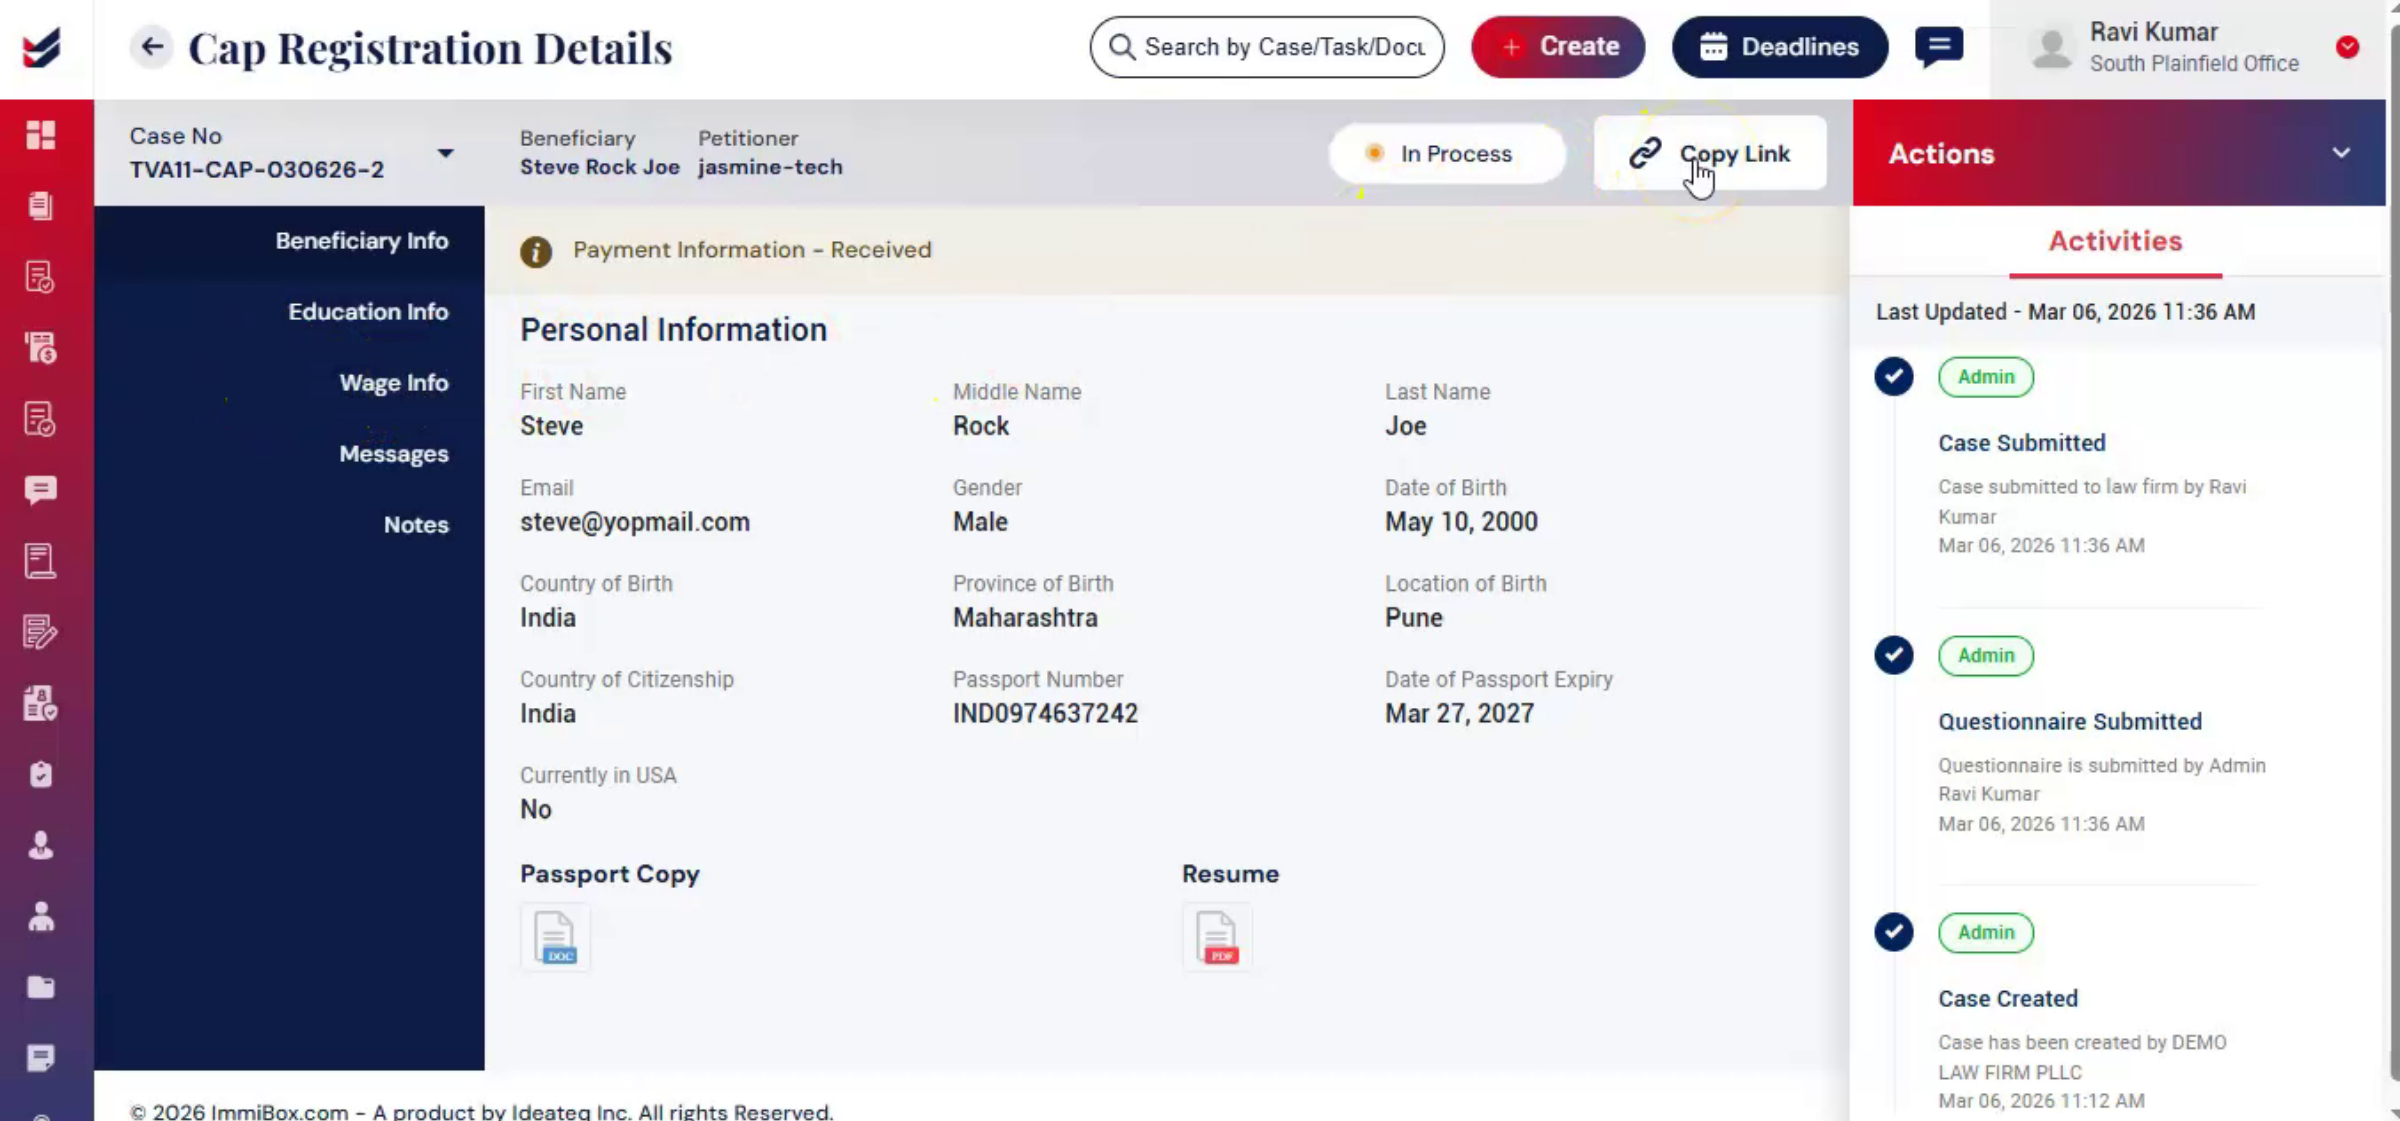
22. Completing Personal Information Section
 * click the image to view enlarged
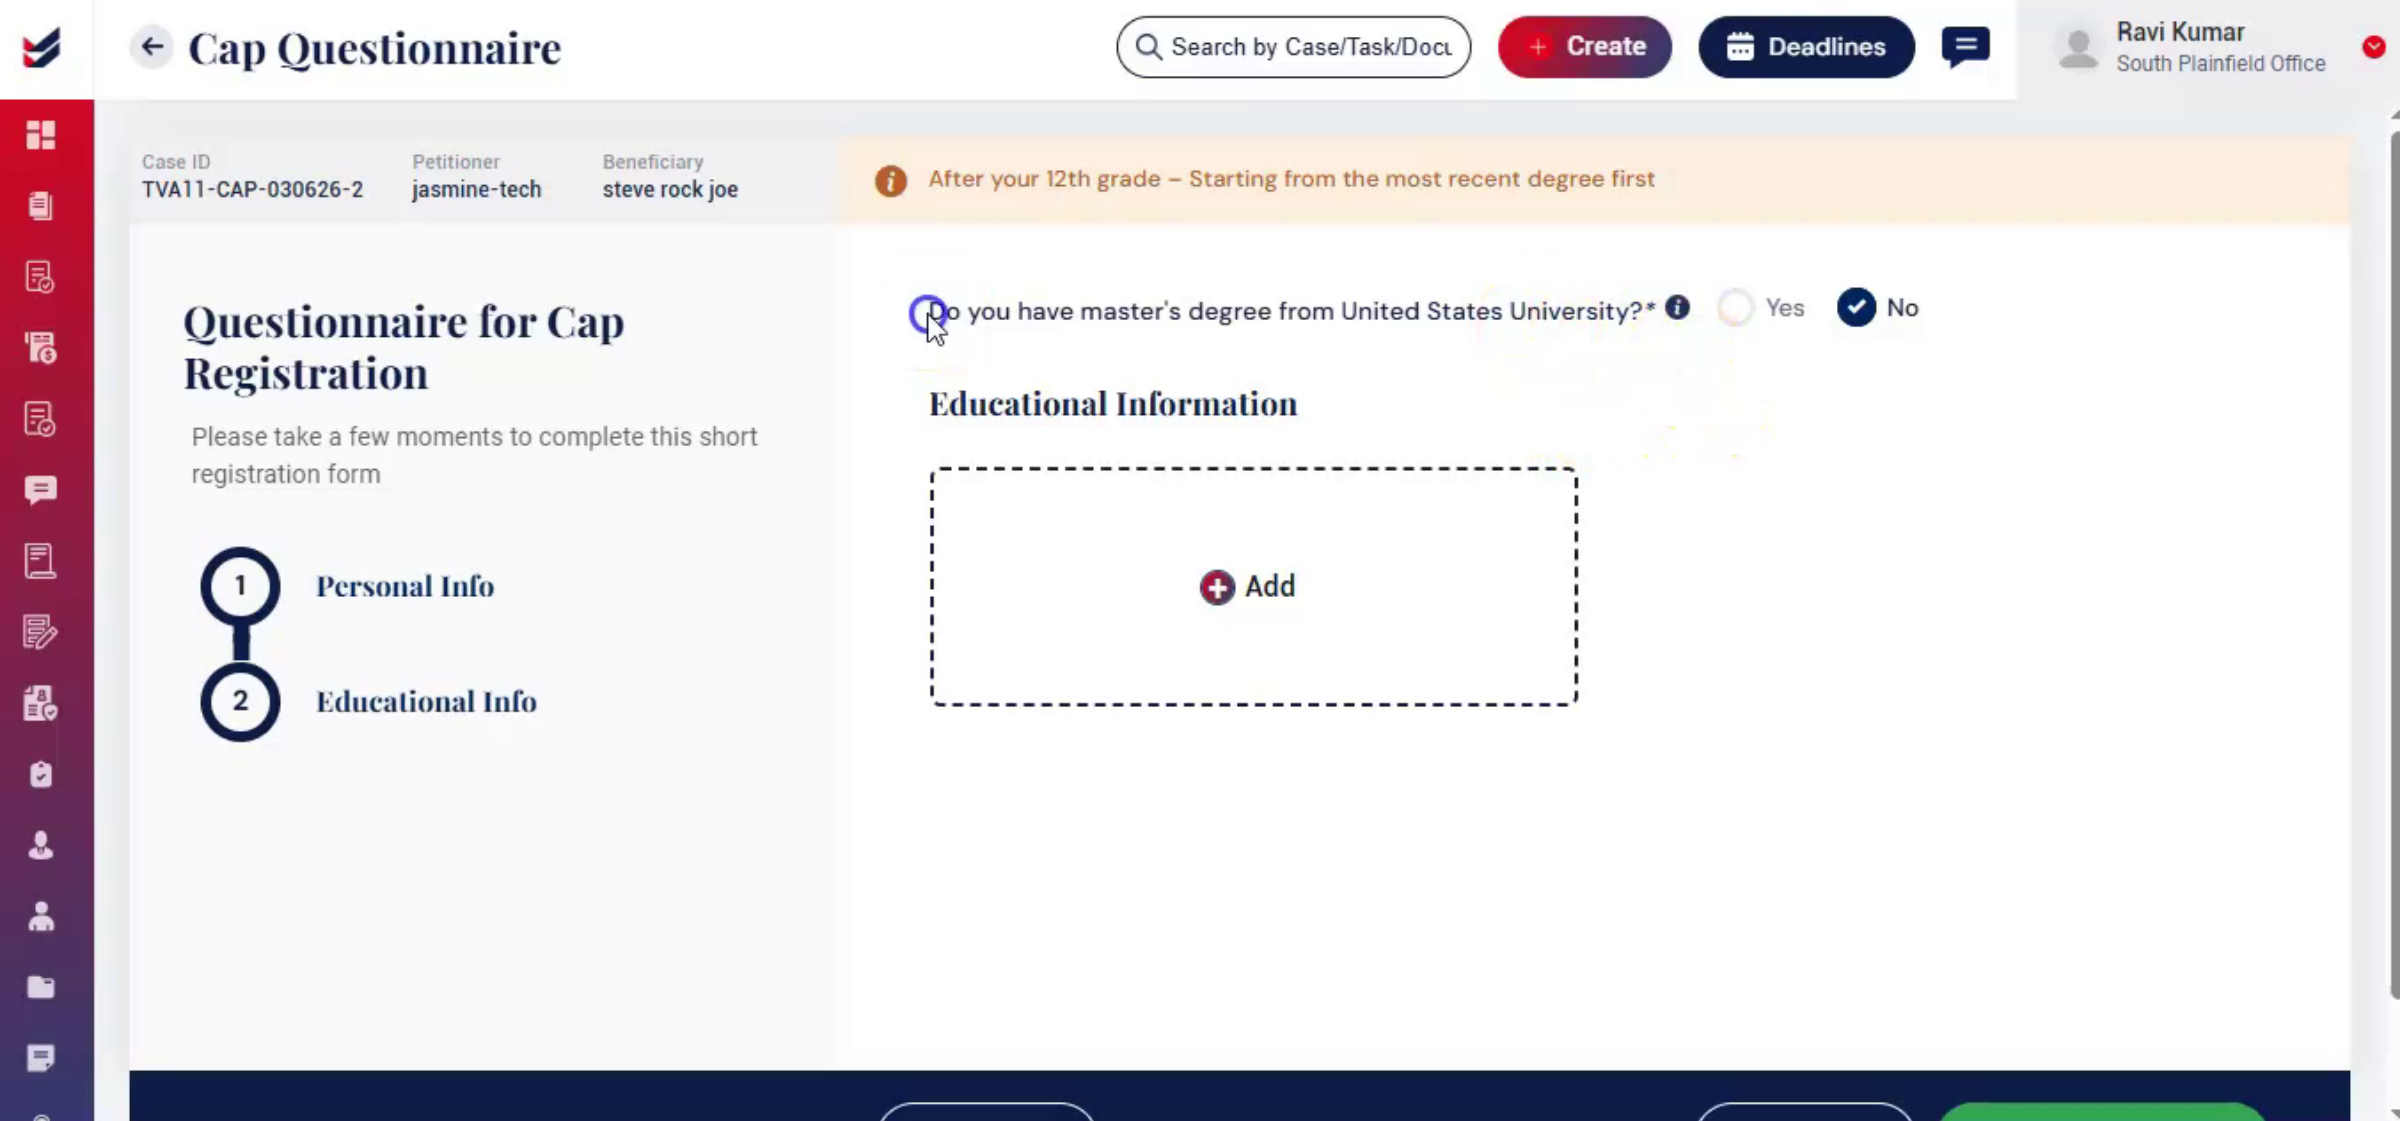
23. Educational Information Section Details
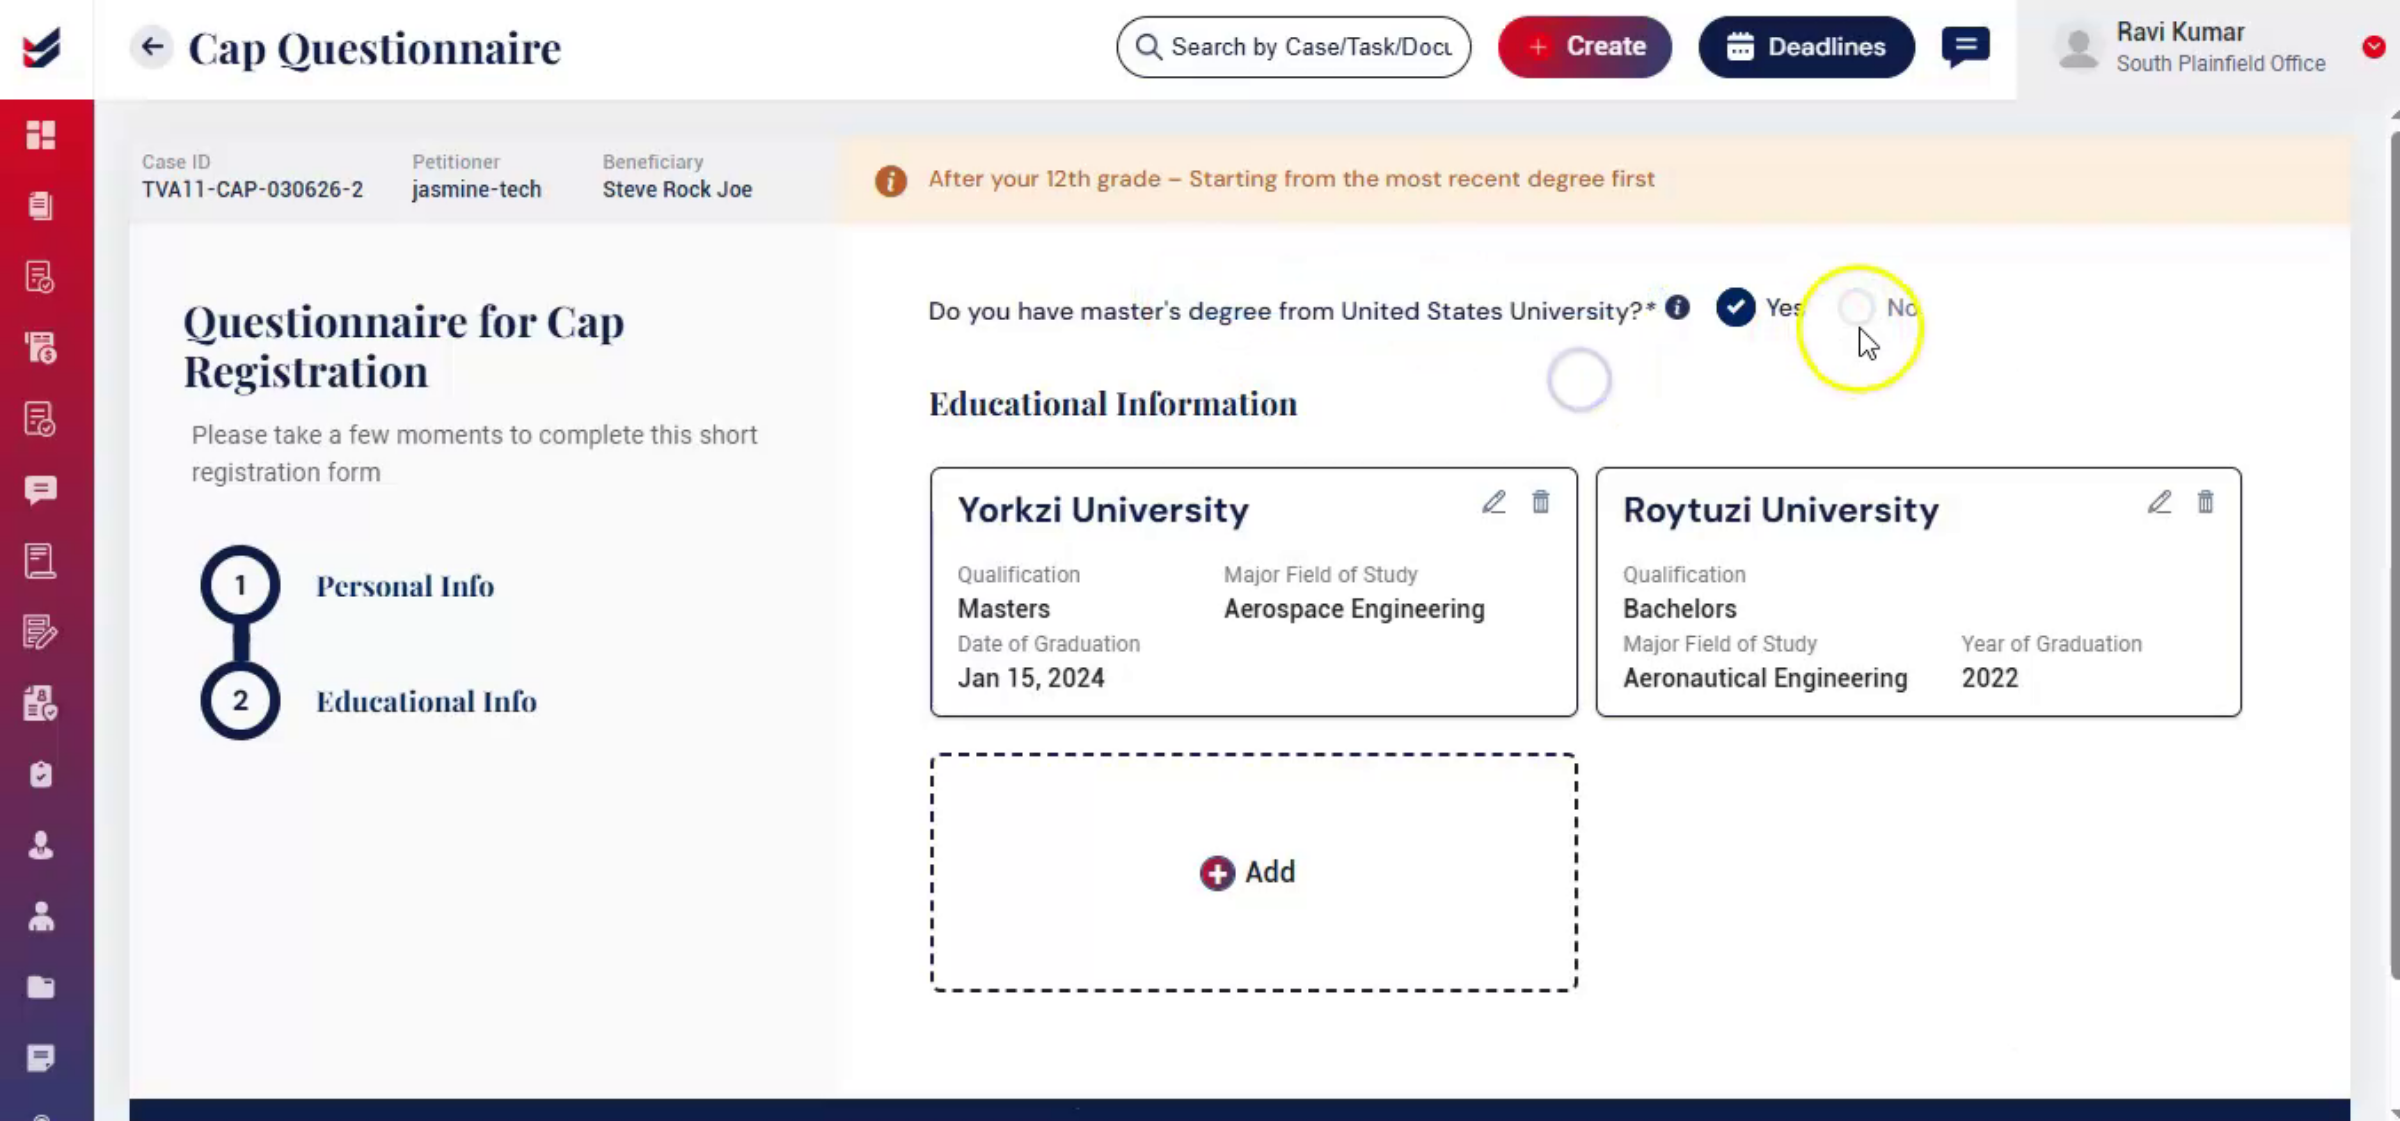
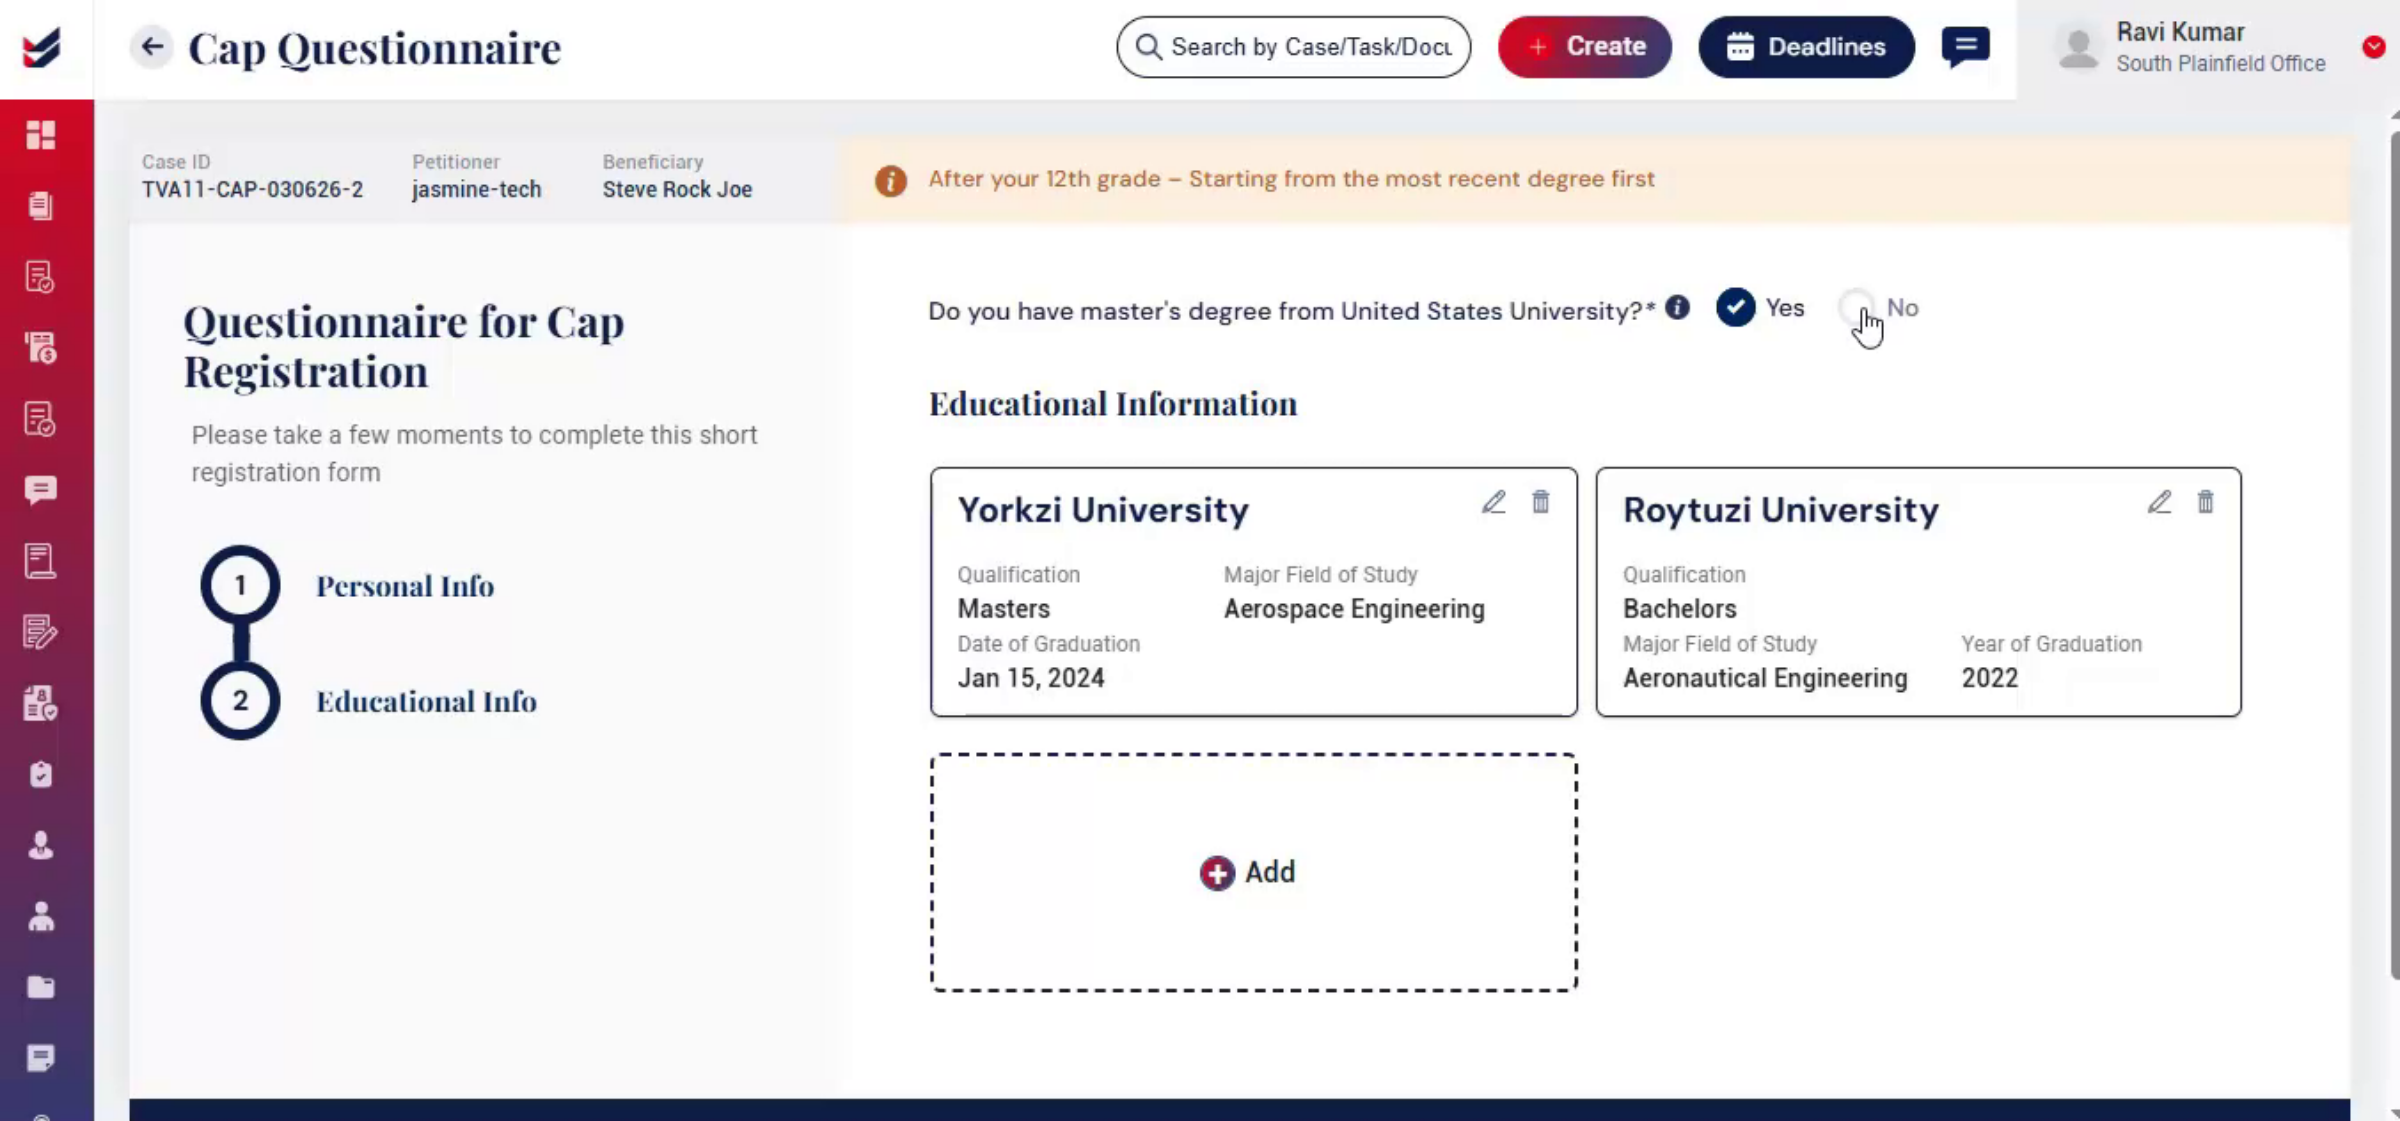
If the beneficiary holds a master's degree from a United States university, select yes. After selecting yes, click add and enter the master's degree information along with the graduation details. If the beneficiary does not have a master's degree from a U.S. university, select no.
 * click the image to view enlarged
24. Master's Degree Entry Exceptions
 * click the image to view enlarged
25. Review And Submit Questionnaire
 * click the image to view enlarged
26. Next Step: Wage Info Section
 * click the image to view enlarged
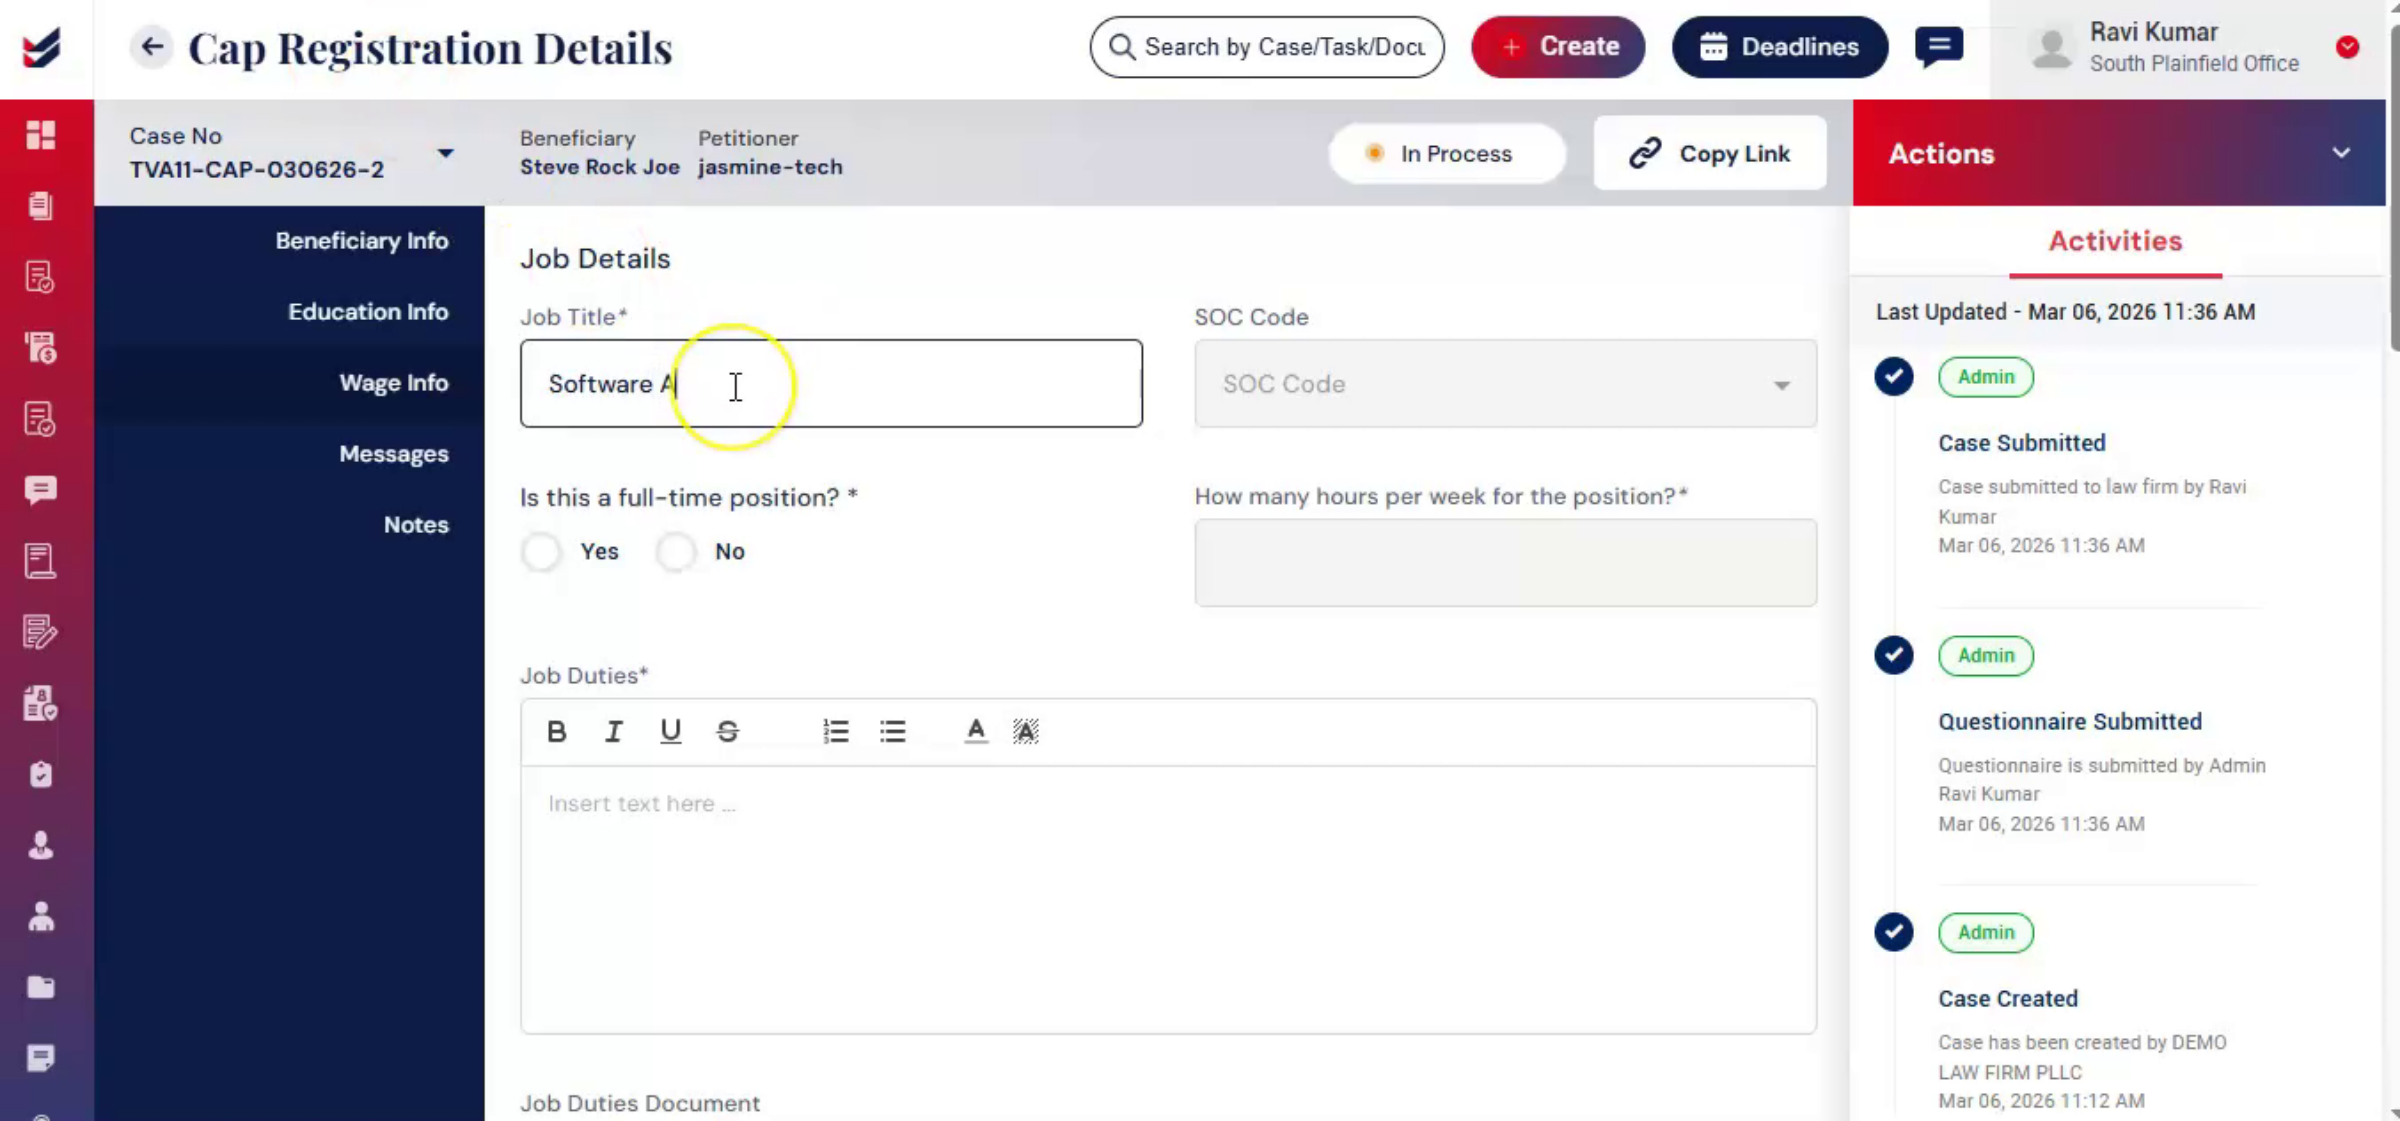
27. Wage Info Section Purpose
 * click the image to view enlarged
28. Sharing Questionnaire And Wage Info
 * click the image to view enlarged
29. Copying And Sending Beneficiary Links
 * click the image to view enlarged
30. Accessing Wage Info Form
 * click the image to view enlarged
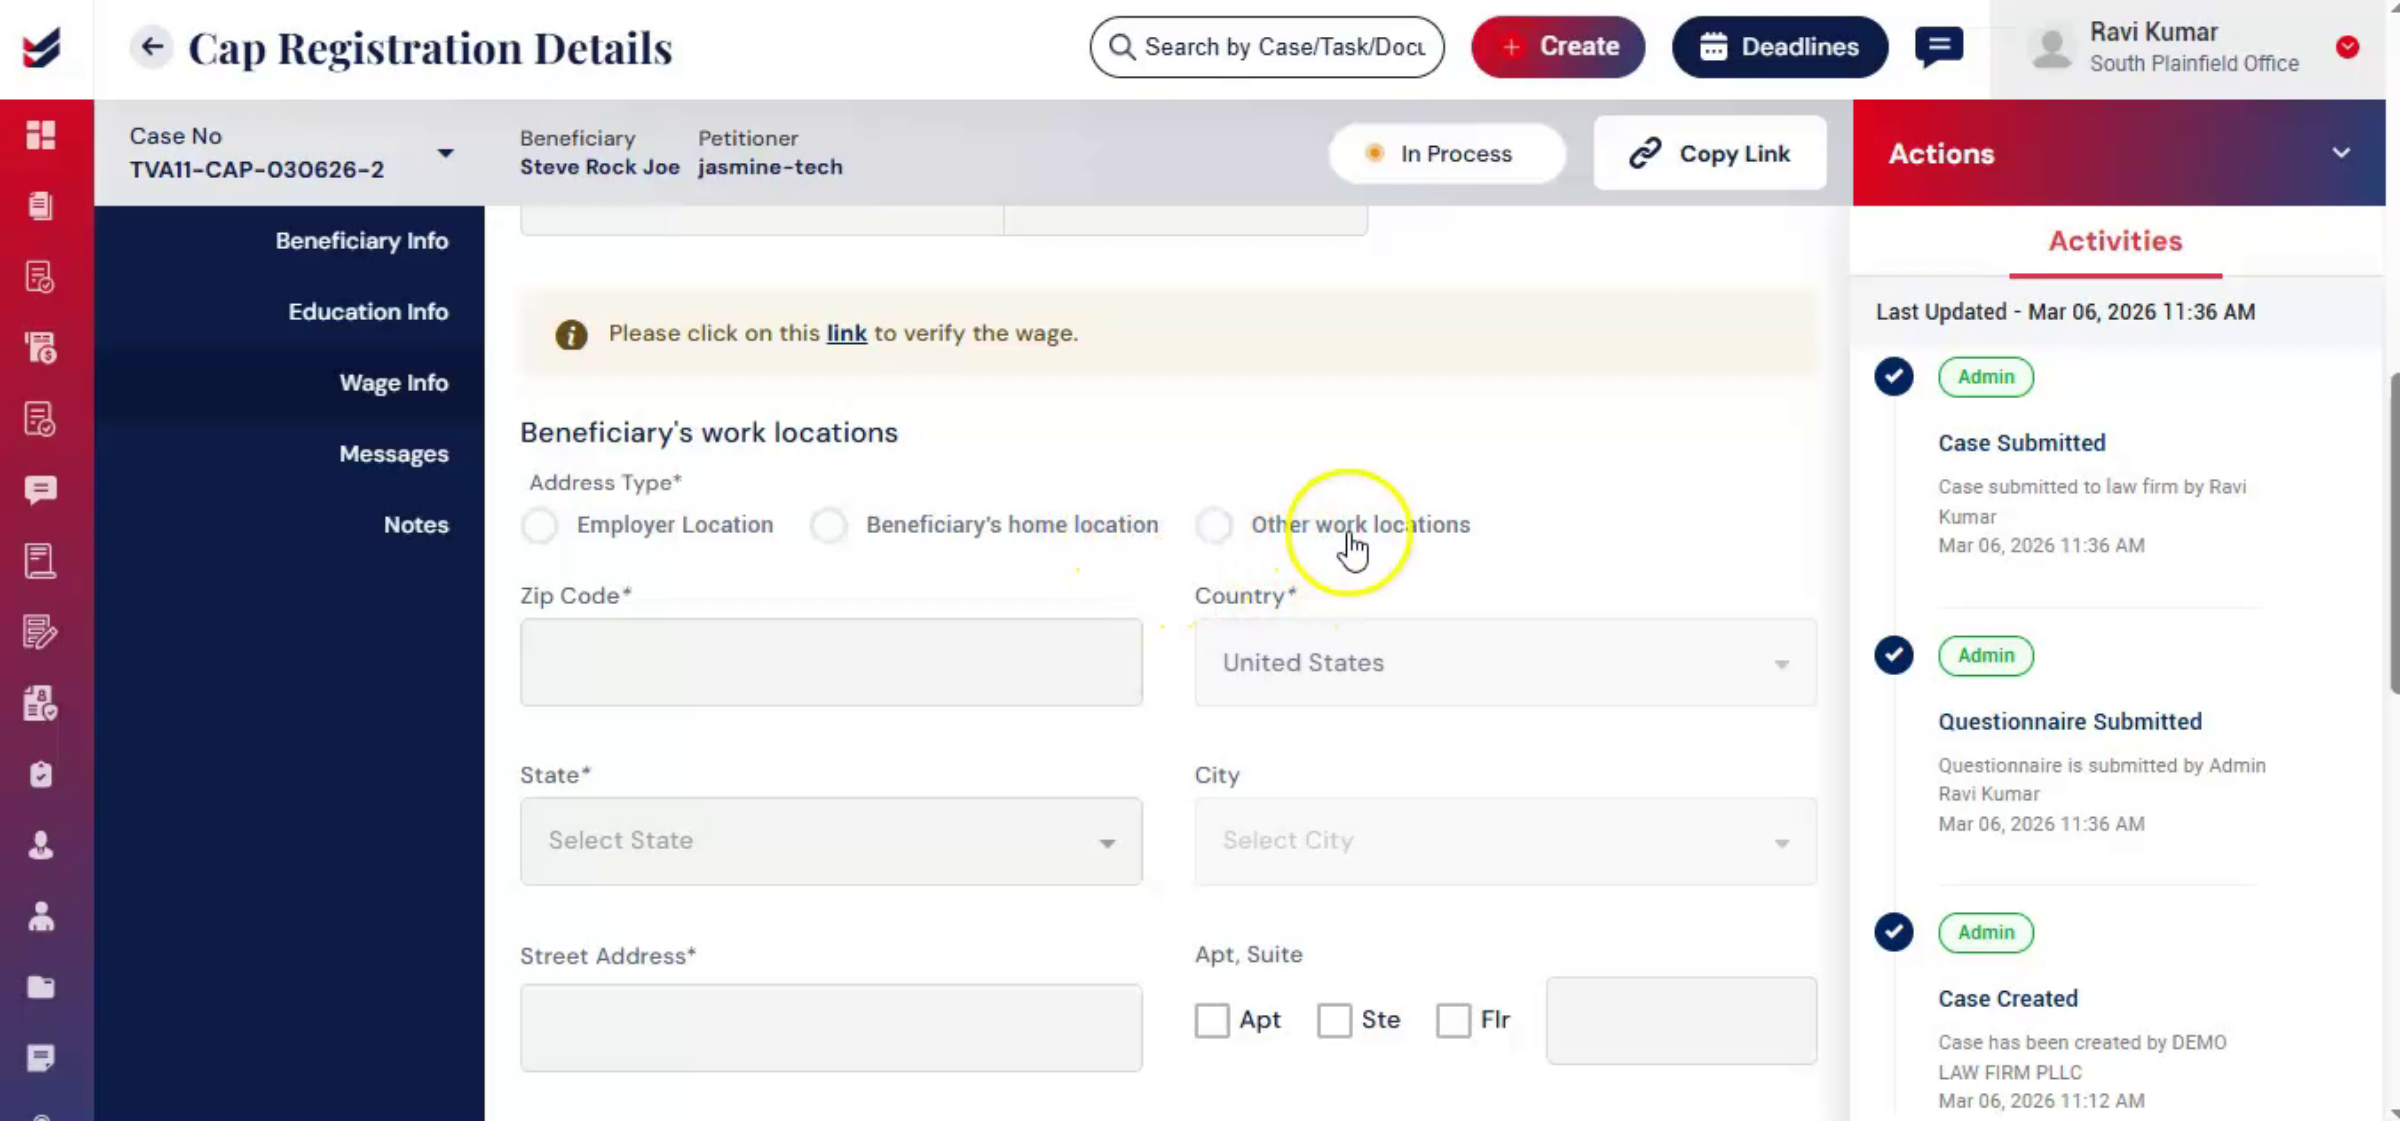
31. Filling Beneficiary Work Locations
 * click the image to view enlarged
32. Adding Additional Work Locations
 * click the image to view enlarged
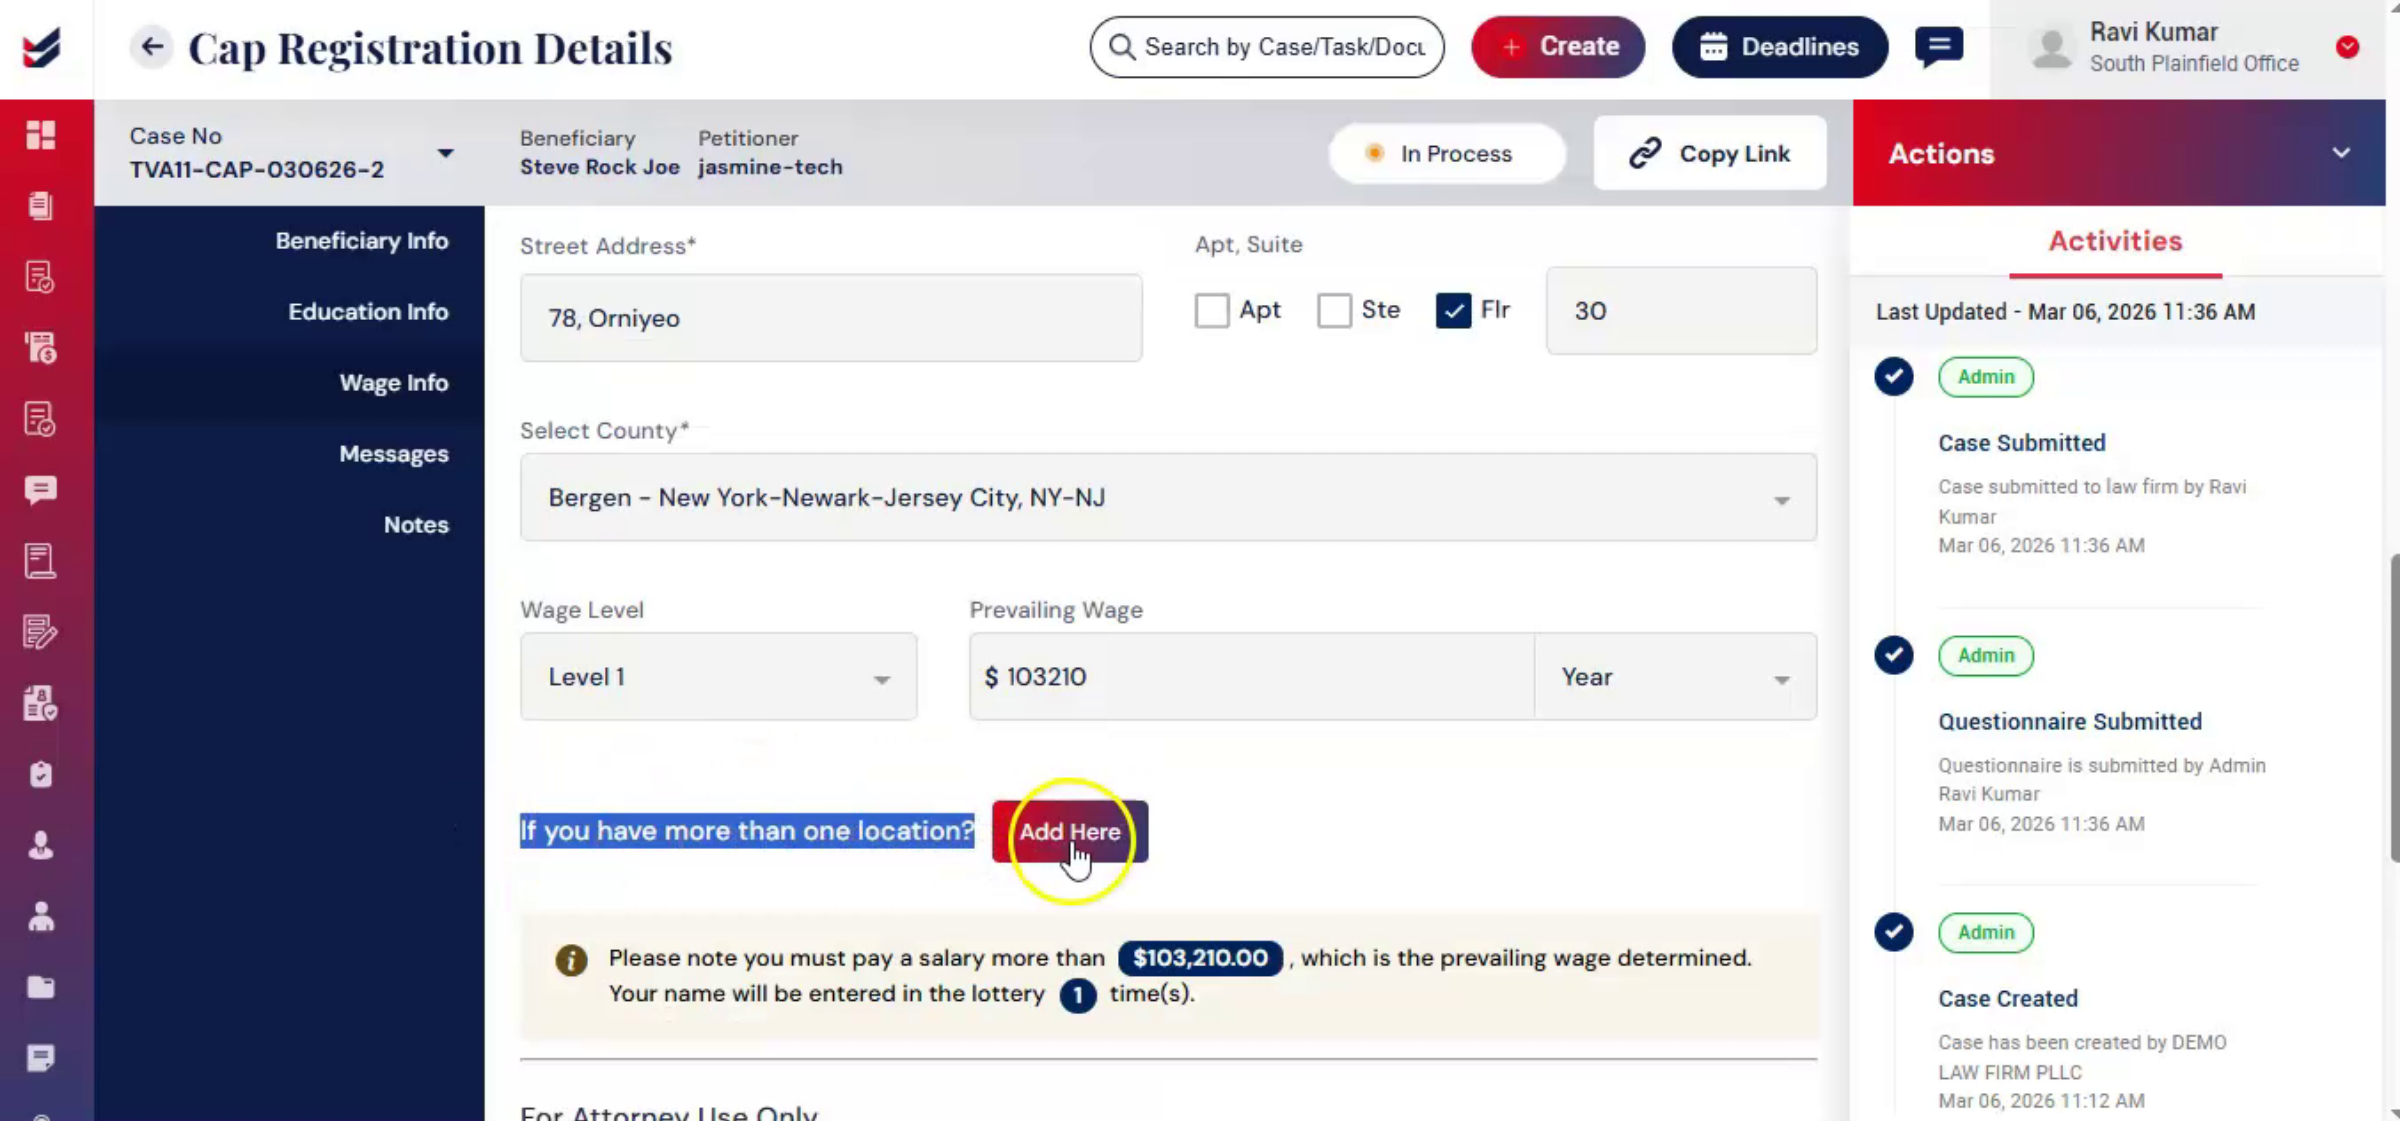
33. Built-In Wage Determination Feature
 * click the image to view enlarged
34. Selecting State County And SOC Code
 * click the image to view enlarged
35. Prevailing Wage Calculation Process
 * click the image to view enlarged
36. Wage Validation And Error Messages
 * click the image to view enlarged
37. Real-Time Wage Compliance Checks
 * click the image to view enlarged
38. Attorney Only Wage Verification Section
 * click the image to view enlarged
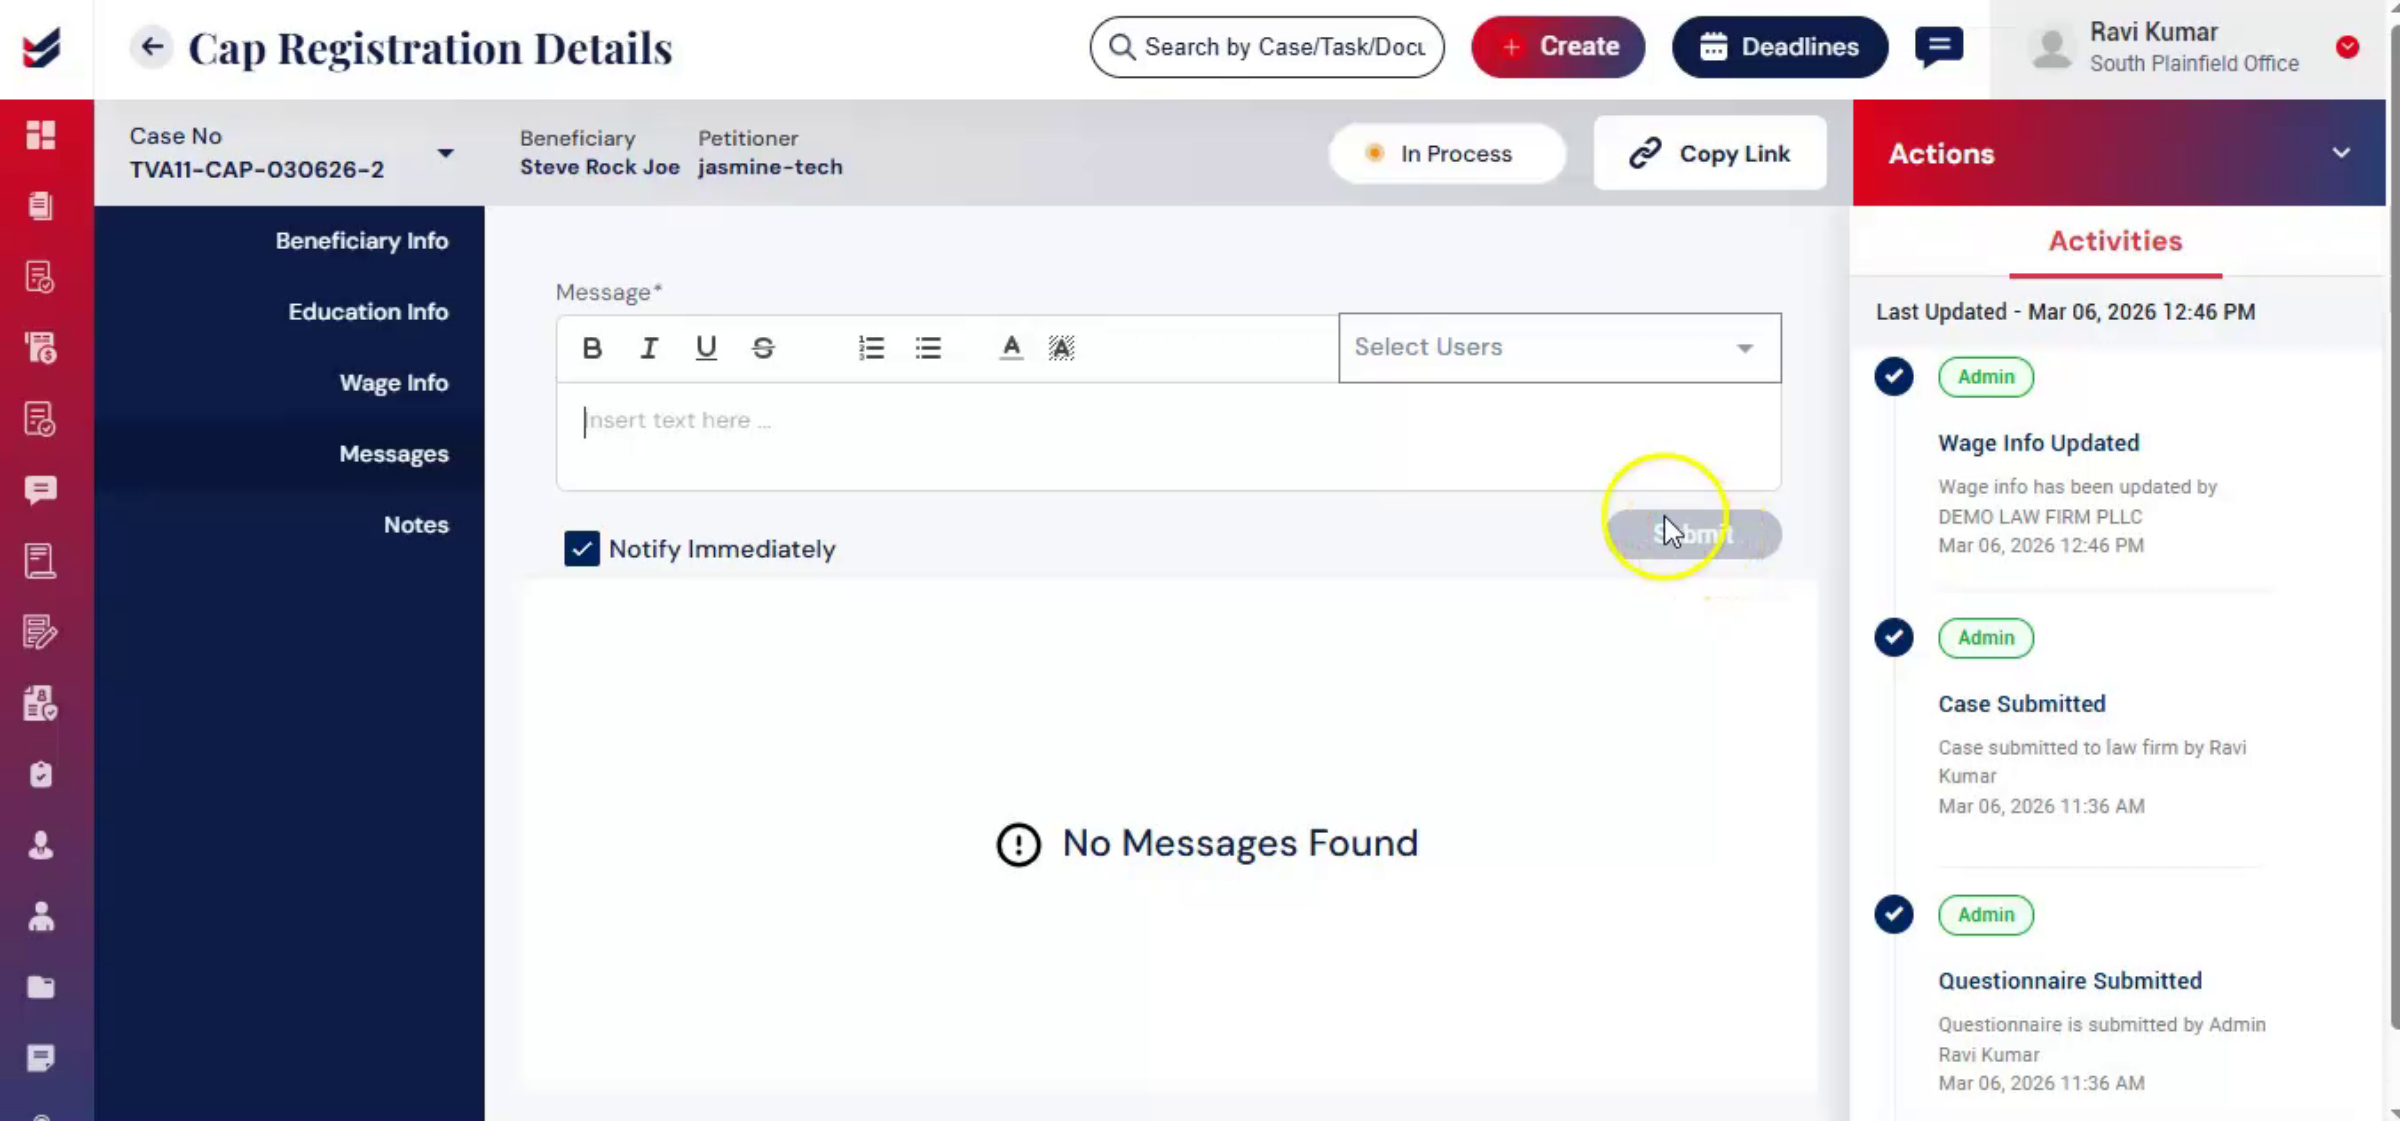
39. Editing Questionnaire And Messaging Feature
 * click the image to view enlarged
40. Submitting CAP Registration To USCIS
 * click the image to view enlarged
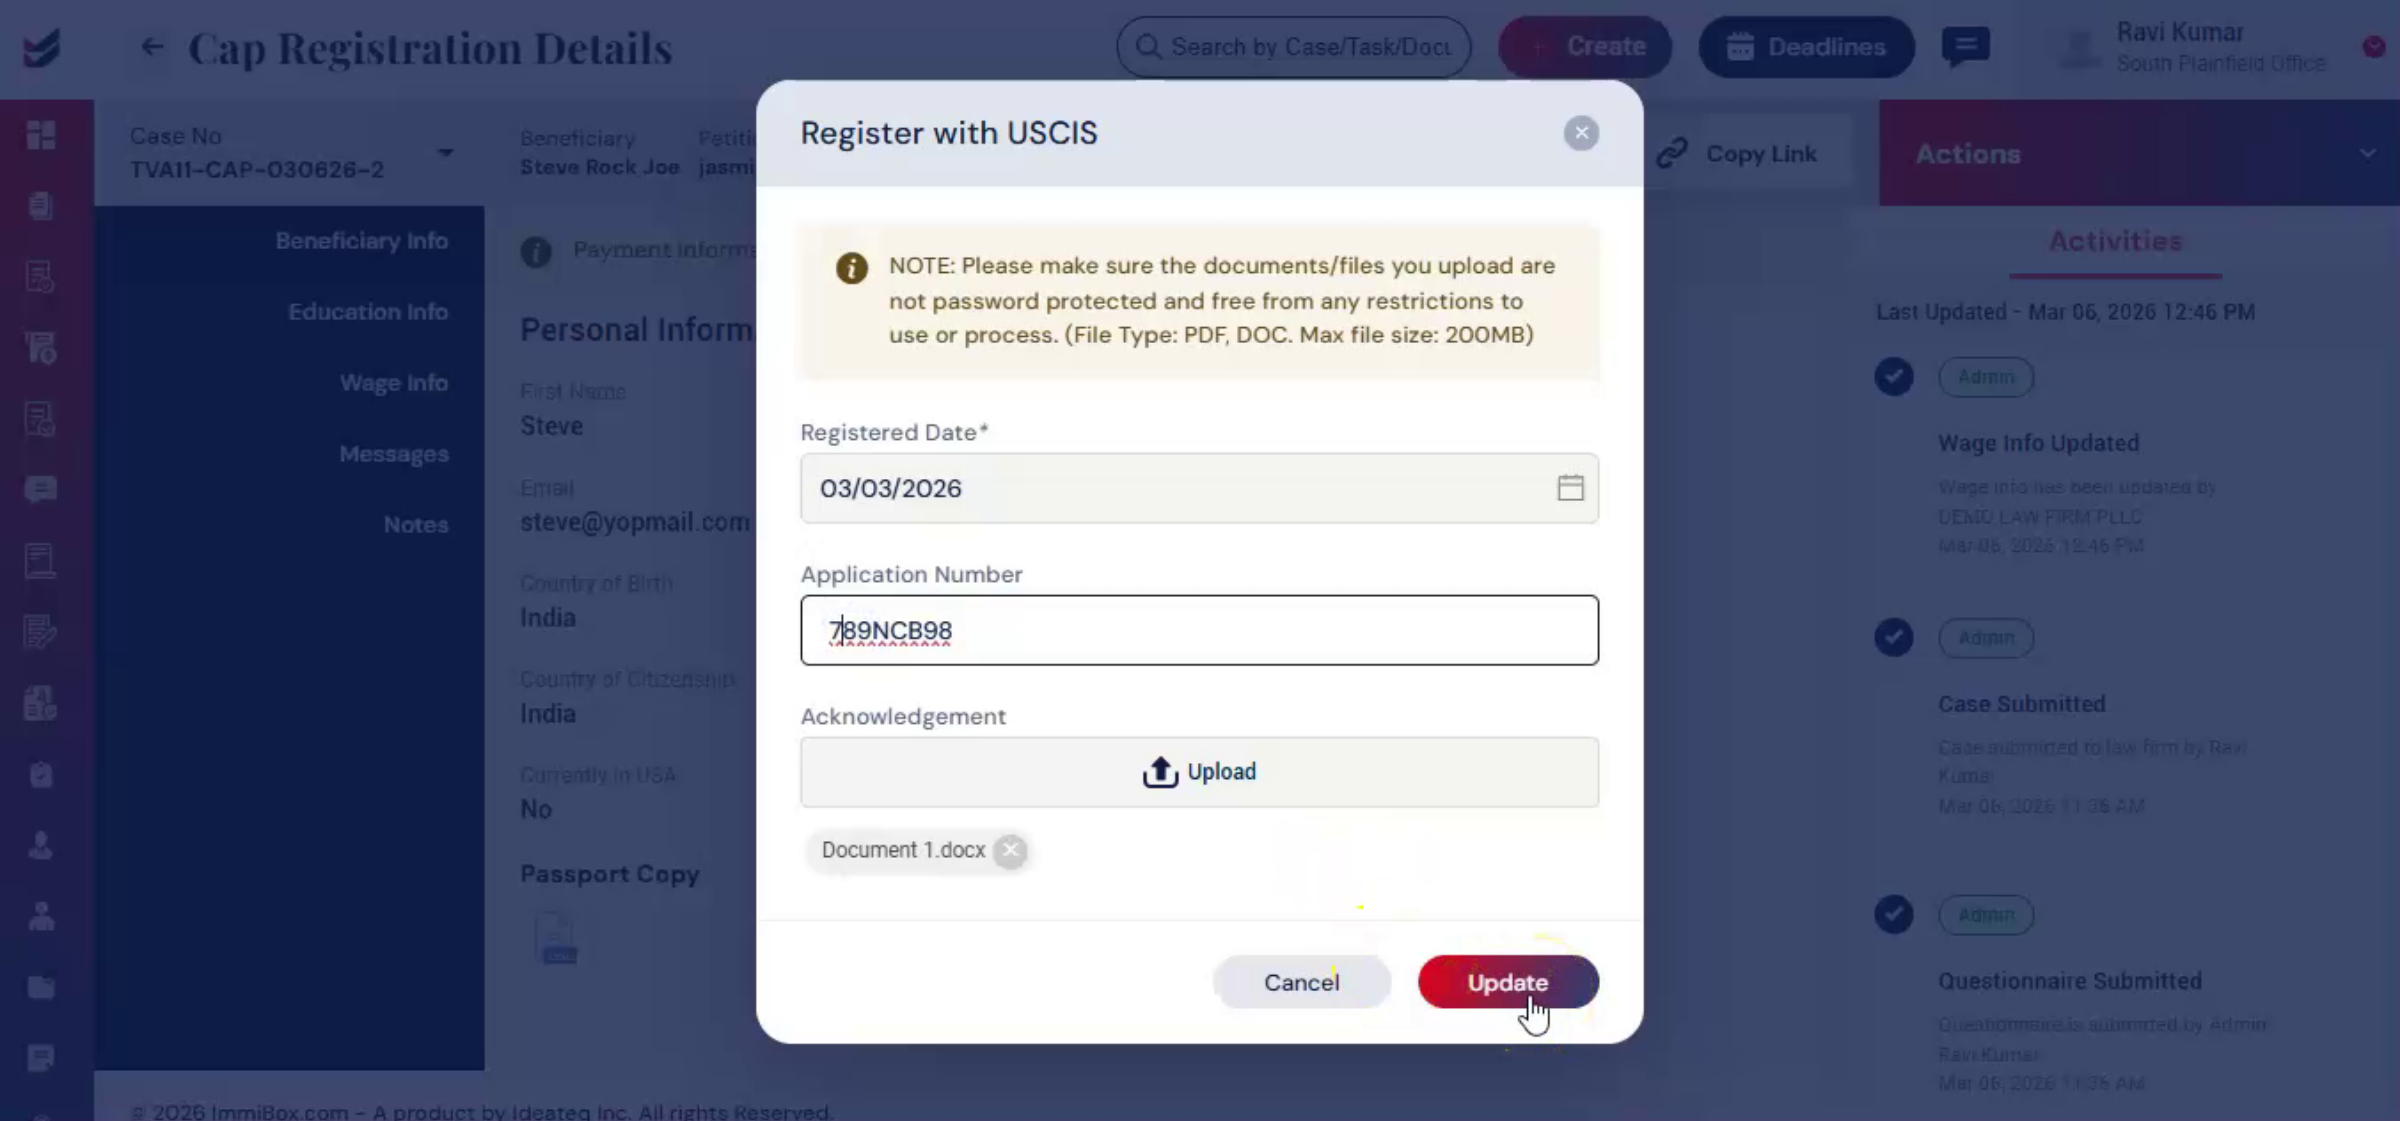
41. Registering Case With USCIS
 * click the image to view enlarged
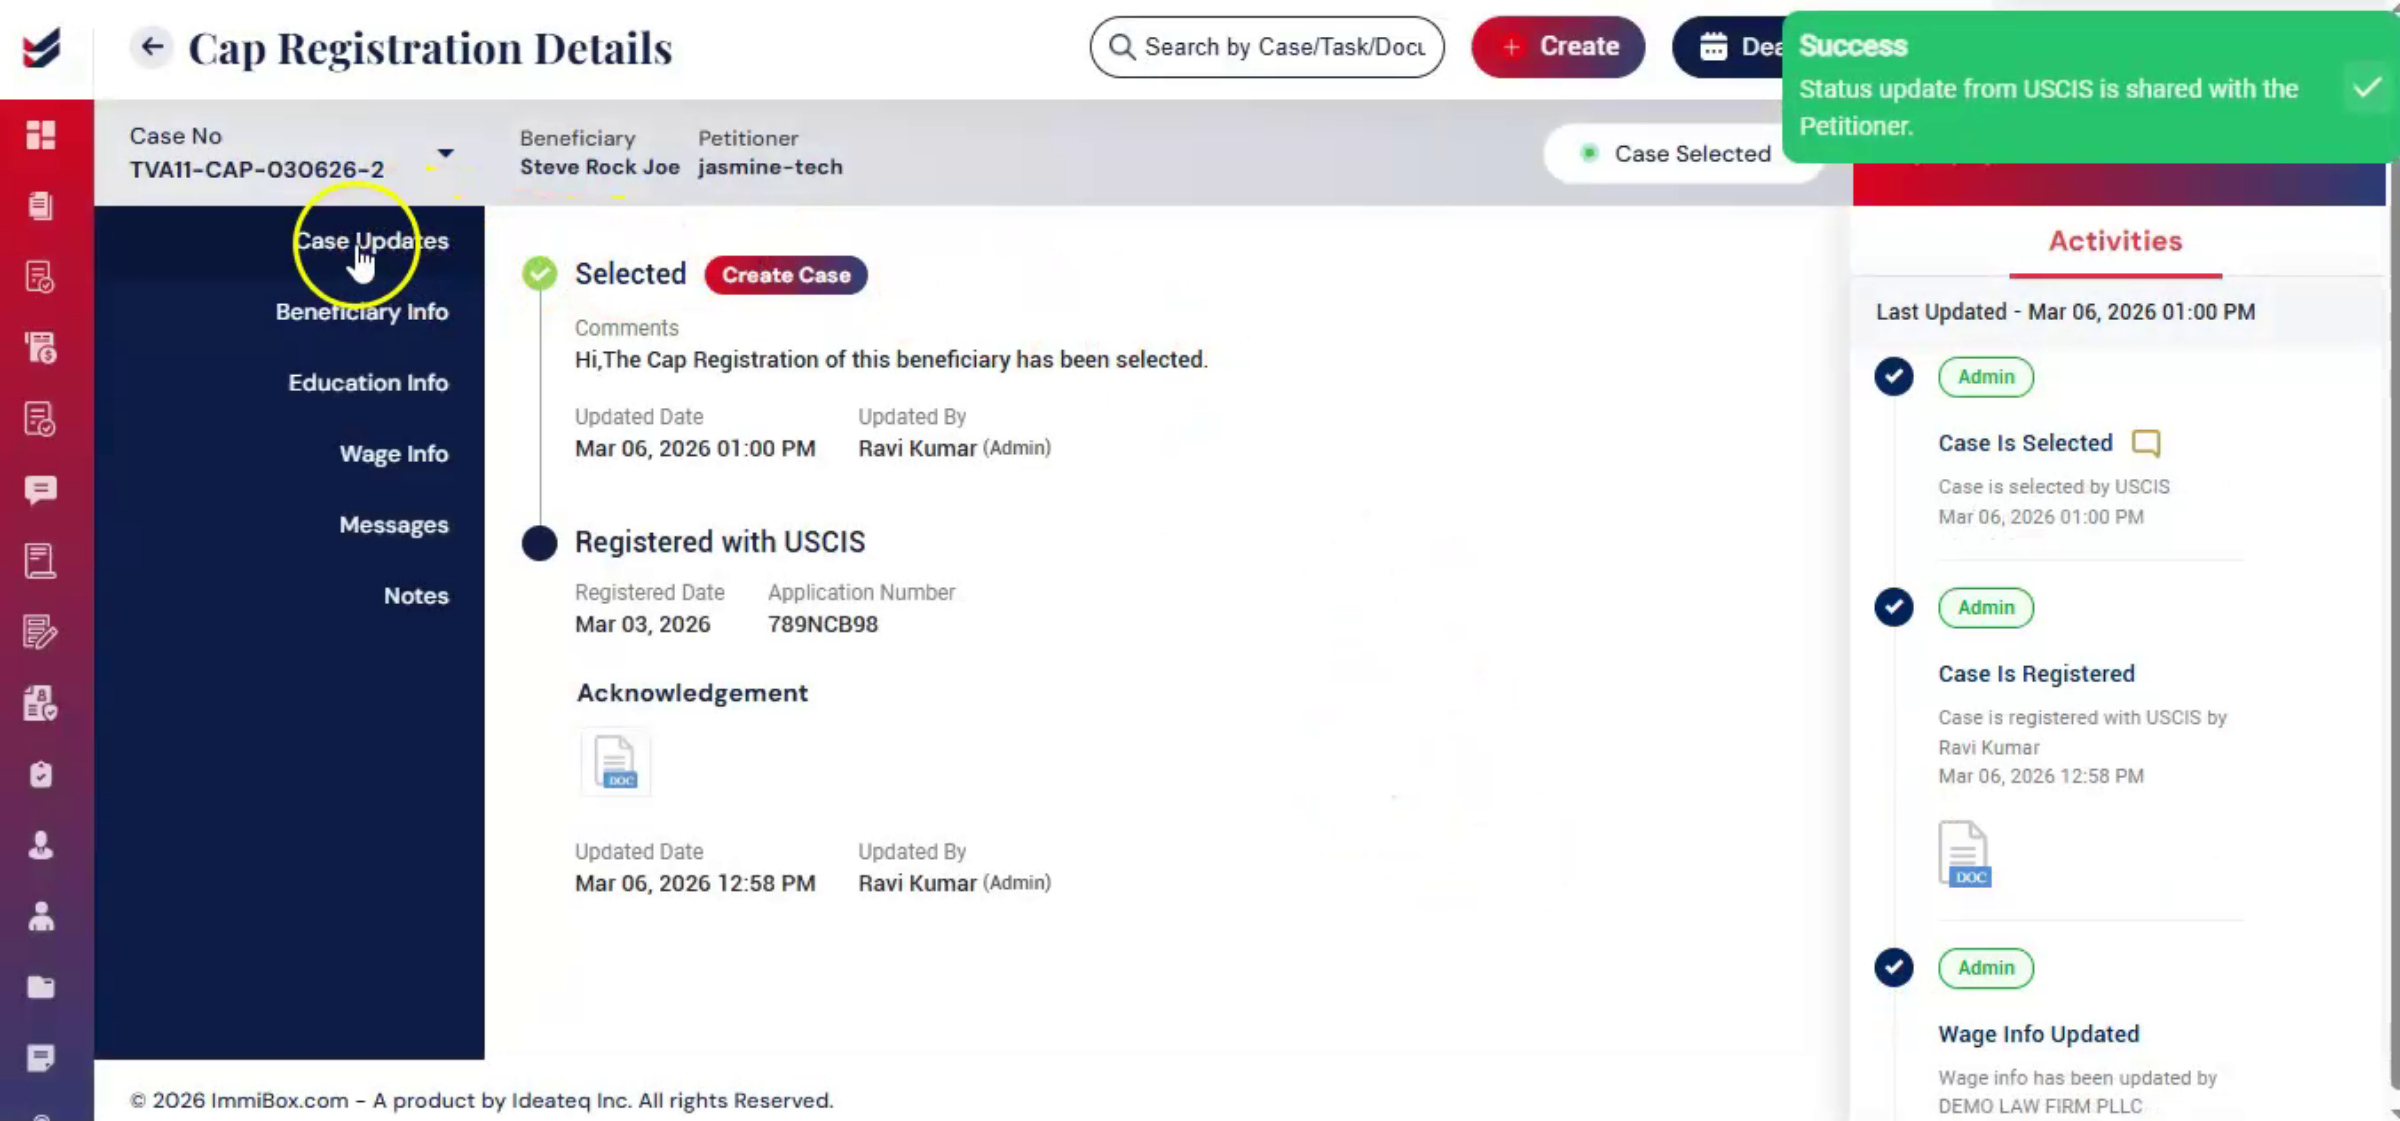
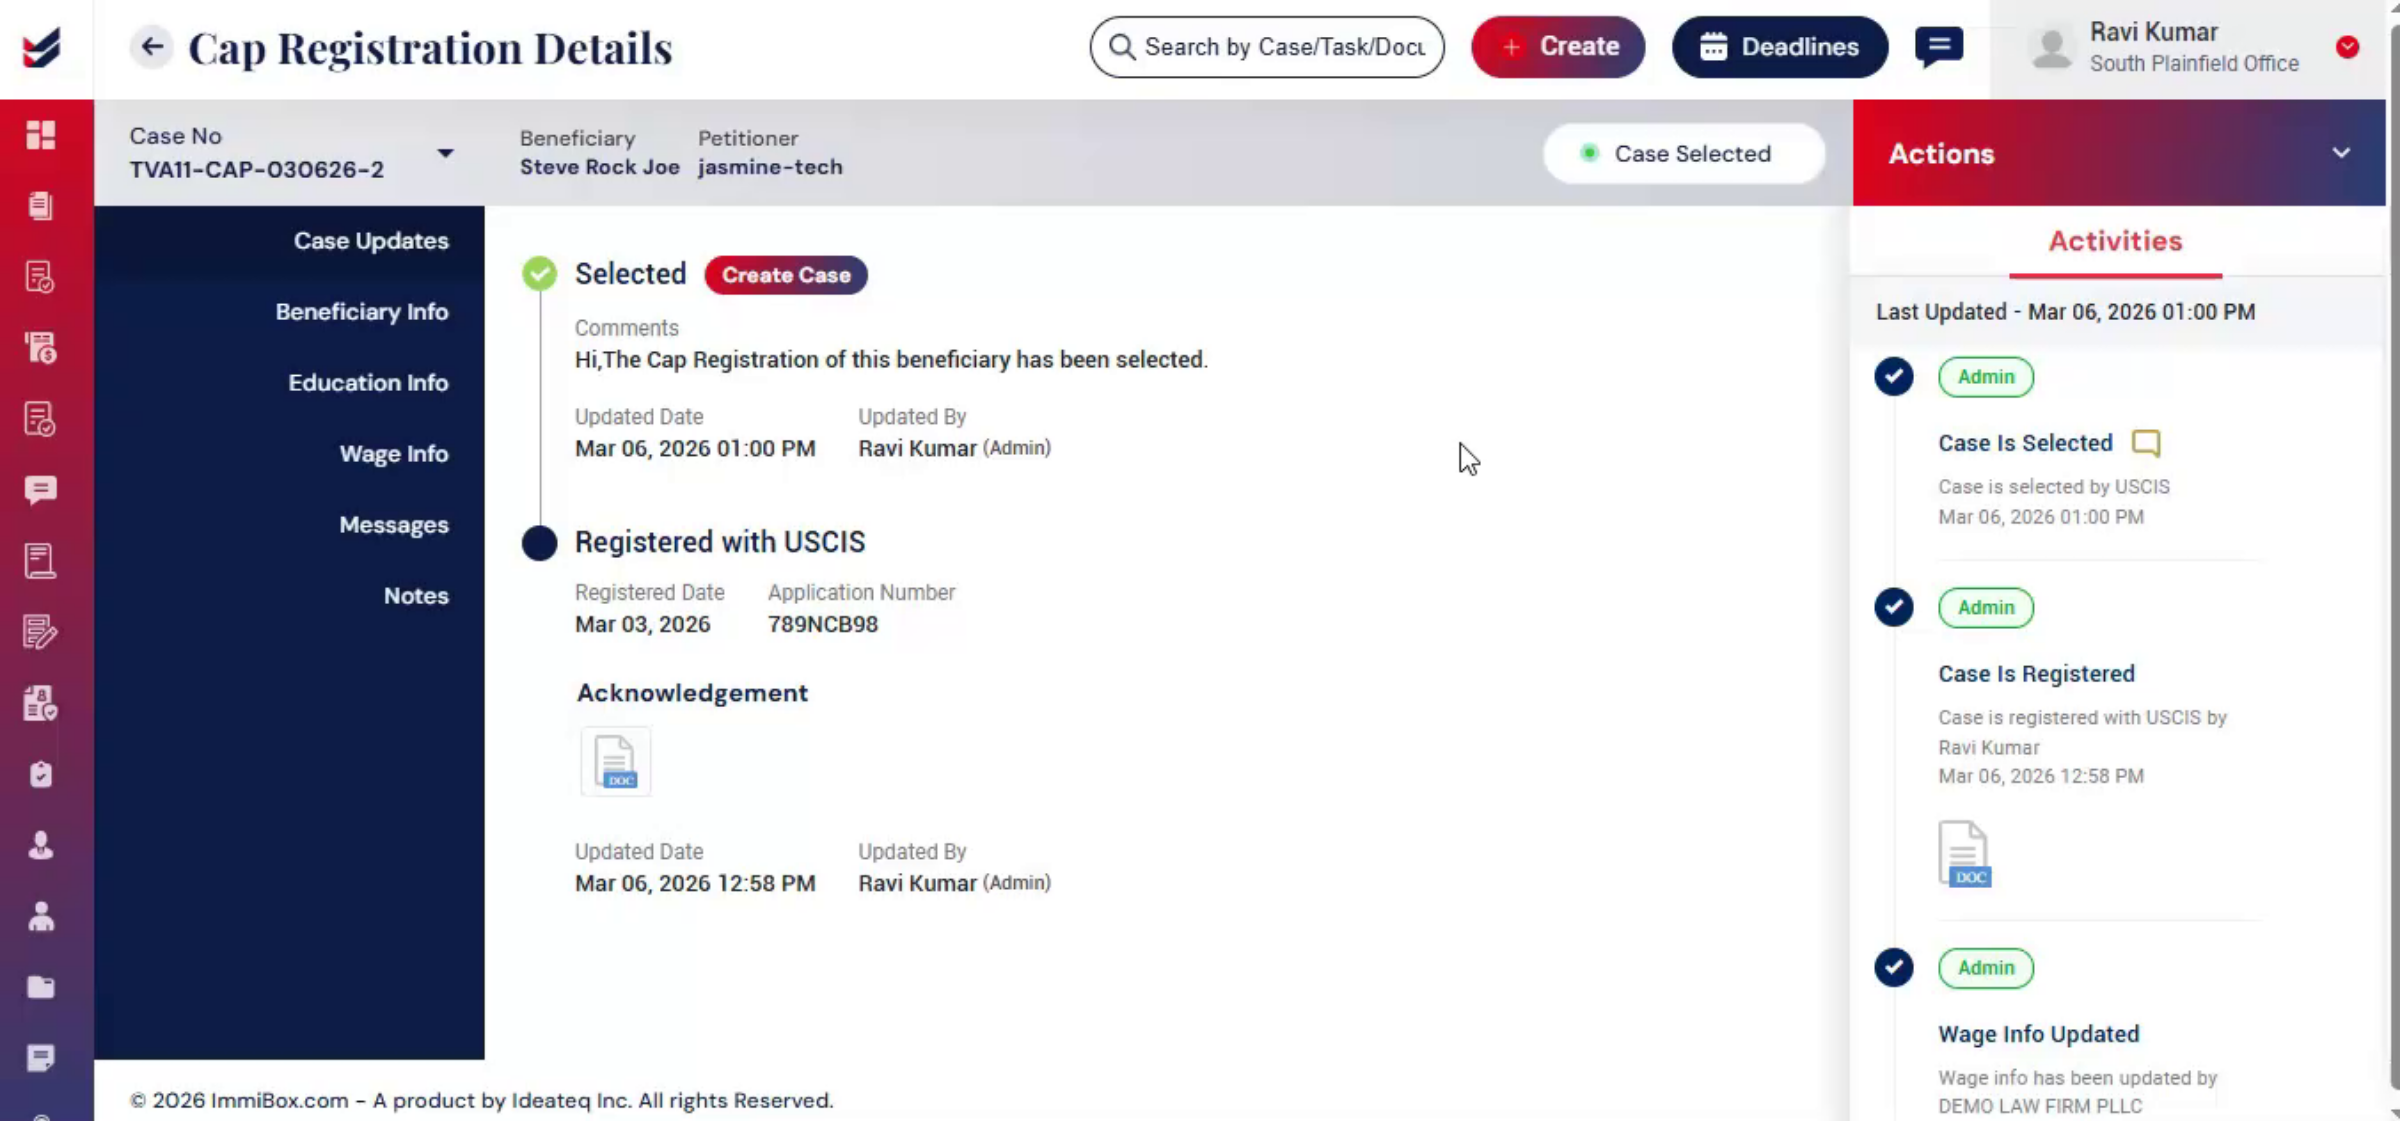
42. Case Update After USCIS Registration
 * click the image to view enlarged
43. Updating USCIS Response Status
 * click the image to view enlarged
44. Next Step After CAP Selection
 * click the image to view enlarged
45. Creating H-1B Case From CAP Data
ImmiBox automatically uses collected CAP data to create the H-1B case while maintaining continuity and compliance. Click Create Case from the Case Update section or navigate to Actions, select Create Case. You can then continue the petition process within ImmiBox.
 * click the image to view enlarged
46. Video Closing Remarks
 * click the image to view enlarged

