
Access Case list and create New Case
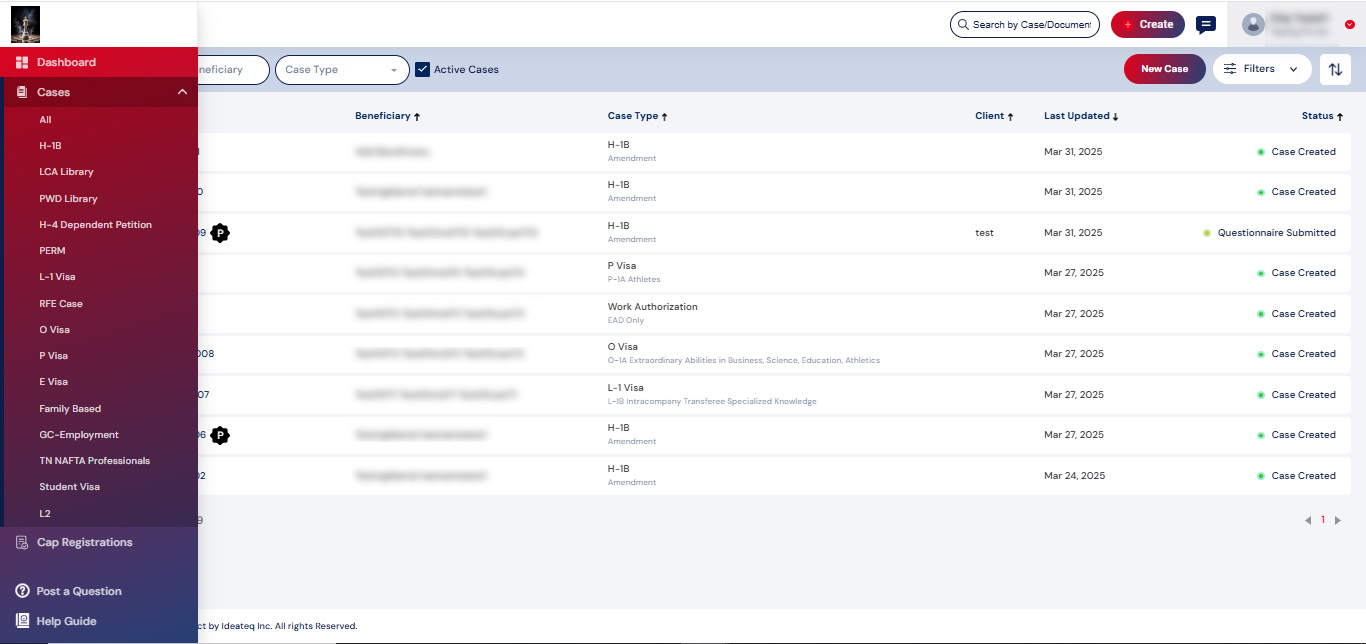
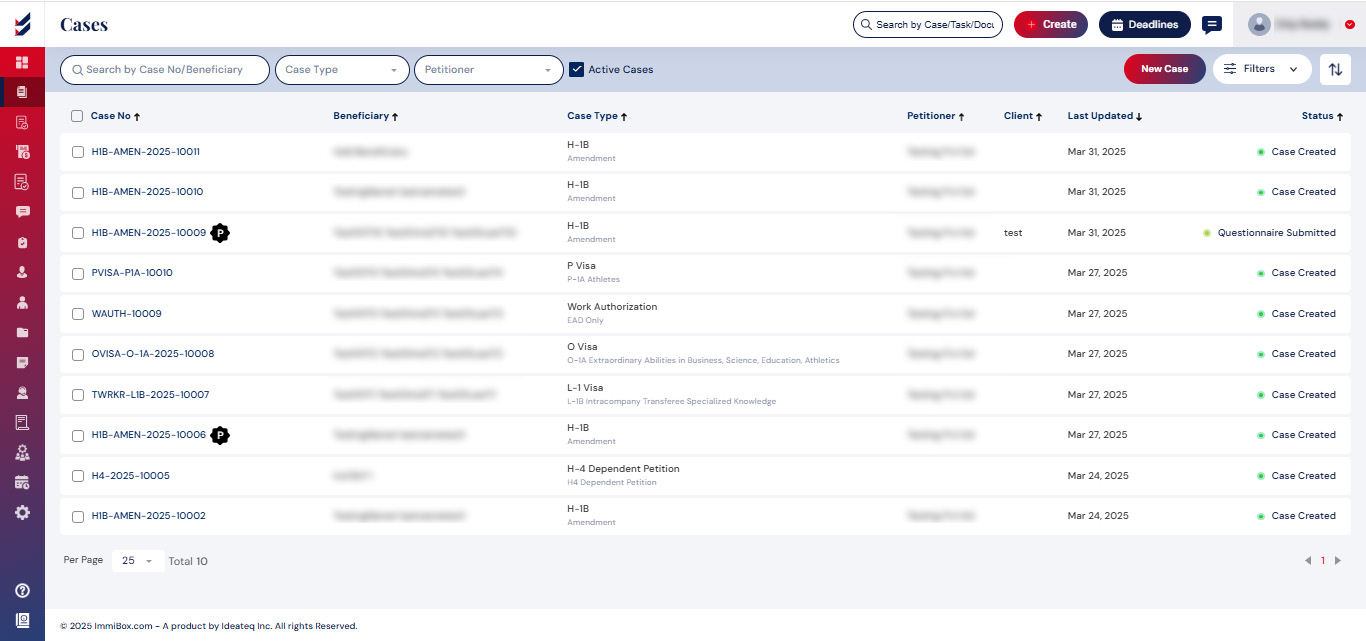
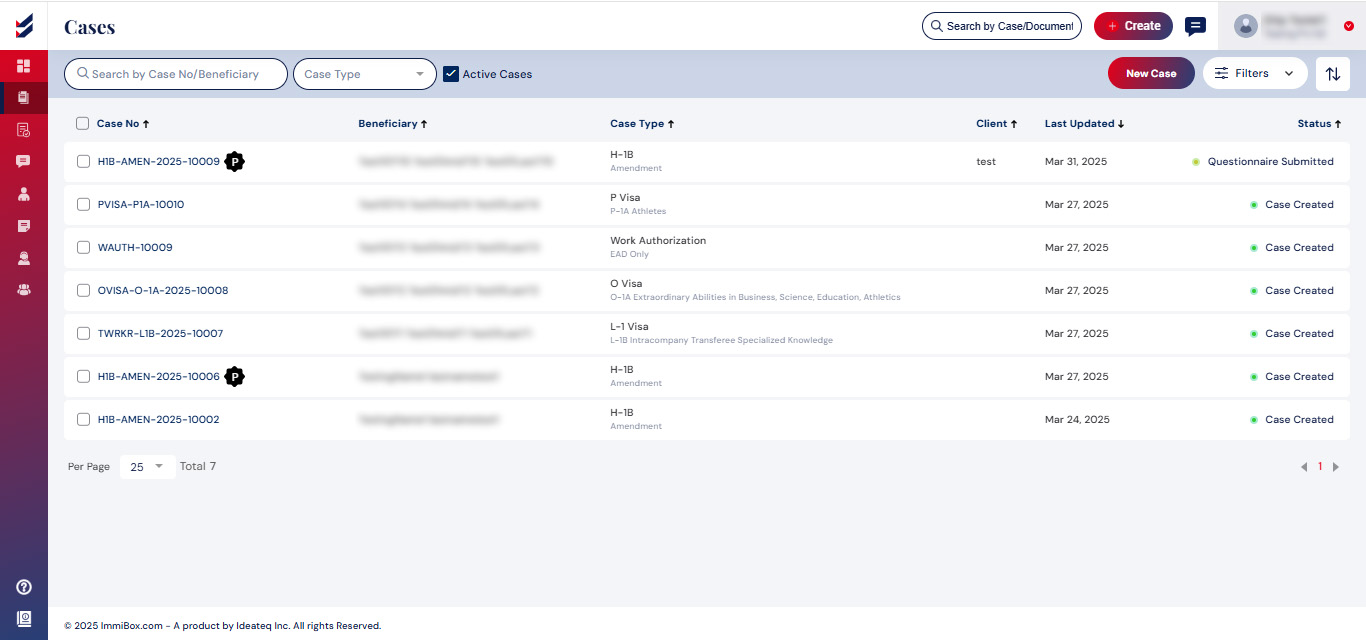
To access all your existing Cases, select ‘Cases’ from the left navigation menu. On the top right corner, a ‘New Case’ button can be seen, as well as options to filter the list of cases.
Create New Case
Click on the 'New Case' button that is available on top of the page.
Selecting "New Case" will trigger a popup as shown below.
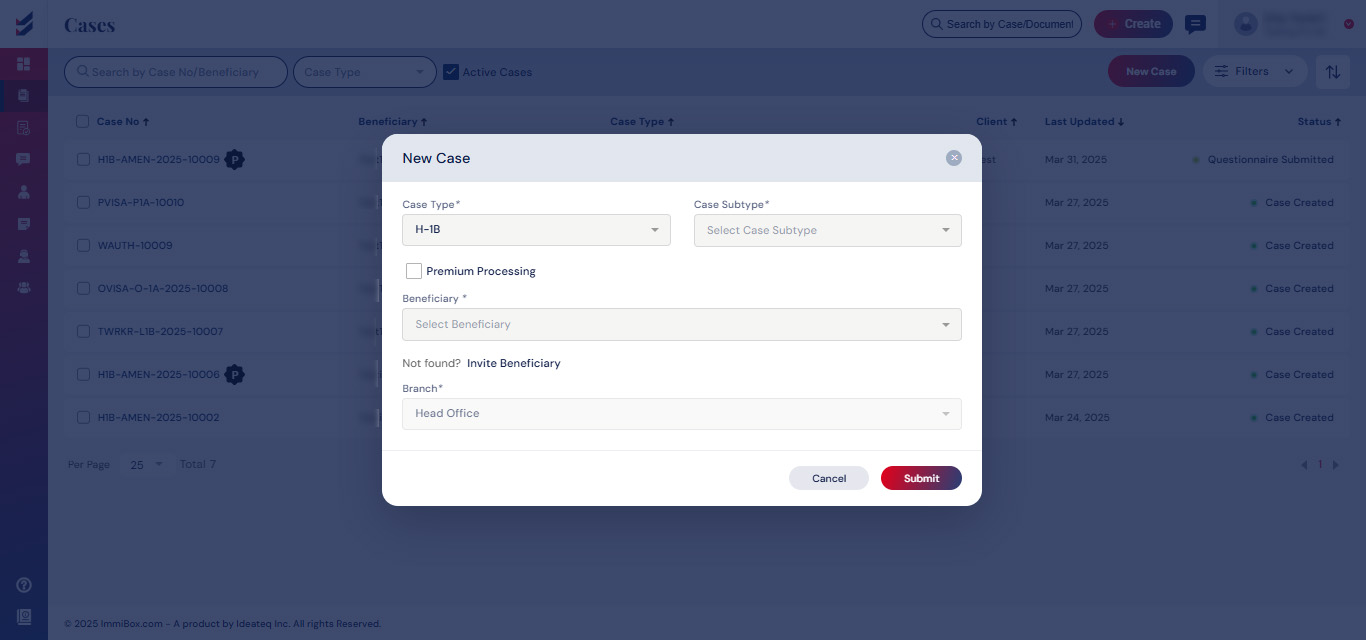
Select 'Case Type' and 'Sub Type' to proceed. If the Law Firm operates multiple branches, please choose your preferred branch for case assignment.
Depending on the selected Case Type, you will need to identify the 'Petitioner' and 'Beneficiary'.
If the desired entity or user is not present in the list, you will have the option to 'Invite Beneficiary/Employee'.
Click here to know how to add a Beneficiary.
Ensure that all necessary information is reviewed, and then click 'Submit' to create the case.
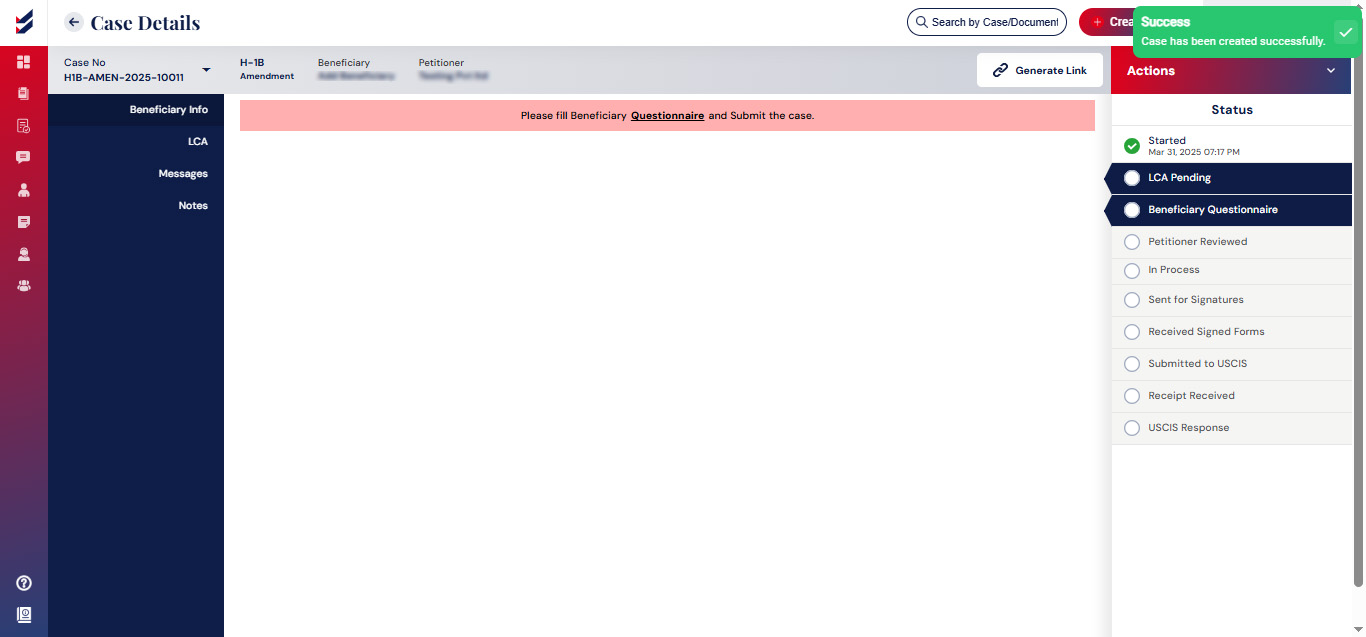
Upon creating a New Case, you will automatically be directed to the Case Details page.